By Nate Adcock
Fri, 07/29/2011
The Sonos Play:3 is a compact wireless speaker that packs a sonic punch, can be controlled from your iPhone/iPad or Android device, but does oh so much more! As part of a larger wireless system, you can push your fav music, internet audio streams to multiple rooms (aptly named "party mode"). In this post, I'll detail configuration and setup of the new Play:3.

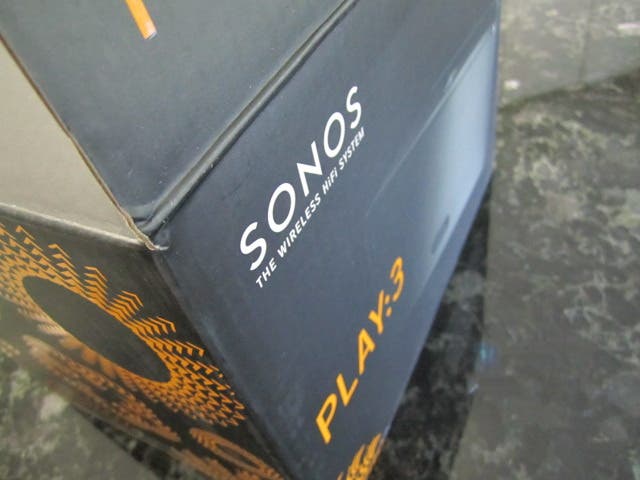
Looks impressive even in the box...
Last year I had the opportunity to review the Sonos S5. I have an old JVC micro-system that can still pump out the sound. Of course it doesn't stream anything, but by adding a simple iPod dock (and line-in input), voila! Internet stereo, ya'll! I was skeptical what, if anything, the newer speaker systems had on my old JVC stereo (it lights up after all). I have experienced the Bose radios and docks, and other similar compact systems and still wasn't that impressed.That all changed after a demo of the Sonos player at CES in 2010--I was frankly blown away. I bought an S5 system and a ZoneBridge, a combo that allows the S5 to wirelessly receive music streams.
The Play:3 is the next generation of wireless speaker systems from Sonos. More compact, but with a big sound. The S5 is now the Play:5, and the 2 of them teamed up AND CRANKED in the same room frankly about burst my ear-drums.
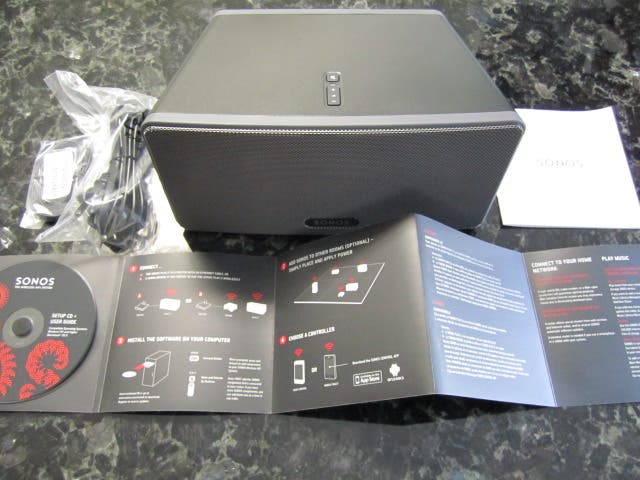
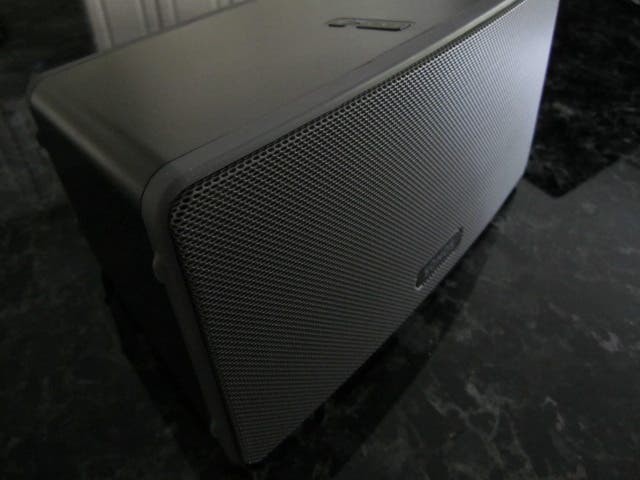
What's in the box? The new Play:3 comes well-packaged and necessarily so, as the unit is of substantial heft, for all it's svelteness (compared to my S5). That's because the Play:3 features 3 Class D digital amplifiers, in a 3 speaker system (dual-mid range, tweeter, and bass radiator). The box contains an RJ-45 ethernet cable (to connect via a wired connection), Windows system software, user documentation, and a power cable. You will need a PC or Mac computer to be able to perform the setup...
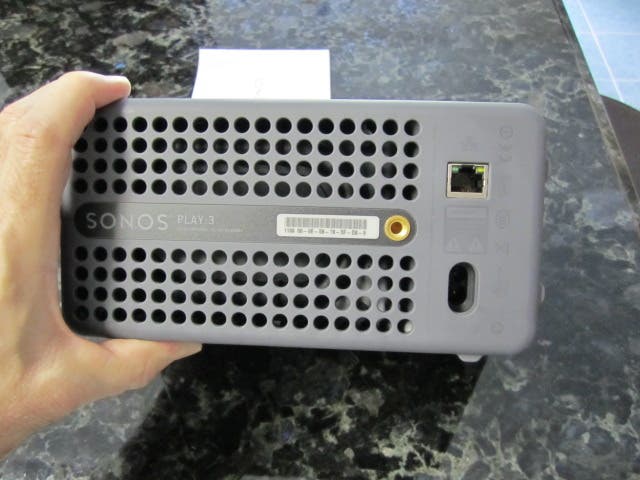
The back of the unit has an ethernet port (for use with the above mentioned RJ-45), a 2 prong power connection, and a standard threaded 1/4" mounting socket. A large grill area, I presumed, acted to ventilate the internal electronics, but proved on closer inspection to appear to house the bass speaker. Only a single ethernet connection means if you want to simply run using the wired connection, you can't daisy chain like the S5 (Play:5...sorry).
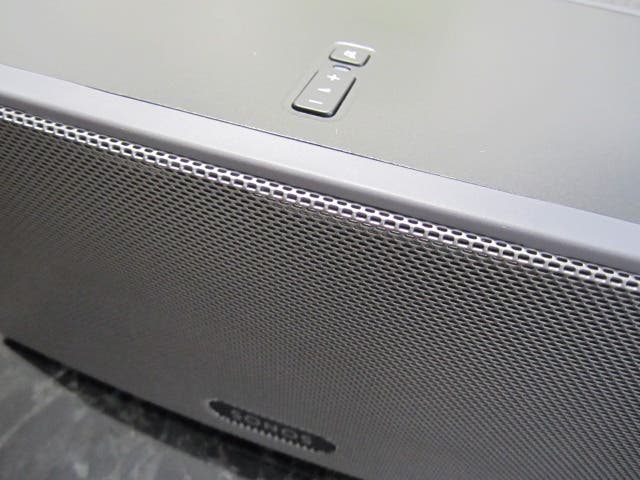
The top and front sides are trimmed with a rubberized edge. It seemed a little loose in spots, but could have been review unit wear and tear. The construction is otherwisesolid and like the S5, the unit has an attractive finish.The centered buttons, like other Play devices include the standard Sonos minimalist button layout (vol +/- and mute). A status light indicates connection when pairing up to your ZoneBridge, etc.
The left side of the speaker has rubberized nubs that help anchor the unit when turned on it's side. In this configuration, if you add another Play:3 device, you can set up an enhanced L/R audio experience, over what only one player can produce (because of the lack of speaker separation).
Software Setup
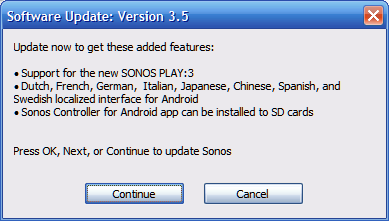
You need to grab the latest Sonos software version (V3.5) unless you already have it installed. The Play comes with a disk, and don't forget to update your iPhone or iPad control app as well. You can get everything you need at the link provided in the preceding sentence, including control app for Android (it points at the Sonos support page).
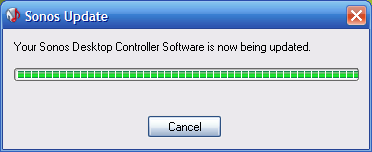
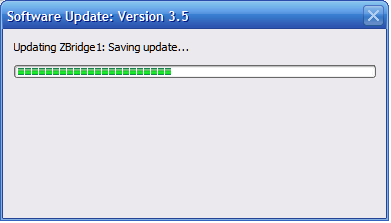
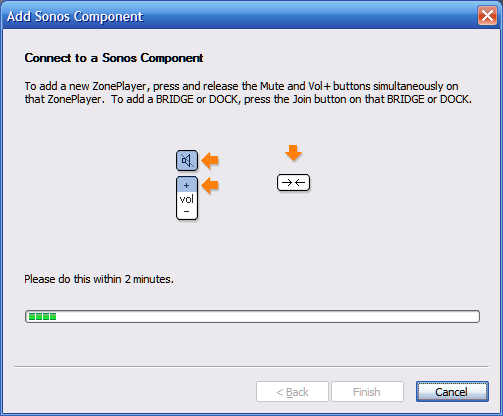
It will take a few minutes to update all of your components (if you have additional Sonos devices already), but once you complete the software install, it's a pretty simple process of adding a new device. The wizard walks you through the steps, which include pressing a few buttons on the Play and your ZB.
Once you are connected, the wizard prompts for naming the Zone (Office, Bedroom, etc). It seemed that the option for adding to my existing zone that contained my S5 was not possible. The S5 is not compatible to play in a Left/Right configuration with the Play:3 (again the "S5" is the older naming convention; now known as the Play:5)
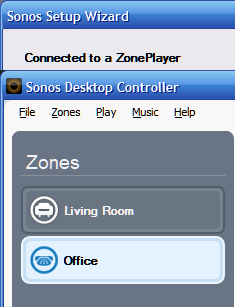
Once added the new device zone displays in the main GUI under the Zone section on the left side of the app window.
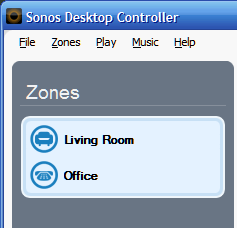
When you have multiple Zones configured (say for different rooms), you can link them up, which allows you to play music through both devices. You can control volume, queue up playlists, or enjoy your favorite Internet music simultaneously in several rooms! Of course, the cost for a package to do so is not cheap. Last time I checked, $299 for a single Play:3, not counting shipping and tax. Throw in a Bridge device (formerly known as a ZoneBridge), and that's another $49 to add the wireless component! There are a lot of cheaper ways to stream music in your house (check out my article on the subject here).
All said, the setup wasn't too onerous, though it did take some time to update the S5, the Bridge and the dock (not to mention my iPod/iPad apps), and then add the player. I am disappointed that I cannot pair my S5 up to the Play:3's in a surround sound configuration, especially when using line-in input (Play:3 doesn't support line-in). I like to use my S5 as a speaker for my Blu-Ray player.
Stay tuned for the next post in my review series of the Play:3, which will focus on the new iOS player and control aspects, the player sound performance, and probably close with a wrap-up. Not to give away too much, the Play:3 struck me as having nearly the same impressive sound quality of the S5 in my early tests... There's more coming on the awesome new Sonos Play:3 here at iPhoneLife.com!