Transfer Voice Memos from iPhone to Computer: 4 Ways


Conner is a feature writer and contributor to iPhone Life, as well as an author, poet, and content creator.
Learn More Conner is a feature writer and contributor to iPhone Life, as well as an author, poet, and content creator.
Learn MoreWhat to Know
- To automatically transfer your voice memos to another device, sync the Voice Memos app to iCloud.
- You can also transfer your voice memos by sharing them via text, email, or another app.
- Use iTunes if you want to upload your voice memos to an older Mac.
Voice memos are an amazing way to save a passing thought or quickly record important information. You may want to know how to save voice memos from your iPhone to your computer to avoid losing that information, or so you can turn it into something new. The good news is that you have several options if you want to export voice memos from your iPhone to your PC or Mac. Below, we'll walk you through how to transfer voice memos from your iPhone to your computer.
Save iPhone Voice Memos with iCloud
To learn more about iCloud, sign up for our free Tip of the Day newsletter. If you have a Mac and want to access the Voice Memos recorded on your iPhone or Apple Watch, you can do this using iCloud. Next, learn how to transfer your photos from your iPhone to a PC. Here's how to send Voice Memos to all your Apple devices automatically.
- First, make sure your iPhone is set to sync your voice memos. To do this, open the Settings app.

- Tap your name.

- Tap iCloud.

- Tap Show All.

- Scroll down until you find Voice Memos and make sure it is toggled on. Now any Voice Memos recorded on your iPhone will be synced to your iCloud.

- Next, you need to do the same on your Mac. If you have not used Voice Memos on your Mac before, first open Voice Memos. If you have used Voice Memos on Mac before, skip to the next step. Click Enable to enable iCloud syncing for Voice Memos.

- Next, click on the Apple icon.

- Select System Settings.

- Click Apple ID.

- Click iCloud.

- Click Show More Apps.

- Toggle on Voice Memos.
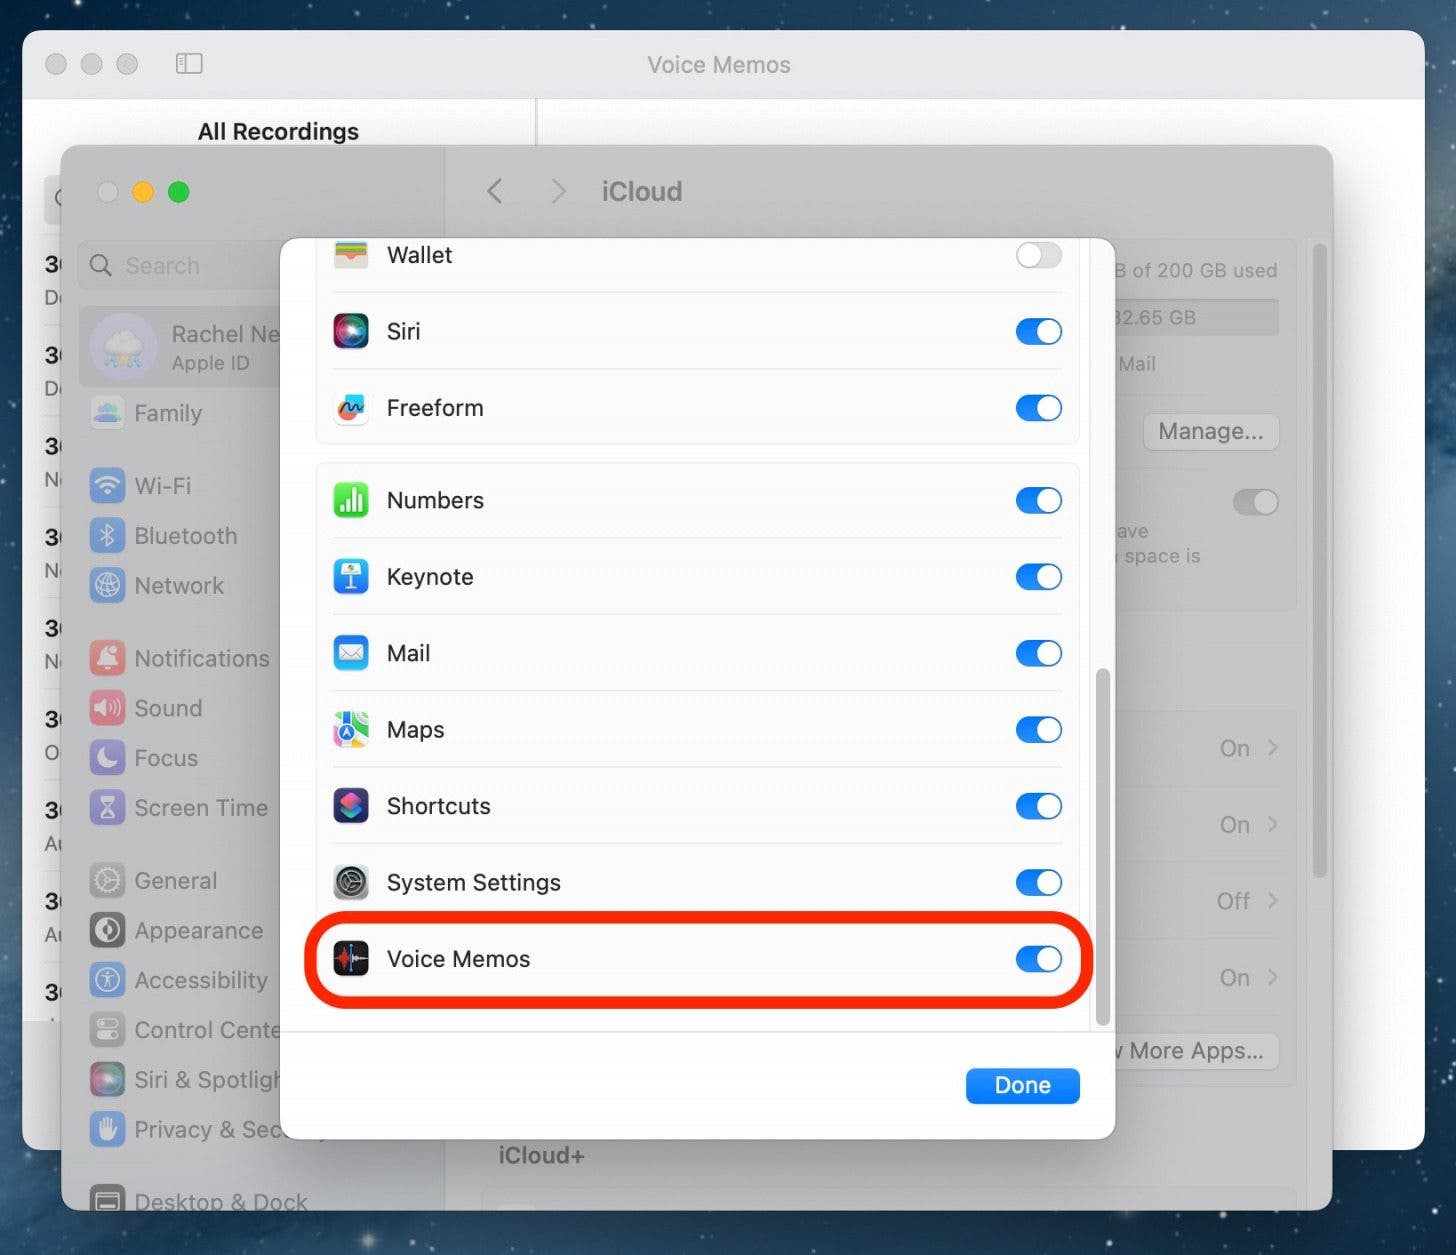
- Click Done when you're finished.

- You should see your iPhone-recorded Voice Memos under All Recordings.

Export Voice Memos from iCloud to Computer
When you record a voice memo on your iPhone, but you have a PC, you can still transfer it to your computer using iCloud. Before you learn how to transfer Voice Memos from your iPhone to your PC, you need to make sure your Voice Memos are getting backed up on your iCloud.
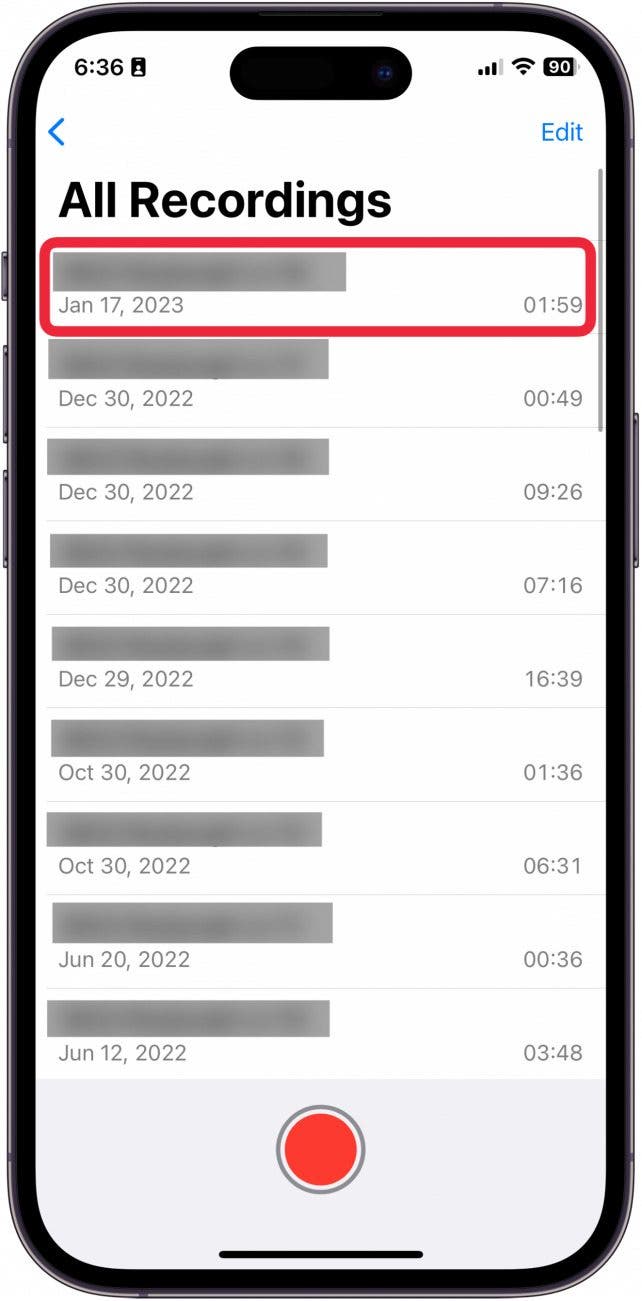
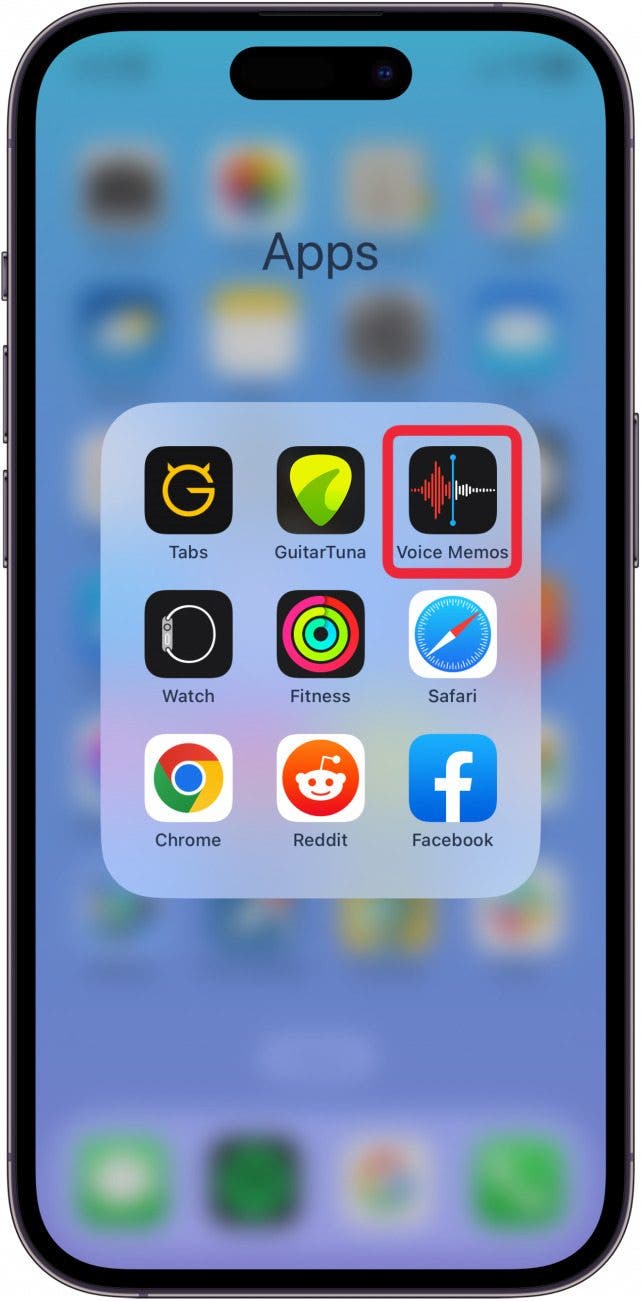
- On your iPhone, open the Voice Memos app.

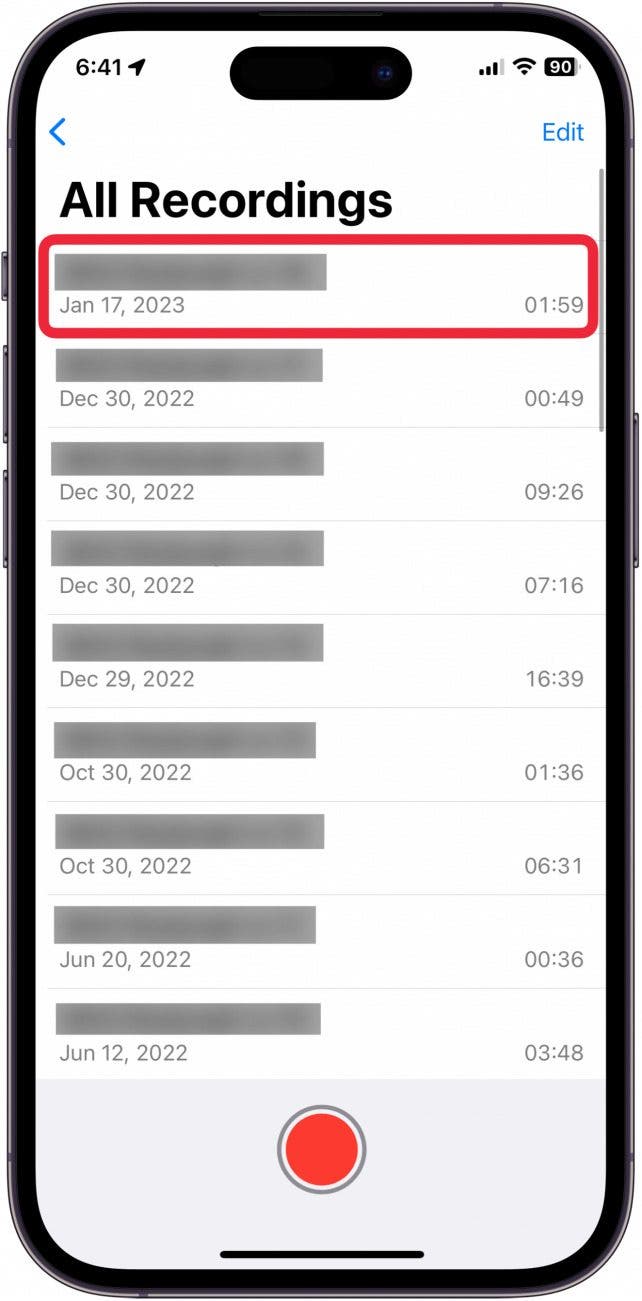
- Tap All Recordings. (If you are already on the All Recordings screen, you can skip to step 3.)

- Tap the recording you want to access on your computer.
- Tap the three dots icon.

- Select Save to Files from Share.

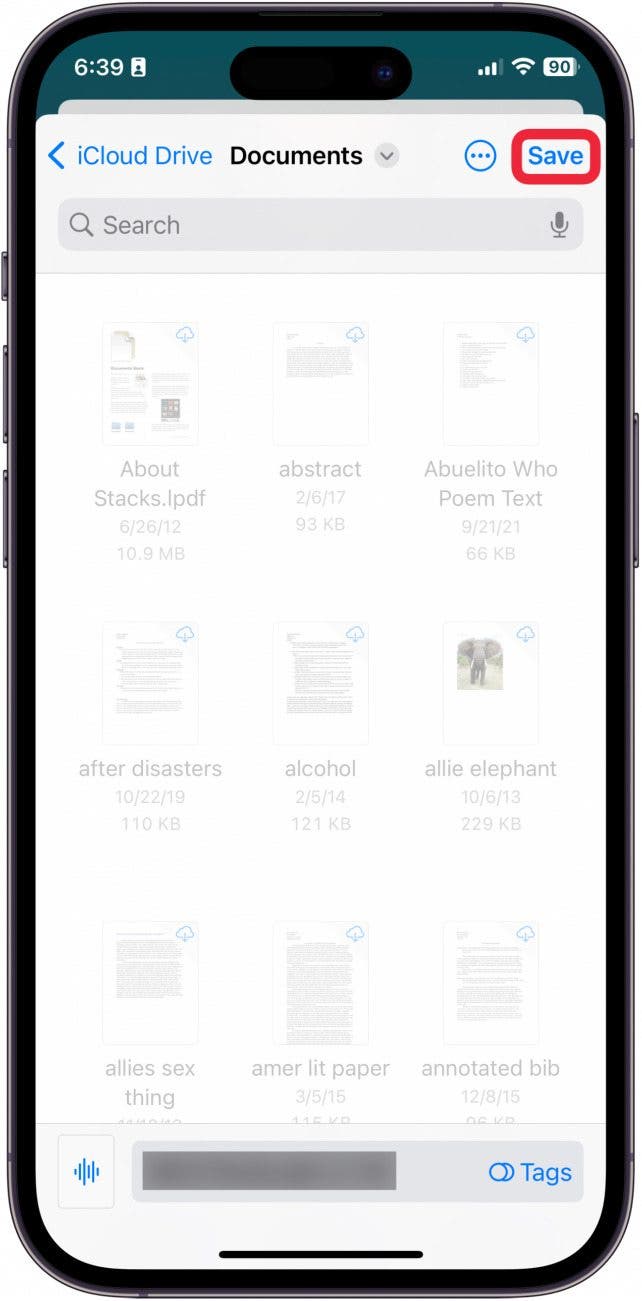
- Tap iCloud Drive if it doesn't automatically open to iCloud.

- Select a folder to save your recording to, create a new folder exclusively for voice memos, or simply save your recording to the general iCloud Drive folder.

- Tap Save.
Now, you can log into iCloud.com with your Apple ID and password on your computer. For extra security, you might need to have a verification code sent. The downloaded voice memo(s) are saved in the folder you selected in the previous steps. Did you know that you can create a ringtone from a voice memo?
Pro Tip
To make saving your Voice Memos quicker and easier, you can customize your Share with a shortcut. Of course, if you transfer voice memos to a Mac, you can AirDrop them via Share.
Download Voice Memos from iPhone Via Share
If you don’t want to use iCloud, voice memos can also be sent in other ways using the Share feature. If you're unfamiliar with Airdrop, learn how to use AirDrop on your Apple devices.
- On your iPhone, open the Voice Memos app.
- Tap All Recordings.

- Tap the recording you want to access on your computer.
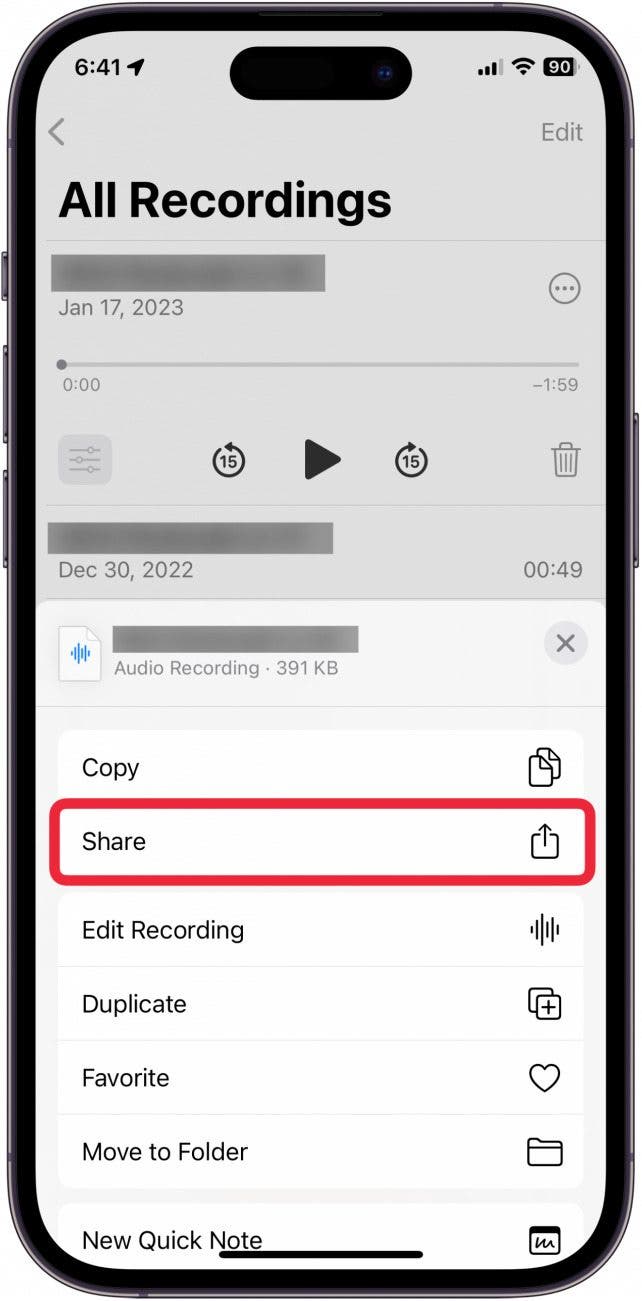
- Tap the three dots icon.

- Tap Share.
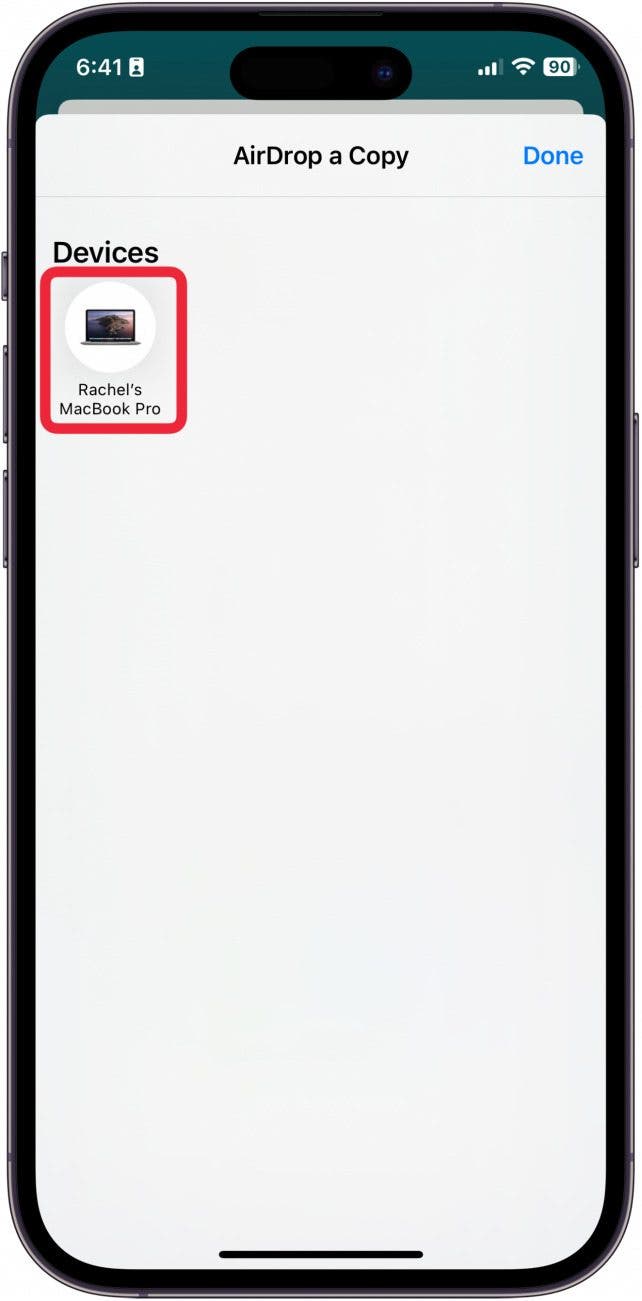
- Here you will see a list of apps that you can send the voice memo to. For this example, we will use AirDrop because it is instantaneous. However, if you have a PC or you do not have AirDrop enabled, you can send them via Gmail, Facebook Messenger, Messages, Mail, and other apps.
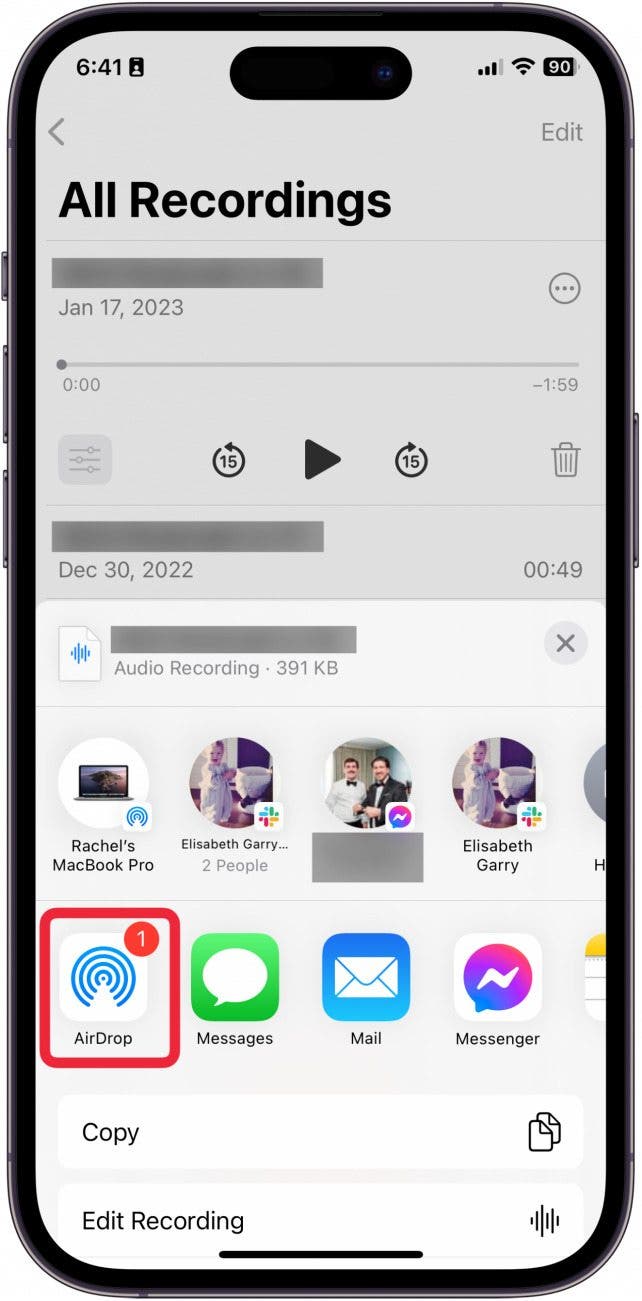
- Tap the name of the device you want to send the voice memo to. It will automatically appear and you will either have to accept the AirDropped voice memo, or it will automatically download depending on your settings.
Getting voice memos on your Mac from your iPhone is a piece of cake, but it isn't that much harder to access them on your PC. There are several ways to do this, including using iCloud, the Share Sheet, or using a third-party app such as EaseUS MobiMover. If you have an older computer and iPhone, you could also use iTunes.
Transfer Voice Memos from iPhone to Computer via iTunes
On older Macs, running macOS 10.14 Mojave or earlier, and on older PCs, you may be able to use iTunes to easily sync your voice memos to your computer the way you sync your music. Here’s how to transfer your Voice Memos from iPhone to your computer using iTunes:
- Connect your iPhone to your computer using your USB charging cable. Open iTunes on your computer and select iPhone, represented by a small phone icon.

- Select Music under Settings.

- Check Sync Voice Memos and choose “All” from the drop down options box. Then select Apply.

Pro Tip
While there may be benefits to using an older phone or computer that still has iTunes enabled, there are risks to not updating your devices. Read this to learn why you should update to the newest software.
That's all there is to it! You can play your Voice Memos from iTunes on your computer now; they will appear as a part of your Library.
FAQ
- Where do audio notes get saved on iPhone? While you can use voice-to-text in almost every app on your iPhone, all voice recordings will be saved to the Voice Memos app, an Apple native app on your iPhone.
- Can you send voice notes from iPhone? The easiest way to send voice memos is by recording them in the app. You can record voice memos directly from Messages, Facebook Messenger, Instagram, etc. However, you can follow the steps above to send a voice memo recorded in the Voice Memos app to a friend.
- Why did my voice note disappear? If your voice memos in the Messages app are disappearing after two minutes, it may be because you have accidentally enabled an expire time on audio messages. Go to Settings and tap Messages to change the Expire feature to "Never."

Conner Carey
Conner Carey's writing can be found at conpoet.com. She is currently writing a book, creating lots of content, and writing poetry via @conpoet on Instagram. She lives in an RV full-time with her mom, Jan and dog, Jodi as they slow-travel around the country.
 Rhett Intriago
 Rachel Needell
 Olena Kagui
 Amy Spitzfaden Both


 Leanne Hays
 Cullen Thomas