How to Share Only Photos of Specific People in Shared Photo Library
In this guide, we'll show you how to easily fill your Shared Photo Library with pictures of just the people you want.

iOS 16 is bringing a lot of new features to your iPhone, and one of them is the Shared Photo Library, which will let you set up a separate library that multiple people can access and add photos to. Here, we'll show you how to fill your Shared Library with relevant pictures right from the start, automatically.
Why You'll Love This Tip
- Populate your Shared Library with pictures of the right people, from the right times.
- No need to manually select all the pictures you want by hand; let iOS 16 do the hard work.
How to Select Photos of Specific People for Your Shared Photo Library
If you don't want your Shared Photo Library to start empty but also don't want to put everything from your personal library into it, you have two options. You can pick out the photos to add to the shared library manually, or you can let your phone help you. With a few extra steps during setup, you can start your Shared Photo Library out with pictures of specific people, and here we'll show you how. You can also learn how to add people to a Shared Photo Library. For more guides on using the new features being introduced in iOS 16, make sure to sign up for our free Tip of the Day newsletter.
Note: This feature is only available if everyone involved is using an iPhone running iOS 16. If you need to share photos with non-Apple users, check out our guide on how to share iCloud photos with Android phones.
- Open the Settings app.
- Tap your name at the top of the screen to open the Apple ID settings.
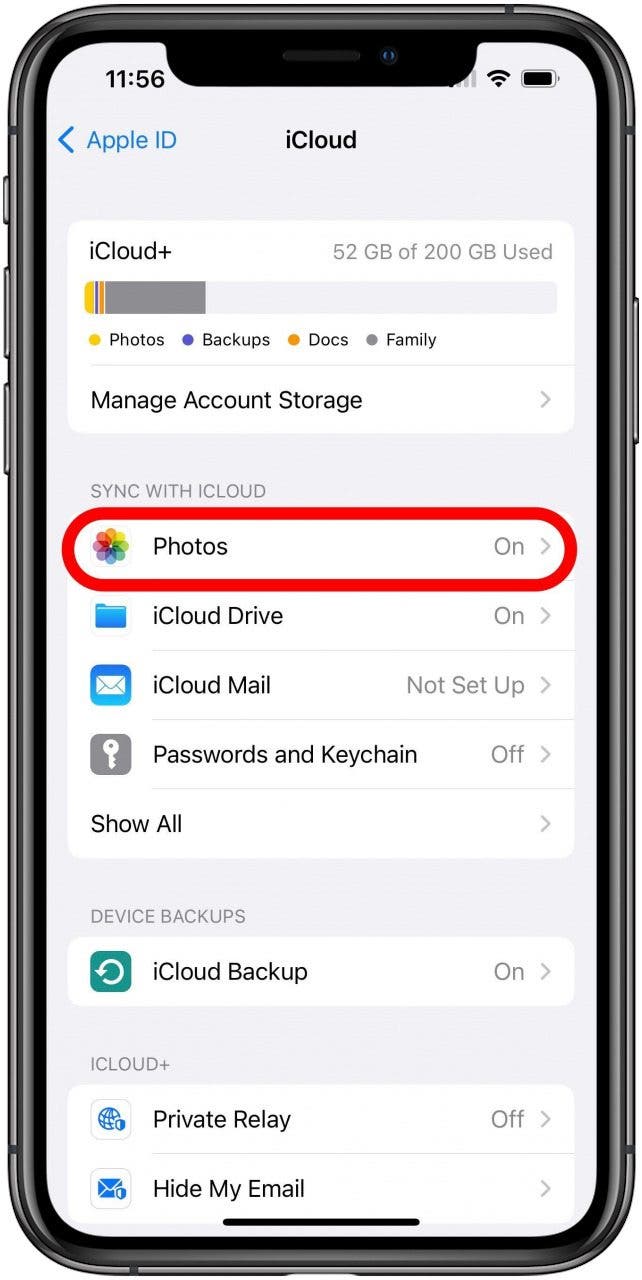
- Tap the option for the iCloud settings.
- Under the Sync with iCloud heading tap Photos.
- Scroll down on the screen and tap Shared Library.
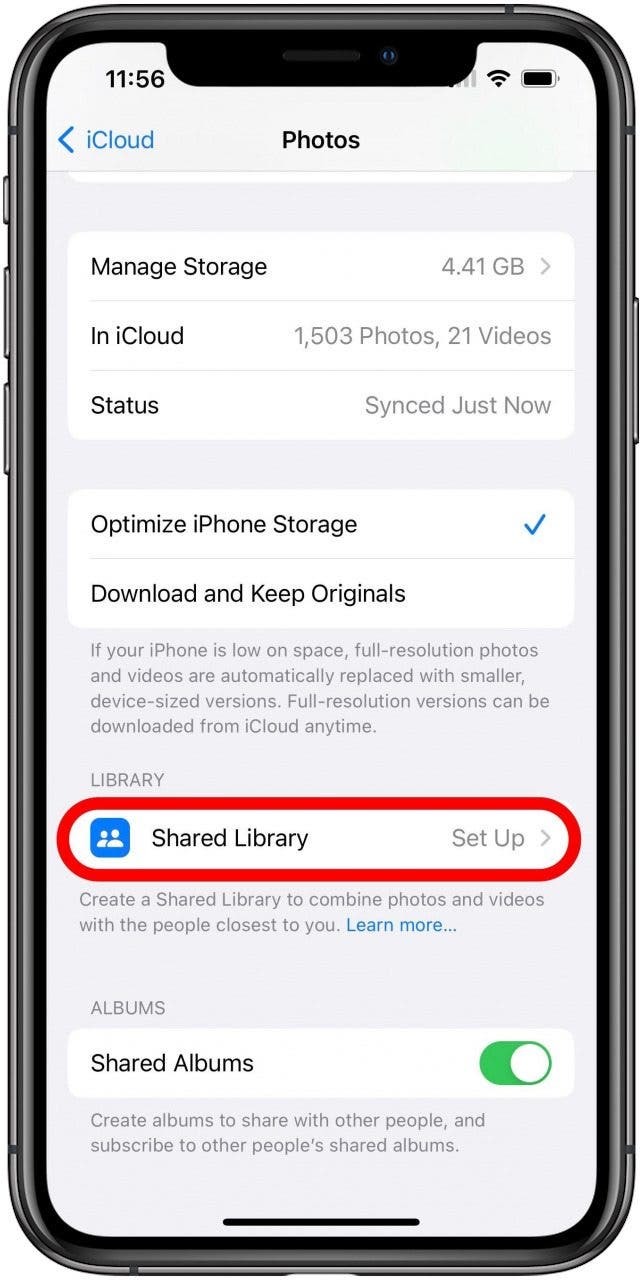
- Tap the Start Setup button.

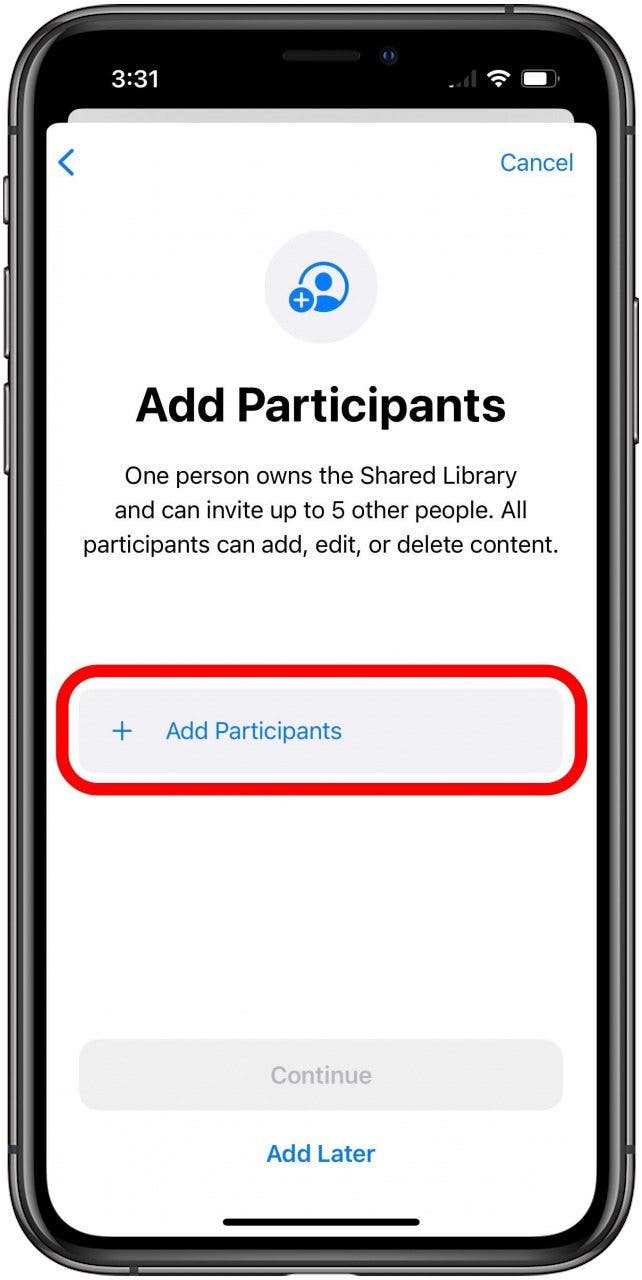
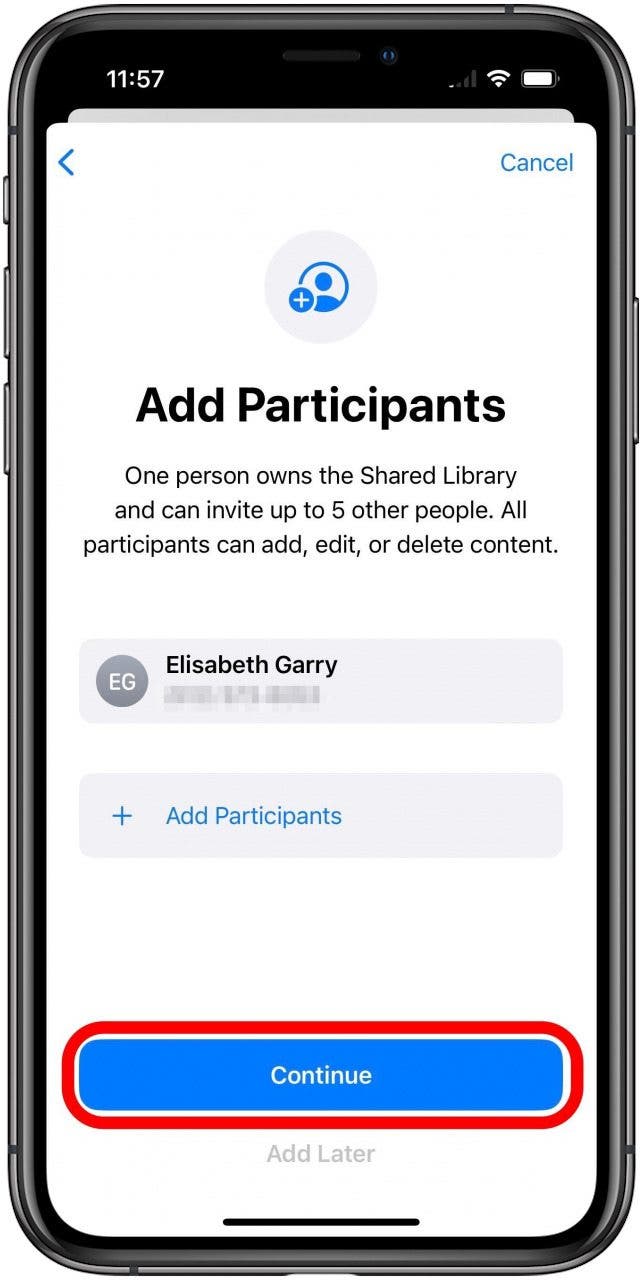
- Tap the Add Participants button.
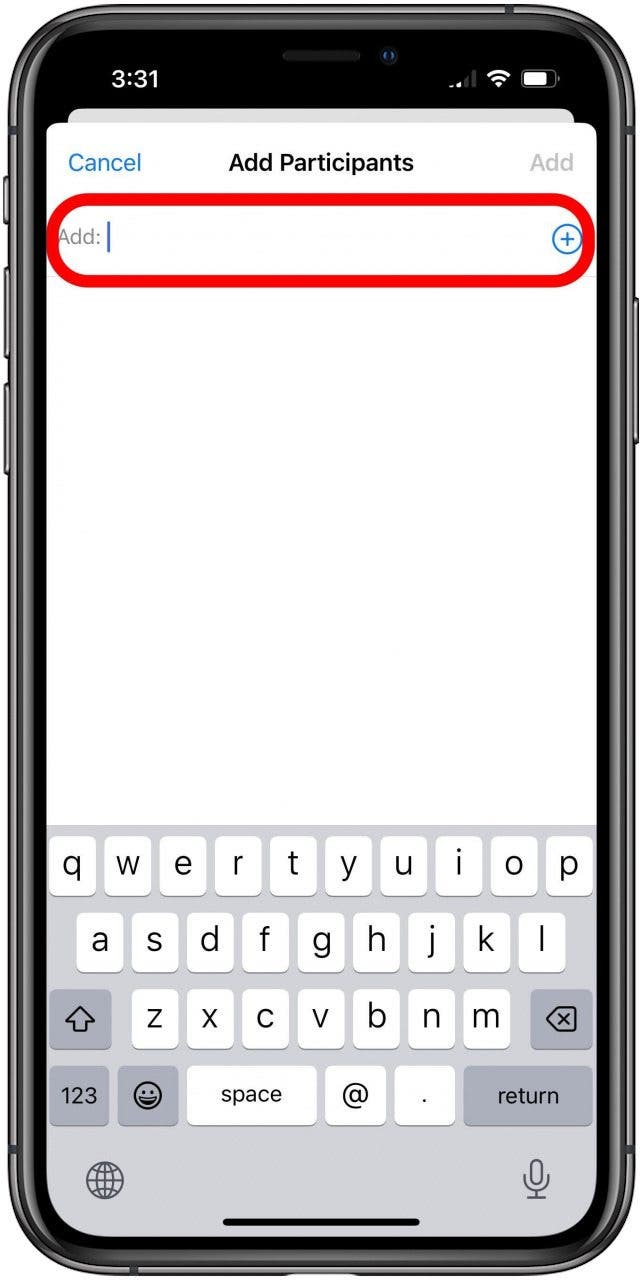
- Tap into the Add field and enter the name of the contact you'd like to add to the Shared Photo Library. As you begin to enter the name it should appear in a drop down box. You can simply tap the correct one when it appears. You can continue to add more participants to invite by tapping the + button. When you're finished, tap the Add button.
- With everyone you want to invite added, tap the Continue button.
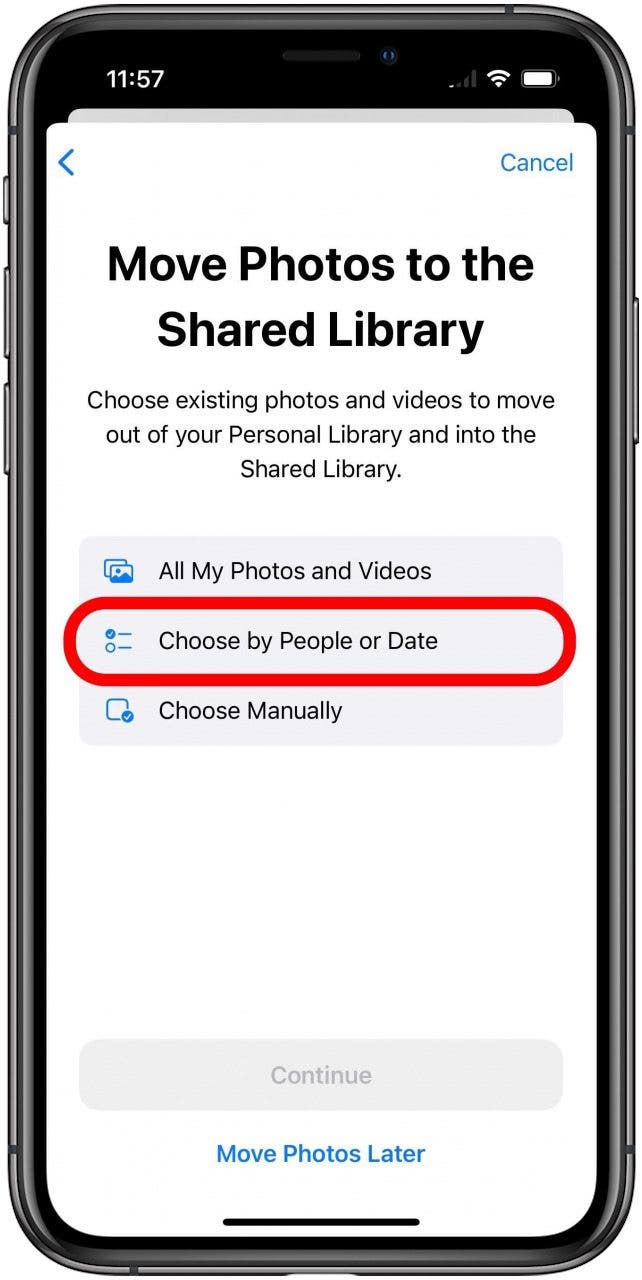
- Here's where you'll select what method to use for picking photos to move to the Shared Library. Tap Choose by People or Date.
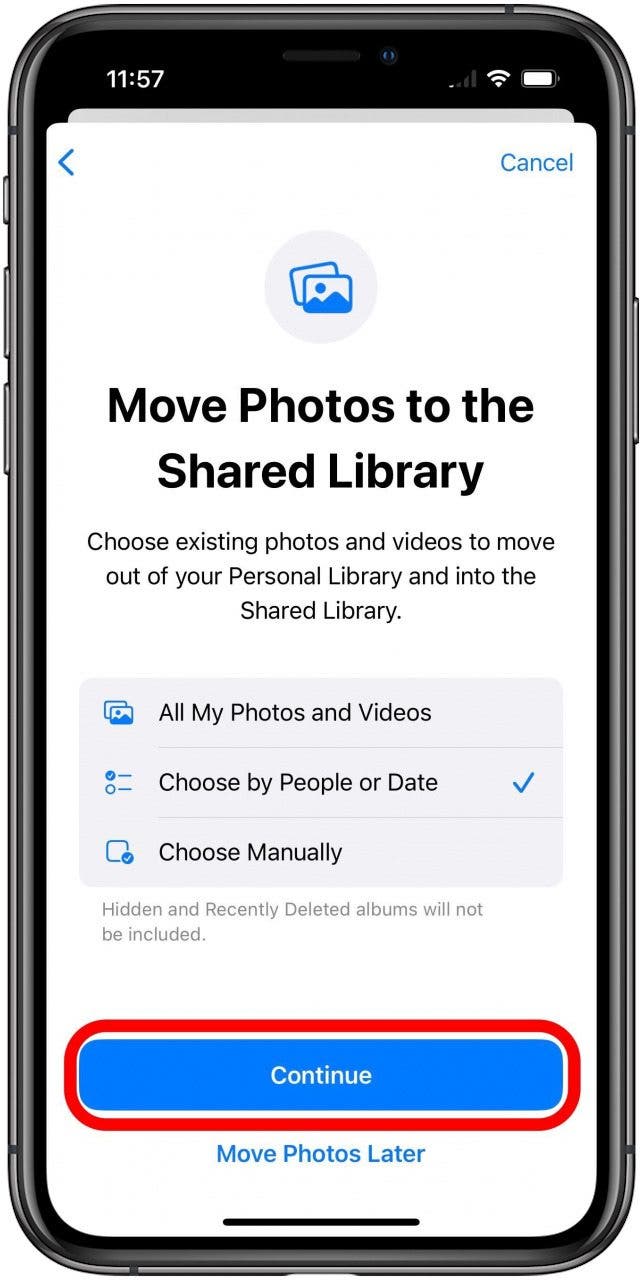
- After selecting the option, tap the Continue button.
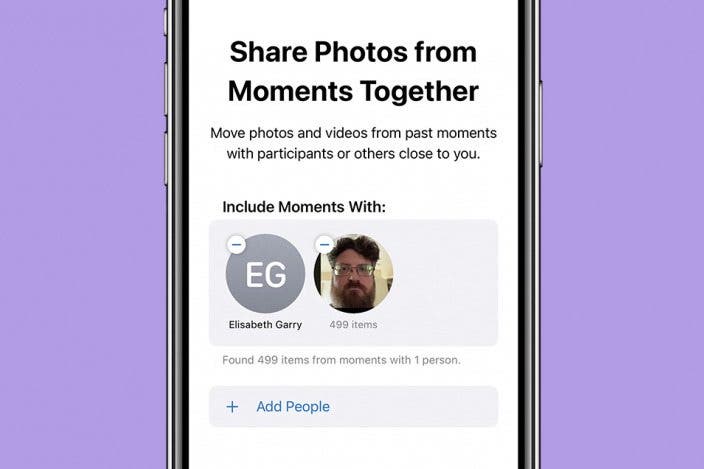
- By default, it will suggest the participants you're inviting to the Shared Library, but you can remove these people if you want, or add others. To add someone not automatically selected, tap Add People.
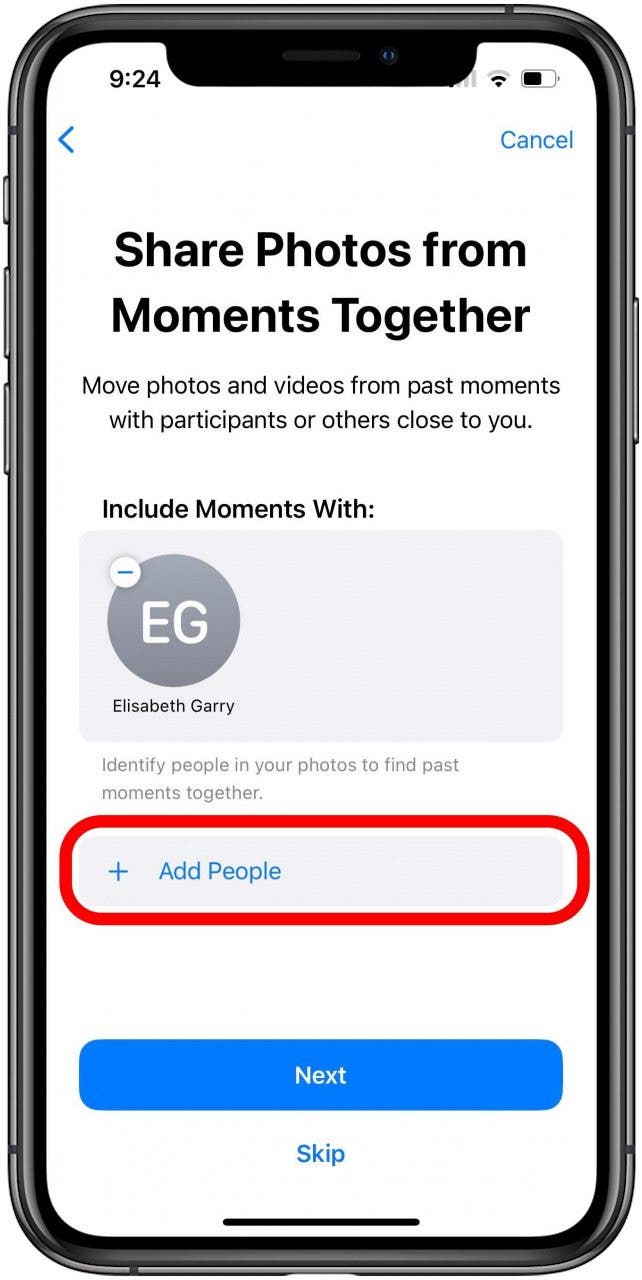
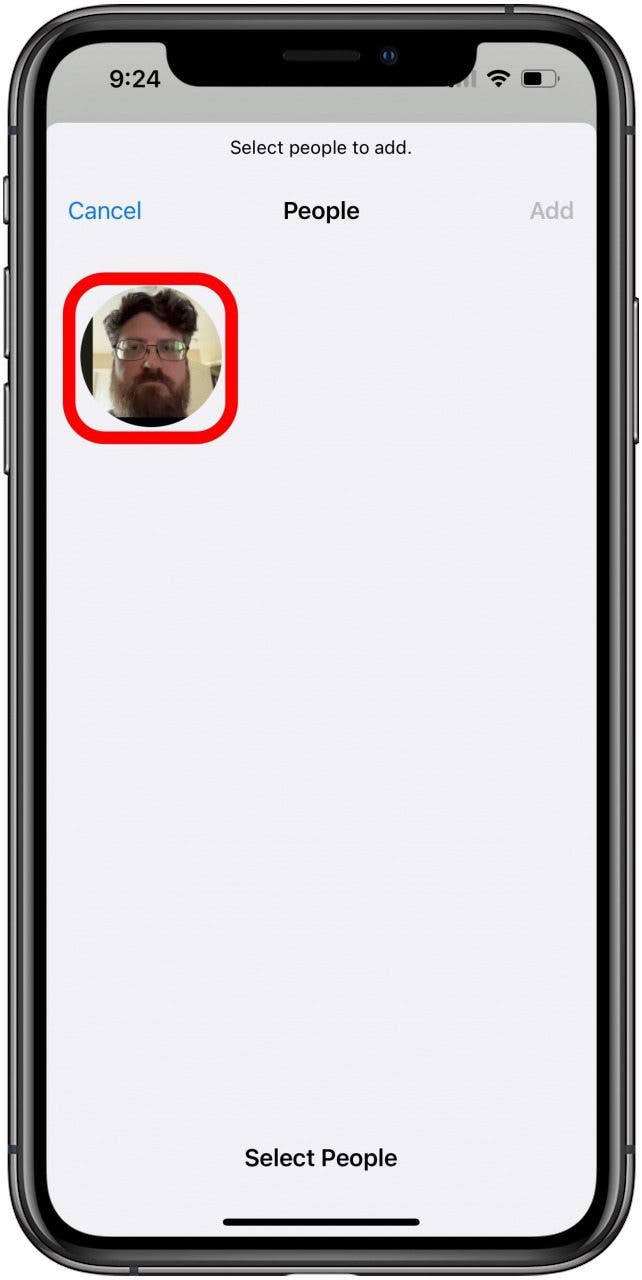
- You'll be given the option of people identified in your personal photo library. In my case, since I'm not usually one for taking pictures of people, this meant only me!
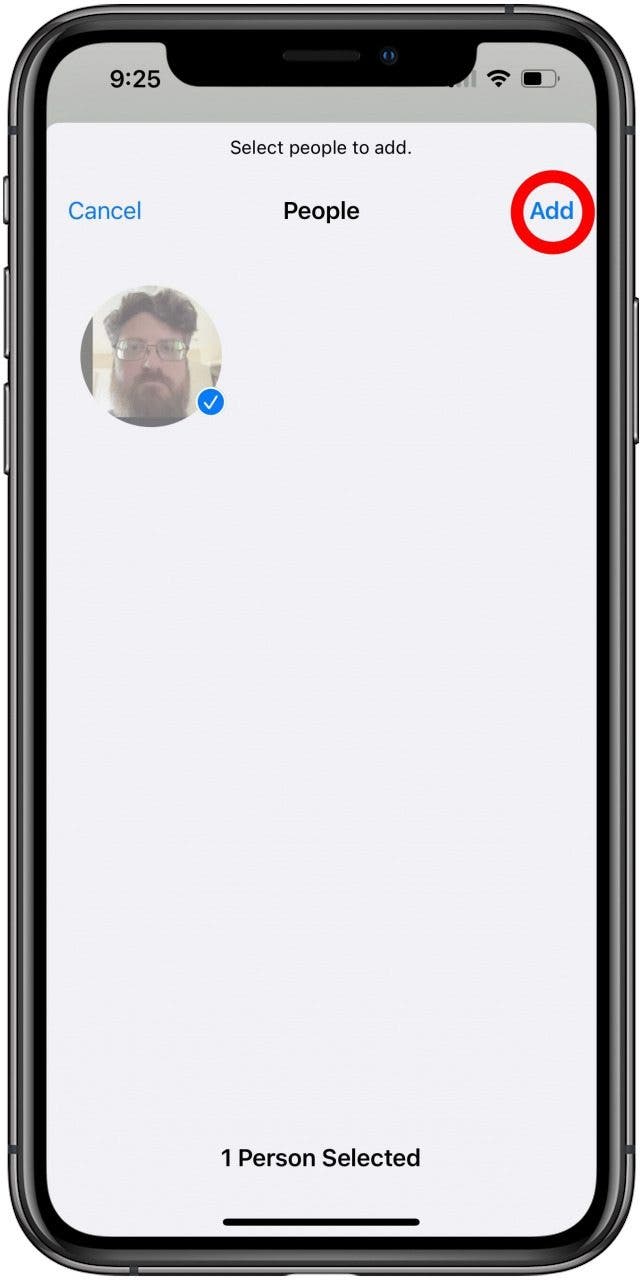
- After you've selected whoever you want, tap the Add option in the upper left.
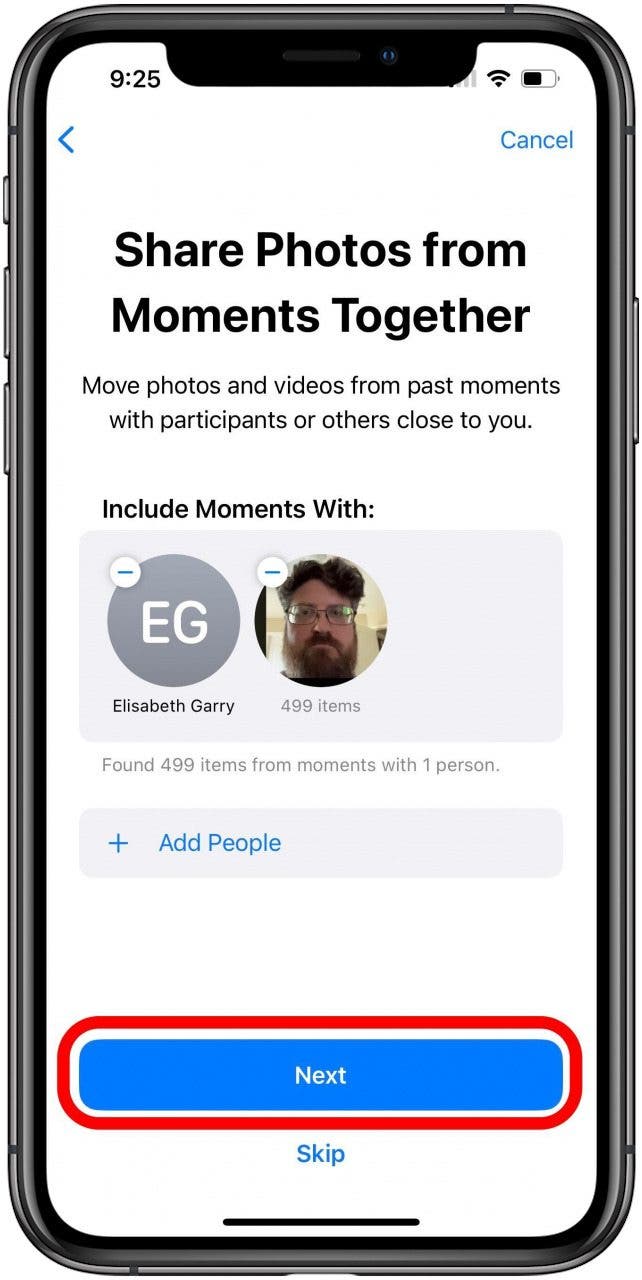
- Once you're happy with the people selected, tap the Next button.
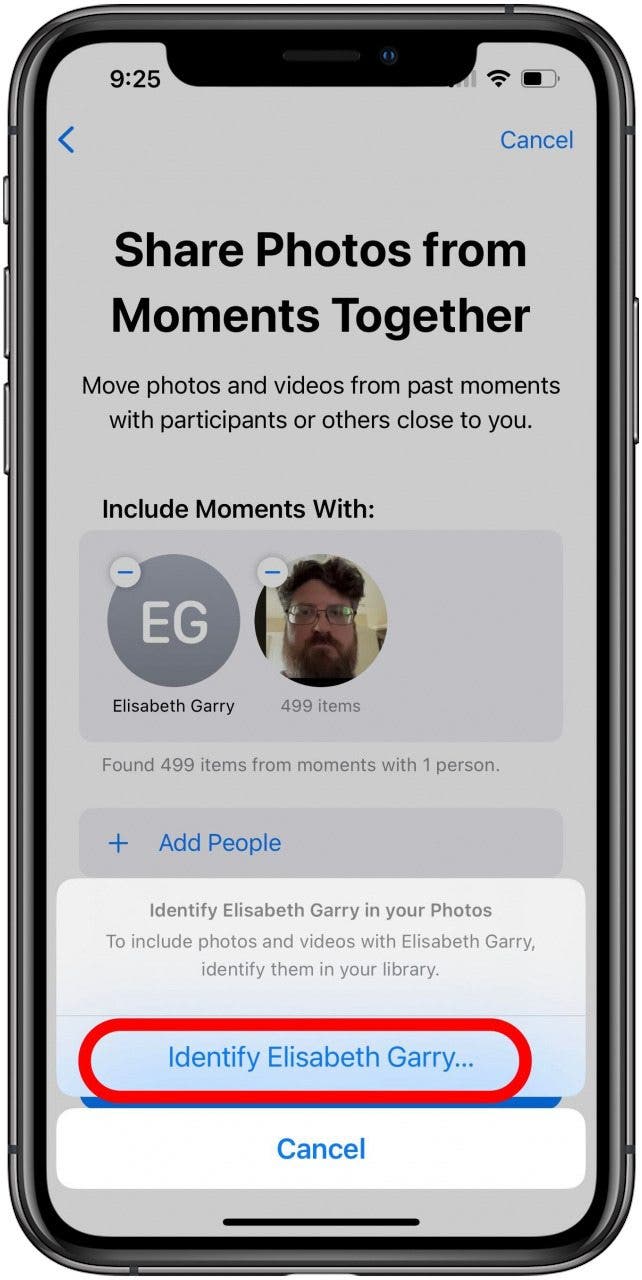
- If there's anyone you've picked that isn't already identified in your library, next you'll be asked to identify them. Note: If you do not choose to identify a person in this step, you may have to cancel and then choose Skip in step 15.
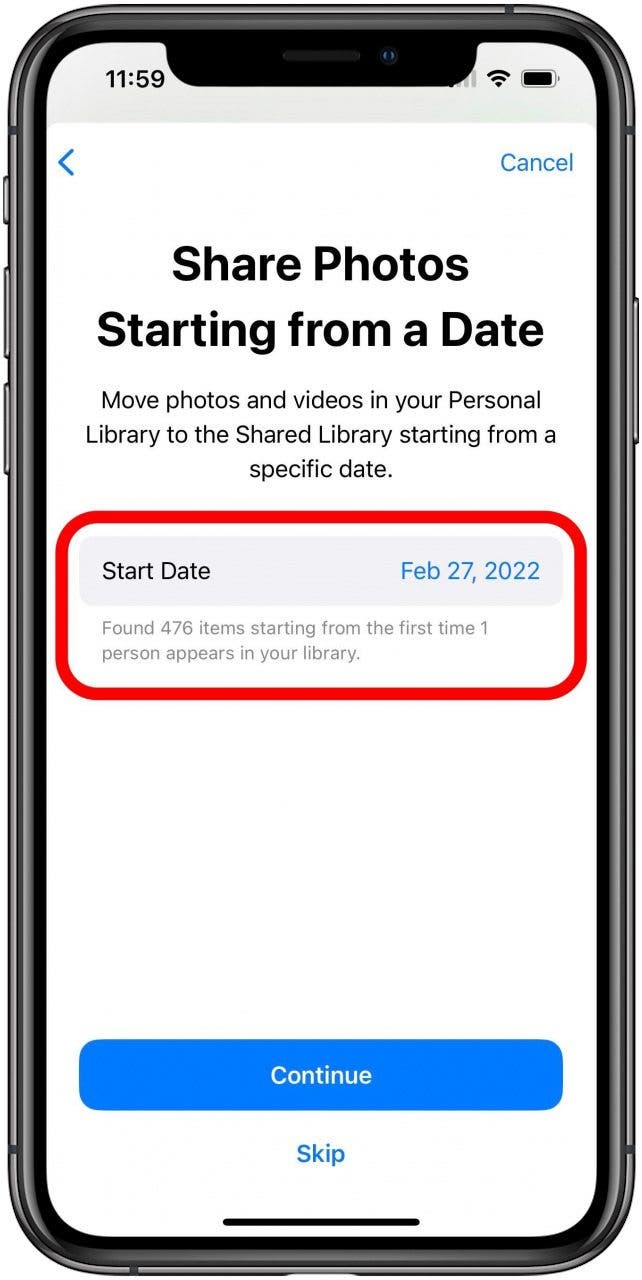
- Next you'll be given the option of limiting the selected photos by date. By default, Shared Photo Library will set the date to the earliest photo available with the selected people, but if you want to pick a later date, just tap Start Date.
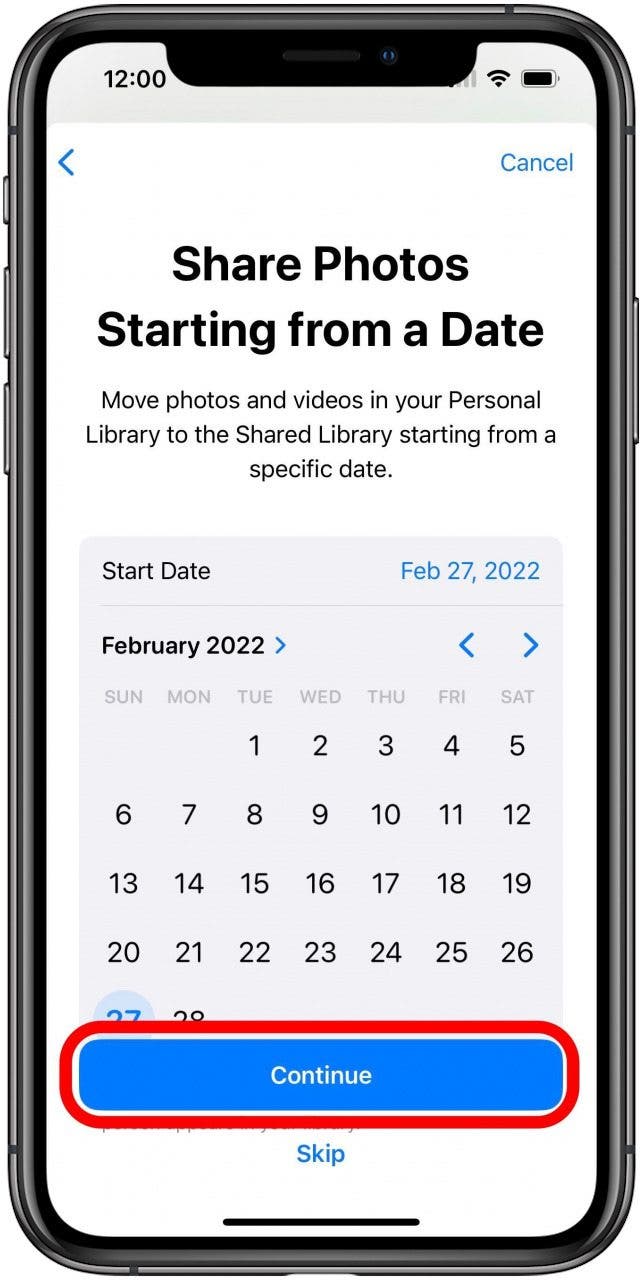
- This will open a calendar interface. Use it to pick whatever date you want to use for the earliest photos, then tap Continue.
- Decide whether you'd like to preview the Shared Photo Library you've created.

- If you chose to preview your Shared Photo Library, tap Continue once you're done reviewing your selections.

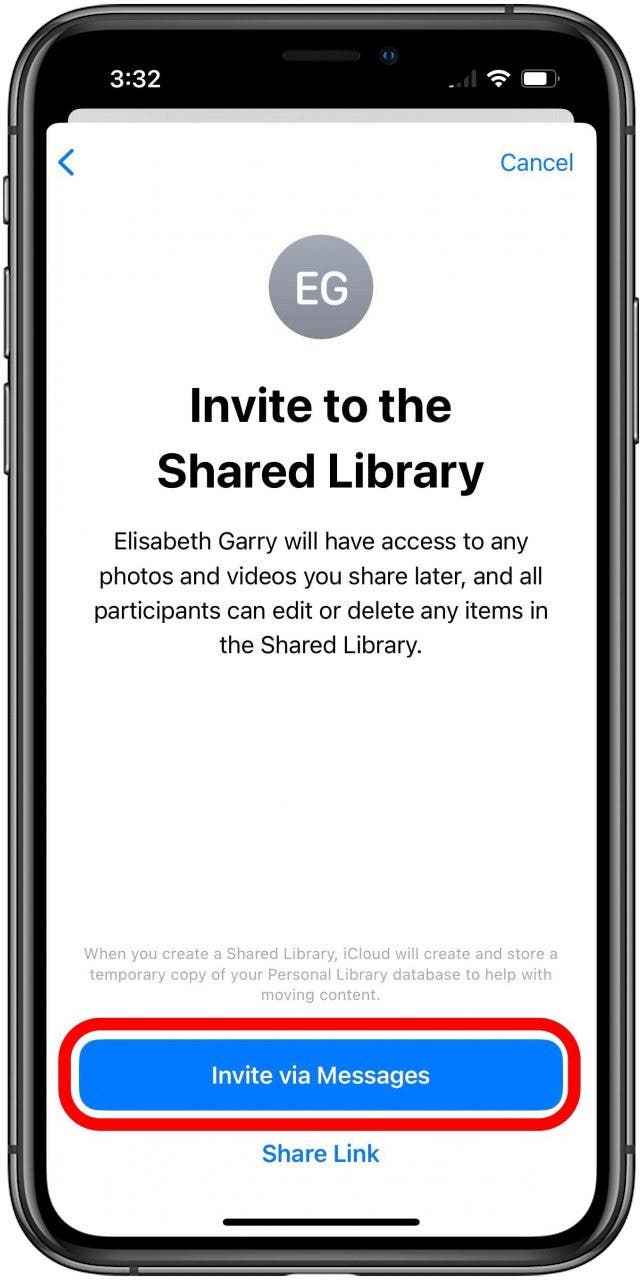
- Next, you need to decide how to invite the participants you picked. If you tap Share Link, you can select any method of sharing you like, but I think the easiest way is to do it via text with the Messages app. To do this, just tap Invite via Messages.
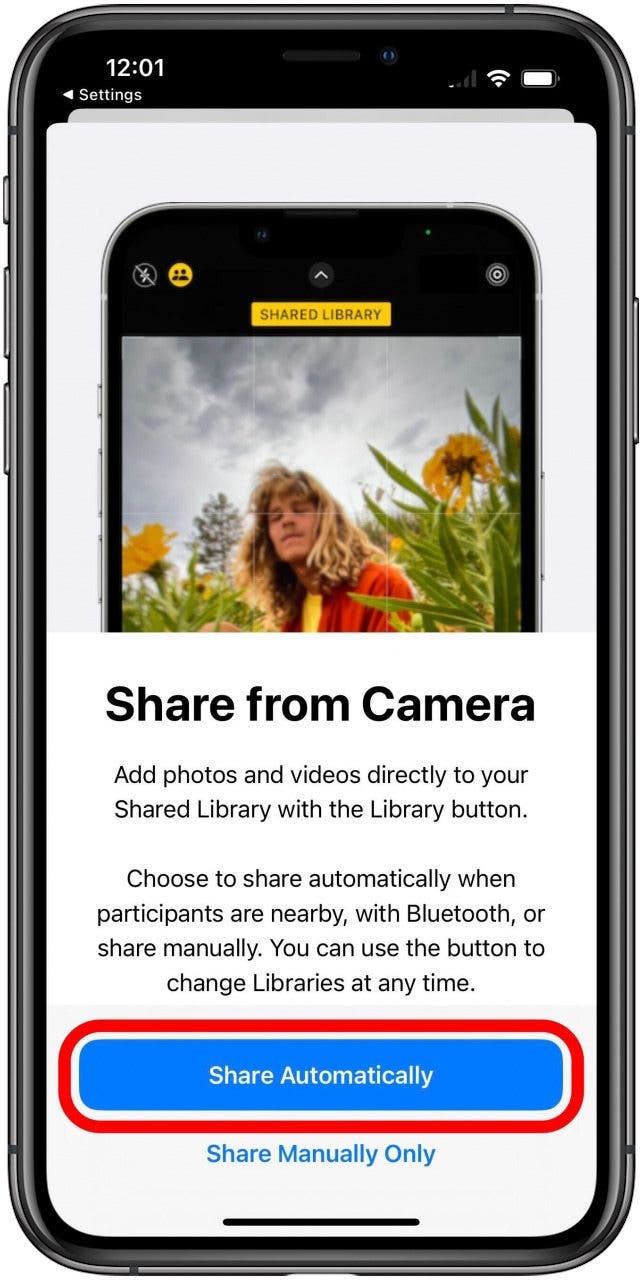
- Finally, if you want new photos and videos to go into the Shared Library automatically, just tap the Share Automatically button. If you'd rather select the photos you want manually moving forward, tap the option to share manually instead.
Now your new Shared Photo Library should be ready to go, filled with the pictures you want, and ready for your friends and family to add to as well.

Every day, we send useful tips with screenshots and step-by-step instructions to over 600,000 subscribers for free. You'll be surprised what your Apple devices can really do.


 Amy Spitzfaden Both
 Leanne Hays
 Rhett Intriago

 Olena Kagui


 Rachel Needell

 Brian Peters

 August Garry