Best Password Manager for Your iPhone


What to Know
- There are many password manager apps on the iPhone so it can be hard to find the right one.
- We generally recommend for Apple users to use the Passwords app since it works right out of the box.
- If you are looking for a third-party password manager, Bitwarden is a great choice.
We use the internet for just about everything; shopping, banking, communicating with friends and family, and storing music, photos, and videos. It's vital to safeguard all the personal data associated with these services with a different, strong password for each account. A password manager can help you generate and keep each password safe. There are lots of reputable, free password keepers to choose from, so it can be hard to choose the right one. Let's discuss the best password safe app for iPhone.
The Best Password Keeper for Your iPhone
There are many password managers to choose from, but let's go over the two that we recommend for Apple users.
Apple Passwords
Cost: Free with your iPhone
Devices: iPhone, iPad, Mac, Windows
Supported Browsers: Safari, Chrome, Firefox, Edge
Special Features: Password Generator, Compromised Password Alerts
Further Reading: Check out Apple's Support page for more information.
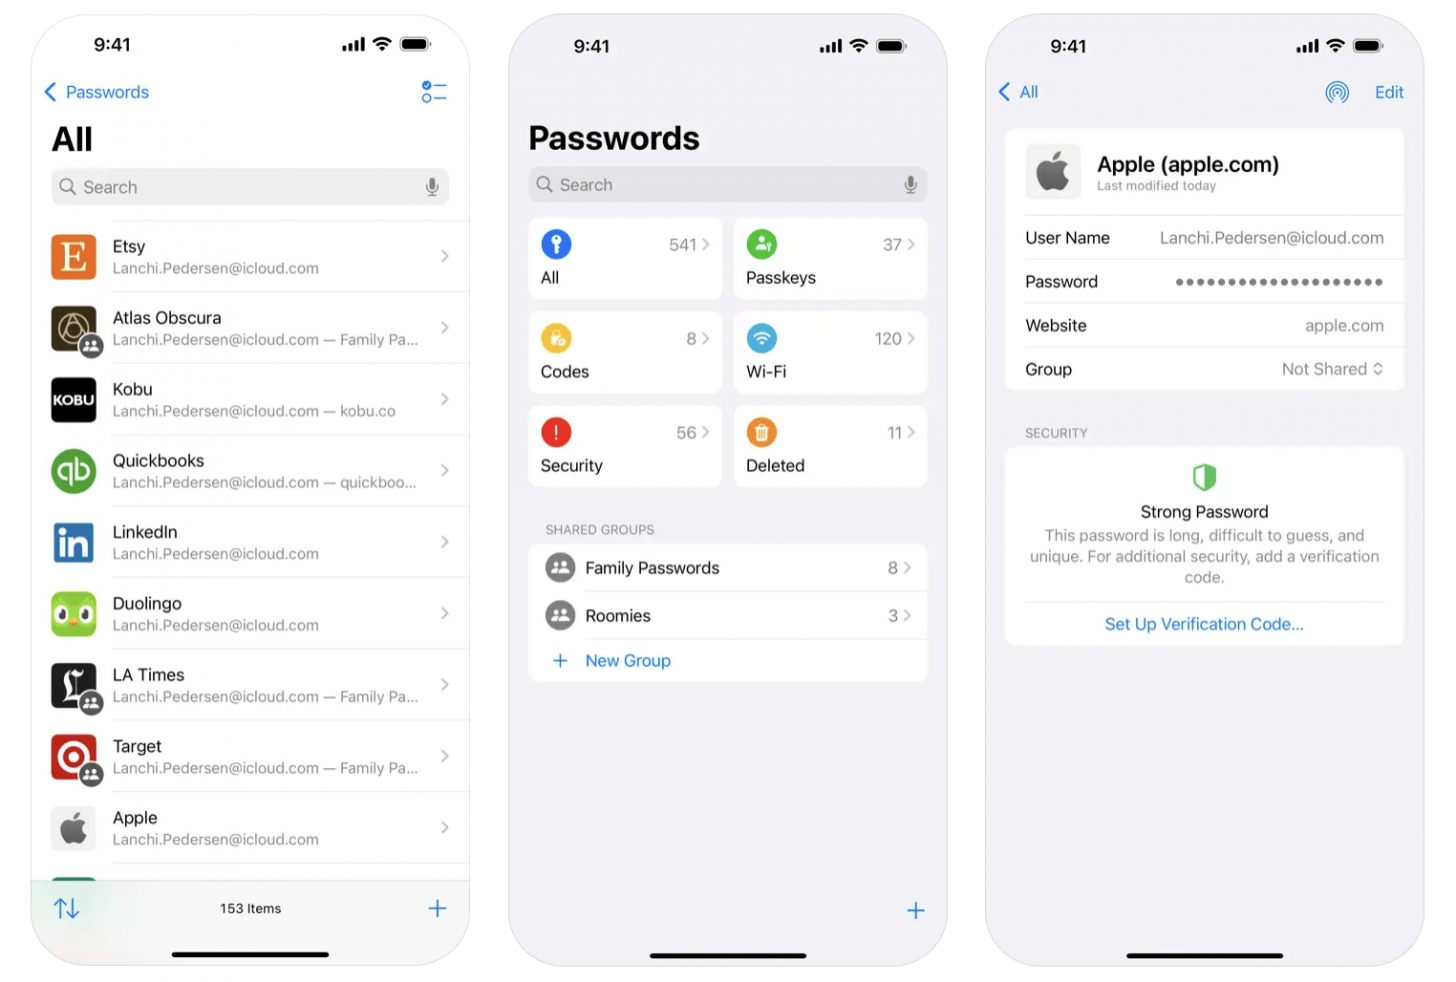
Image Credit: Passwords Apple App Store Page
We generally recommend the Passwords for Apple users since it comes pre-installed on your iPhone (as long as your device is updated to iOS 18 or newer). It's easy to use and can import passwords from Chrome or Firefox. The Passwords app is also the evolution of iCloud Keychain, so if you've been using Keychain to store your passwords, you're ready to use the Passwords app. The Passwords app can also be used with Windows PCs through the iCloud app and browser extensions.
Bitwarden
Cost: Free for the standard app, $10/year for Premium, $40/year for a family plan (up to 6 users)
Devices: iPhone, iPad, Mac, Windows
Supported Browsers: Extension buttons for Safari, Chrome, Firefox, Edge, Opera, & More
Special Features: Password & Username Generators, Secure Password Sharing, Digital Wallet, File Attachments
Further Reading: Learn more about Bitwarden for iOS here.
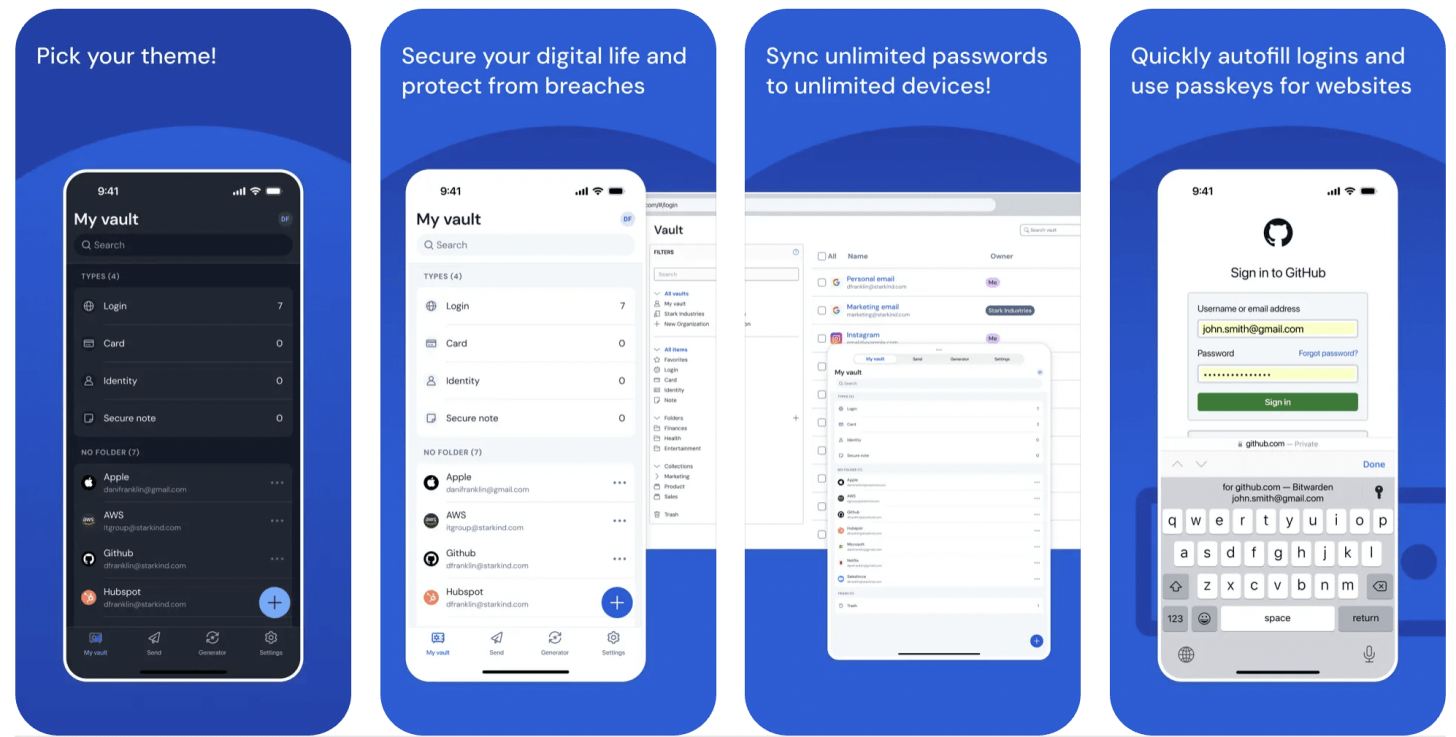
Image Credit: Bitwarden Apple App Store Page
Download the Bitwarden app and set up your account with a master password, then fill in the usernames and passwords you'd like safeguarded in your Vault. From now on, all you'll have to do is remember your Master Password or use Face or Touch ID, and Bitwarden will autofill your usernames and passwords for you whenever you visit an app or website. When you create new accounts, Bitwarden can help you create strong passwords for them, and you can also go back and replace weak passwords with better ones. Bitwarden can be used across devices, so you can use it on both your iPhone and a Windows PC.
How to Get Your Password Manager on Your Device
Once you've decided which password manager you'd like to go with, downloading it to your iPhone and starting to use it is quick and easy. Just tap one of the links above to open the App Store and then tap Get. Once the app is installed, open it and follow any on-screen prompts to set up and begin using the password manager on your iPhone.
How to Enable AutoFill Passwords for a 3rd-Party App
Once you've chosen your third-party password manager, you’ll need to enable AutoFill passwords for it. To do this:
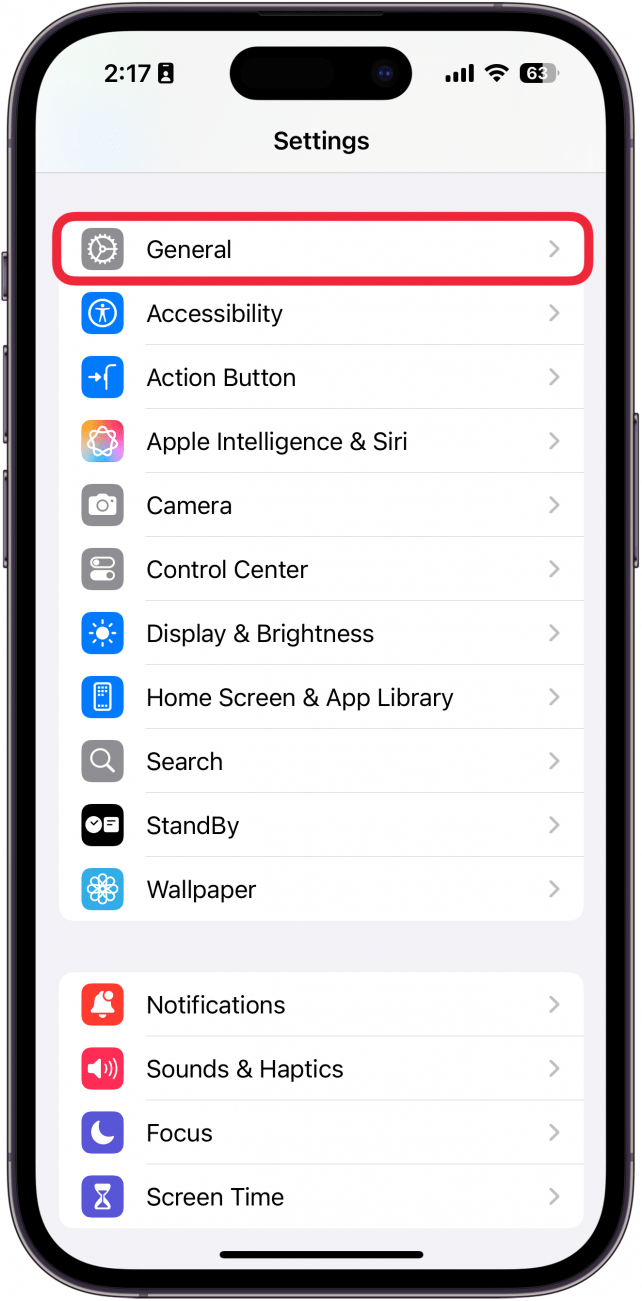
- Open the Settings app, and tap General.
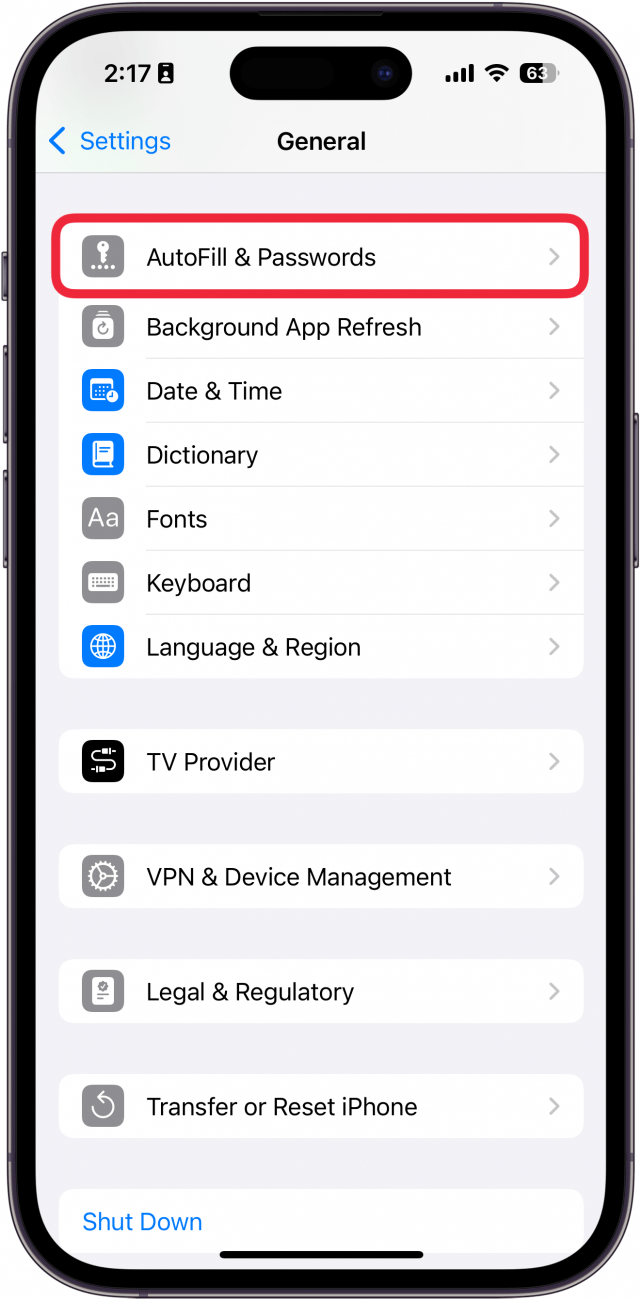
- Tap AutoFill & Passwords.
- Make sure AutoFill Passwords and Passkeys is toggled on.
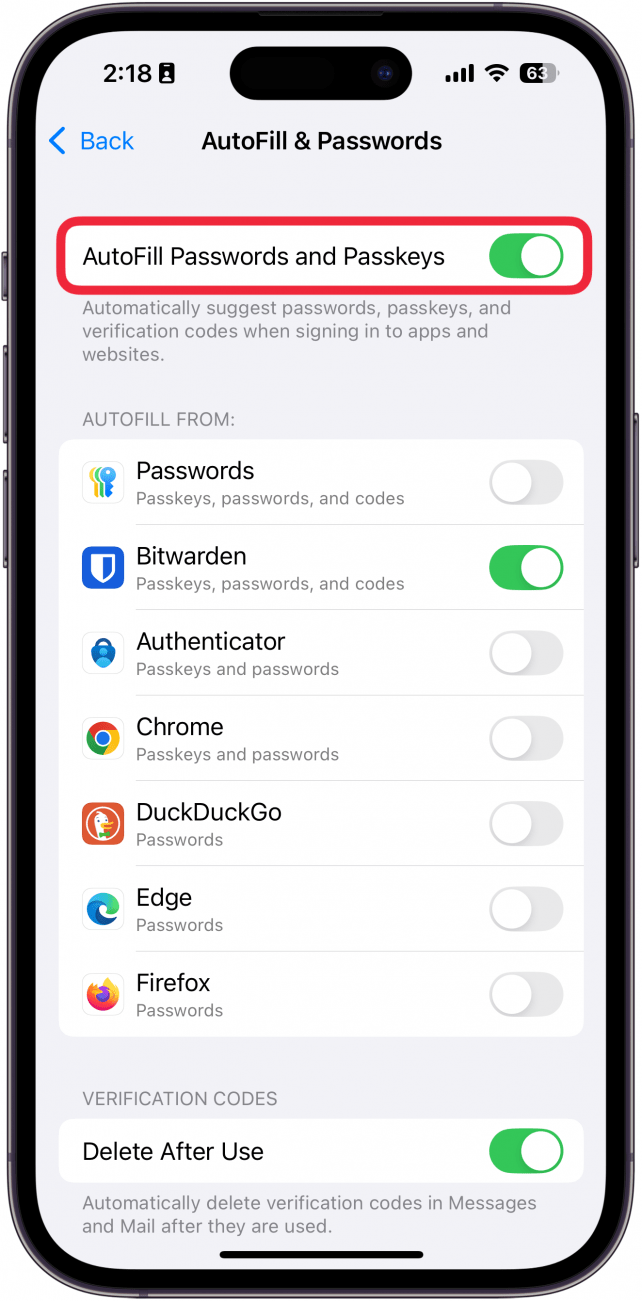
- Now tap the password manager you’d prefer to use under AutoFill From.
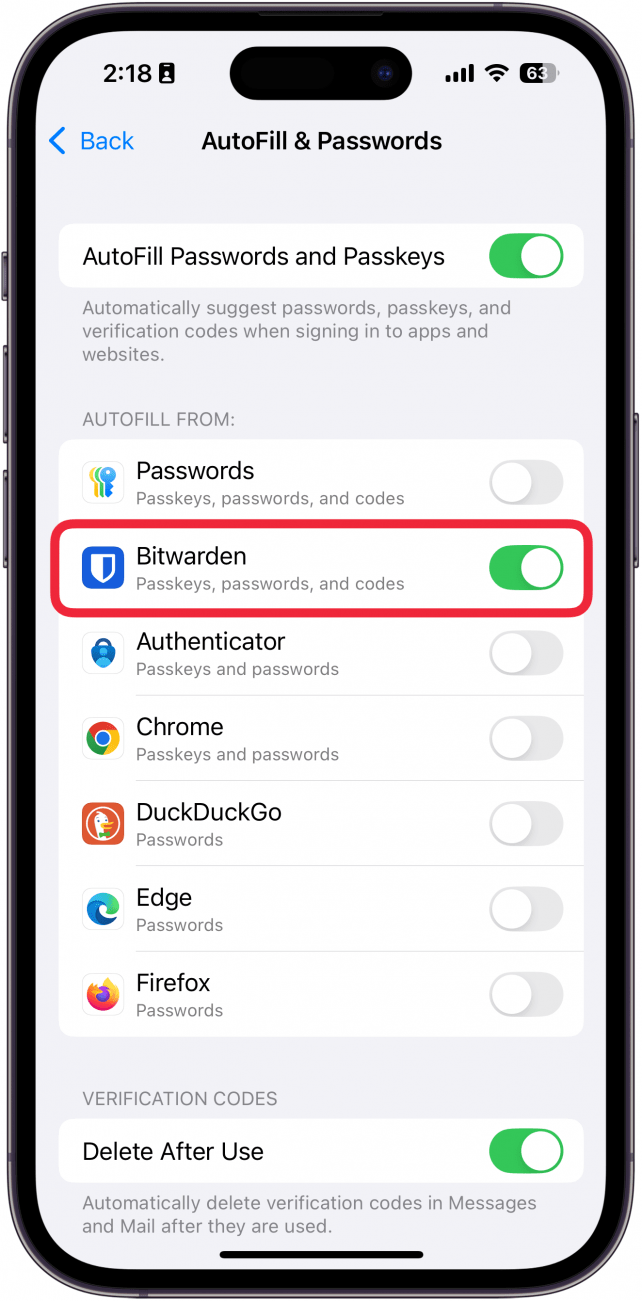
You’ll see a check to the right of your choice indicating it’s enabled; you can choose both a third-party app and the Passwords app if you want to. However, we recommend using only one password manager on your iPhone.
FAQ
- What if I use a different app for storing passwords on my iPhone, like LastPass? There are so many password managers, and most of them are fine. At iPhone Life, we like to keep our recommendations simple, so we mainly suggest users use the Passwords app if they exclusively use Apple devices. If you use a mix of operating systems, Bitwarden is our top recommendation. However, if you are already using a different password manager and it works for you, you can continue using that one just fine.
- How do I save passwords to the Passwords app? Once you start using the Passwords app, you should be prompted automatically when logging in or creating passwords to save them to the app. Check out our article on how to save passwords on the iPhone for more details.
- How do I use the Passwords app? The Passwords app is fairly straight forward to use and works right out of the box since it is synced with your Apple Account. We have a tip that goes over how to use the Apple password manager so you can learn the best ways to use the app.
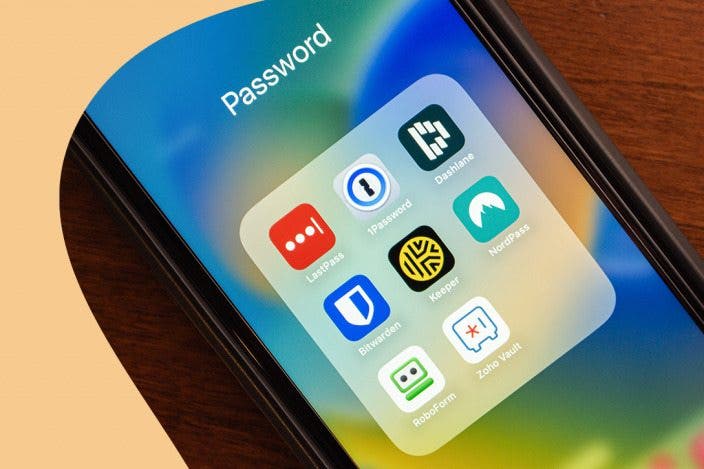
Top image credit: Koshiro K / Shutterstock.com

Leanne Hays
Leanne Hays has over a dozen years of experience writing for online publications. As a Feature Writer for iPhone Life, she has authored hundreds of how-to, Apple news, and gear review articles, as well as a comprehensive Photos App guide. Leanne holds degrees in education and science and loves troubleshooting and repair. This combination makes her a perfect fit as manager of our Ask an Expert service, which helps iPhone Life Insiders with Apple hardware and software issues.
In off-work hours, Leanne is a mother of two, homesteader, audiobook fanatic, musician, and learning enthusiast.
 Amy Spitzfaden Both
 Rhett Intriago
 Leanne Hays

 Devala Rees
 Rachel Needell
 Susan Misuraca




 Olena Kagui