Shared Photo Libraries: What Happens When You Delete a Photo?
The new Shared Photo Library feature is helpful for collaboration but it can be a bit confusing. Here we'll clear up one facet of Shared Libraries.


The Shared Photo Library feature can help make collaborating and sharing photos with friends, family, and coworkers easier than ever, but there are some important things to be aware of when you use it that the Photo app doesn't make completely clear. Here's what to be aware of when deleting photos from a Shared Photo Library.
There are a few things you want to be aware of when you've created or joined a Shared Photo Library, especially when it comes to deleting photos. Here, I'll go through a few of these important points to help keep you from making any troublesome mistakes, and also show you how to correct things if and when mistakes do happen (even if the error was made by someone else). To keep up to date on new iOS 16 features, be sure to sign up for our free Tip of the Day Newsletter.
Identifying Shared Library Photos
Deleting photos from a Shared Photo Library works exactly the same as deleting any other photo. This means the first thing you need to do is make sure you know which photos are in your Personal Library, and which photos are in your Shared Library. Depending on your settings, they may all appear together with nothing to distinguish them visually.
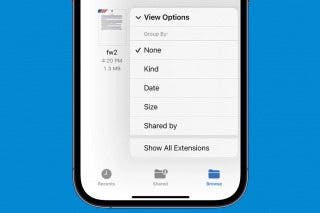
First, make sure you know what library you're looking at in the Photo app. Check the small icon in the upper right corner of the Photos app. You can tap this to open a menu we'll look at momentarily, but first check the icon. It has three possible appearances:
- Three dots in a gray circle—This means you're viewing both your Personal Library and Shared Library together as if they were one.
- A single icon of a person in a blue circle—This means you are only viewing your Personal Library.
- An icon of two people in a blue circle—This means you are only viewing your Shared Library.
Tap this icon to open a menu that will allow you to switch the library you are viewing, among other functions. One important one feature to note is the option shown below, Shared Library Badge. If this does not have a checkmark next to it, I recommend tapping it to turn it on. This will place a small icon of two people in the upper right corner of the thumbnails of any photos that are in your Shared Library. This is useful, especially if you like to view both libraries together, as otherwise, there is nothing to show you which photos are in which library.
![]()
Moving Photos Between Libraries—What You Should Know
- Moving one of your own photos into or out of the Shared Photo Library is quite easy. To manually move a photo into the Shared Library, all you have to do is long press on it to open a menu
.

- In this menu, you just tap the Move to Shared Library option.

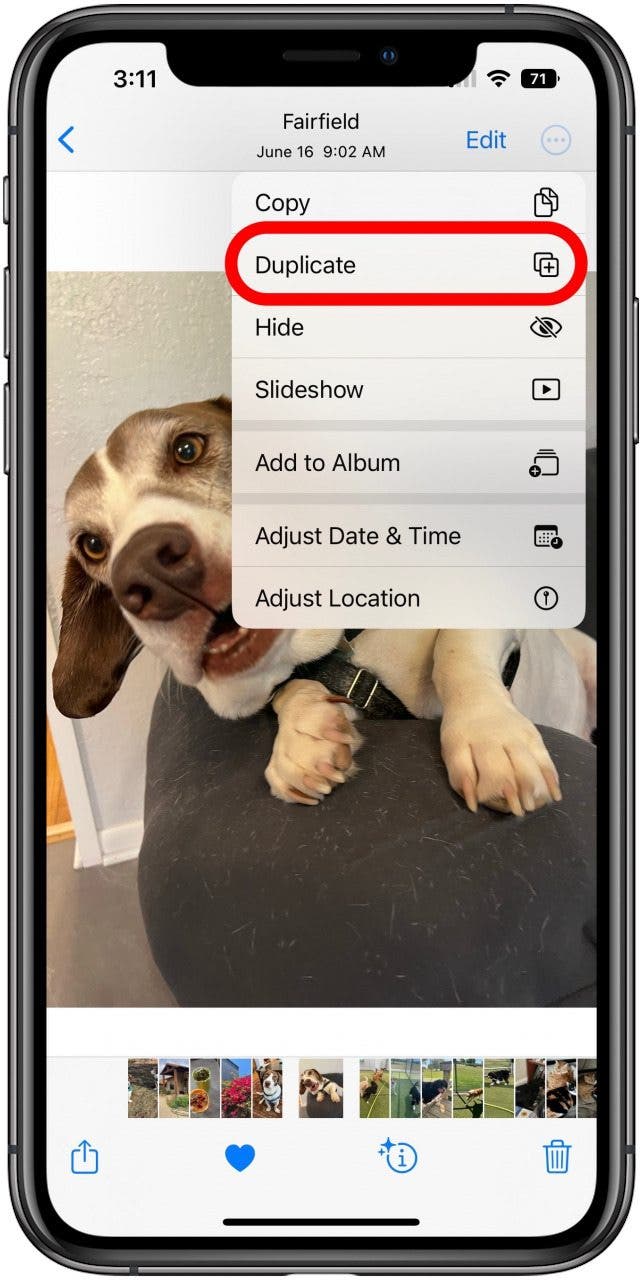
- And that's all there is to it. One important thing to note is that doing this moves the photo out of your Personal Library. In the Shared Library, it will be accessible by any library participant. All can see it, edit it, or even delete it. Because of this, you may want to create a duplicate of the photo if you want to be sure you won't lose the original. You can do this either before or after moving it to the Shared Library. Just tap the photo to open it, then tap the three-dot icon in the upper right corner.

- In this menu, just tap Duplicate, and it will create another copy of the photo. Regardless of whether the photo you're duplicating is currently in your Personal Library or Shared Library, the duplicate will be in your Personal Library, safe from being edited or deleted by other Shared Library participants.
Deleting Photos from Shared Libraries
- Since deleting photos from a Shared Library is done in the same way as deleting any other photo, you want to be careful. To make it less likely that you'll delete something unintended, there is a confirmation message, and the information there is good to note, as it differs from the message when you delete a photo from your Personal Library. To delete, simply long press the photo to open the menu.

- With the menu open, tap Delete.

- Take a close look at the confirmation message before you tap Delete for All Participants to confirm. As it says, it will be removed from the Shared Library for everyone, and since moving a picture to the Shared Library removes it from your Personal Library, that means if you delete a photo from the Shared Library that someone else added, it will be simply be gone for them, unless they made a duplicate. However, as the confirmation message also points out, the deleted photo will be in your Recently Deleted album for 30 days. This means that despite the apparent risk of removing someone else's photos, it's quite easy to recover them, and you can recover photos deleted by yourself or those deleted by others from the Shared Library.

Recovering Photos Deleted from Shared Libraries
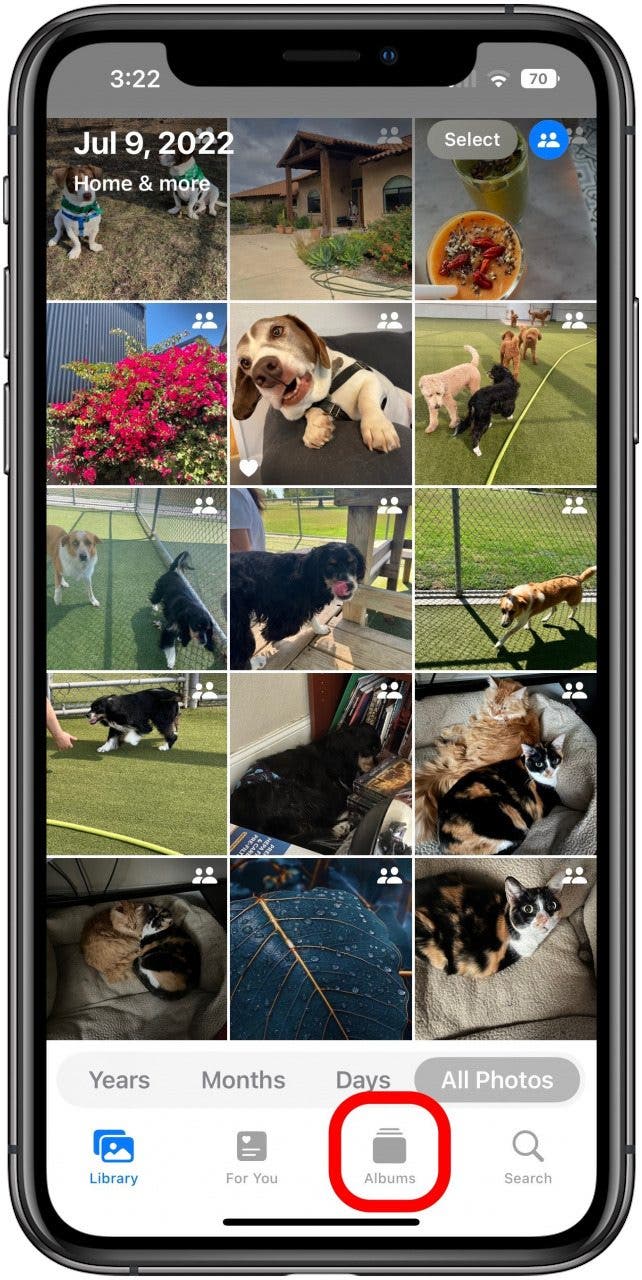
- Restoring a deleted photo is quite simple, but first you have to know how to find your Recently Deleted photos. The deletion confirmation message doesn't spell this out, but it is the name of an album, so the first step is to go to your main Albums screen, either by tapping the Album tab button at the bottom of the screen if you're on another tab, or tapping the back arrow next to the label Albums in the upper left, if you're already in an album.
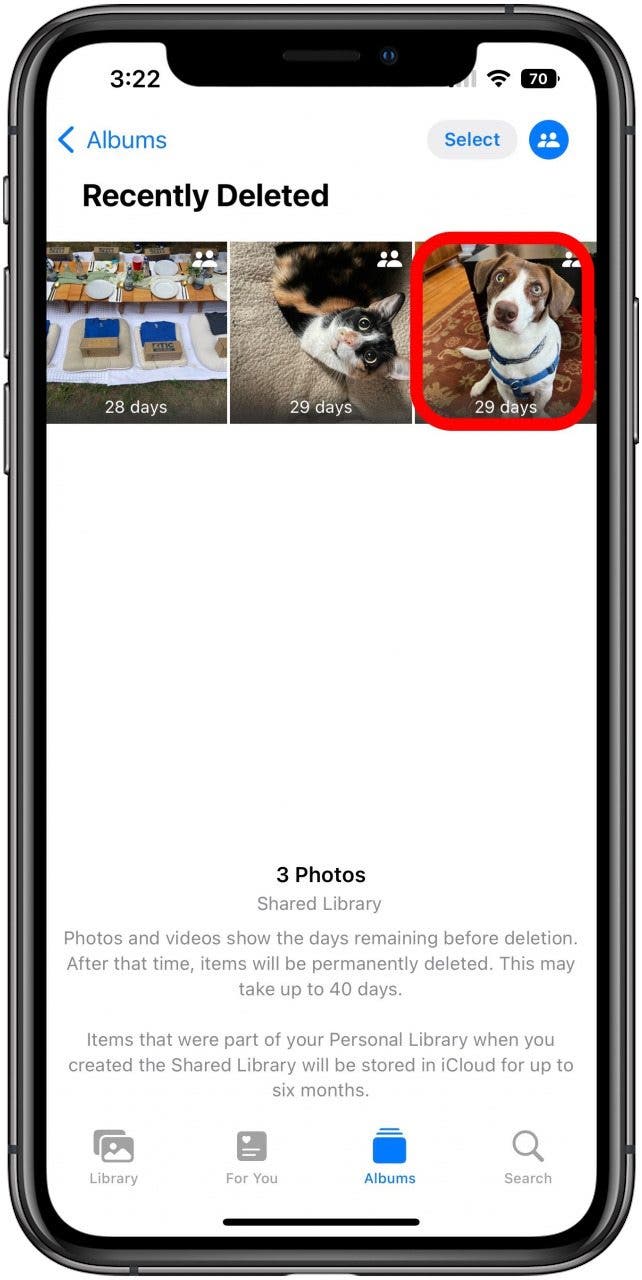
- On the main list of albums, scroll down to the very bottom of the list to find one called Recently Deleted and tap it.
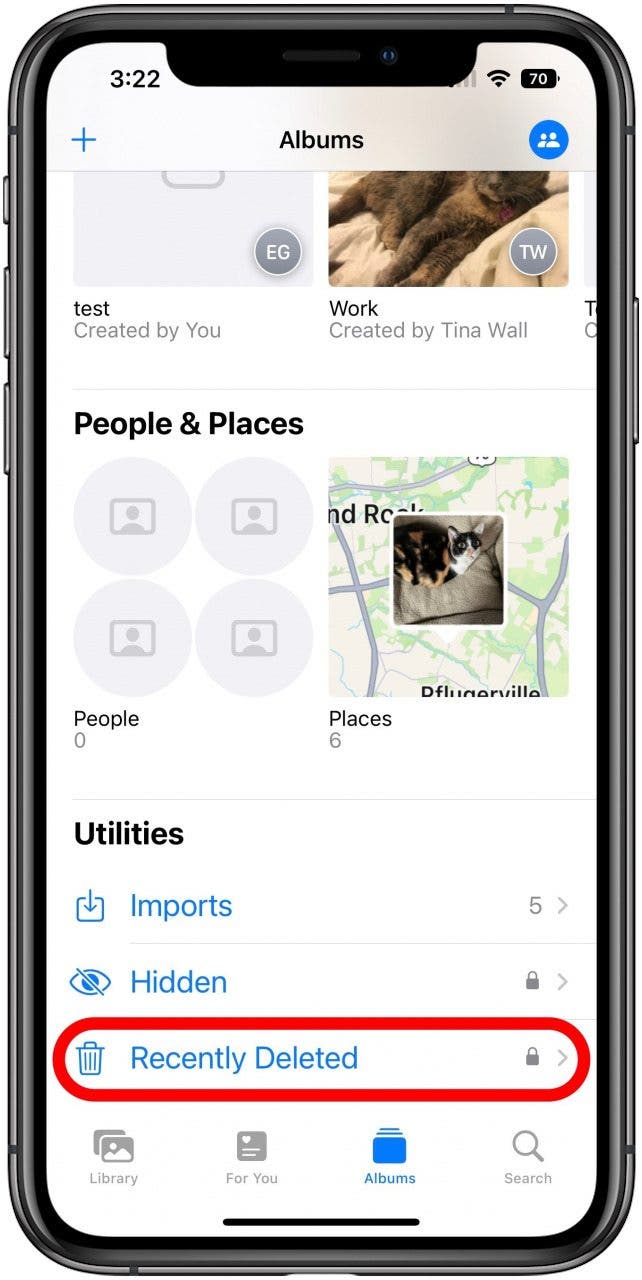
- After tapping it, it will automatically use Face ID to unlock, or ask you for your passcode. Then you'll see all photos deleted within the last 30 days, including any deleted from the Shared Library, whether by you or by other participants. If you accidentally deleted a photo, or if someone else removed one you still want, just long press it.
- This will open the expected long press menu; but in this case, the menu contains only a single option, Recover, so just tap that, and the photo will be restored to its previous location.

Hopefully, now you feel more confident in your understanding of the Shared Photo Library and how it handles photo deletion.

Brian Peters
Related topics
Related Articles

iPhone 15 Release Date & Rumor Roundup: Everything We Know
 Olena Kagui

 Rachel Needell
New Year Apps for 2025, Apple Predictions & Buyer’s Guide Favorites
 Susan Misuraca
 Leanne Hays


 Rhett Intriago


 Cullen Thomas