How Do You Turn on Do Not Disturb on Your MacBook?
Using the Do Not Disturb mode can help you focus on a task or avoid disturbing others.

In the last 10 years, Olena has been published in dozens of publications internationally and written hundreds of how-to articles and complex guides about Apple products, software, and apps.
Learn More In the last 10 years, Olena has been published in dozens of publications internationally and written hundreds of how-to articles and complex guides about Apple products, software, and apps.
Learn MoreApple’s Do Not Disturb mode is a useful feature that can help maximize productivity and keep you inconspicuous when working in a public setting. Learn how to turn on the Do Not Disturb feature on your MacBook for those much needed moments of peace. Just don’t forget to remove Do Not Disturb later on to avoid missing important notifications.
Related: How to Clean a MacBook Safely but Thoroughly
How to Put MacBook on Do Not Disturb
Have you ever wondered “how do I turn messages off on my Mac?” Look no further!
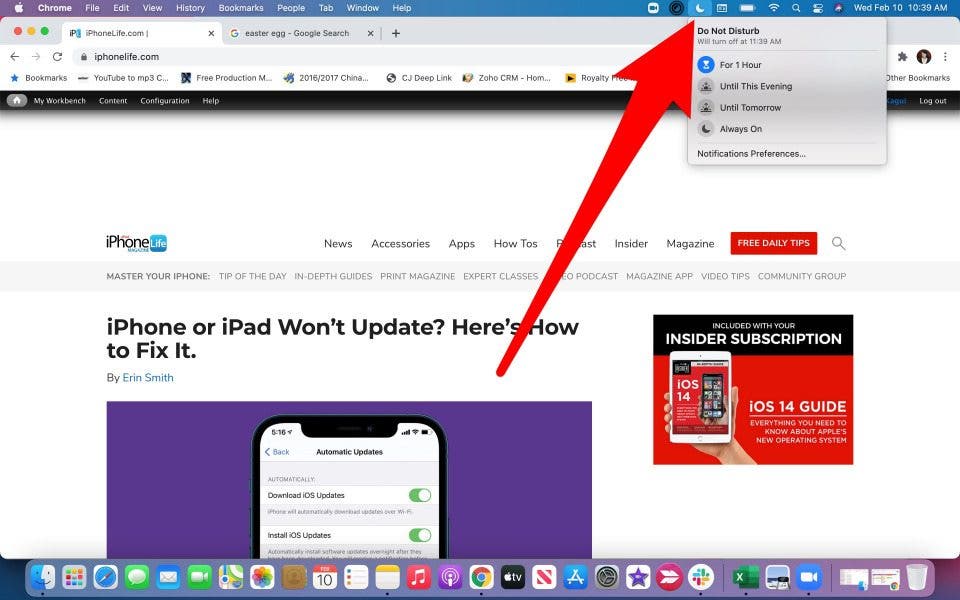
- Click the Notification Center icon located in the top right corner of your screen.
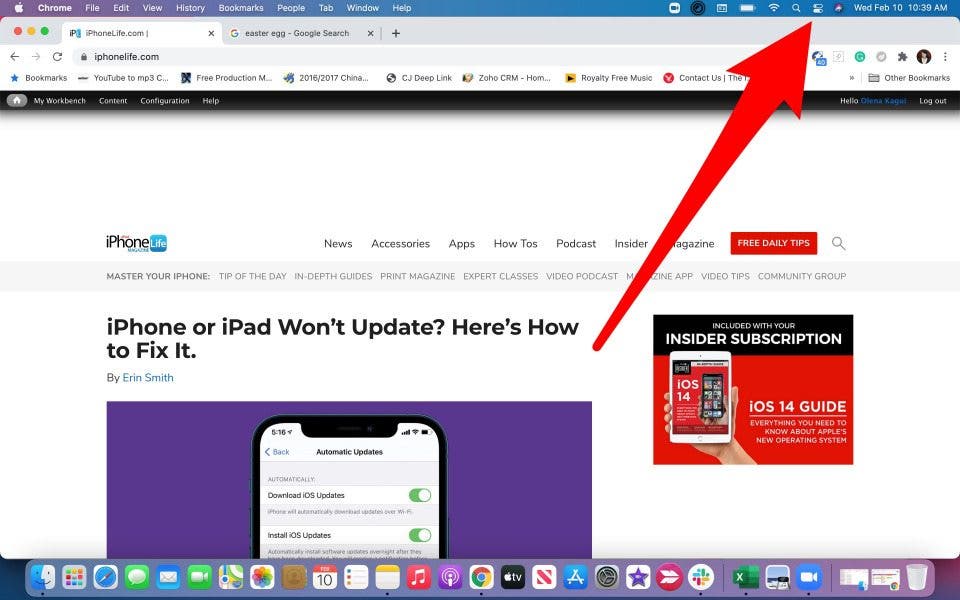
- A drop-down menu will show up.
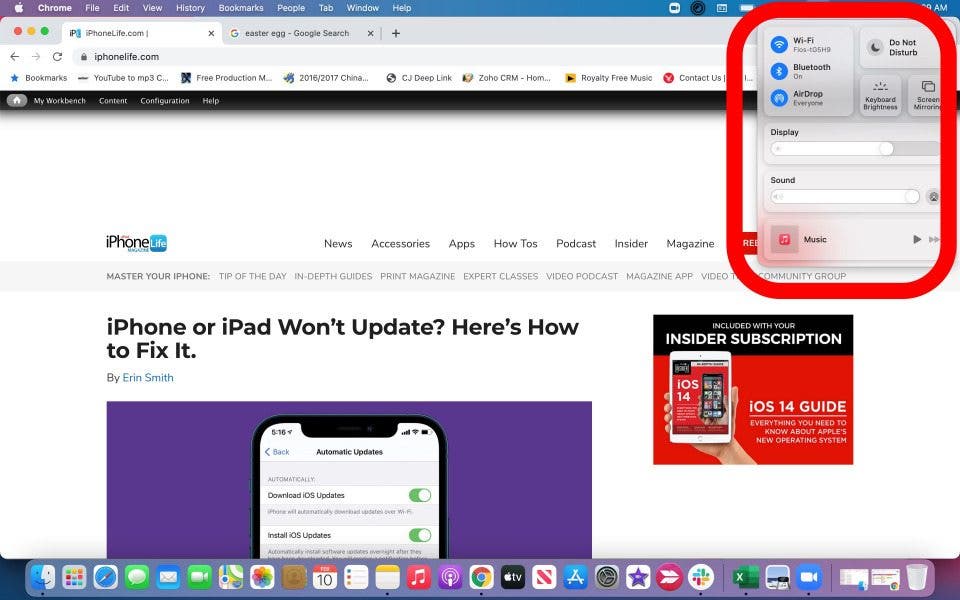
- Select Do Not Disturb.
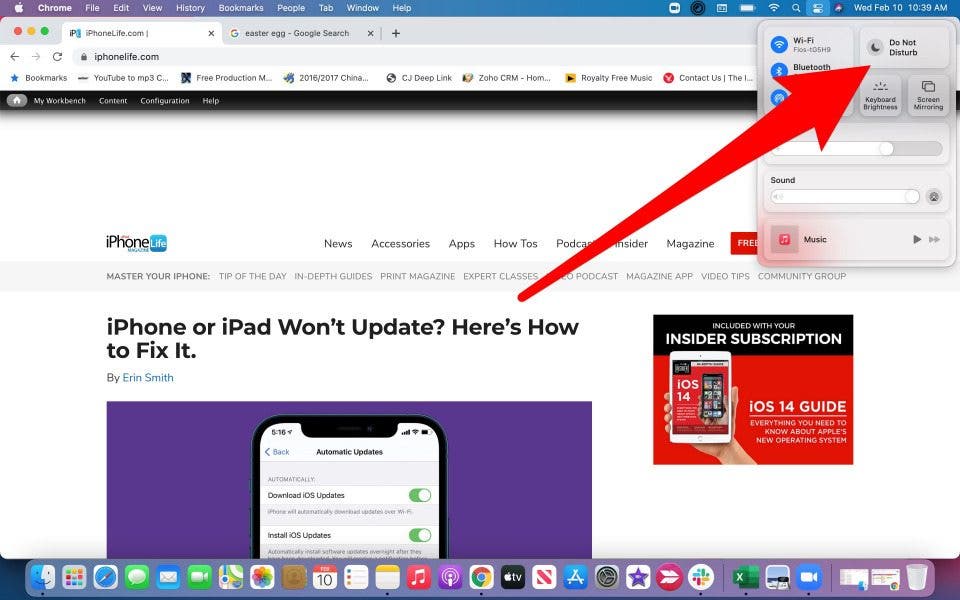
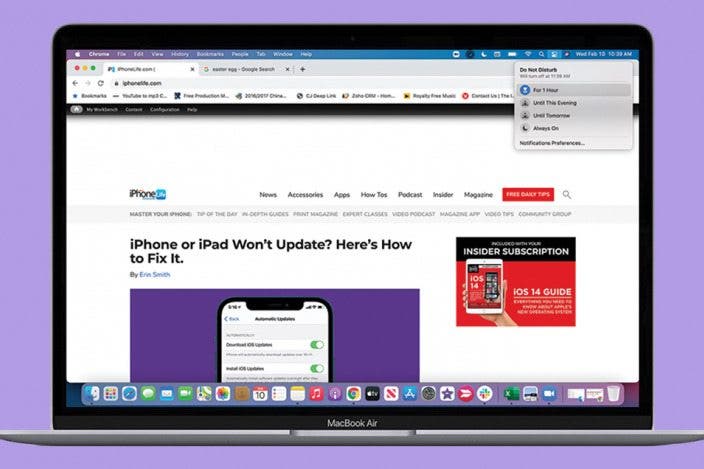
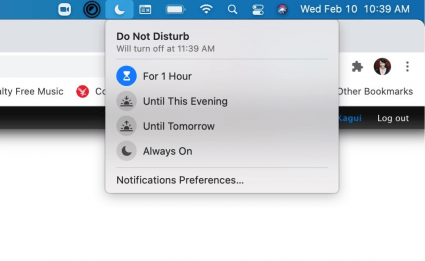
- Another drop-down menu will show up with options.
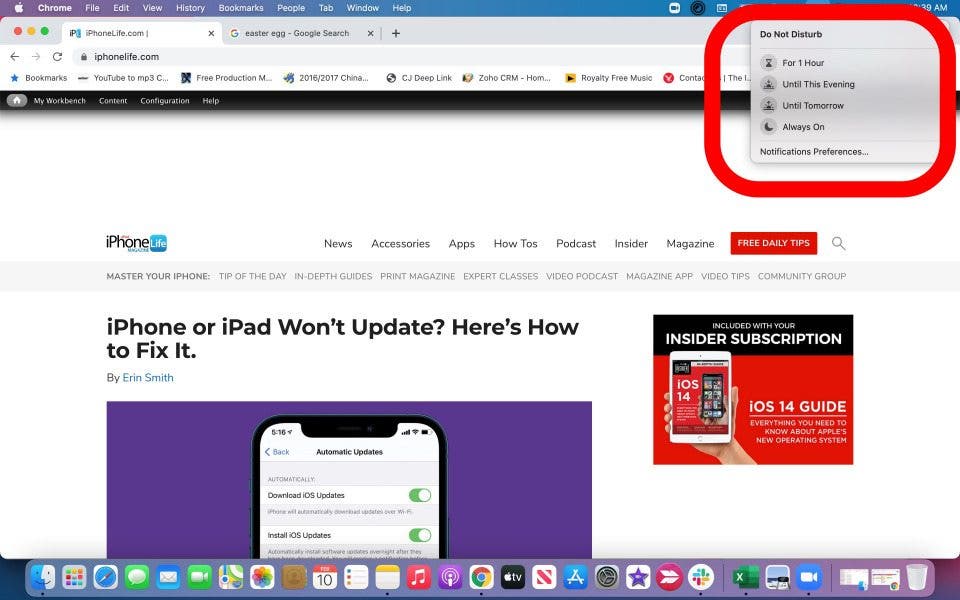
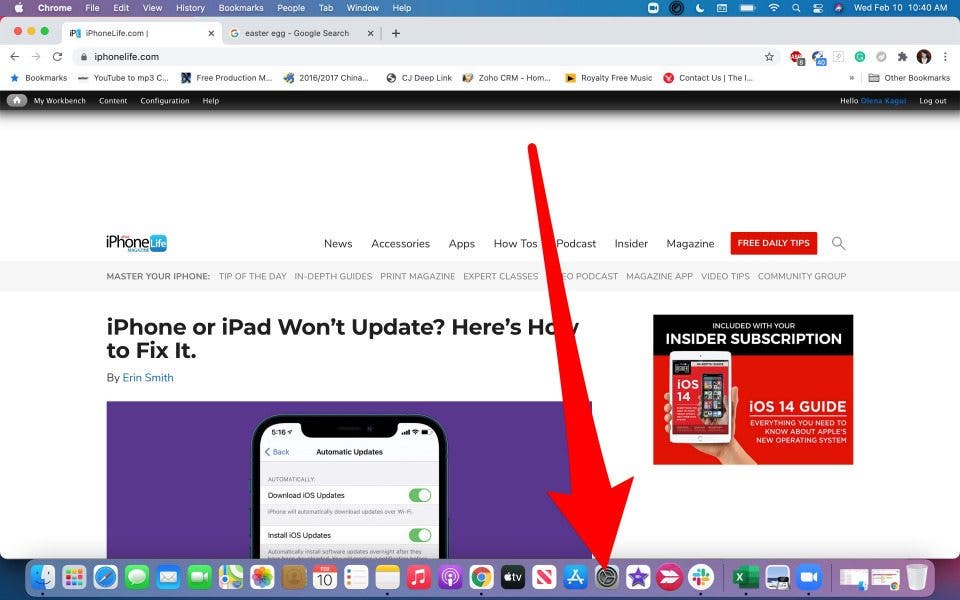
- Click on the option that suits you best. A moon icon will pop up on your Menu bar.
There are four options for Do Not Disturb mode to choose from. These include:
- For 1 Hour
- Until This Evening
- Until Tomorrow
- Always On
To learn more about taking MacBook Settings, sign up for our free Tip of the Day newsletter.
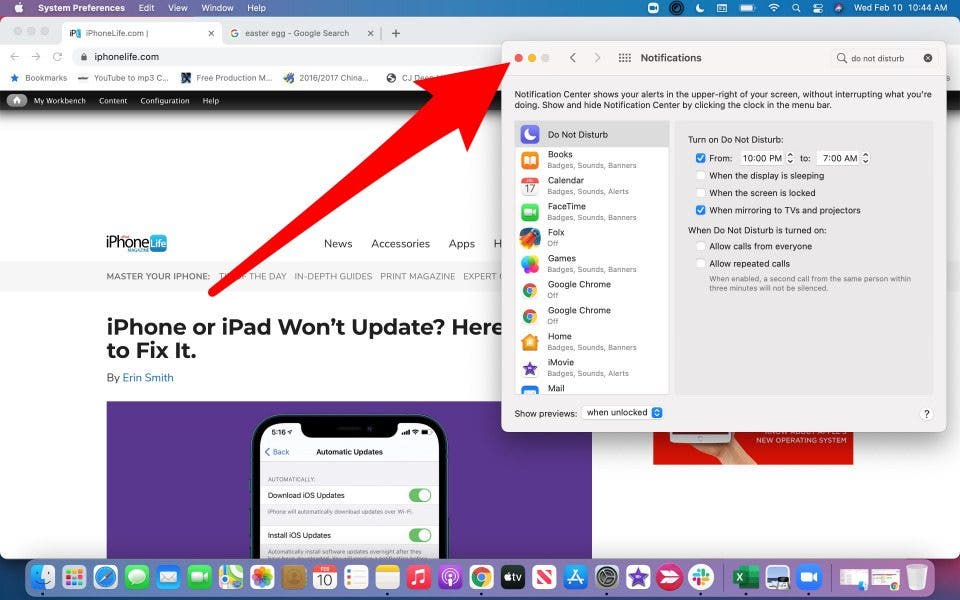
How to Set Custom Do Not Disturb Mode Times
If you’d like to customize your Do Not Disturb mode times, you need to open your Notification Preferences. You can do this from the Do Not Disturb drop-down menu in the Menu bar. Or you can go through System Preferences:
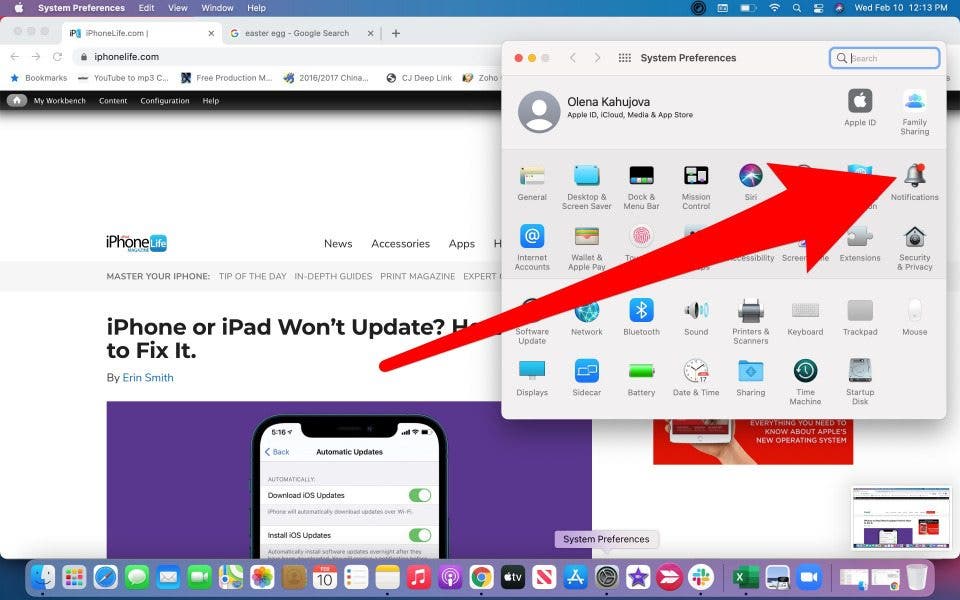
- Open System Preferences.
- Click on Notifications.
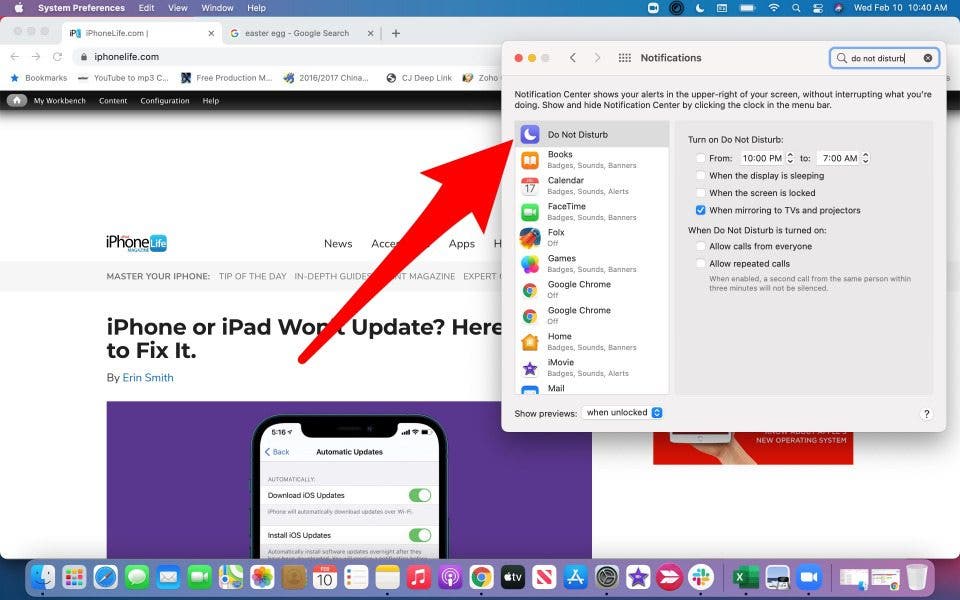
- Select Do Not Disturb.
- Click the box that says “From…”
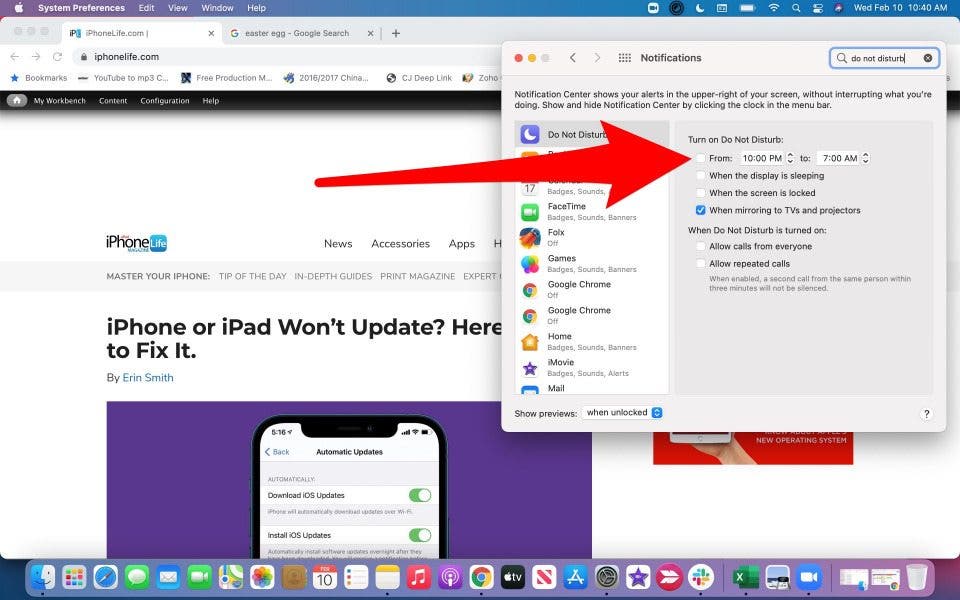
- Input the times you want your MacBook to be in Do Not Disturb Mode.
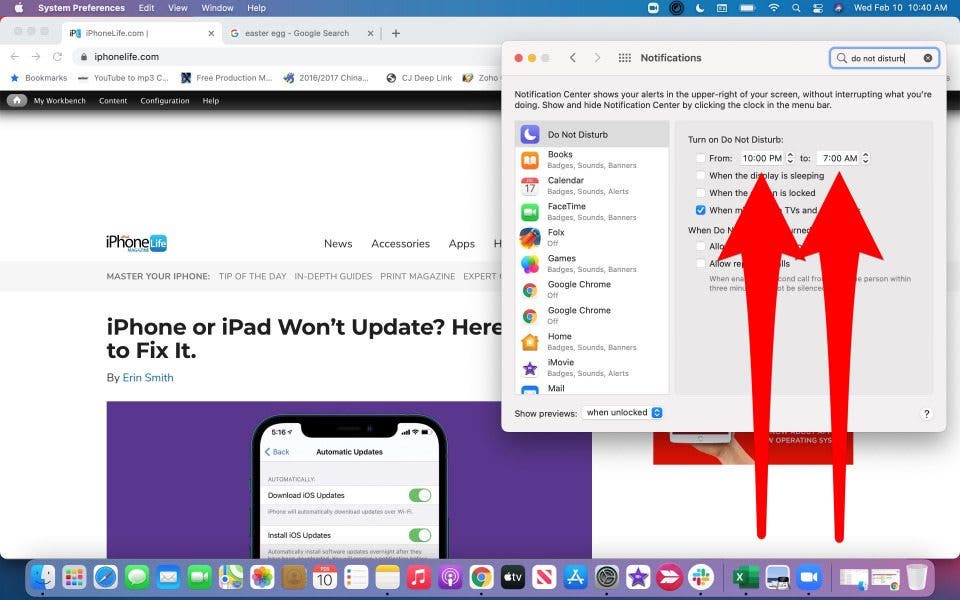
- Close the window by clicking the red x and your settings will be saved automatically.
Using the Do Not Disturb mode can help you focus on an assignment or avoid disturbing those around you. But what is Do Not Disturb mode? It is a function that makes sure you don’t see or hear notifications as they arrive. However, they will be collected in your Notification Center so that you can view them later. Now that you've mastered Do Not Disturb, check out how to use Night Shift mode on your MacBook.

Olena Kagui
Olena Kagui is a Feature Writer at iPhone Life. In the last 10 years, she has been published in dozens of publications internationally and won an excellence award. Since joining iPhone Life in 2020, she has written how-to articles as well as complex guides about Apple products, software, and apps. Olena grew up using Macs and exploring all the latest tech. Her Maui home is the epitome of an Apple ecosystem, full of compatible smart gear to boot. Olena’s favorite device is the Apple Watch Ultra because it can survive all her adventures and travels, and even her furbabies.
 Rhett Intriago
 Olena Kagui
 Amy Spitzfaden Both
 Rachel Needell
 Leanne Hays


 Susan Misuraca