How to Shoot Clearer, Better Photos on Your iPhone


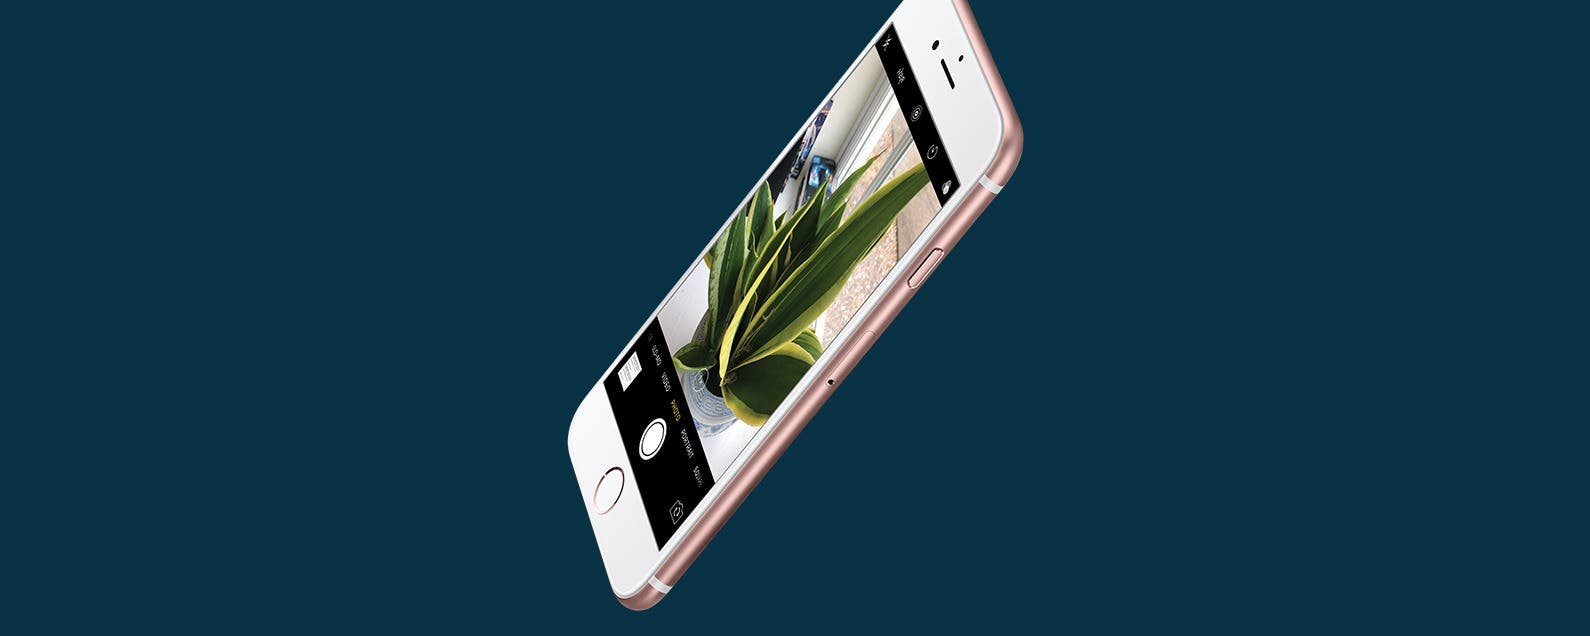
I’ve heard it said over and over again that the best camera is the one you have with you. Honestly, I couldn’t agree more. I have an amazing DSLR and yet I find that the majority of my pictures are taken with my iPhone. Unfortunately, our iPhones still struggle in a lot of ways that more advanced cameras don’t. One of those ways is the iPhone’s intolerance for low-light situations. If you’re sick of blurry, unclear images, then here are a few tips and tricks that have really helped me out. Here’s how to shoot clearer, better photos on your iPhone.
Related: iPhone Photography Tips & Tricks: Learn How to Take Better Pictures
How to Shoot Clearer, Better Photos with the iPhone
1. Find Good Lighting
Good lighting is your best friend when it comes to getting nice, clear images. When you don’t have good lighting, pictures turn out dark, grainy, and oftentimes a little blurry. For best image results, choose natural lighting over artificial whenever you can. Of course, I understand it’s not always realistic to find natural lighting for your spur of the moment shots, and oftentimes flash just doesn’t cut it. That’s where point #2 comes in.
2. Keep Steady
It’s hard to keep a steady hand when taking pictures on your iPhone, and in low-light situations, a steady hand is especially crucial to getting a clear image. If you don’t have a tripod, then either try holding the camera with both hands with your elbows to your chest, or prop your arm or camera up against a sturdy object. This will reduce camera shake and help you get a clearer shot. There are also third-party camera apps such as Camera+ that include an image stabilizer, which can be very helpful in low-light situations.
3. Don't Zoom!
Try not to use the zoom option when taking a picture on your iPhone. Unless you have an iPhone 7 Plus, if you want a closer picture of something, you’re much better off moving closer to your subject than trying to zoom in to it, as zooming usually causes a significant loss of image quality. It’s not always possible to move closer to your subject, and in that case any image is better than no image, but avoid using zoom whenever you can.
4. Clean Your Lens
If after all that you still have a hard time getting clear images, then try cleaning your lens off. You'd be surprised at the amount of people (me included) that forget this little detail, and it can make a huge difference in how your images turn out.
Now get out there and start taking some clearer images!
Every day, we send useful tips with screenshots and step-by-step instructions to over 600,000 subscribers for free. You'll be surprised what your Apple devices can really do.


 Sarah Kingsbury
 Rhett Intriago

 Amy Spitzfaden Both

 Rachel Needell


 Olena Kagui