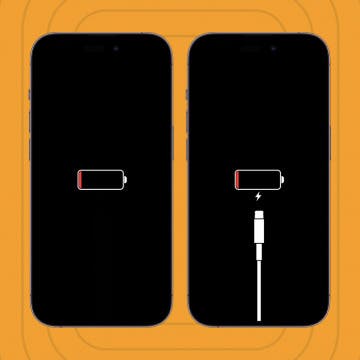
If you're having trouble charging your iPhone, it might be because your Lightning port is dirty, gumming up the works and making it hard for your Lightning charger to connect to the port. In this guide, we'll show you how to clean your charging port without damaging it.
Related: My iPhone Won't Charge! Troubleshooting Tips & Tricks to Get Your iPhone Charging Again
How to Clean Charging Port on iPhone
First things first, let's lay out a few ground rules:

- Do NOT insert anything wet into your iPhone charging port, not even a Q-Tip dipped in rubbing alcohol.
- Do NOT insert anything metal into your iPhone charging port. If you are going to try to pick stubborn debris out of your charging port, do not do so with a paperclip or safety pin, or any other metal object.
- You may be tempted to use compressed air to blast dust and lint out of your iPhone's charging port. This may work, but Apple advises against using compressed air or any other aerosols while cleaning your devices.
- The inside of your charging port is delicate, and damaging the pins inside may prevent your iPhone from charging. When cleaning the charging port, take care to do everything as gently as possible.
Now that we've got out of the way, let's dig into cleaning your iPhone charging port. To learn more about how to keep your iPhone in tip-top shape, check out our Tip of the Day newsletter.
- Make sure you are in a well-lit area. You may want to have a flashlight on hand (unfortunately, your iPhone flashlight won't work for this, unless you have a second iPhone you can use to shine light into your charging port) so that you can see into the charging port more clearly.
- Power your phone down.
- Shine a light into the charging port to see if you can identify obvious dirt or lint.
- Still shining the light into your charging port as best you can, take a toothpick and insert it into the charging port. Tip: To make sure you're being as gentle as possible, wrap a very small amount of cotton from a cotton ball around the tip of the toothpick.
- Gently scrape the walls of the charging port to dislodge dirt and lint.
- When you think you've thoroughly cleaned the port, plug your charger in and see if it works.
If your iPhone still won't charge after completing these steps, try repeating the process. While I don't recommend using compressed air, you may need to blow into the charging port to eject dislodged bits of debris.
If, after attempting several times to clean your charging port, your iPhone still will not charge, you may want to look into other reasons your iPhone may not be charging.