Create a Photo Album on iPhone in Seconds

Rheanne has spent over a decade producing hundreds of educational videos showing people how to get the most out of their iPhones, iPads, Apple Watches, and Macs.
Learn More Rheanne has spent over a decade producing hundreds of educational videos showing people how to get the most out of their iPhones, iPads, Apple Watches, and Macs.
Learn MoreApple's Photos app has a few default photo albums that automatically organize the photos on your iPhone. But what if you'd like to create a new photo album? The Photos app allows users to organize pictures into albums they create. Here's how to create an album on your iPhone.
Why You'll Love This Tip
- Keep your photo library organized by sorting your photos into albums.
- Easily access specific photos when you want to see them.
- Sort photos into albums based on special events, seasons, trips, and more.
How to Create a Photo Album on iPhone
System Requirements
This tip was performed on an iPhone 16 running iOS 26. Find out how to update to the latest version of iOS.
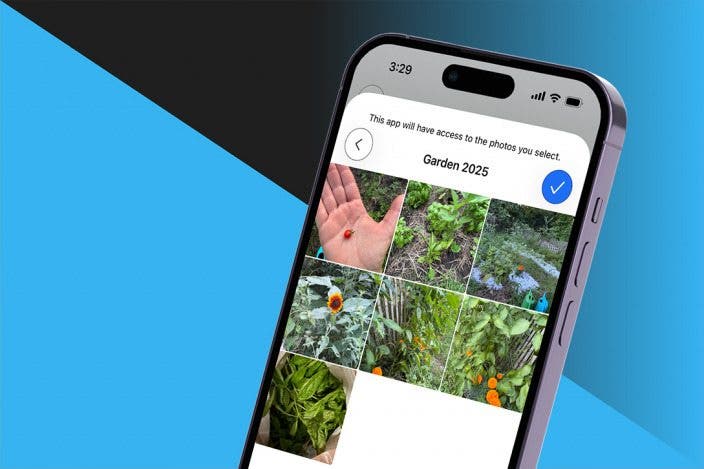
Photo albums are a great way to keep your iPhone photos organized! Now, here's how to make a photo album on your iPhone:
- Open the Photos app.

- Open the photo you want to add to an album, and tap the more button.

- You can also select multiple photos, and then tap the more button.

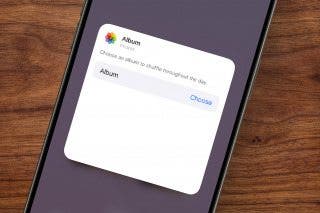
- Tap Add to Album.

- Tap the plus icon.

- Enter a name for the album, and then select Create.

Now, you can easily create a photo album from your iPhone. Your new album will now appear under Albums. To add more photos to the album, simply repeat steps 1-4, and select the album in the list. For more great photo organization tutorials, check out our free Tip of the Day.
More On: The Photos App

Every day, we send useful tips with screenshots and step-by-step instructions to over 600,000 subscribers for free. You'll be surprised what your Apple devices can really do.

Rheanne Taylor
Related Articles

 Rhett Intriago
Everything We Know About iOS 27 & WWDC 2026 "All Systems Glow"
 Olena Kagui
Can You Use an iPad Charger for iPhone? Here's What to Know
 Amy Spitzfaden Both
 Rachel Needell

Security News: Voting Machine Defenses, The Internet Archive Hacked, and more
 Cullen Thomas


 Ashleigh Page
 Leanne Hays