How to Take a Picture on a Mac


With 10-plus years of experience with Apple devices, Rachel specializes in all things iPad and is a Notes app expert. Find her writing in the Daily Tip newsletter and iPhone Life magazine.
Learn More

With 10-plus years of experience with Apple devices, Rachel specializes in all things iPad and is a Notes app expert. Find her writing in the Daily Tip newsletter and iPhone Life magazine.
Learn MoreWhat to Know
- Photo Booth is a great way to take pictures on the Mac.
- Since Macs don't have a back camera, it can be difficult to use a Mac to take a photo.
- You can screenshot a Mac by pressing the Command + Shift + 3 keys simultaneously.
While the Mac isn't known for being a photo-taking device, anyone who remembers the early 2000s will know how to take pictures on a Macbook. The Mac's webcam is pretty decent, and while you might want to use your iPhone for more serious photography, taking a picture on a Mac is easy! Here's how to take pictures on a Mac.
How to Take a Picture on a Mac
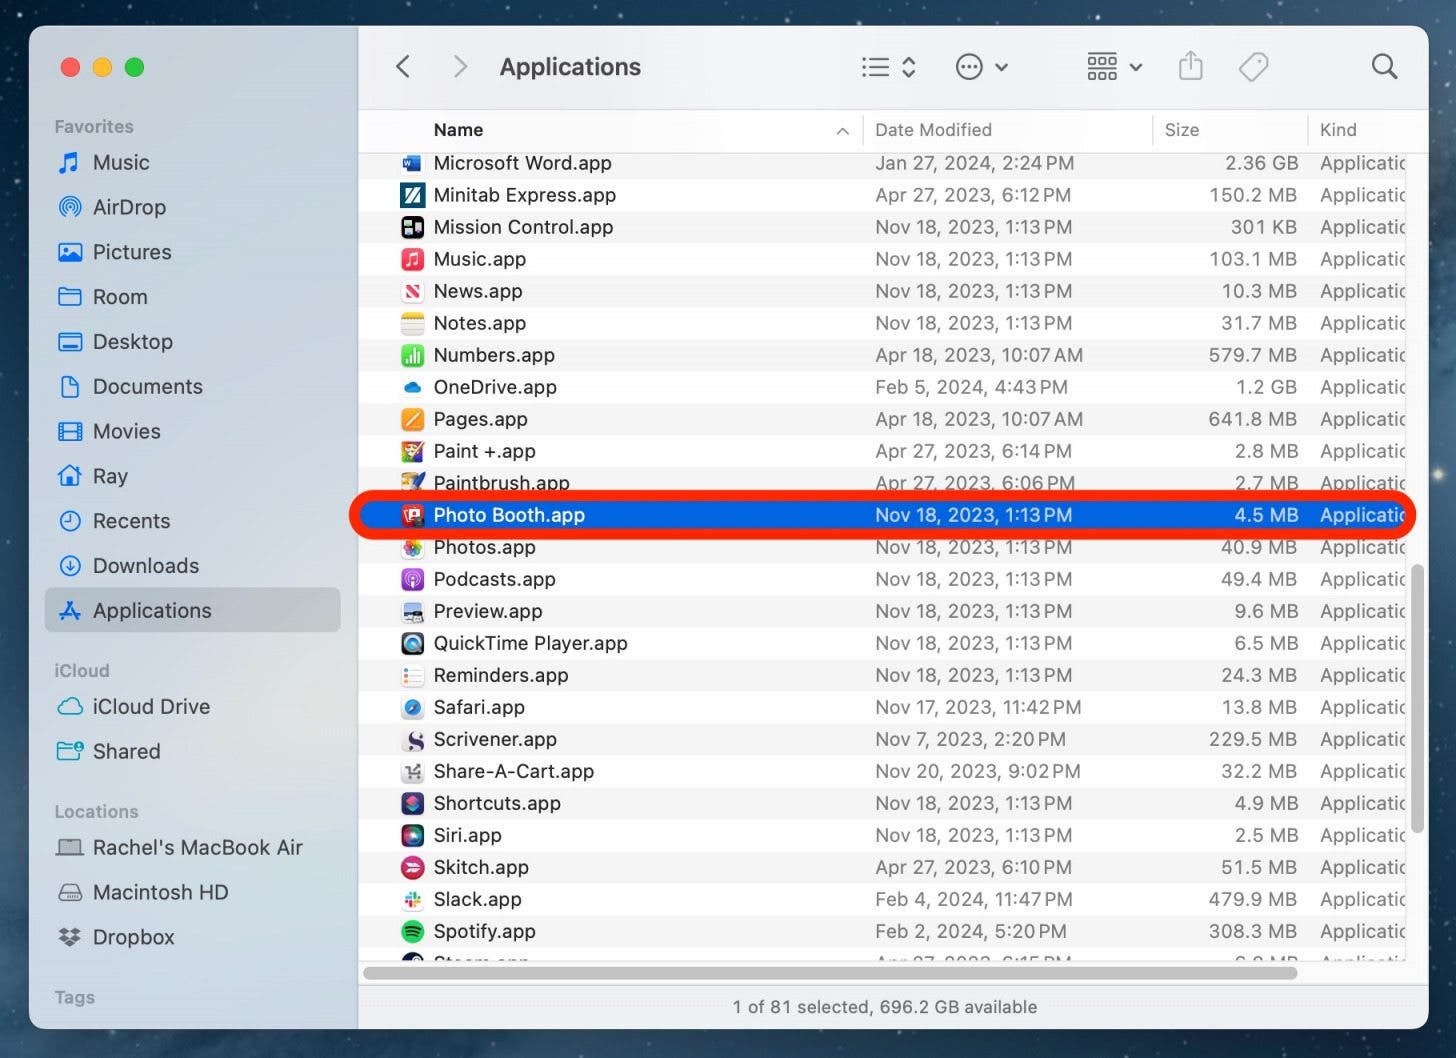
The way to take a photo on a Mac or Macbook is to use the Photo Booth app. This is a fun app that goes back to the early days of the MacBook. Photo Booth allows you to take photos on a timer, multiple photos in a burst, use filters, and record videos. The files will be saved in your Photo Booth Library folder, so be sure to remember where you saved that folder to! Here's how to use Photo Booth to take a picture on Mac.
- On your Mac, open Photo Booth.
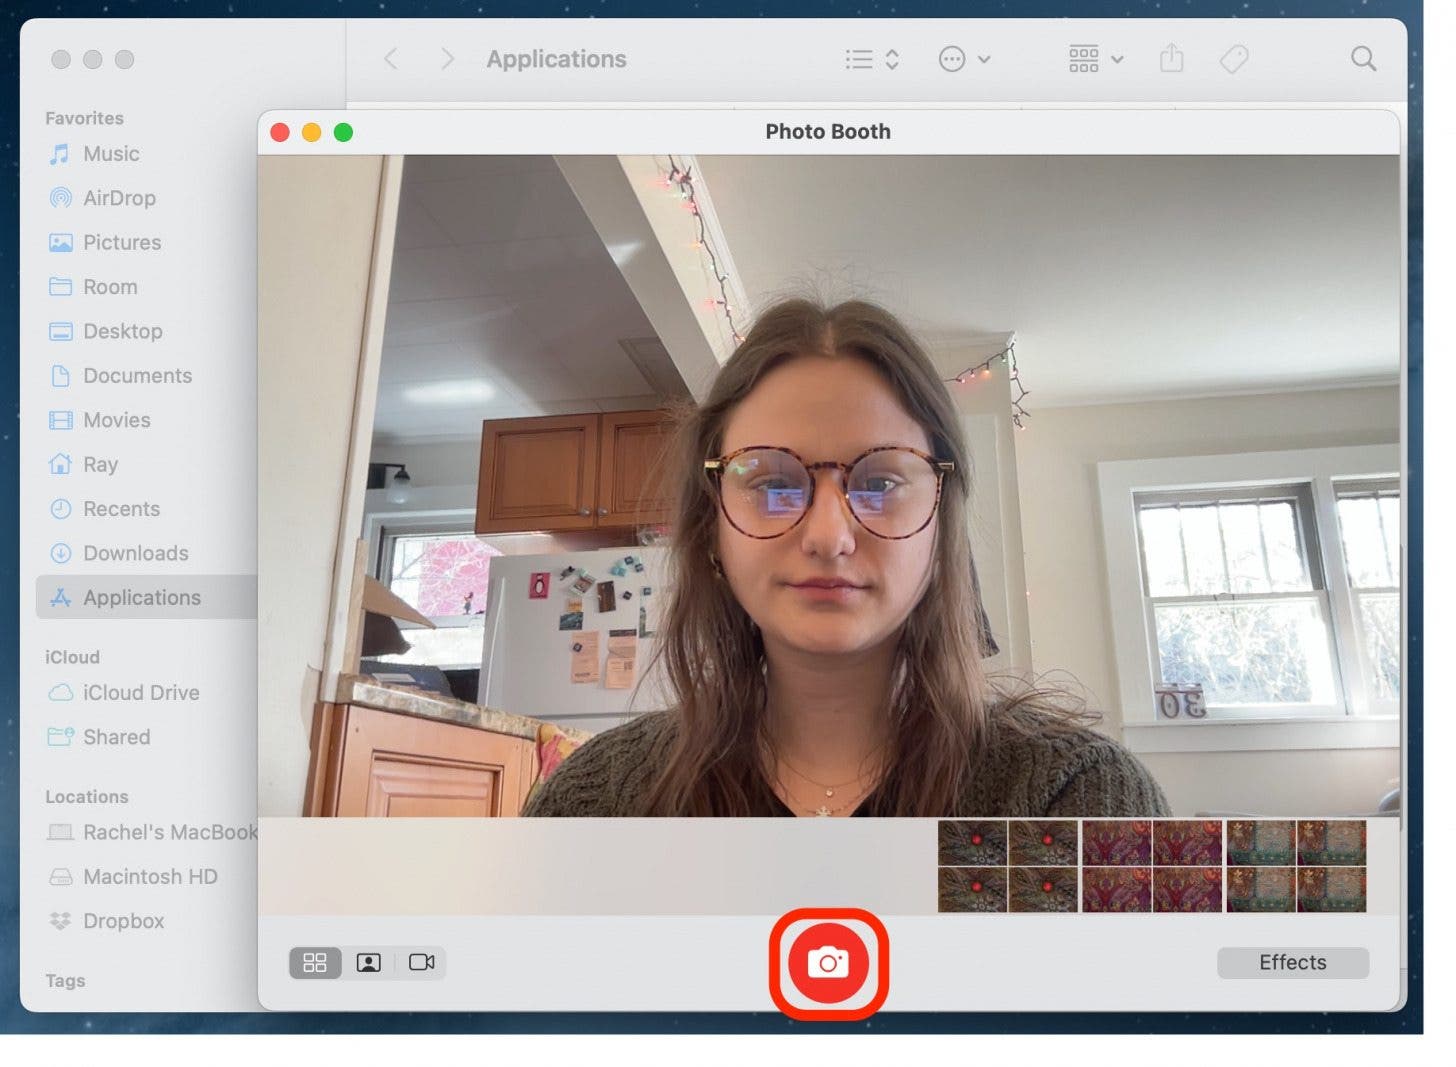
- Click the Shudder button to take a photo. There will be a 3 second count down and then your screen will flash.
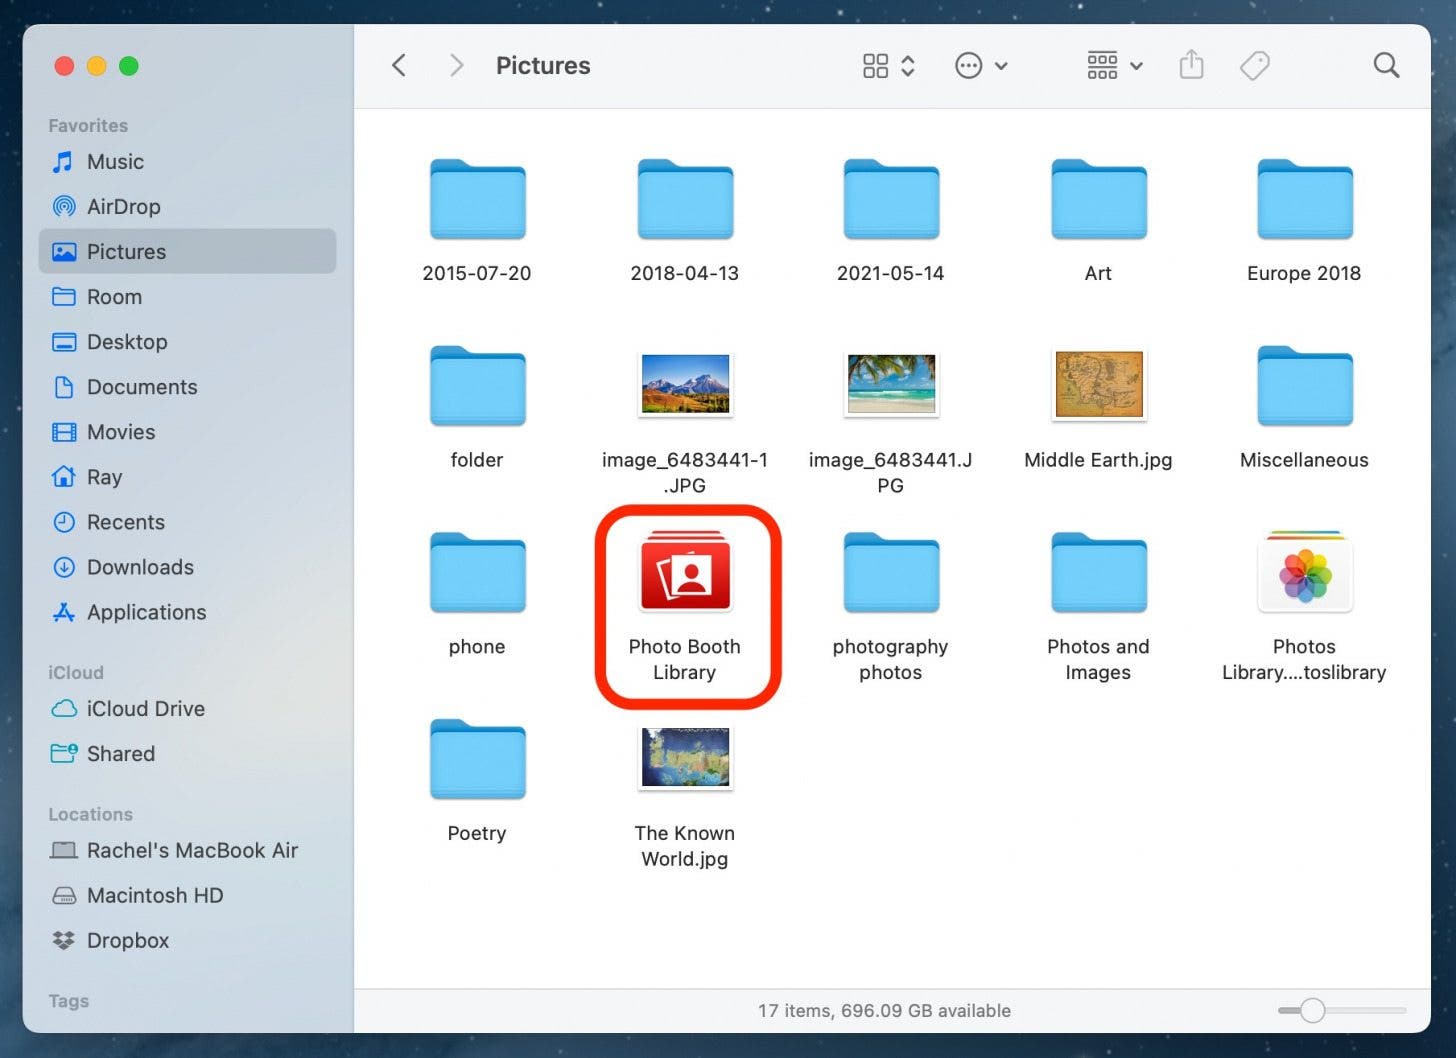
- You can find the photo in the Photo Booth Library, located in the Pictures tab in Finder.
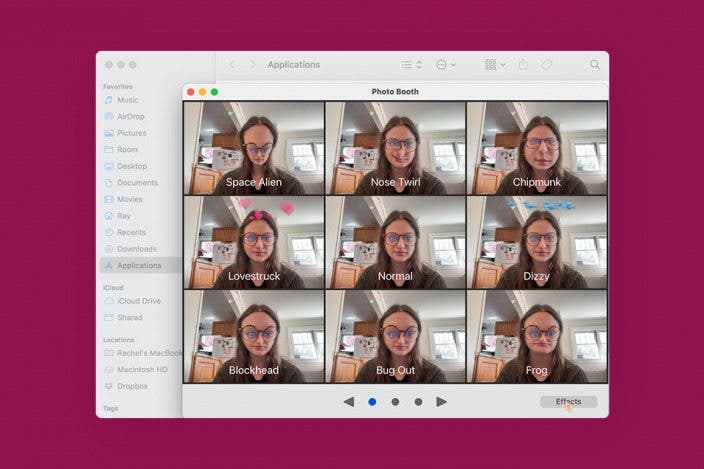
How to Take a Pic with Filters on a Mac
If you want to play around, you can add silly filters to your photo, or take pictures in a burst. Here's some fun ways to take a picture on your Mac.
- In Photo Booth, tap the 4 squares button to take four pictures back to back.
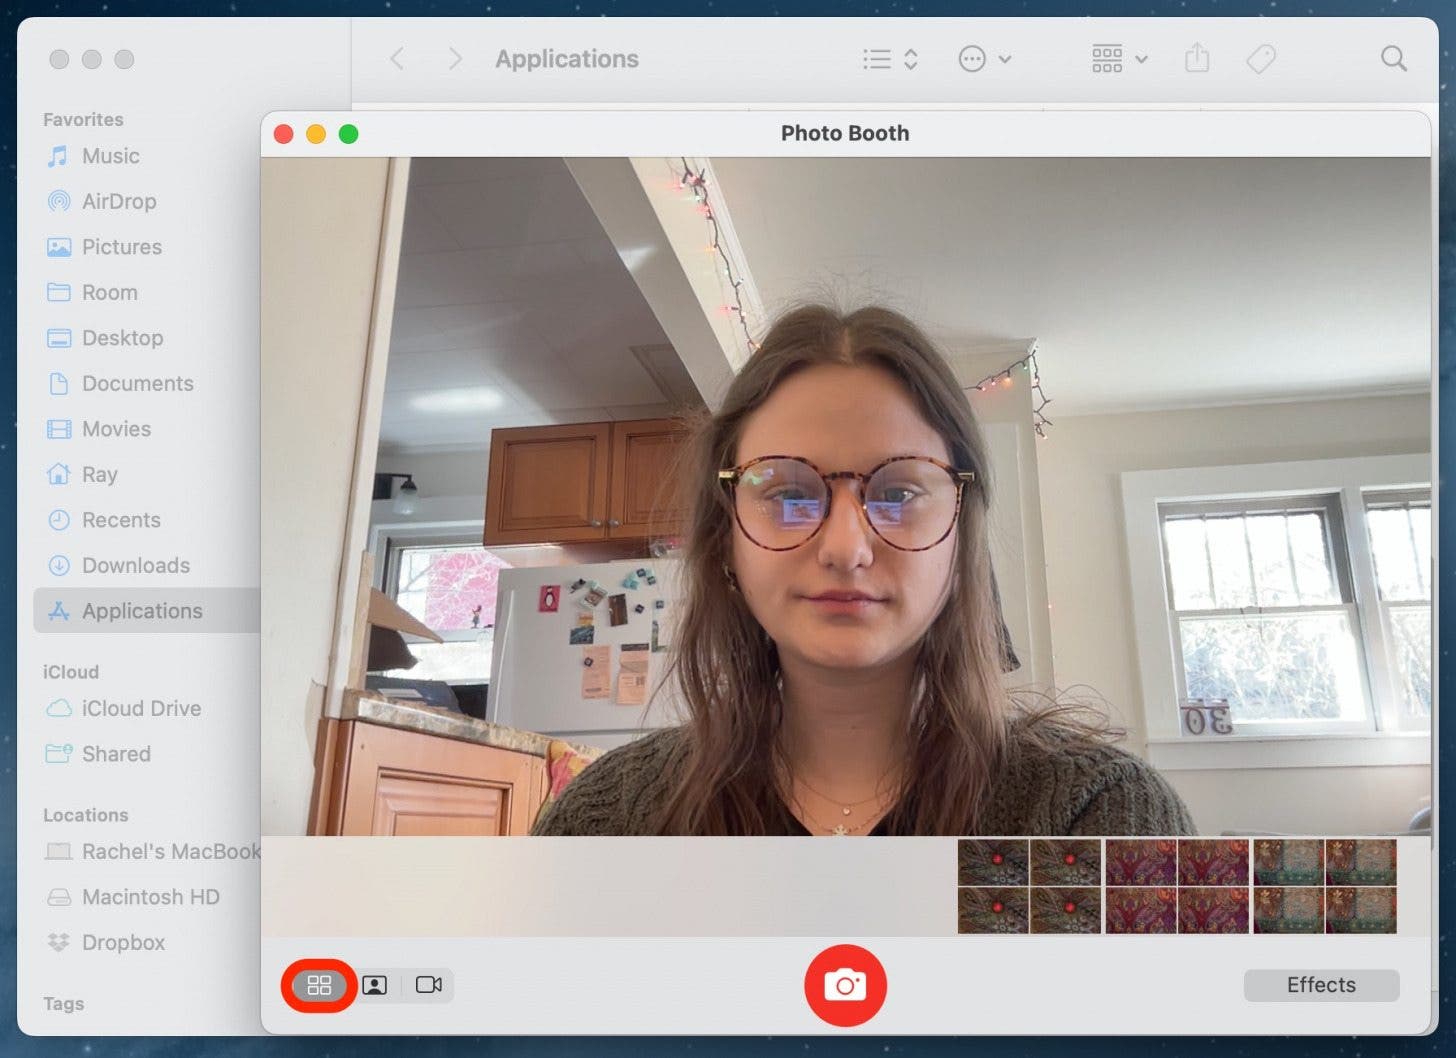
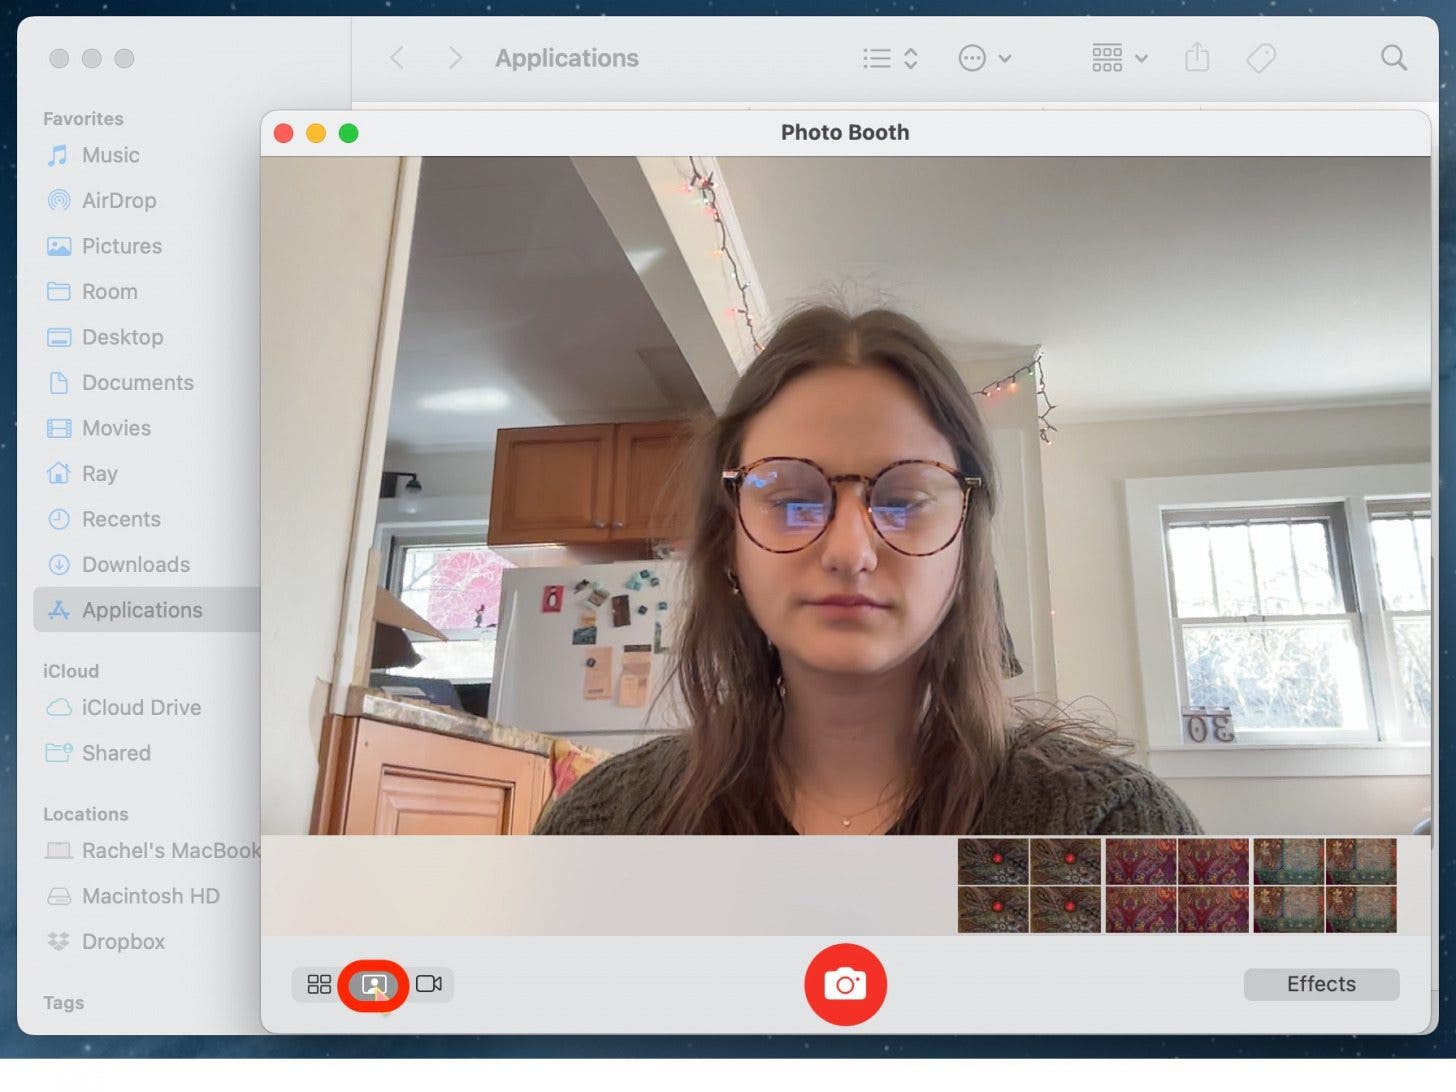
- Tap the picture button to take one picture.
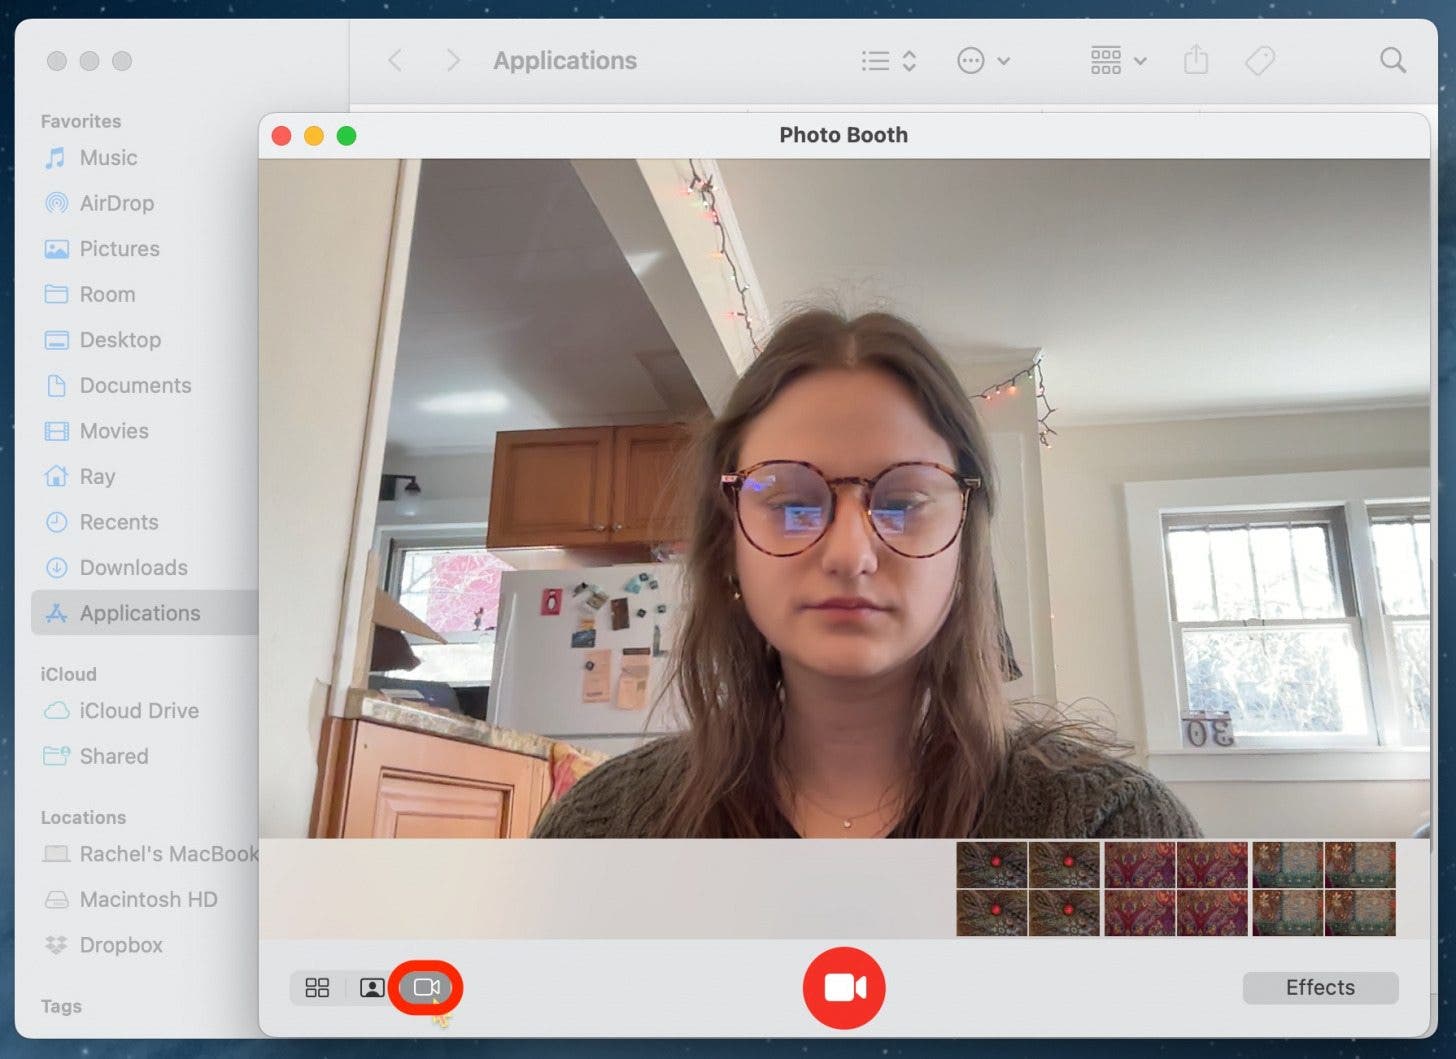
- Tap the movie camera button to take a video.
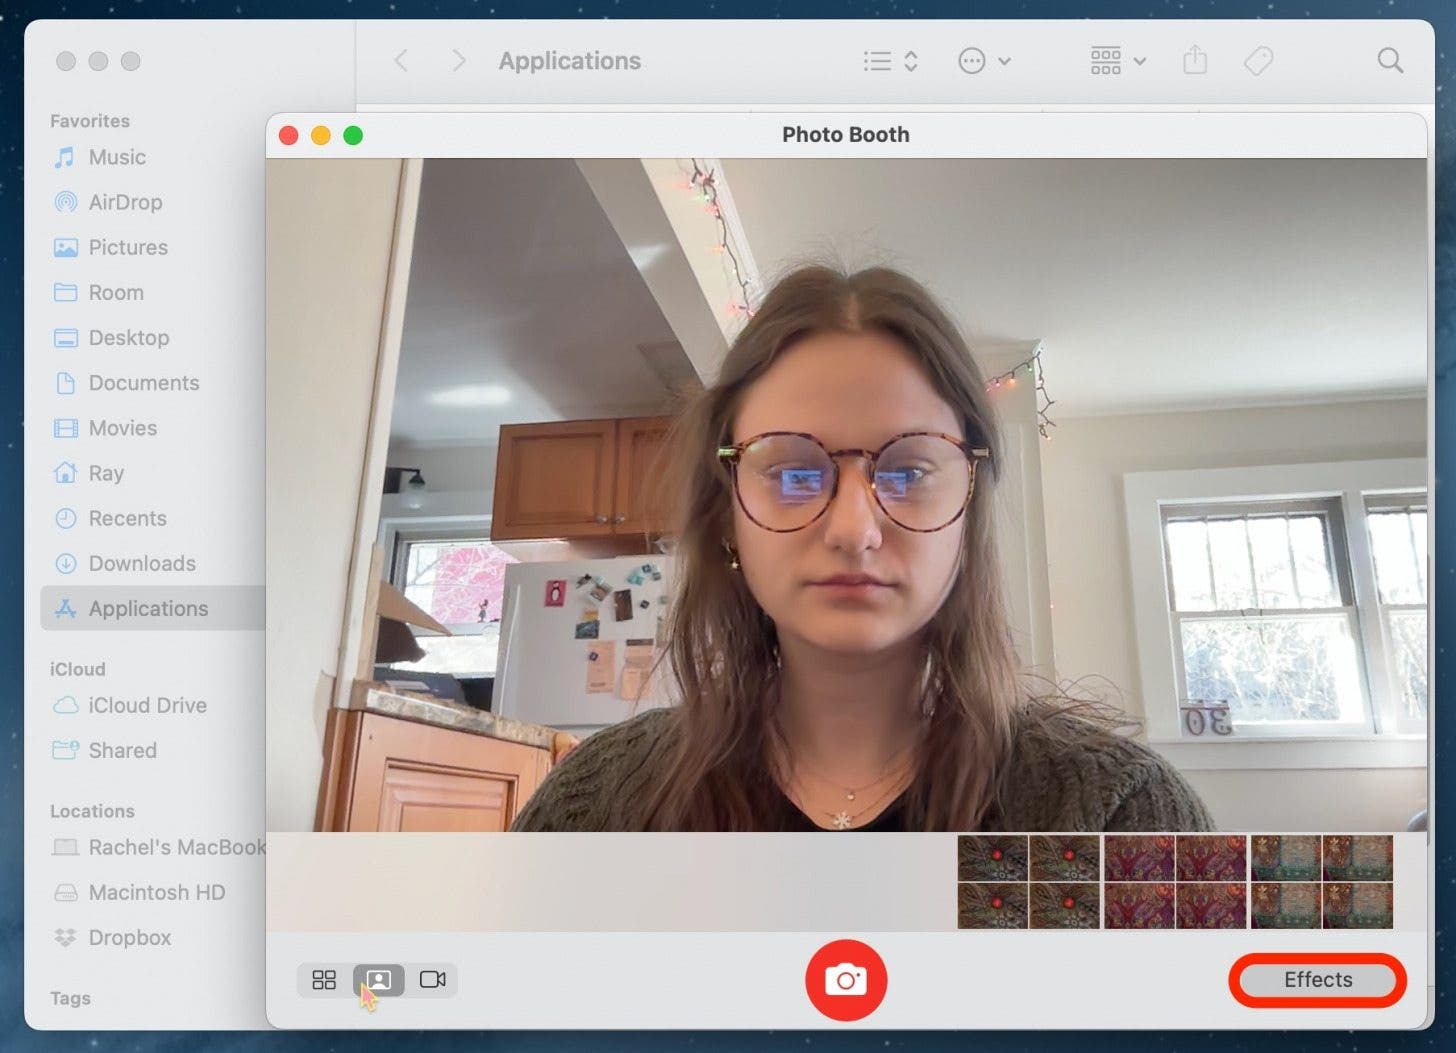
- Tap Effects to view various filters and effects.
- Tap the arrows to search through the filter options.
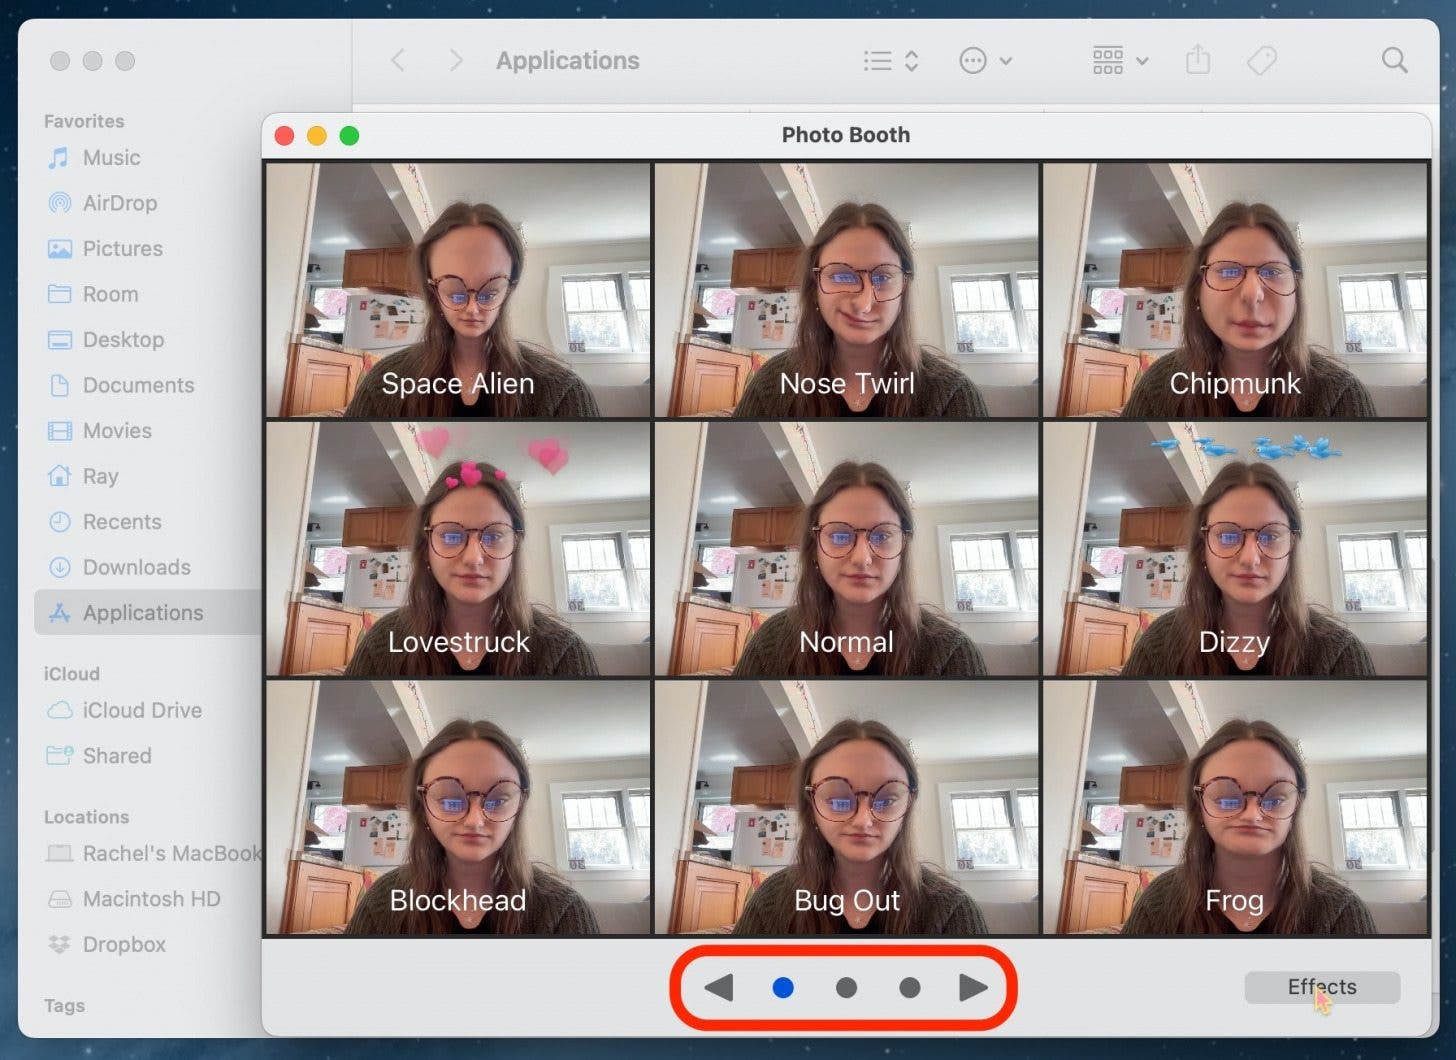
If you take four photos at once, you can click on each image to see it larger. If you like learning how to use your Apple devices, be sure to sign up for our free Tip of the Day!
How to Take a Photo on a Mac and Share It
Once you've taken a picture on your Mac, you may want to share it to your iPhone or with friends. The Photo Booth app makes it simple to share your photography.
- Choose from the photos you've taken in the bottom reel.
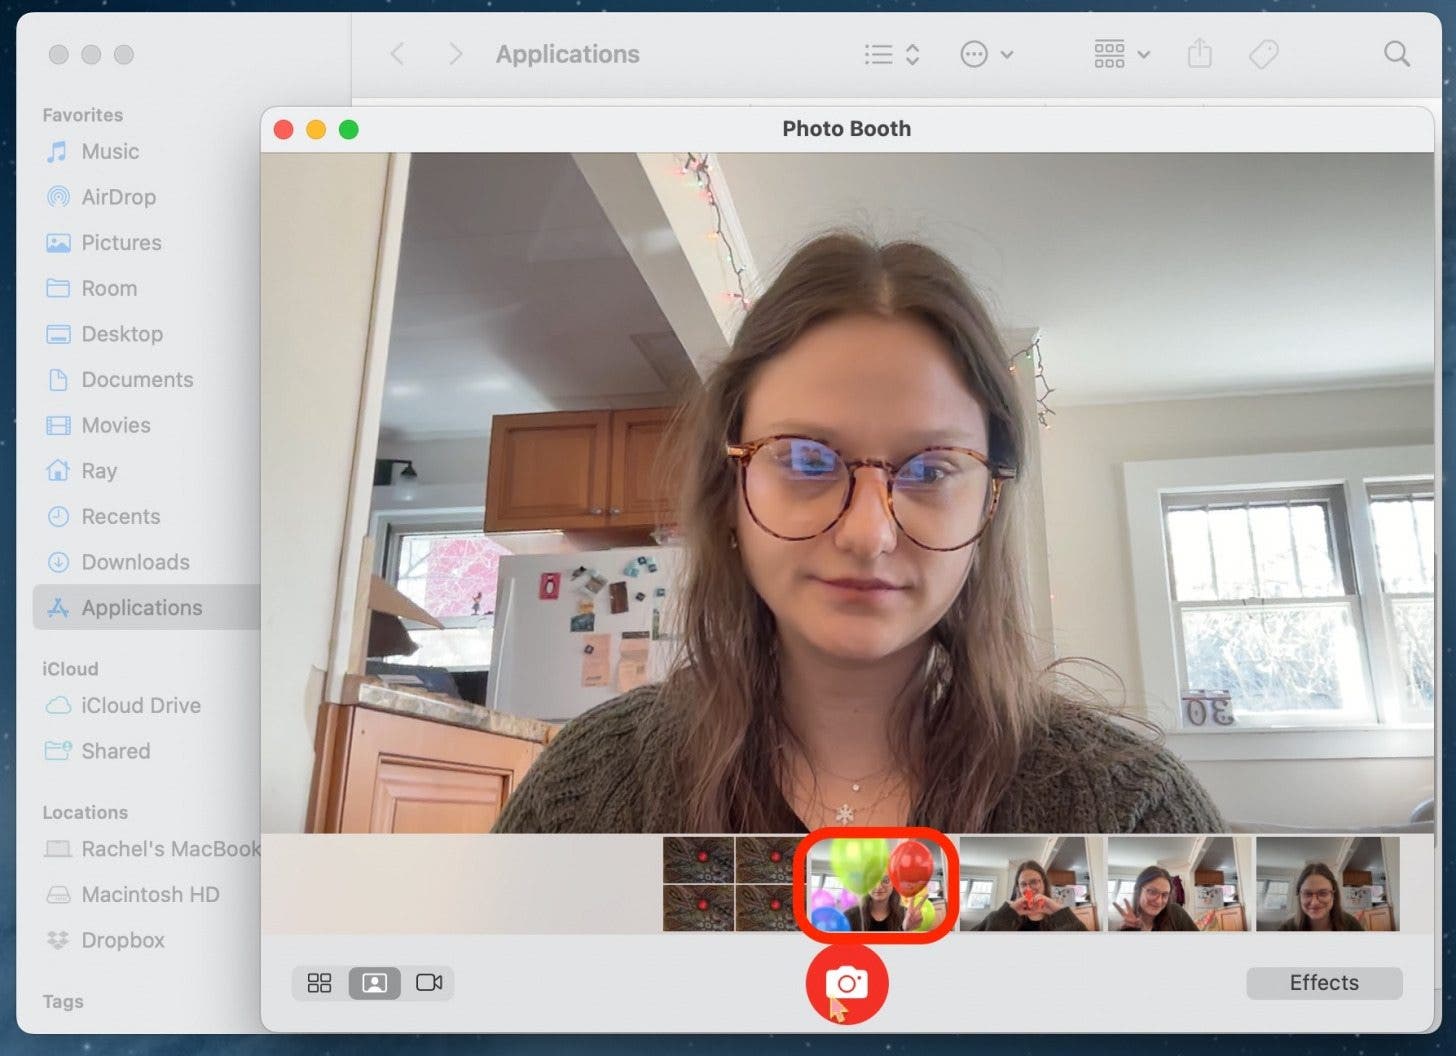
- Click the Share button.
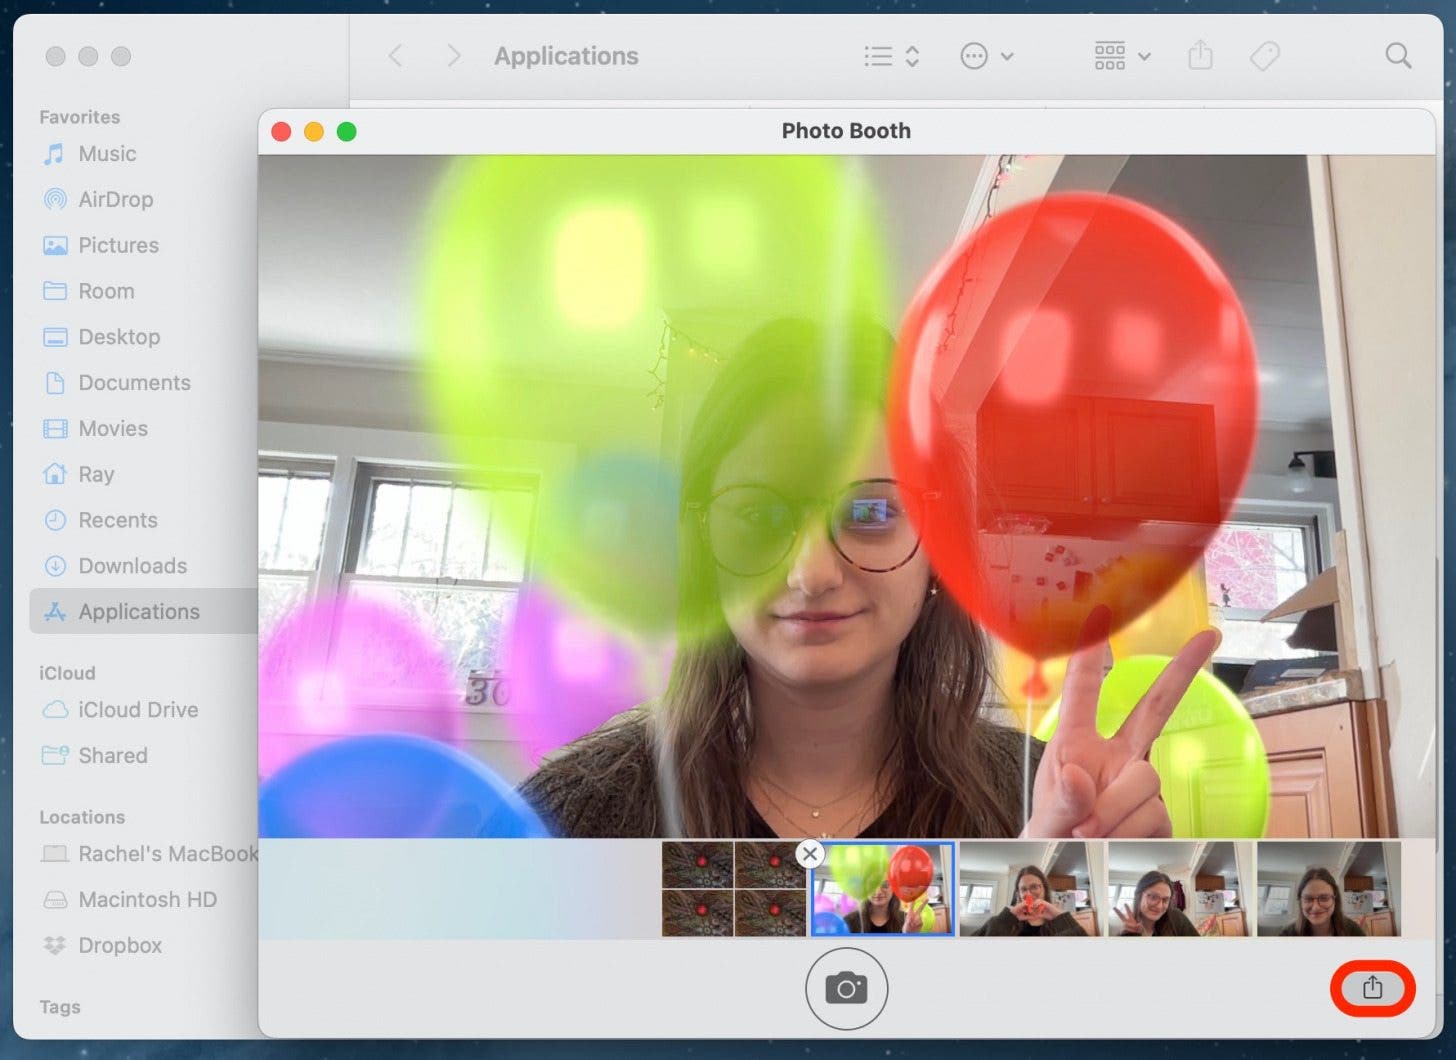
- Click Add to Photos to save it to your camera roll. Or select another option for sharing.
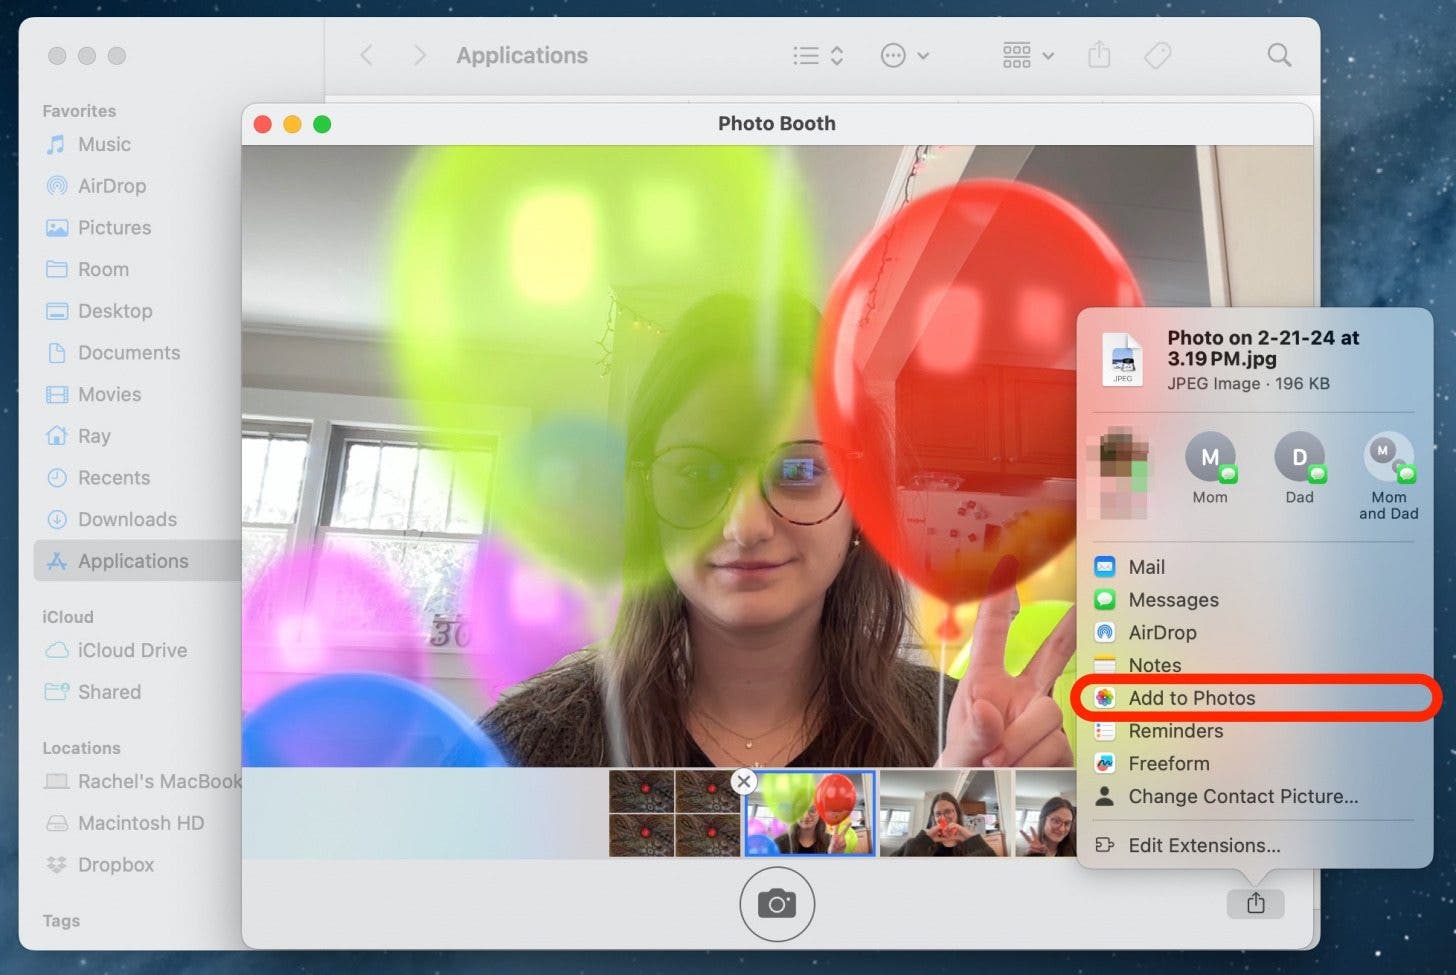
Try holding up the same hand gestures you use with FaceTime if you want to produce fun effects like balloons, confetti, lasers, and hearts!
FAQ
- Does MacBook Air have a camera? Yes, the MacBook Air has a camera. There is a single built-in FaceTime camera located at the center-top of the laptop screen.
- Where is the Photo Booth on Mac? The Photo Booth app can be found in the Applications folder in Finder, or you may be able to locate it in the Launch Pad.
- Where is Photo Booth photos? Photo Booth photos are saved to a folder called Photo Booth Library. When you initially set up Photo Booth, you will create this folder. Typically, you can find it saved in your Pictures tab in Finder.
And that's how you take a picture with a Mac!

 Olena Kagui
 Rhett Intriago


 Susan Misuraca

 Rachel Needell
 Amy Spitzfaden Both

 Ashleigh Page