How to Use the Apple Fitness App without an Apple Watch
With iOS 16, you can now use the Fitness app even if you don't have an Apple Watch. We'll walk you through setting it up.

With the new iOS 16 (public beta available since July, finished version available in September), you can now use the Apple Fitness app to track your steps and other activity even without an Apple Watch. Here, we'll walk you through the initial setup and show you how to get started tracking your health with the Fitness app on your iPhone.
How to Use the Apple Fitness Tracker App on an iPhone
The Apple Fitness app was previously only usable on iPhones in conjunction with an Apple Watch. Even things as basic as step counting needed third-party apps on earlier versions of iOS. Now, if you have either the iOS 16 beta or shipping version, you can start using the Fitness app to track your activity levels and burned calories, even if you don't have an Apple Watch. Once you've got it set up, check out our guide on understanding Fitness trends and challenges. To stay up to date with the newest iOS 16 features, be sure to sign up for our free Tip of the Day newsletter.
Here's how to set up the Fitness app on your iPhone without an Apple Watch:
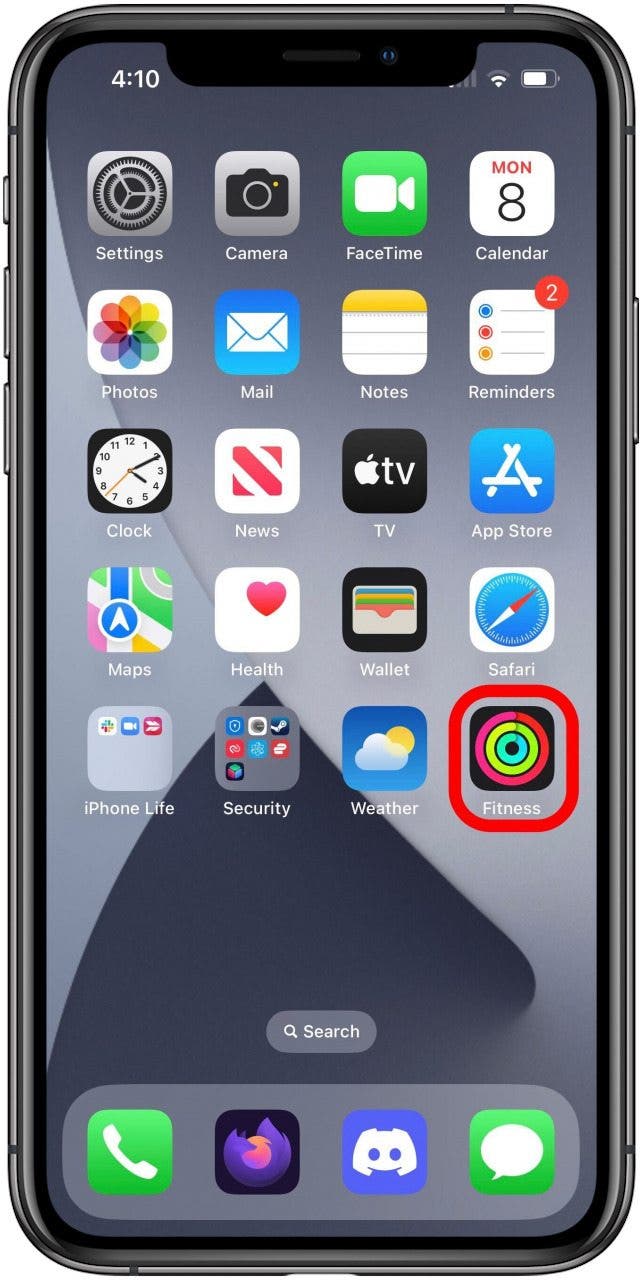
- Just tap the Apple Fitness app icon to get started.
- Your first time opening the app you'll get a welcome screen. Just tap the Continue button. If you've opened the app before, most likely you will not see the welcome message or the following initial setup screens. In that case, you can skip to the post-setup info in our walkthrough.

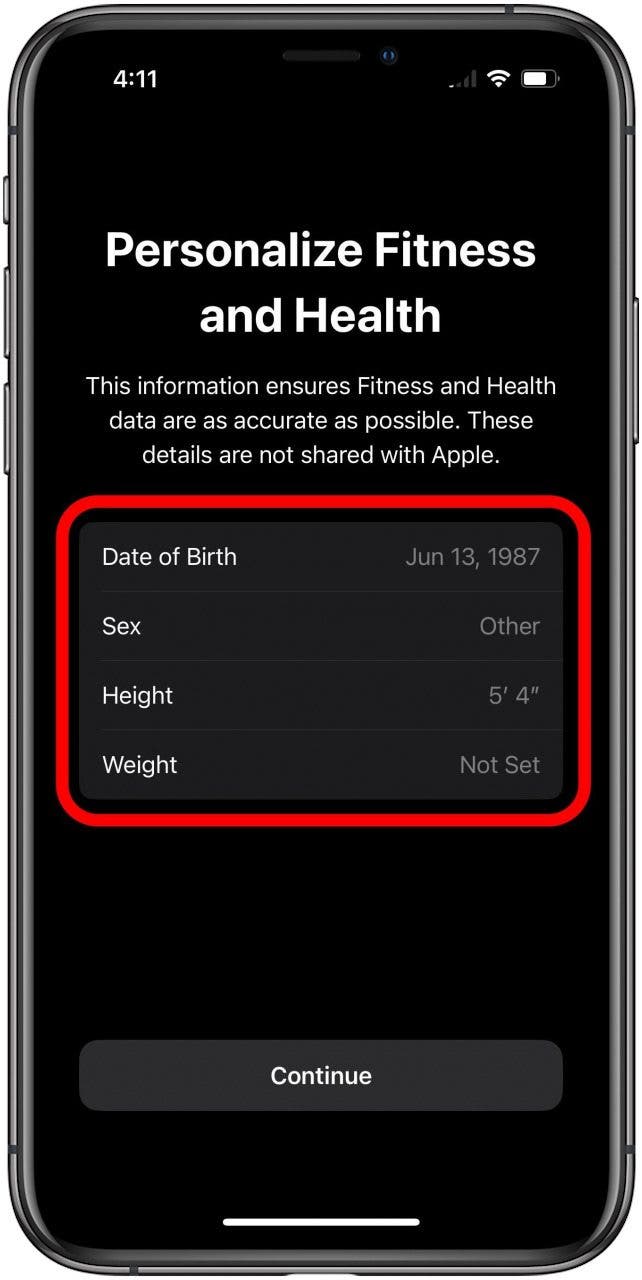
- The first time you start the app, you'll also be prompted to confirm your health data. If you've already set this information up, it may be correct, but if it's not, just tap the section you need to correct and enter the right information.
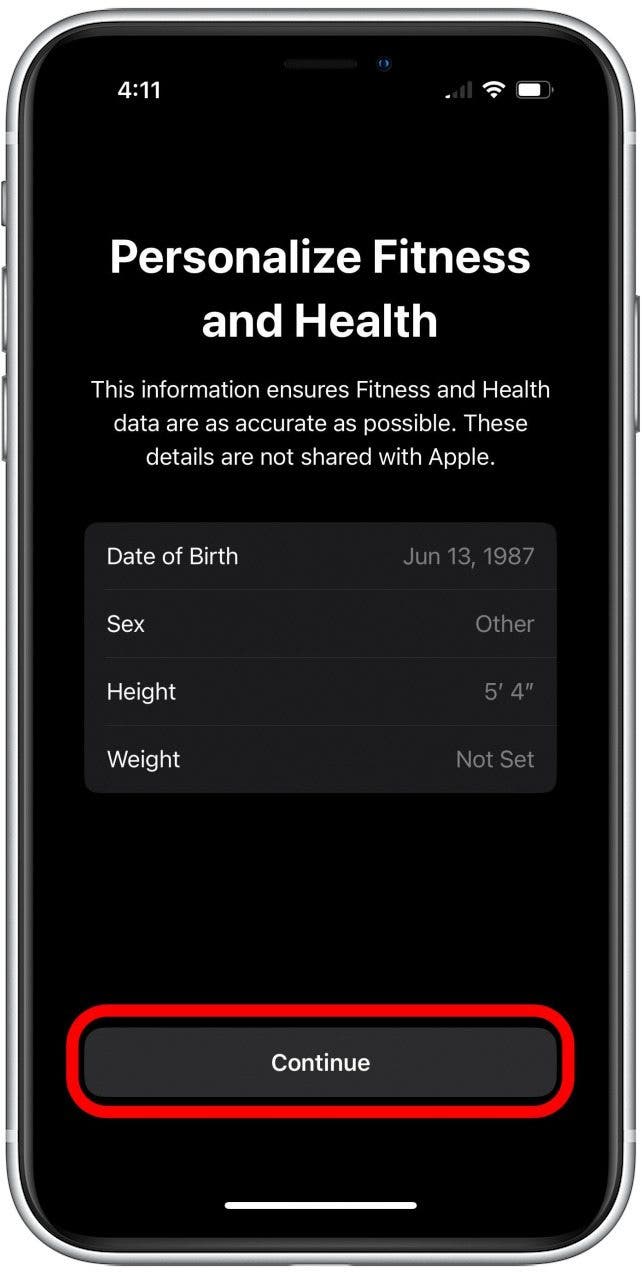
- Once the information is accurate, tap the Continue button.
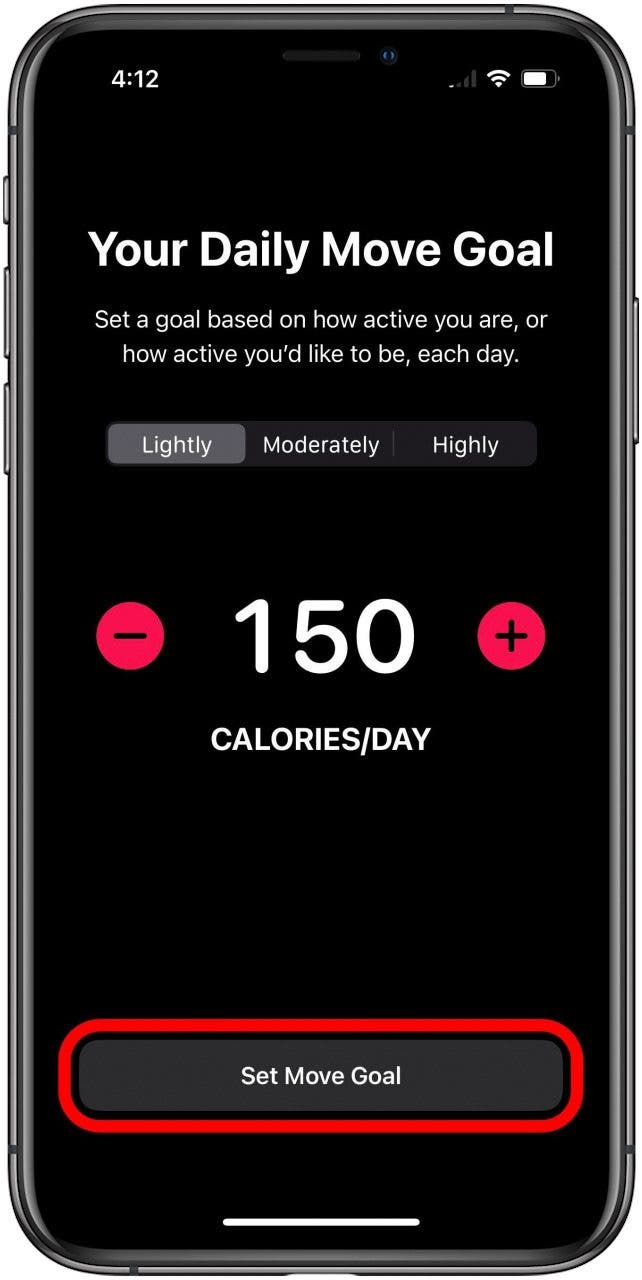
- Next, you'll need to pick your Daily Move Goal. It will start with a very low amount, and it can be adjusted later. You can tap the Lightly, Moderately, or Highly buttons, or the Plus or Minus icons next to the Calorie number to set a goal. When you're finished, tap Continue.
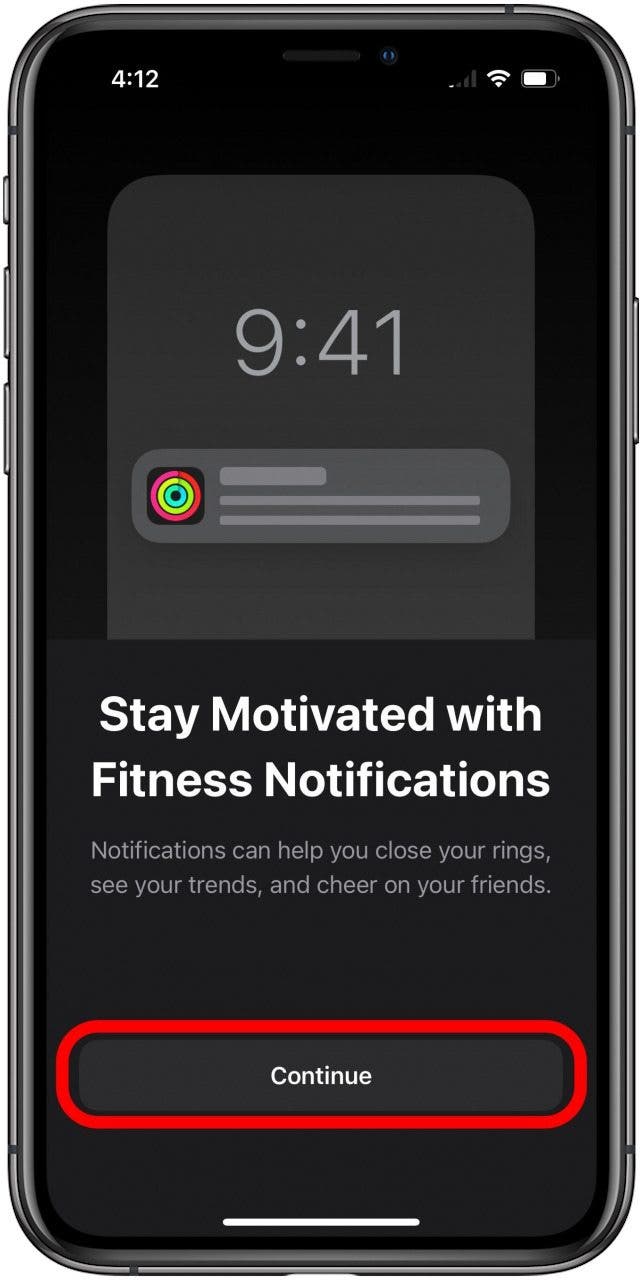
- Finally, the app will ask you whether you wish to receive notifications. Tap the Continue button.
- Then, in the new window that appears, tap either Allow or Don't Allow depending on whether you'd like notifications, or not.

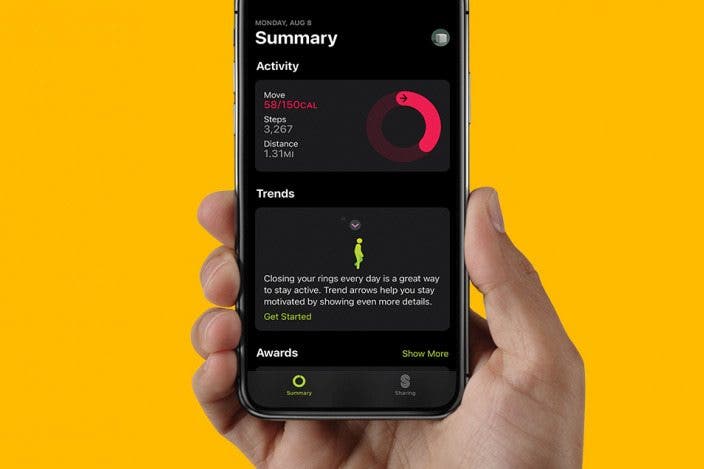
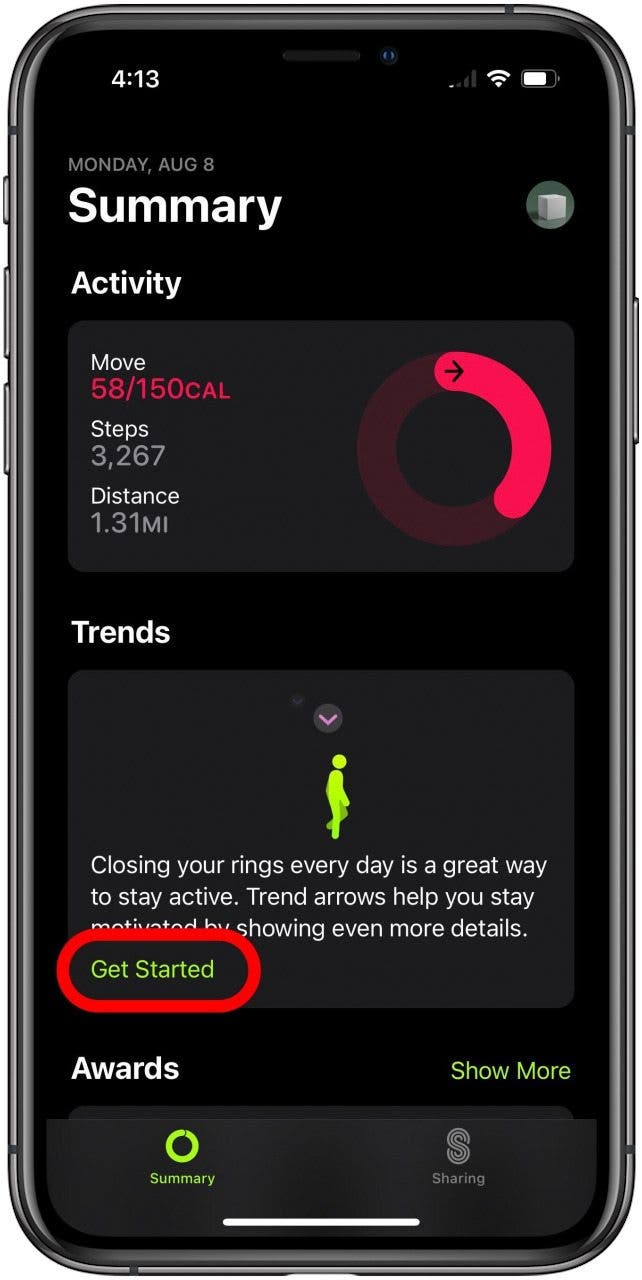
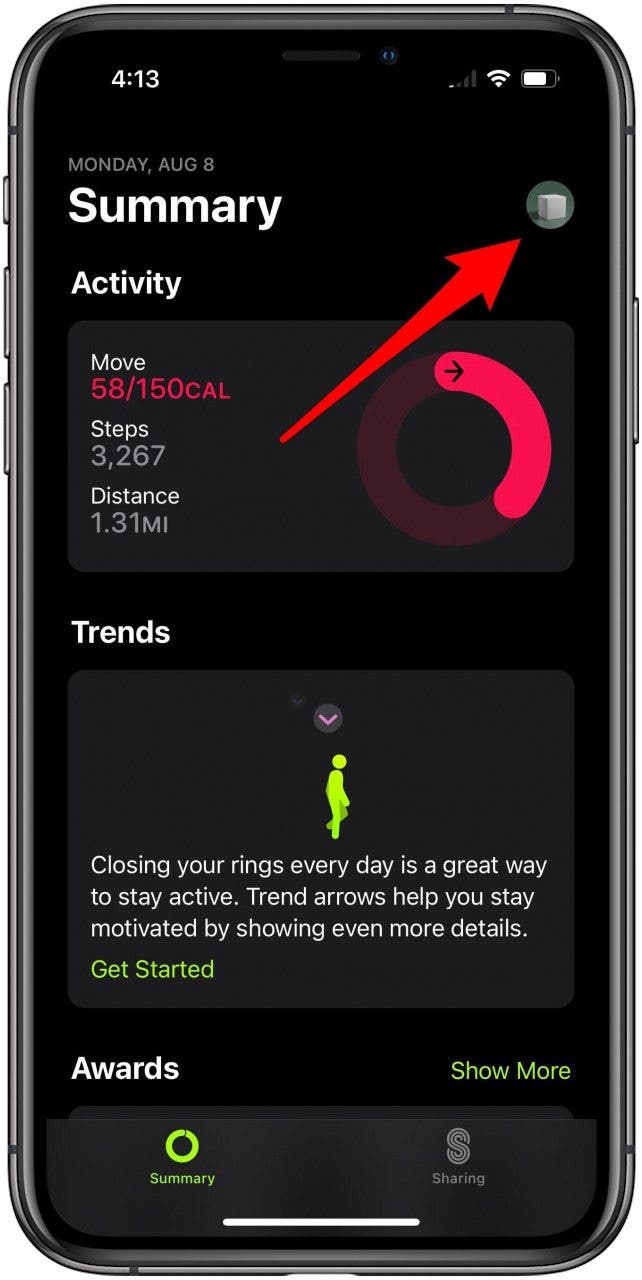
- Now, on the main Summary screen, make sure to learn about Trends by tapping the small Get Started in the Trends box.
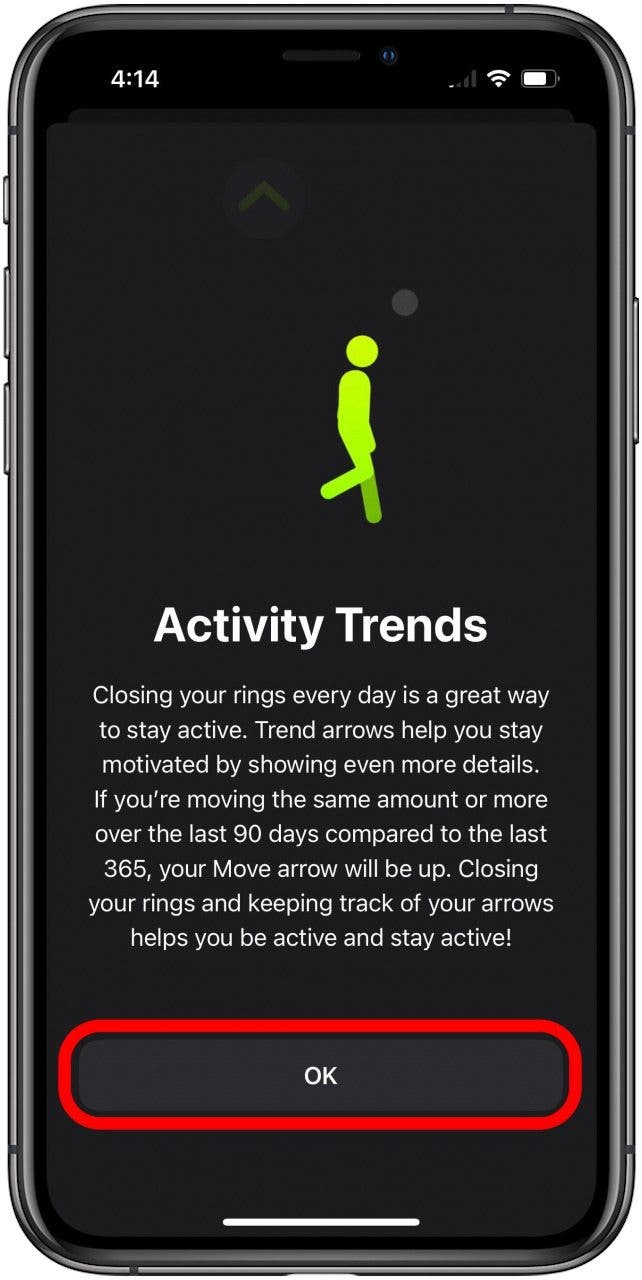
- Read about Activity Trends, then tap the Continue button.
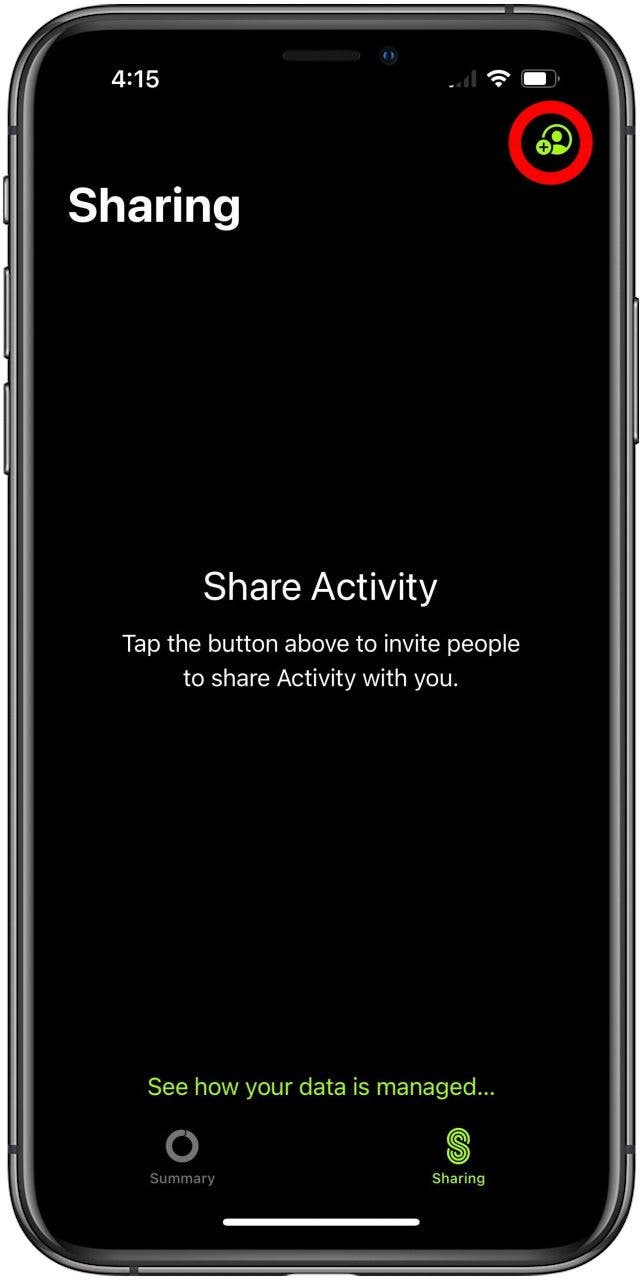
- Back on the Summary screen, if you'd like to invite friends or family to share their Fitness activity with you, tap the Sharing icon in the lower right.

- Next, tap the small Contacts icon in the upper right corner.
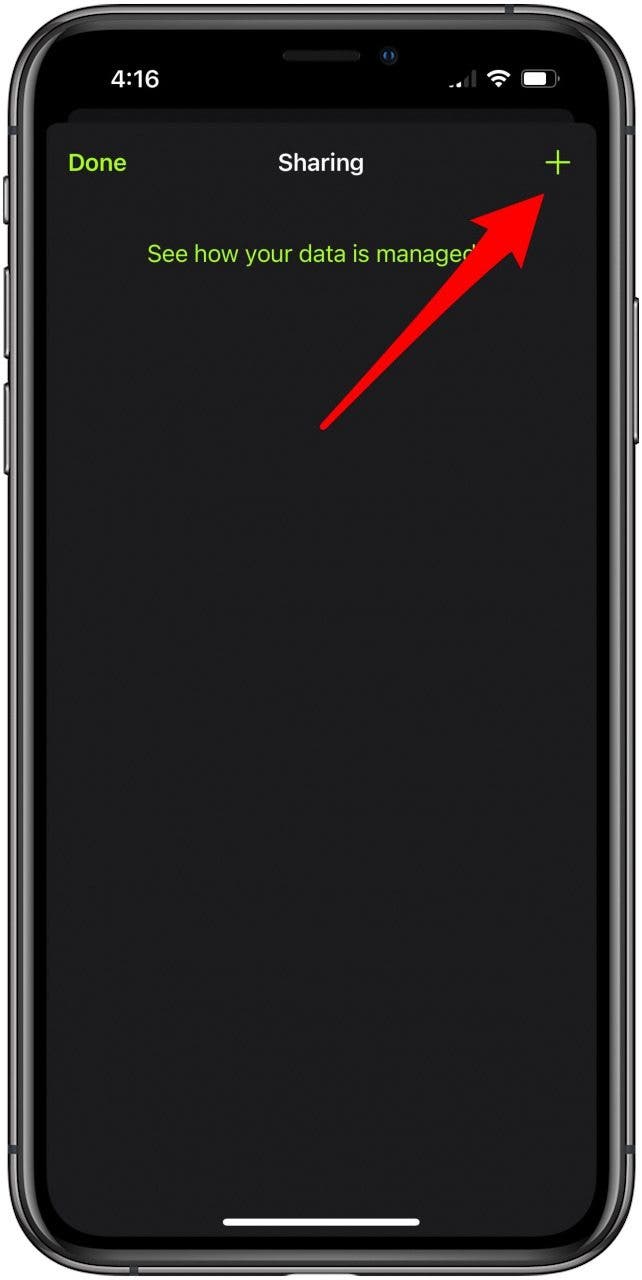
- To pick contacts to invite, tap the Plus icon in the upper right.
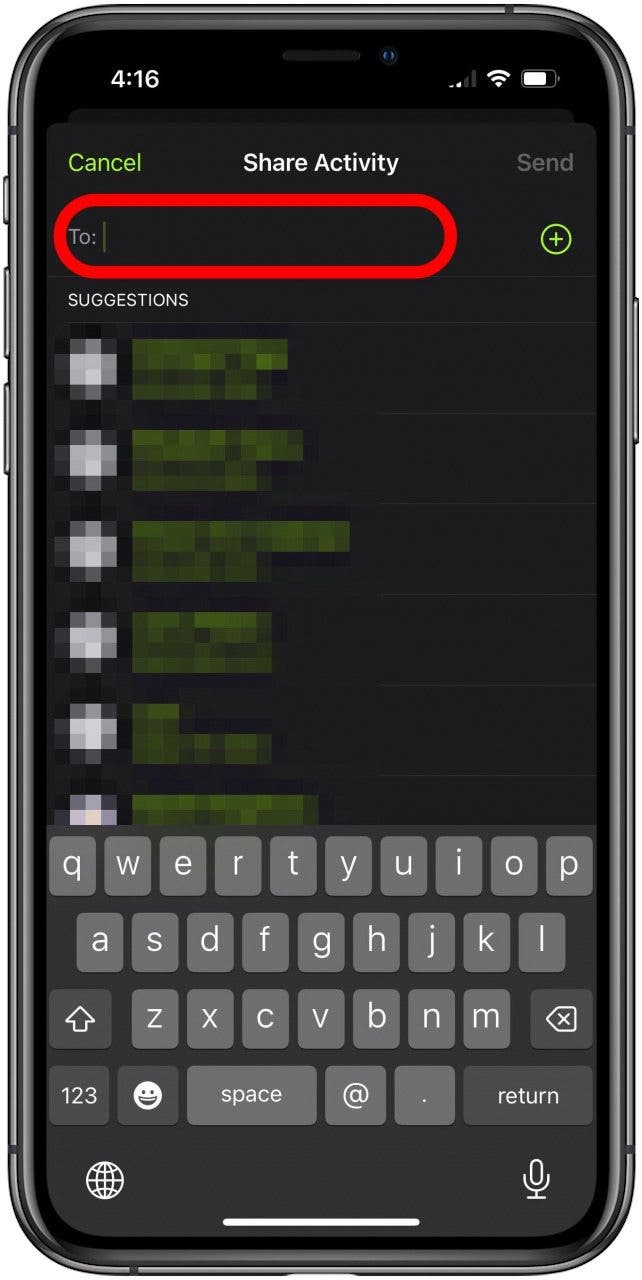
- On this screen, you can search for contacts. Several recent contacts will appear in the suggestions field, and you can tap into the To field to search for one directly. After selecting whoever you like, tap the Send button in the upper right.
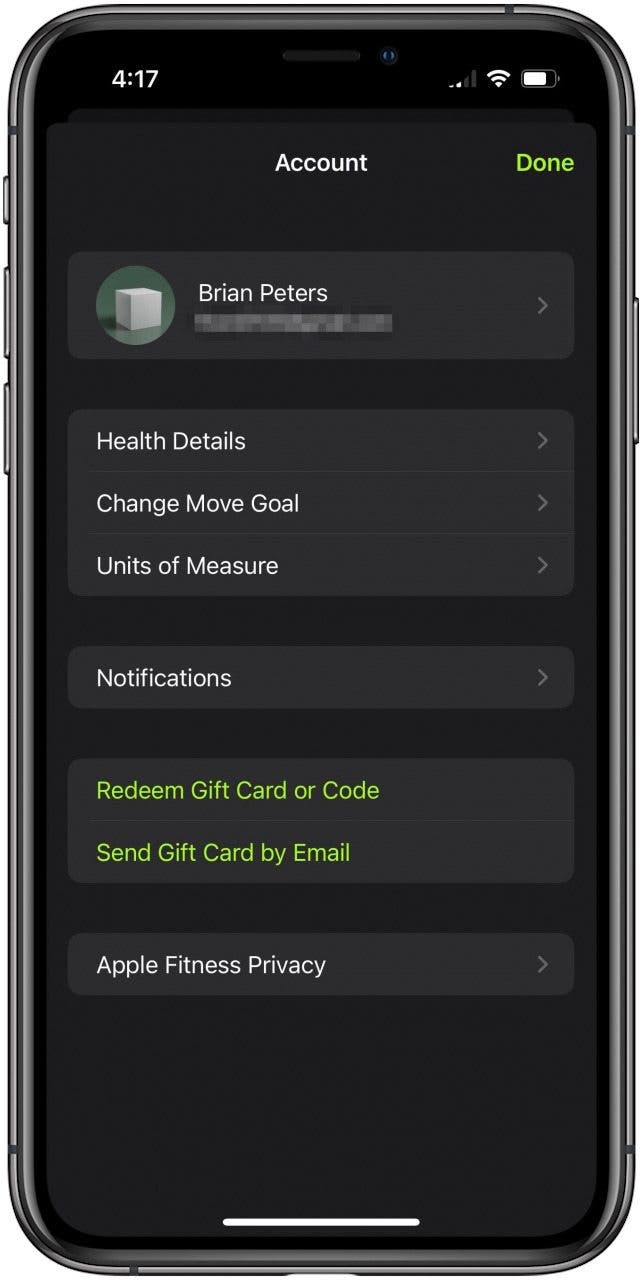
- The final thing to make note of for setting up the app is the small Account icon in the upper right. It will look like whatever picture you have selected for your Apple ID account. Tap it to open the main settings screen.
- On this screen you can make changes to any of the settings or information you picked during app setup.
Now you should be ready to go! The Fitness app will track your steps, flights of stairs climbed, calories burned, and other activity information.
Issues & Troubleshooting
While using the Fitness app without an Apple Watch has worked fine for me so far, there are some issues that others on the iPhone Life team have encountered, so here are a few things to check if you find that the app doesn't seem to be working as expected or isn't tracking your steps and activity.
Update Software
First, make sure that you don't have any pending updates to your iOS 16 system software. Additionally, if you do have an Apple Watch and are finding that Fitness doesn't seem to be working properly, make sure you're running the latest version of Watch OS 9.
Check Motion Calibration & Distance Settings
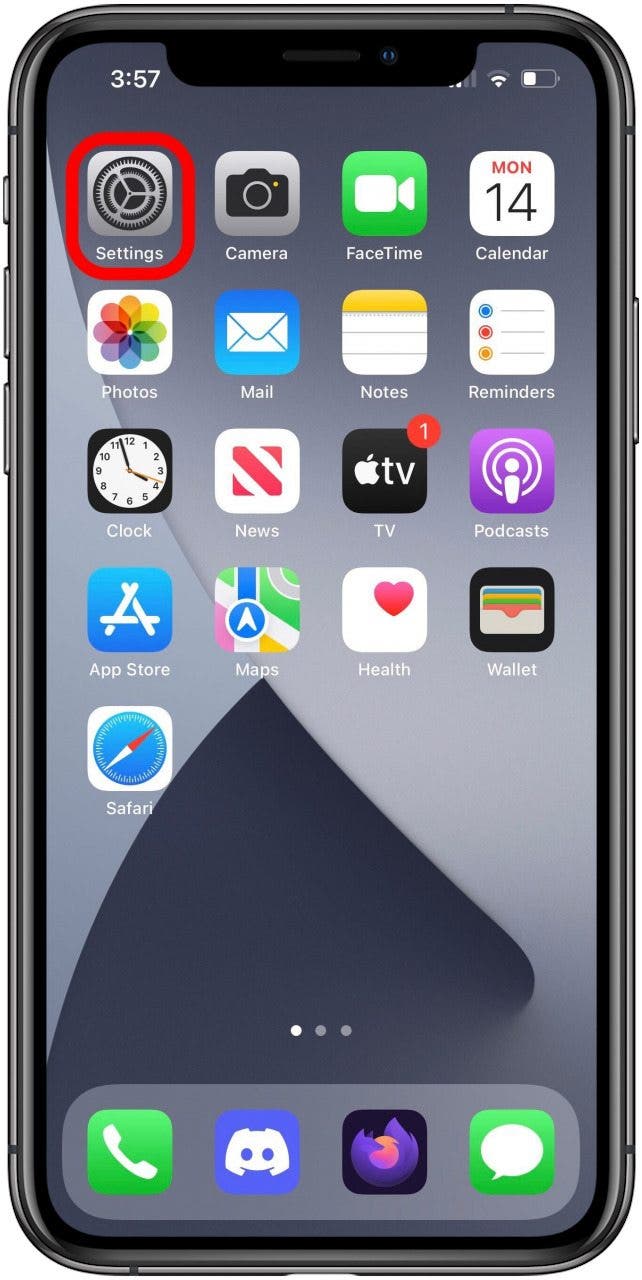
- There's an important setting that, if disabled, will prevent most of the activity tracking functions in Fitness from working properly. Here's how to find it: First open Settings.
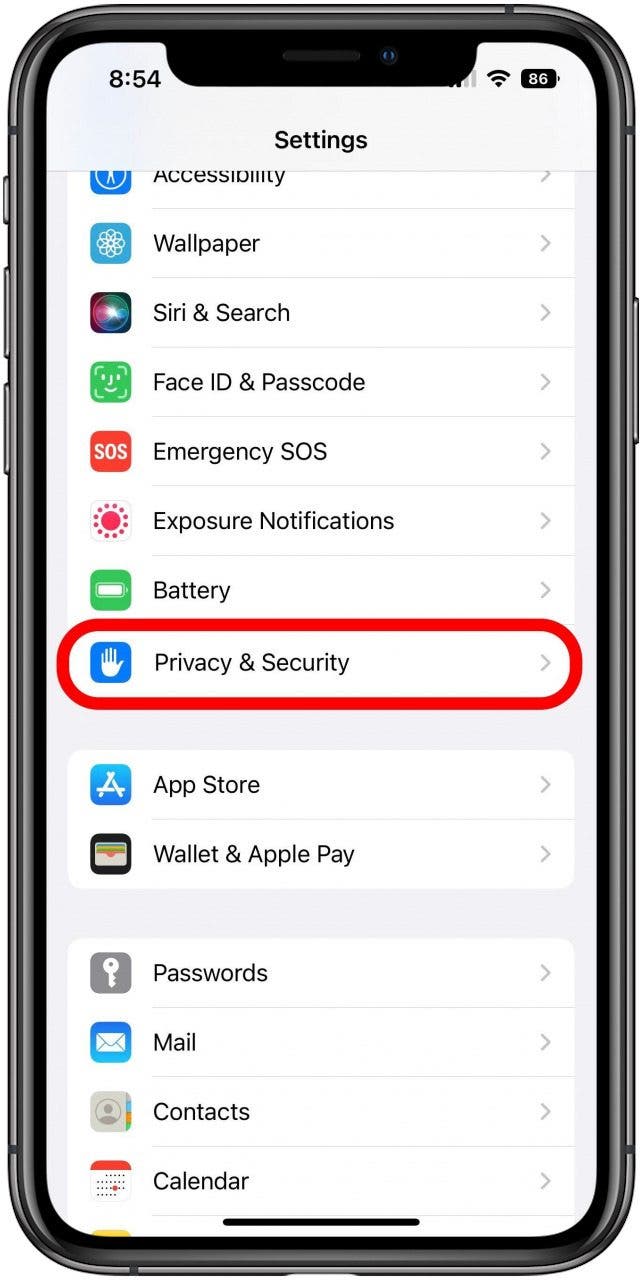
- Next, scroll down and tap the option for Privacy & Security.
- On this screen, the option you want is right at the top: Location Services.
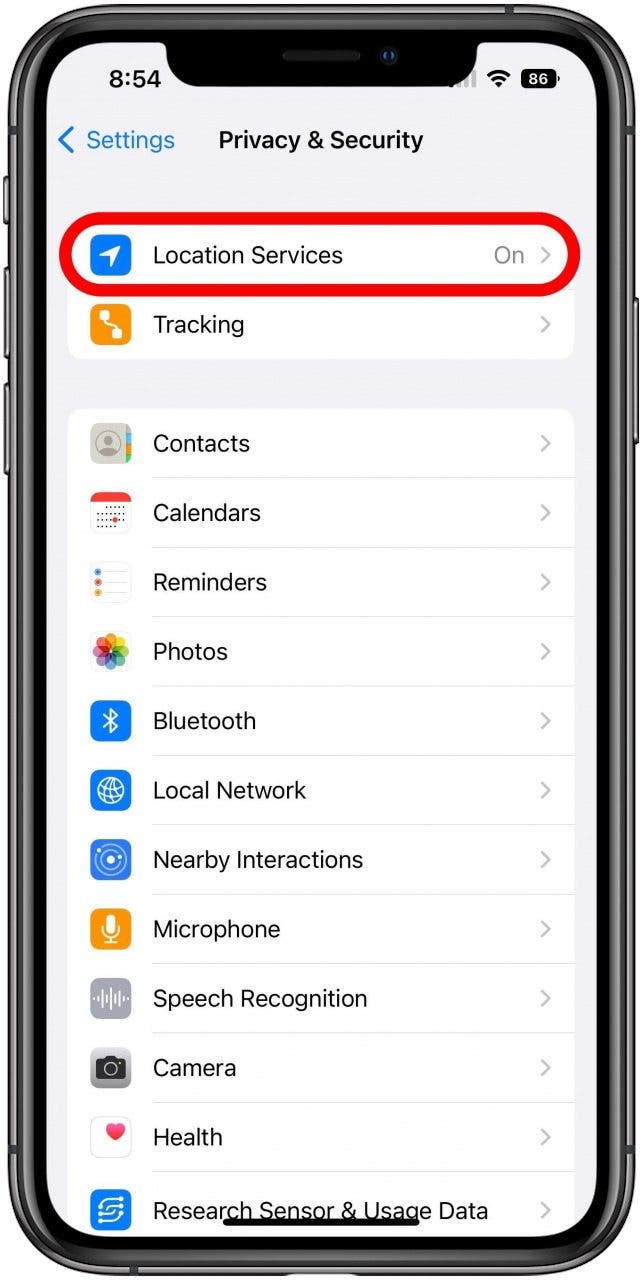
- Here, make sure that the main Location Services toggle is on, then scroll all the way to the bottom and tap System Services.

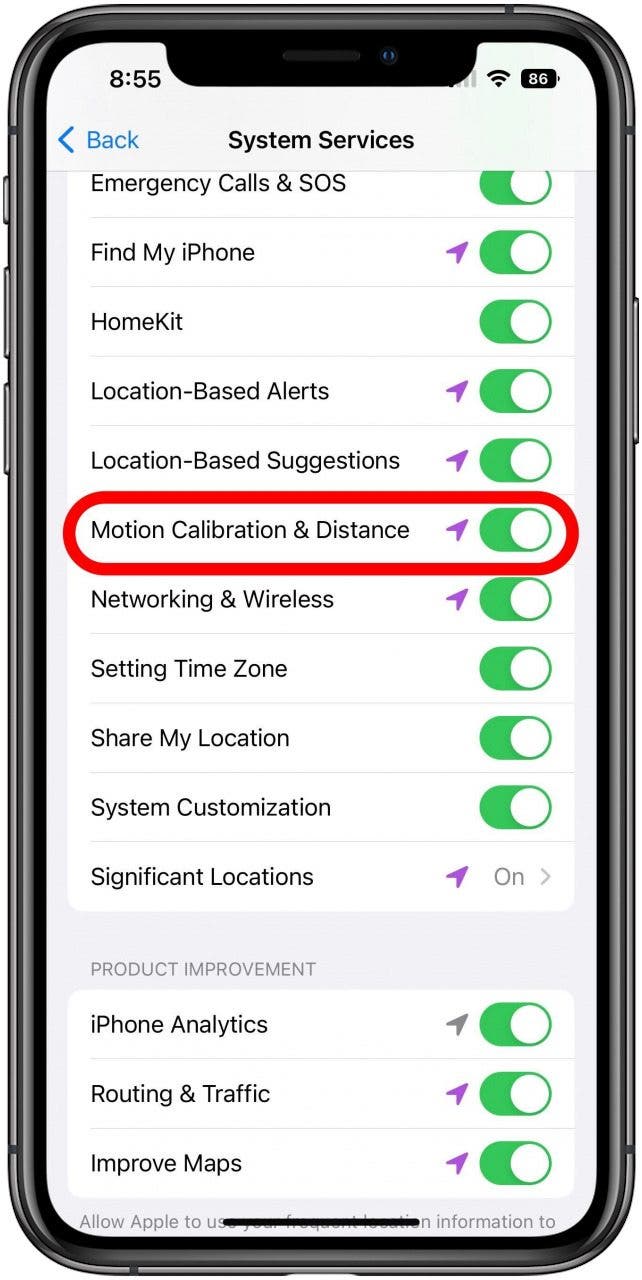
- On this screen there are a lot of different toggles related to location services, but the one we care about for Apple Fitness is the one labeled Motion Calibration & Distance. Ensure this toggle is on (green); otherwise, step and activity tracking will not work correctly or at all.
Once you've made sure your system software is up to date and that Motion Calibration & Distance is enabled in Location Services, try using Apple Fitness to track your activity again and it should work.

 Leanne Hays
 Rhett Intriago
 Rachel Needell
 Amy Spitzfaden Both

 Olena Kagui

 Cullen Thomas