How to Switch iPhone Camera Modes
A short primer on the different modes of the Camera app on your iPhone.

The built-in camera and the accompanying Camera app are one of the reasons people love their iPhones, and while the app is simple and easy to use, there are a lot of different modes. In this quick guide, we'll run down each of them and explain what they're for and how to access them.
Related: How to Use the Timer on iPhone Camera
Why You'll Love This Tip
- Learn the basics of all the modes in the Camera app.
- Learn how to quickly open the camera and switch modes.
- Find links to in-depth articles on further camera features.
How to Switch Camera Modes
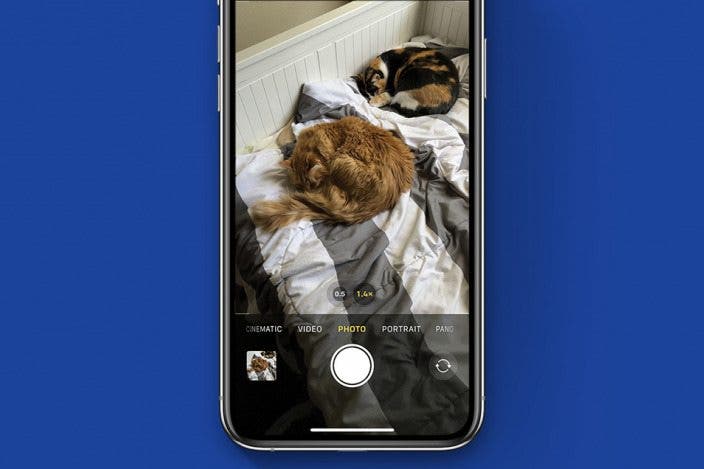
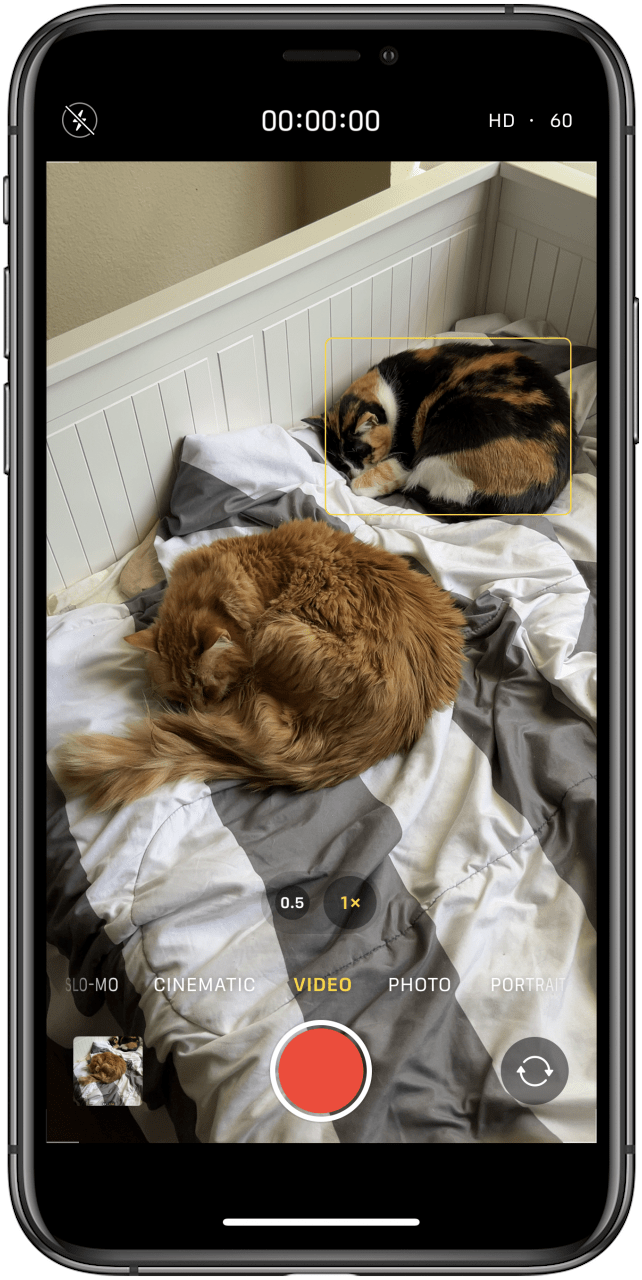
Once you open the Camera app, you will want to choose a camera mode. Your photo options are photo, Portrait (if available on your iPhone model), and pano. Your video options are video, Cinematic (available on iPhone 13 models), slo-mo, and time-lapse.
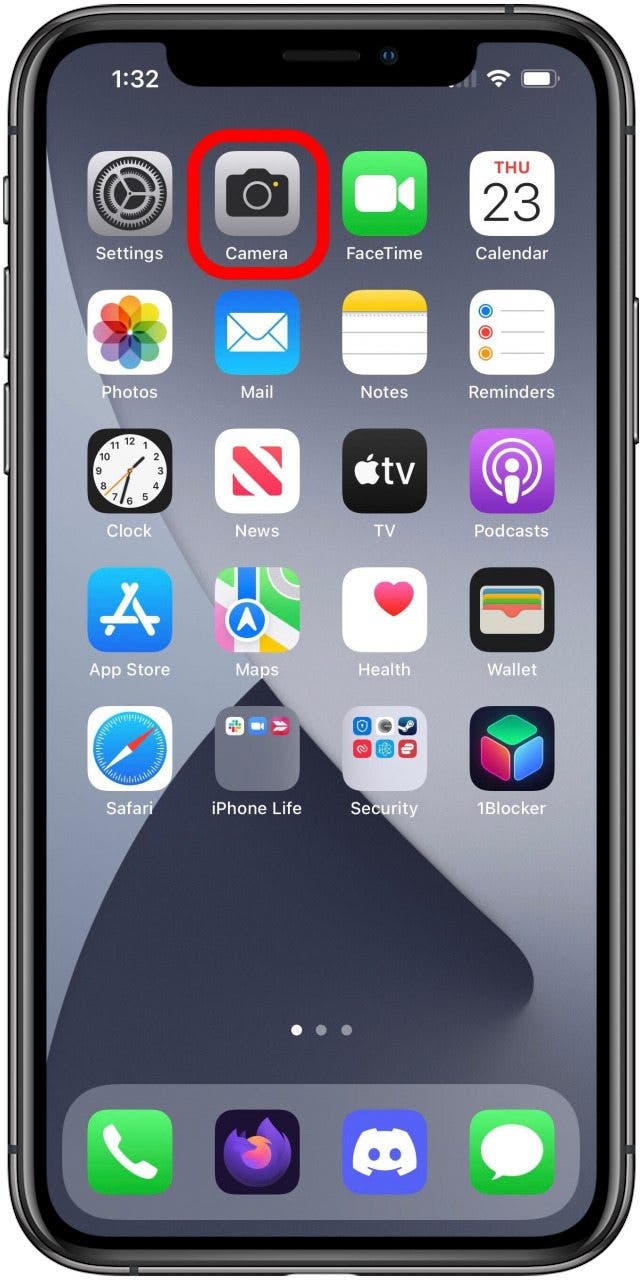
- First, open the Camera app.
- If you haven't changed the settings, the Camera will open in Photo mode by default. Photo mode will likely be all you need for most of your still-image needs.

- There are two ways to switch out of the default photo mode. You can swipe the screen right to switch to video modes, and swipe left to switch to other photo modes.
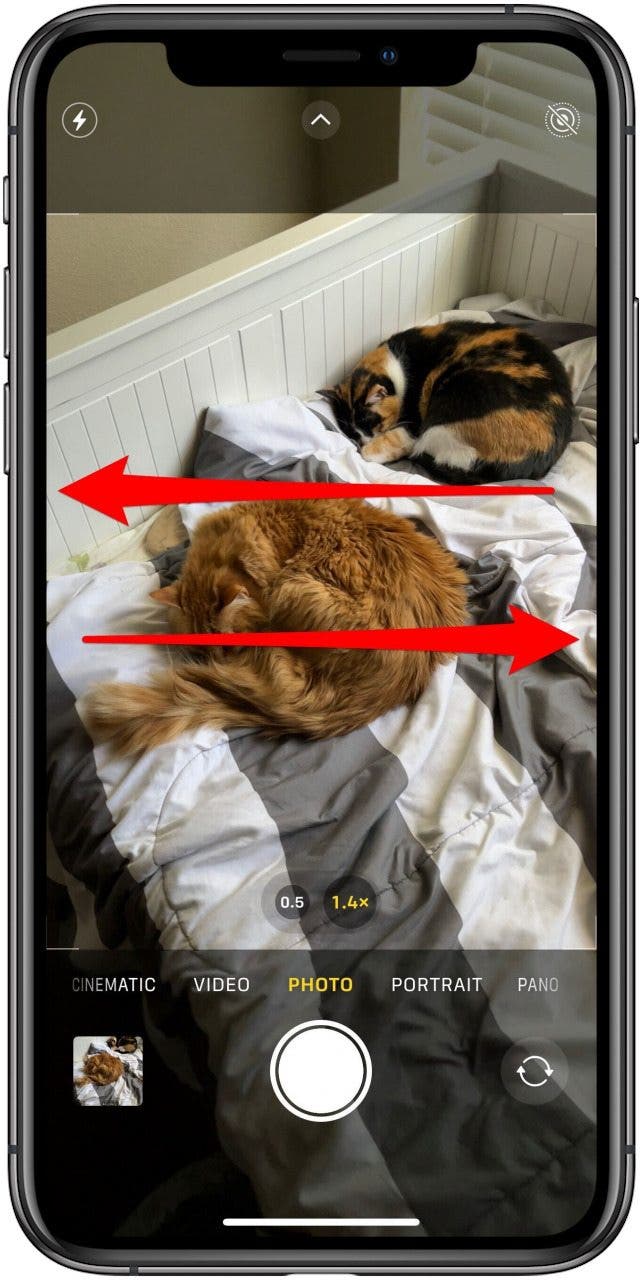
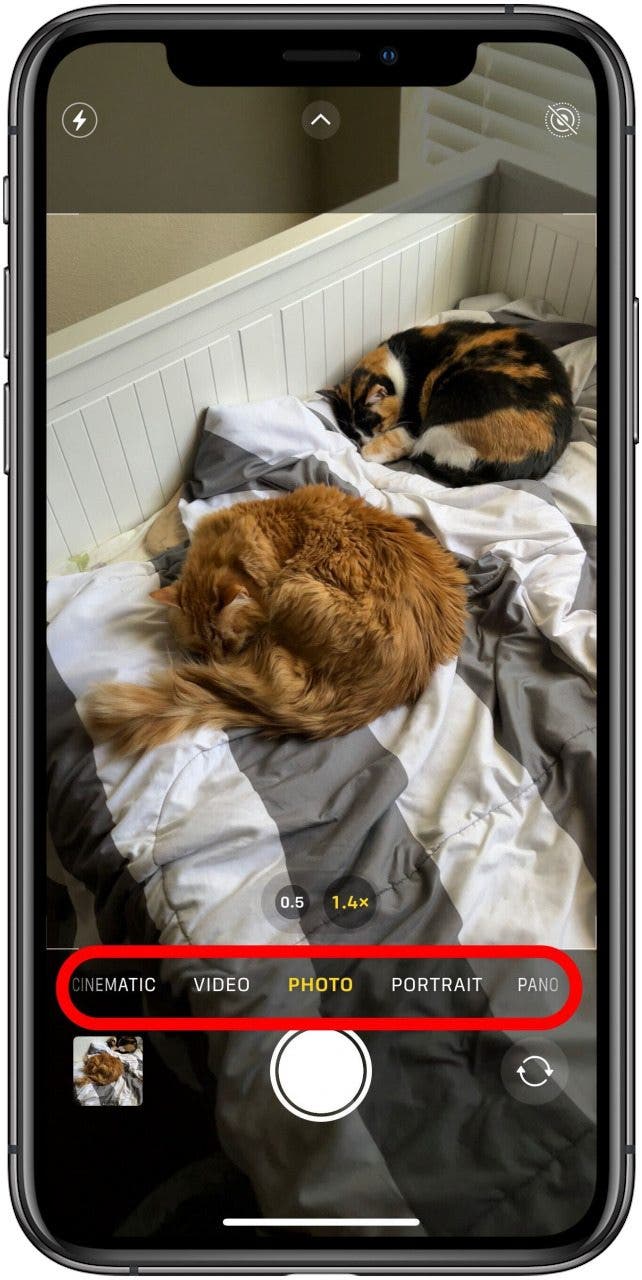
- You can also use the mode menu below the image and simply tap the mode you want to switch to, though not all modes will be visible.
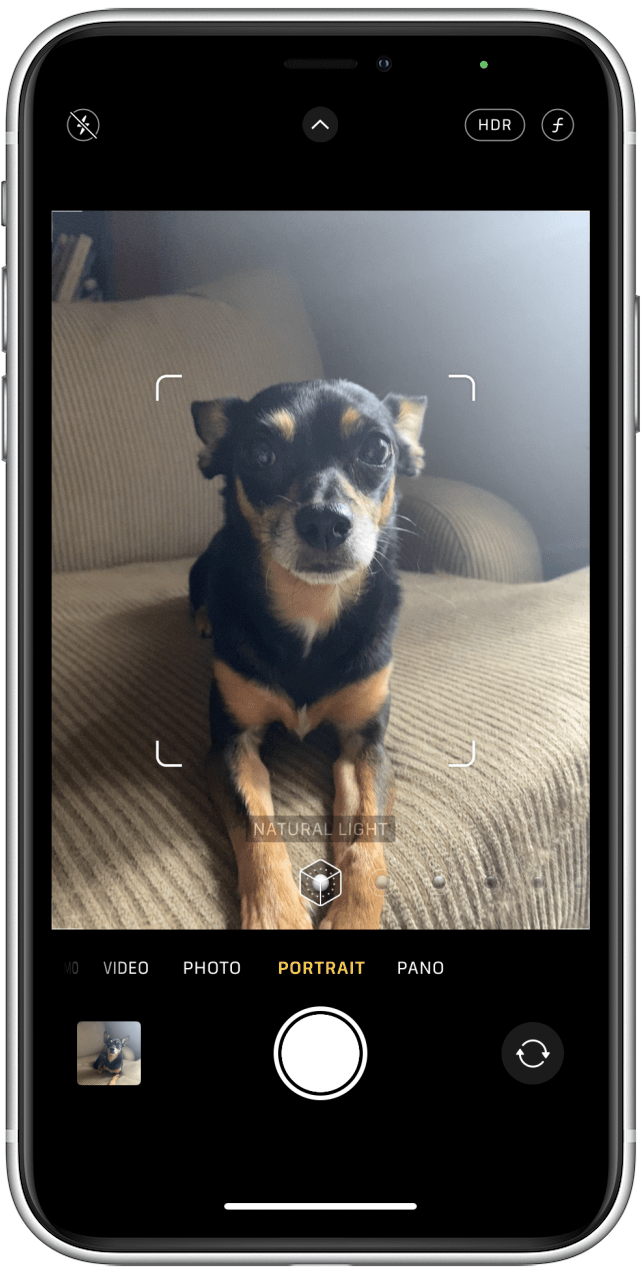
- Portrait mode is the first alternate photo mode. Portrait mode is intended to keep your subject sharply focused while blurring things in the background.
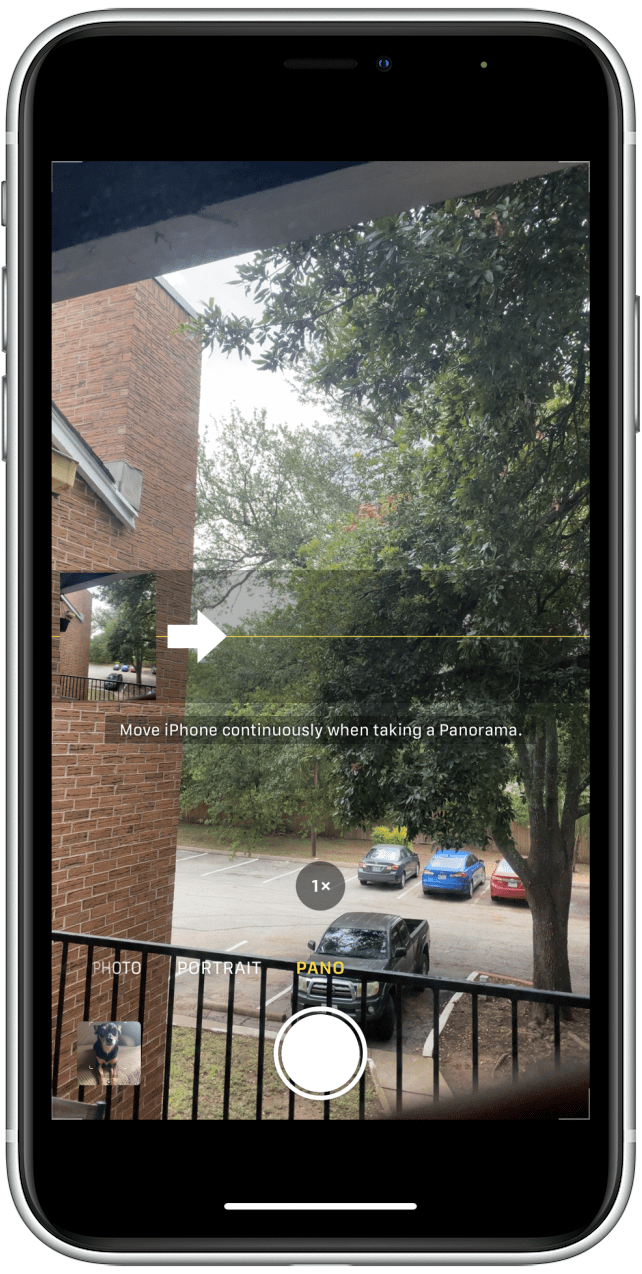
- Pano is the other alternate photo mode. Pano is short for "panorama" and allows you to capture a wide-angle landscape by following the guided directions in the app.
- Now to shift to Video. The basic Video mode is what you'll likely use for most video recordings.
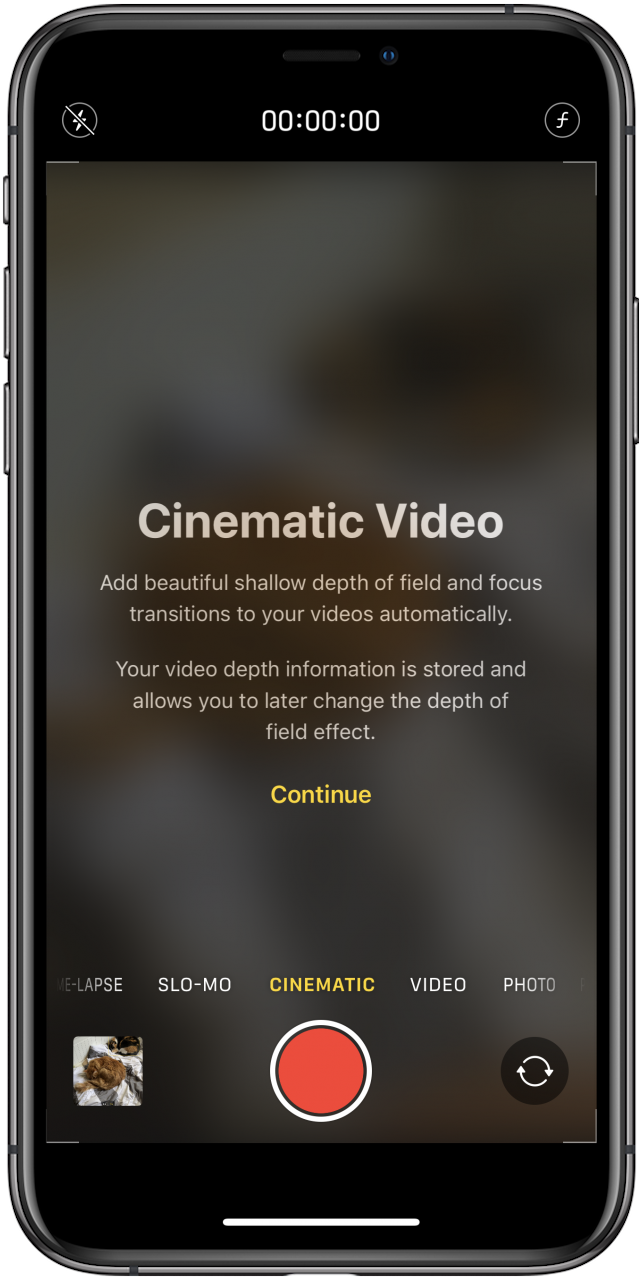
- Cinematic is the first alternate video mode. This mode is only available on iPhone 13 models, so don't panic if you don't see it. As described in the app itself, Cinematic mode allows you to automatically add depth of field effects and transitions to your videos.
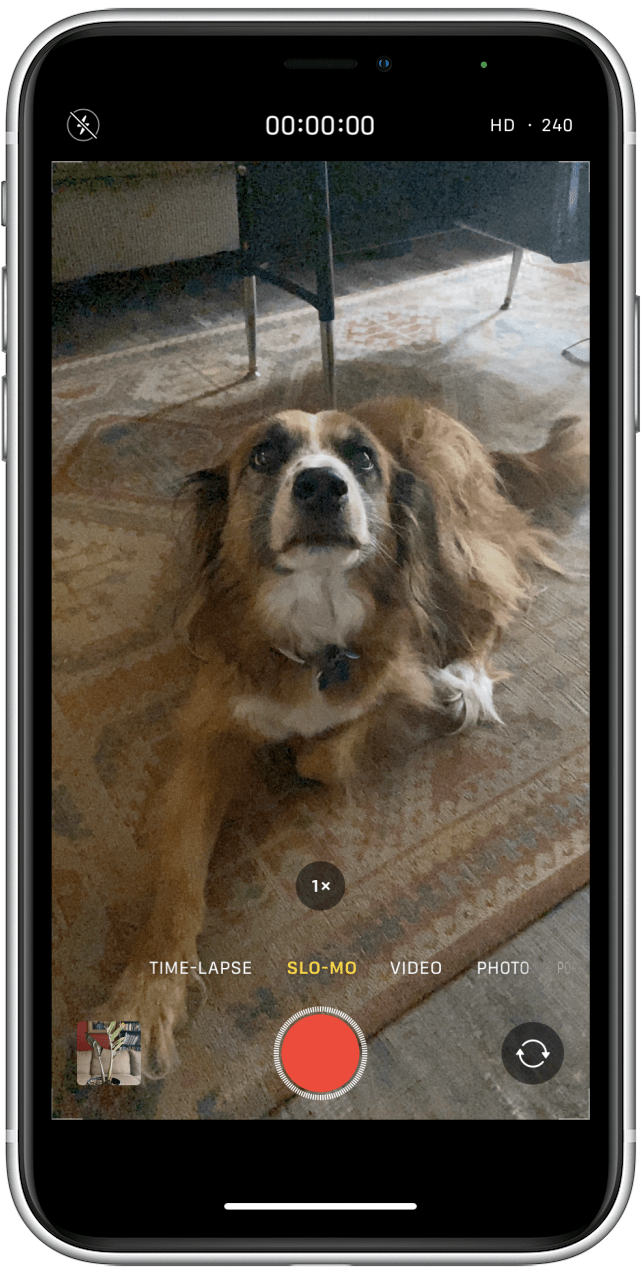
- Slo-mo mode is the next alternate video mode and, as might be expected, it allows you to capture videos in slow motion.
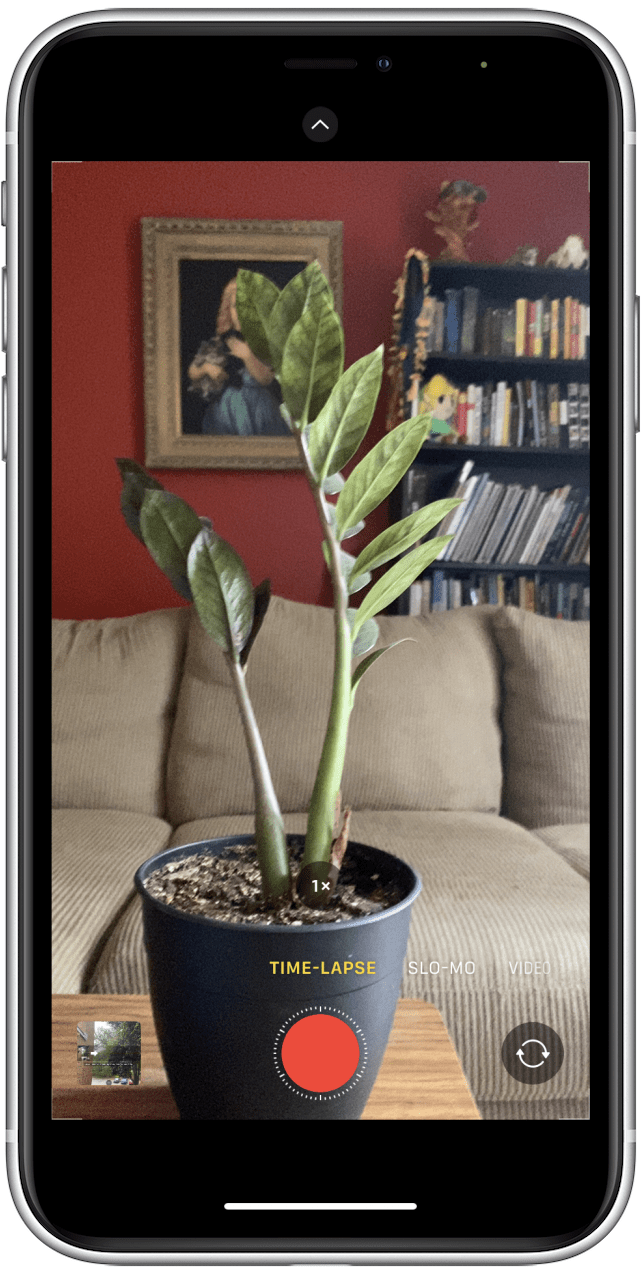
- Time-lapse is the final alternate video mode, and it allows you to create time-lapse recordings with images taken at a selected interval.
Now that you know about the various modes in the Camera app, don't be afraid to experiment and try lots of different things. There are many different settings, filters, and other ways to tweak the camera to get exactly the experience you want from it. Next, learn how to turn your iPhone Camera grid on or off, and what to do if your iPhone Camera is shaking.

Every day, we send useful tips with screenshots and step-by-step instructions to over 600,000 subscribers for free. You'll be surprised what your Apple devices can really do.

Brian Peters
Related topics
Related Articles

 Rhett Intriago
iPhone 16 Pro & Pro Max: If You Care about AI & Photography, Take Note
 Ashleigh Page
 Leanne Hays
 Amy Spitzfaden Both
 Rachel Needell
 Olena Kagui
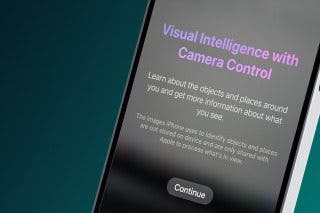
How to Use Visual Intelligence: Google Lens iPhone Alternative