How to Add Multiple Stops to Apple Maps Route
Multi-stop routes finally come to Apple Maps: add stops to your trip, rearrange them, and more.

In the last 10 years, Olena has been published in dozens of publications internationally and written hundreds of how-to articles and complex guides about Apple products, software, and apps.
Learn More In the last 10 years, Olena has been published in dozens of publications internationally and written hundreds of how-to articles and complex guides about Apple products, software, and apps.
Learn MoreThe Maps app is often overlooked by iPhone users who prefer to use third-party navigation apps. However, it has undergone many changes in the past few updates, and iOS 16 added some changes that may make it your favorite navigation app. One of the newest changes to the Maps app is the ability to add multiple stops along your driving routes. We'll show you how!
Related: How to Share ETA on iPhone with Apple Maps
Why You'll Love This Tip
- Plan out your entire, multi-stop trip at once, without having to replan your route at every stop.
- Change your starting location and rearrange stops along the way as needed.
How to Add Multiple Stops Along Your Driving Route
I’ll walk you through the process of adding multiple stops from the very beginning so that you can easily follow along, even if you are new to Maps. Before you begin, make sure your iPhone has been updated to iOS 16. For more great new iOS 16 tips, check out our Tip of the Day newsletter.
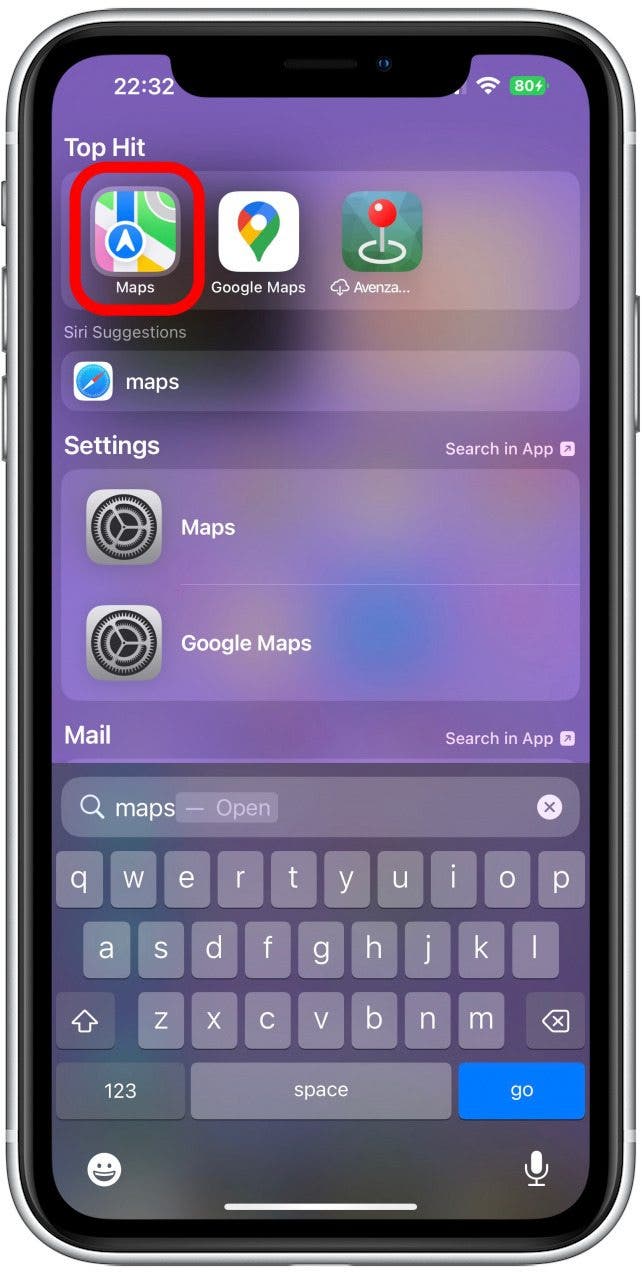
- Open the Maps app.
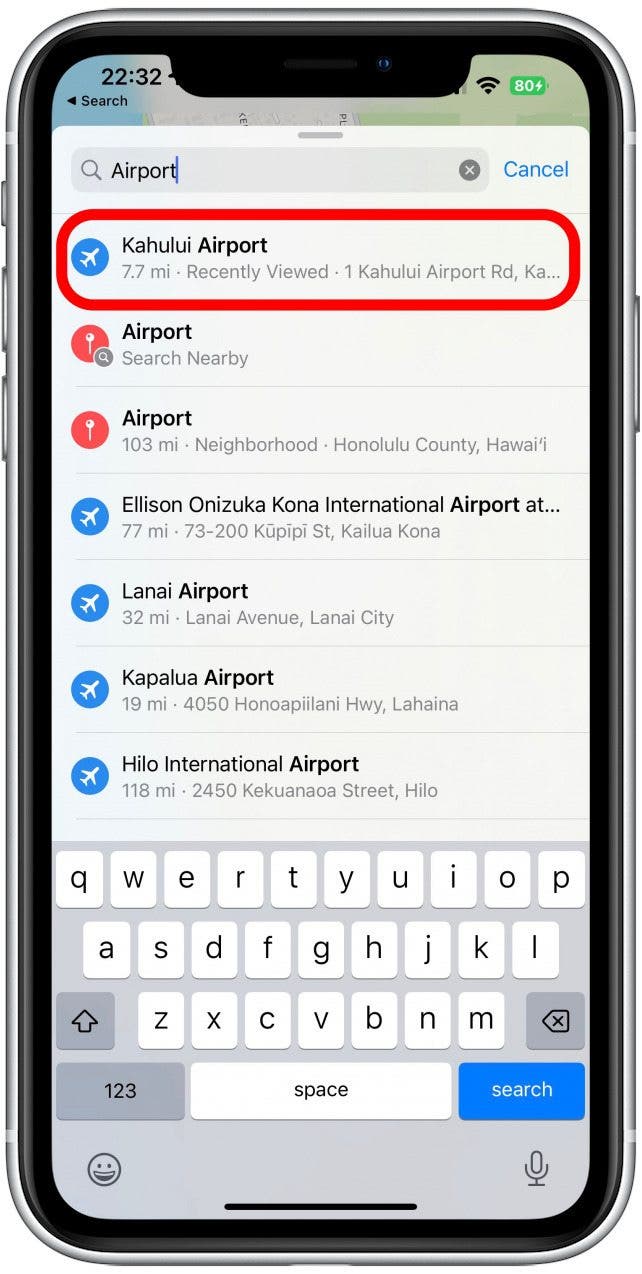
- Use the search bar to enter a destination.
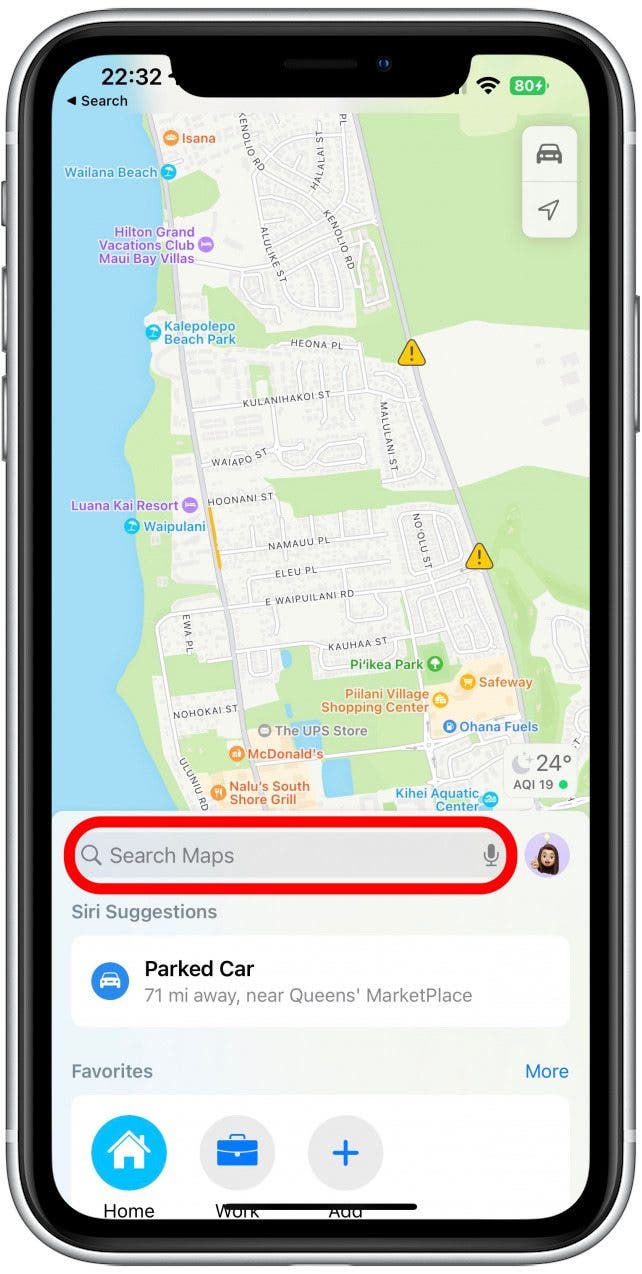
- Tap the destination.
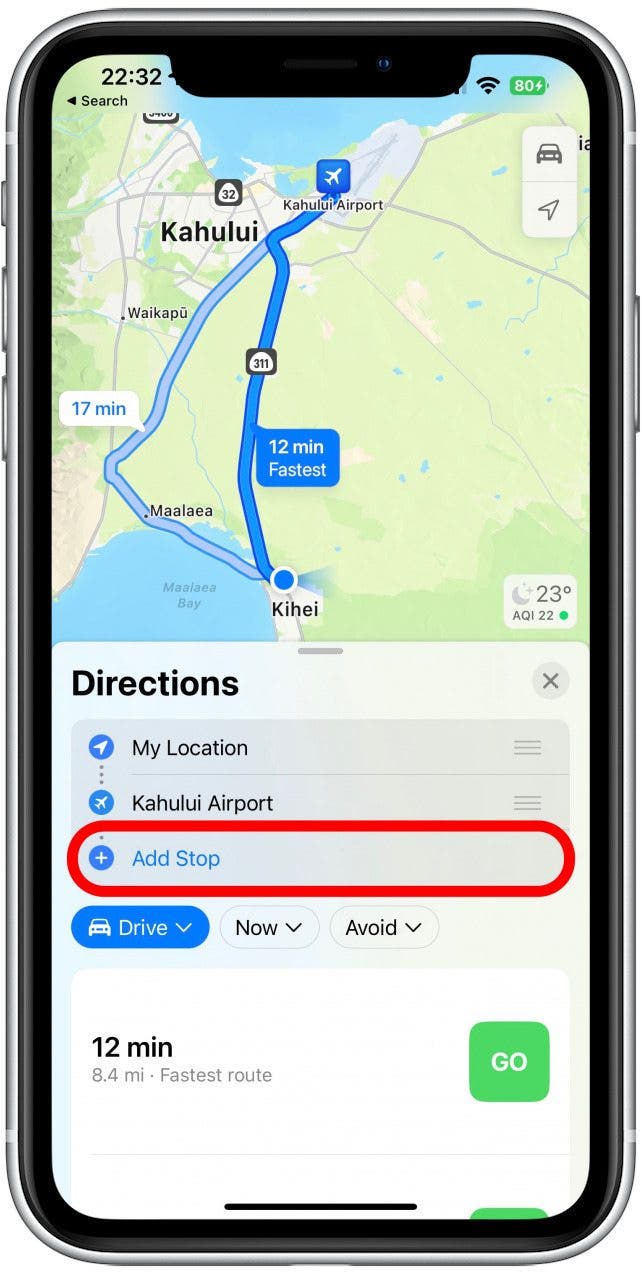
- Tap the car icon to show you the driving directions.

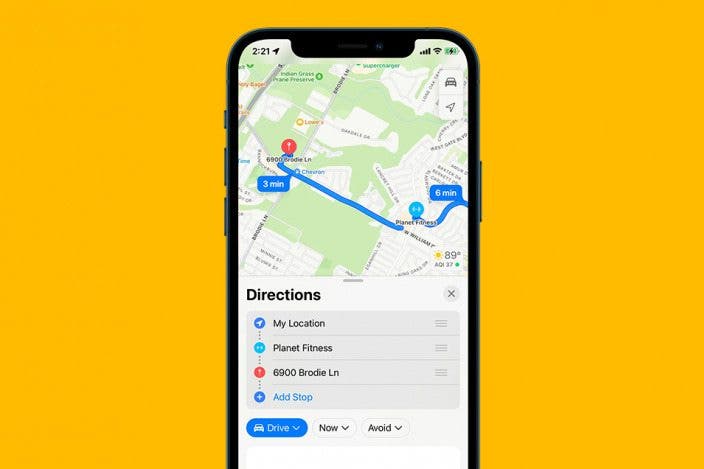
- Tap Add Stop.
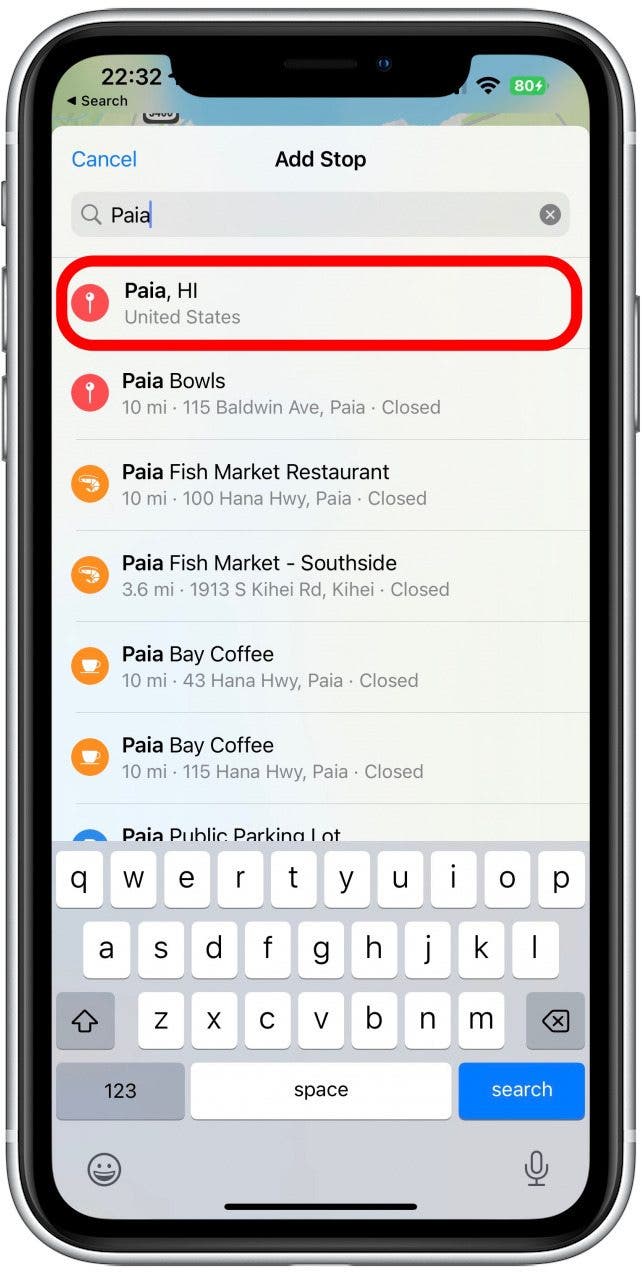
- Use the search bar to enter a destination.

- Tap the new stop to add it.
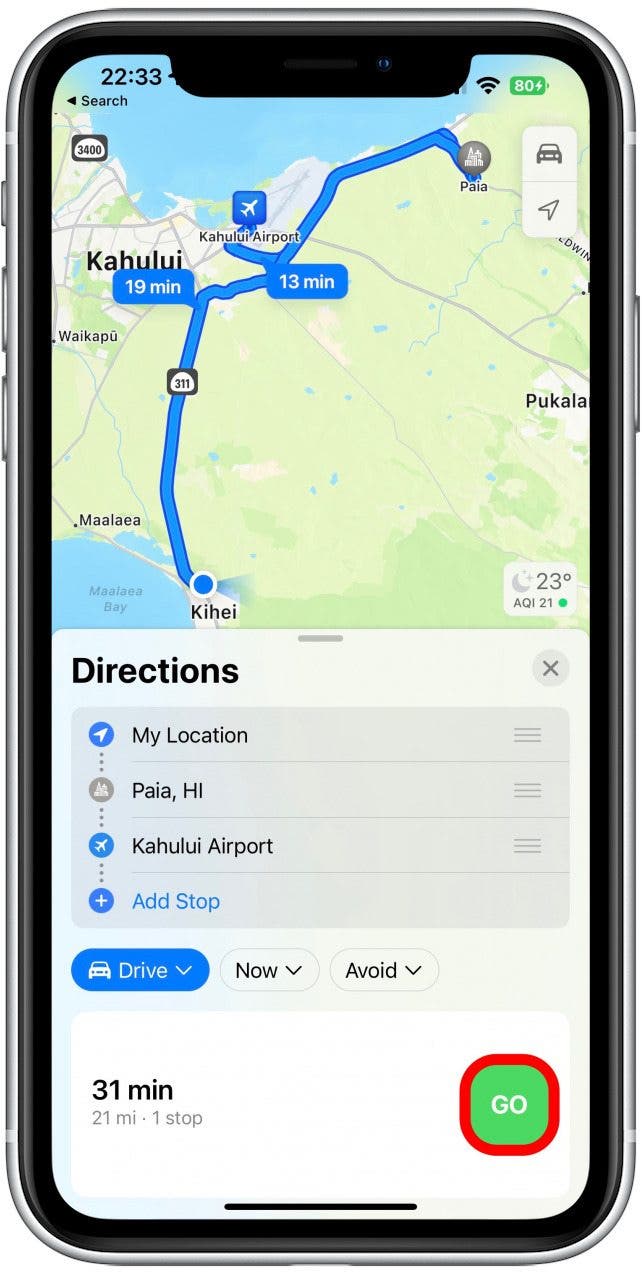
- You can add more stops by following steps 5–7.

- You can use the three horizontal lines to drag the locations to rearrange the stops. You can even change your starting location using this method.

- When you are ready to start your journey, tap GO.
Pro Tip: You can plan a route on your Mac and sync it to your iPhone. Once you set up the route, click File, then click Send to Device and select your iPhone. While this isn’t a completely new iOS 16 feature, being able to create and share a route with multiple stops is only possible if both your iPhone and Mac are running the latest software.

Every day, we send useful tips with screenshots and step-by-step instructions to over 600,000 subscribers for free. You'll be surprised what your Apple devices can really do.

Olena Kagui
Olena Kagui is a Feature Writer at iPhone Life. In the last 10 years, she has been published in dozens of publications internationally and won an excellence award. Since joining iPhone Life in 2020, she has written how-to articles as well as complex guides about Apple products, software, and apps. Olena grew up using Macs and exploring all the latest tech. Her Maui home is the epitome of an Apple ecosystem, full of compatible smart gear to boot. Olena’s favorite device is the Apple Watch Ultra because it can survive all her adventures and travels, and even her furbabies.
Related Articles

 Olena Kagui
 Rhett Intriago


 Rachel Needell
 Amy Spitzfaden Both

iPhone 15 Release Date & Rumor Roundup: Everything We Know

News Roundup: Hacks, Scams, Trouble + What You Can Do to Protect Yourself
 Cullen Thomas

 Leanne Hays