You don’t need a magnifying glass app to zoom in on a part of a photo, you can just use the native Markup tool. The built-in iPhone magnifying glass feature can be used to zoom-in on part of a photo, screenshot, or even a downloaded image. I’ll teach you how to do this in just a few easy steps.
Why You’ll Love This Tip
- There's a hidden iPhone magnifier tool that can help you easily magnify part of an image.
- Enhance an image or draw focus by magnifying part of it.
- Save a partially magnified image to share with others.
Magnify Part of a Photo via Markup’s Magnification Glass Icon
System Requirements
This tip was performed on an iPhone 17 Pro Max running iOS 26.3. Find out how to update to the latest version of iOS.
You can temporarily magnify images on your iPhone using the Magnifier tool. But if you want to save an image with a magnified part, you’ll have to use Markup. For more useful iPhone tricks, don’t forget to check out our free Tip of the Day newsletter. Here’s how to use Markup’s magnifier on iPhone:
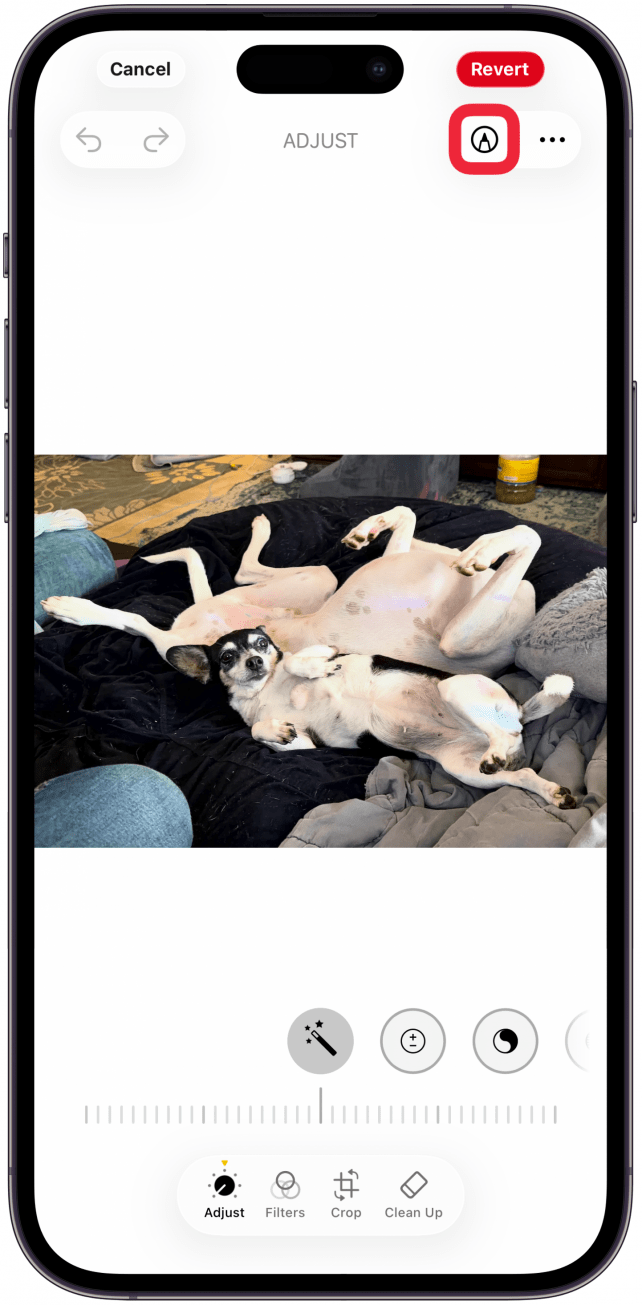
- Open an image in the Photos that you wish to magnify a part of and tap the Adjust icon at the bottom of your screen.
![Open an image in the Photos that you wish to magnify a part of and tap the Adjust icon at the bottom of your screen.]()
- Tap the Markup icon on the top right.
![Tap the Markup icon on the top right.]()
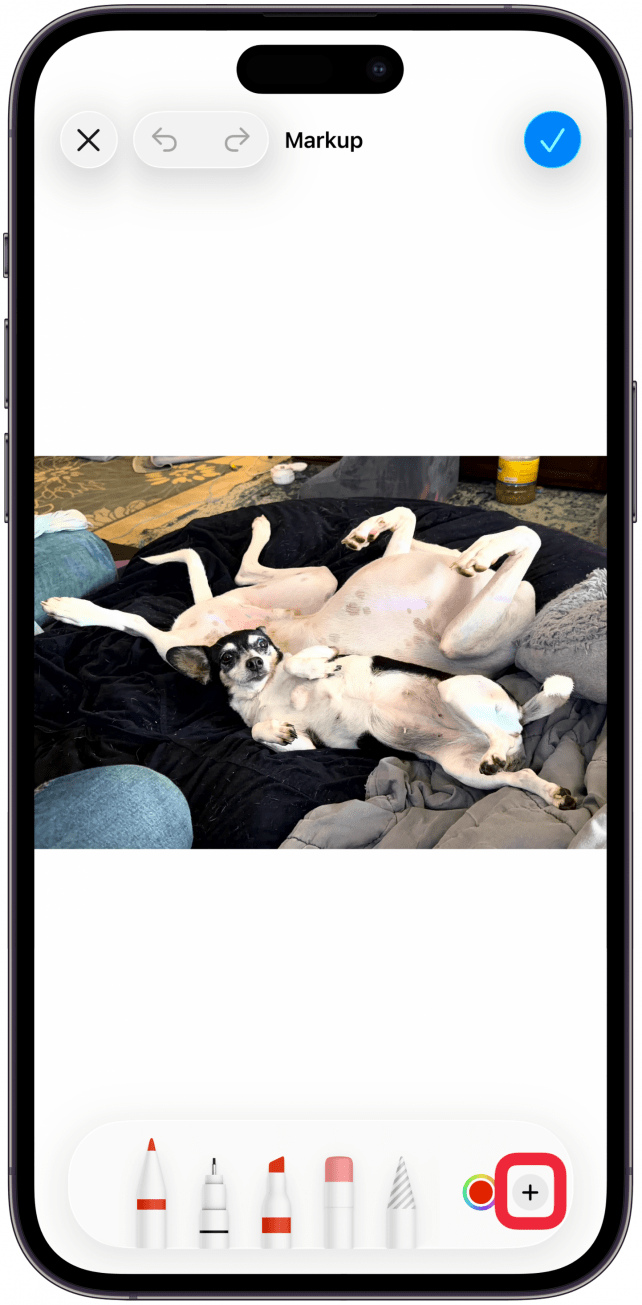
- Tap the plus icon at the bottom right.
![Tap the plus icon at the bottom right.]()
- Tap Add Loupe.
![Tap Add Loupe.]()
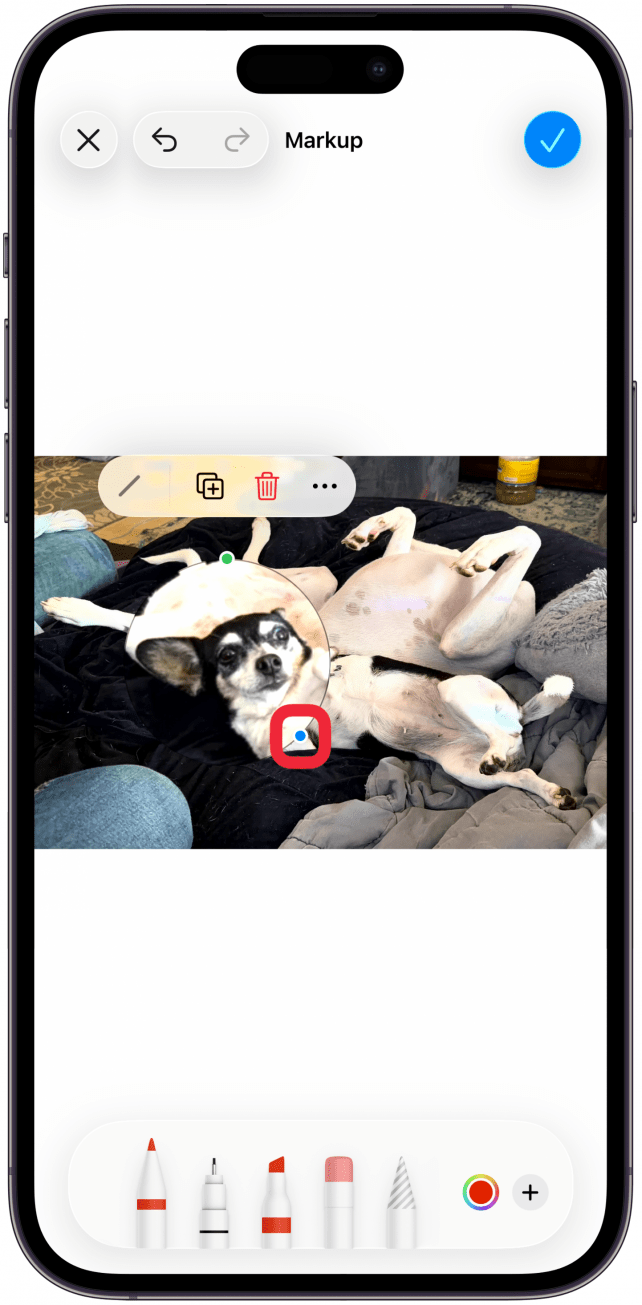
- Move the circle to the area you wish to magnify.
![Move the circle to the area you wish to magnify.]()
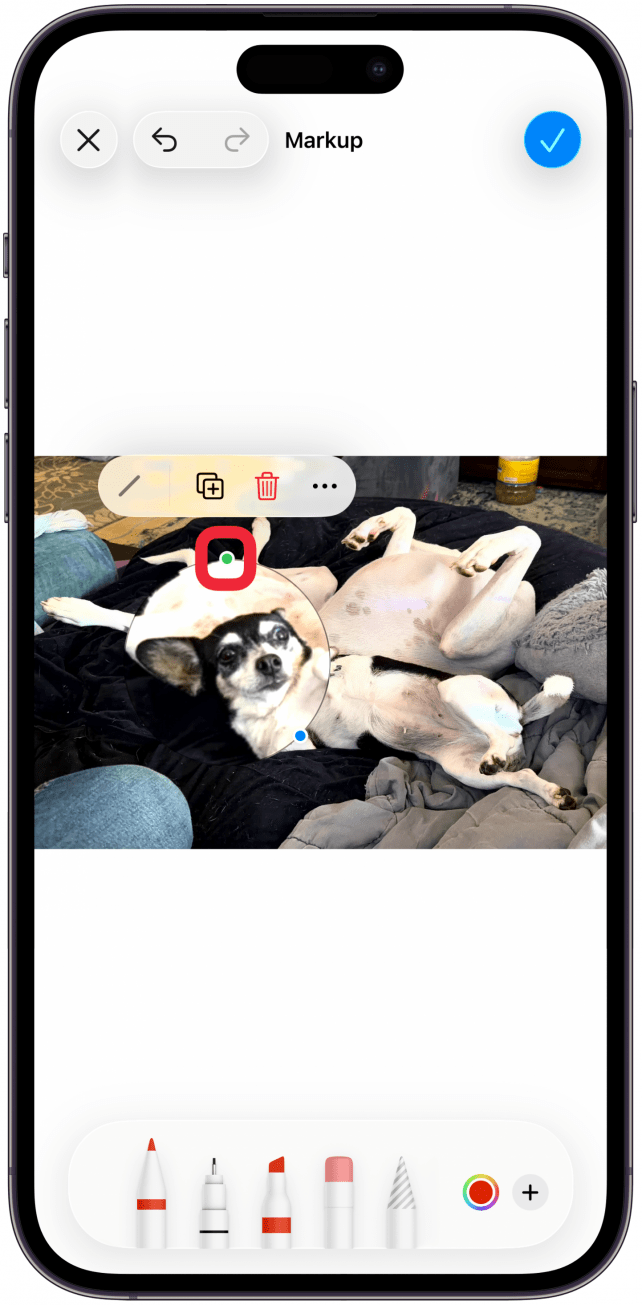
- Drag the blue dot on the circle to make the magnifier bigger or smaller.
![Drag the blue dot on the circle to make the magnifier bigger or smaller.]()
- Drag the green dot on the circle to zoom in or out of the selected area.
![Drag the green dot on the circle to zoom in or out of the selected area.]()
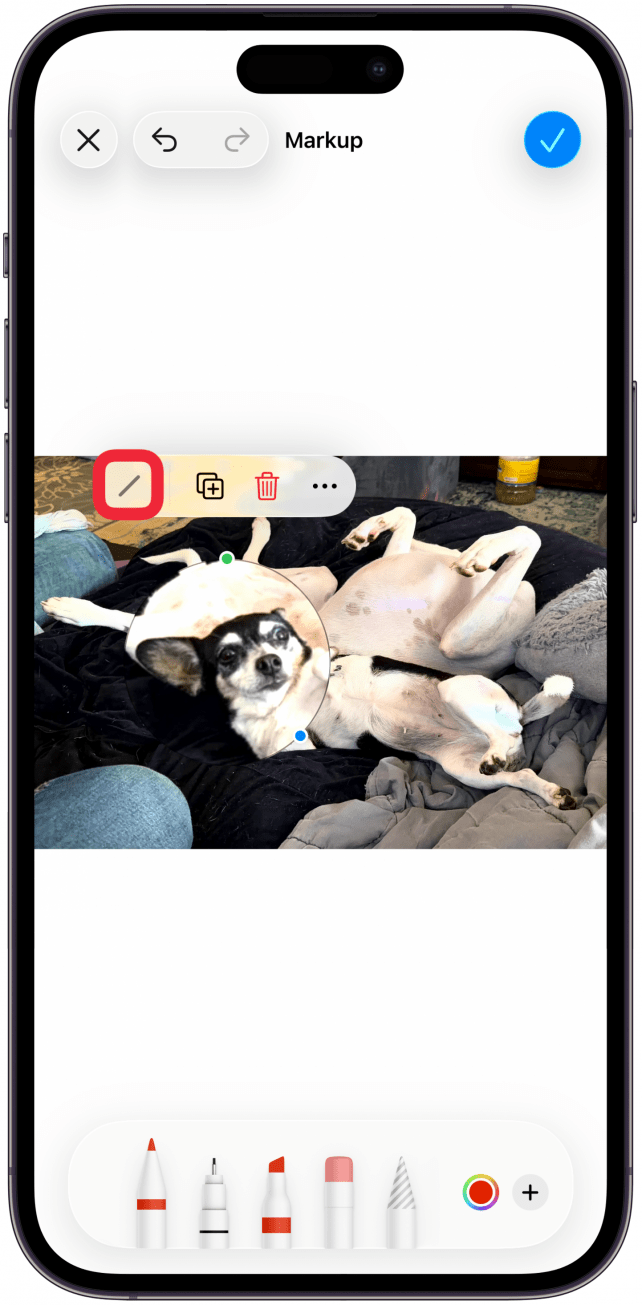
- You can tap on the line to change the color or thickness of the circle.
![You can tap on the line to change the color or thickness of the circle.]()
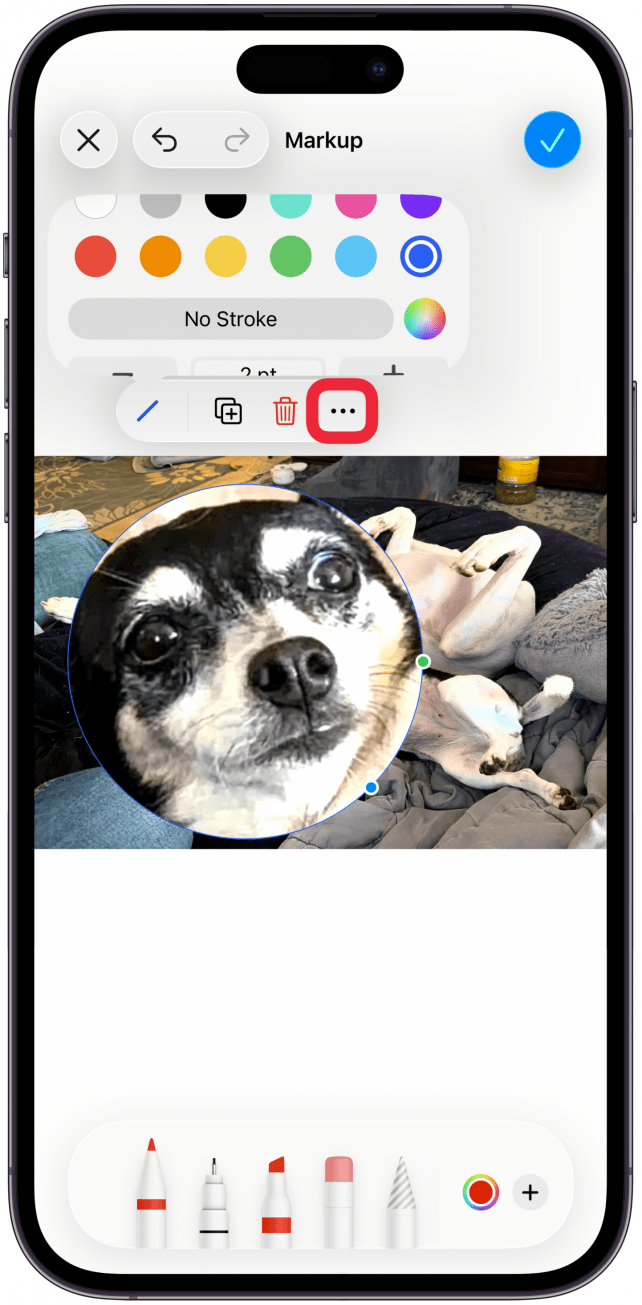
- Tap the More menu to see the options to Cut, Copy, Paste, Duplicate, and Delete.
![Tap the More menu to see the options to Cut, Copy, Paste, Duplicate, and Delete.]()
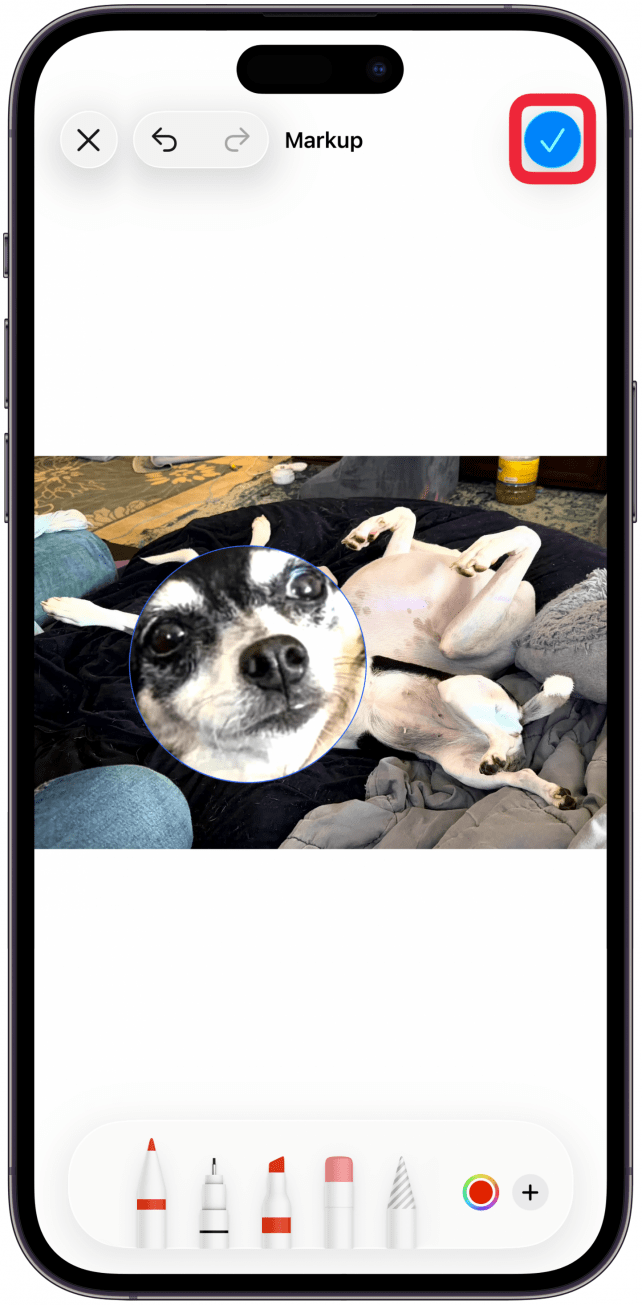
- Tap the blue checkmark to save your changes.
![Tap the blue checkmark to save your changes.]()


Now you know how to use the magnifying glass on iPhone photos, whether you took them, downloaded them, or took a screenshot. Next, learn how to edit images in the Messages app.