How to Sign a PDF on Mac—the Easiest Way!
Digitally sign a PDF to avoid having to print and scan it.

Devala Rees combines decades of Apple experience with a diverse writing background that includes freelance articles, scholarship, and fiction.
Learn More Devala Rees combines decades of Apple experience with a diverse writing background that includes freelance articles, scholarship, and fiction.
Learn MorePerhaps you have a PDF you need to sign, but want to avoid having to print the file, physically sign the document, and then scan it back onto your computer. Apple makes it easy to digitally sign a PDF on your Mac! This way, you can save time and avoid the costs associated with printing. Below, we'll show you how to sign a PDF on your Mac.
Related: How to Sync Messages from iPhone to Mac
Why You’ll Love This Tip
- Create a digital signature that you can insert into PDF documents anytime it is needed.
- Digitally sign a PDF even when it is not set up to automatically let you electronically sign.
- Save time and money by eliminating the need to print out, sign, and scan documents.
How to Sign a PDF on a Mac
The simplest way to sign a PDF on your Mac is to use the built-in Preview app. This native Apple app is your Mac's default application for viewing and editing PDF and image files, and it makes signing PDF documents a breeze! If you're interested in learning more about your Mac's features, sign up for our free Tip of the Day Newsletter. Now, here's how to create an electronic signature on your Mac using the Preview app:
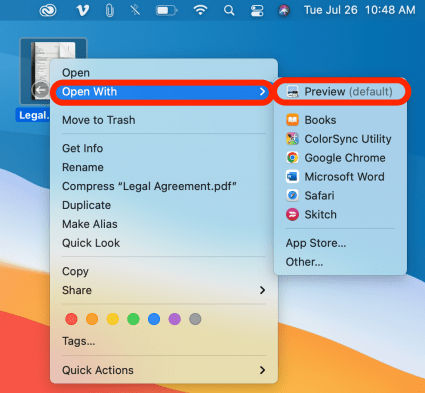
- Double-click to open your PDF file with the Preview app. (If you've set another PDF editor as your default, control-click or right-click on the PDF file, then select Open With, and click Preview.)
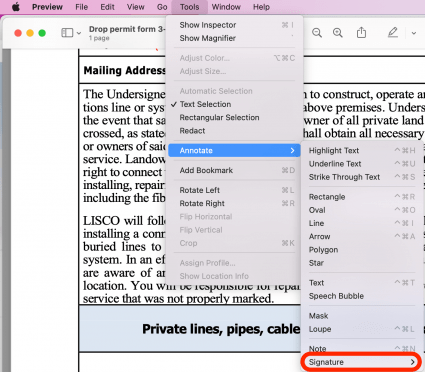
- Once you've opened the PDF in the Preview app, click Tools in the top-left corner of your screen.

- Hover over Annotate.
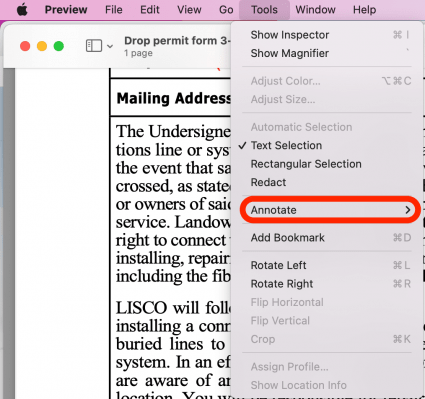
- Select Signature.
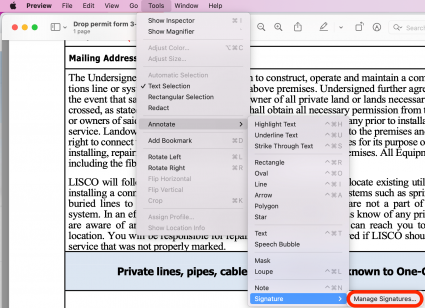
- Click Manage Signatures. If you have previously created a signature on your iPhone or Mac, you can simply select that signature now and skip to step 17.
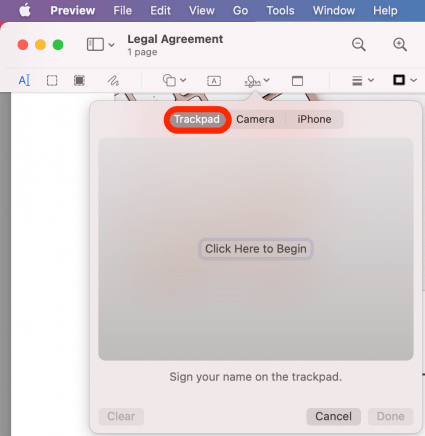
- To create a signature using your computer trackpad cursor, click Trackpad.
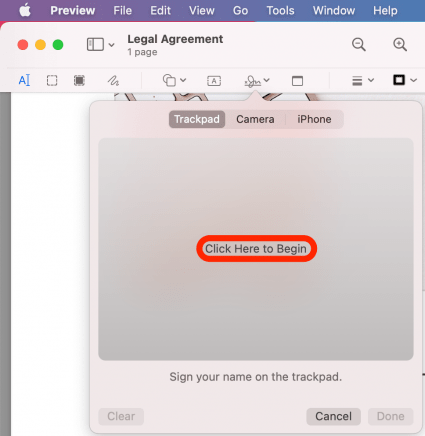
- Click the text saying Click Here to Begin.
- Use your cursor to write a signature. This may take several tries. In my experience, signing with your trackpad is a finicky process. Try pressing with varying degrees of pressure on your trackpad to create different line weights.
- If you are unhappy with your signature, click Clear to start over.
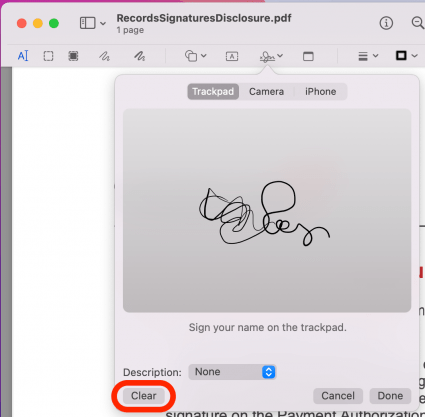
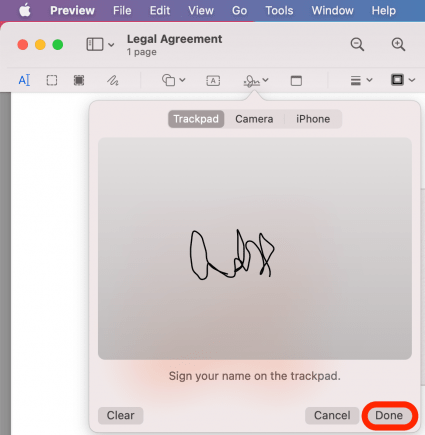
- When you have a signature you're happy with, tap any key on your keyboard to stop signing.
- Click Done.
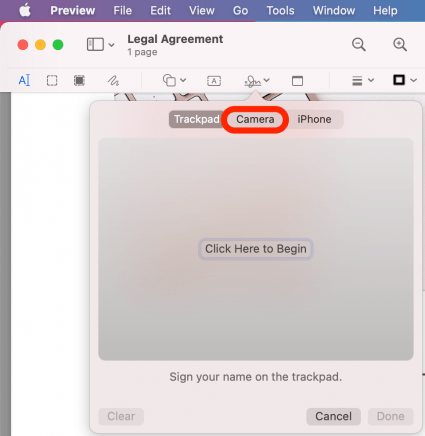
- If you want to create a signature by scanning a hand-written signature, click Camera.
- Now position an unlined, white piece of paper with your signature in front of your computer's camera.
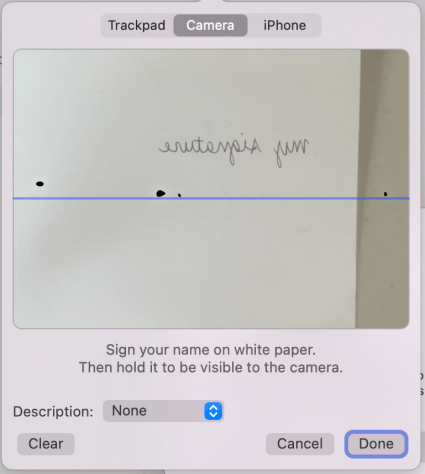
- You will see a digital version of your handwritten signature appear on the screen. It should be automatically flipped so it no longer appears backward. This means your Mac has captured the handwritten signature. Click Done.

- If you want to create a signature by signing your name on your iPhone screen, unlock your iPhone and click iPhone on your Mac. (You may not see this option depending on your software version, laptop settings, and other factors. I've found this option appears irregularly.)
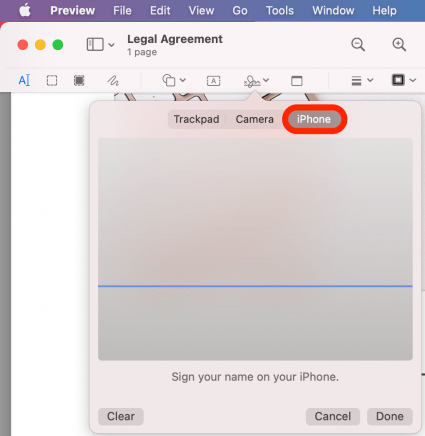
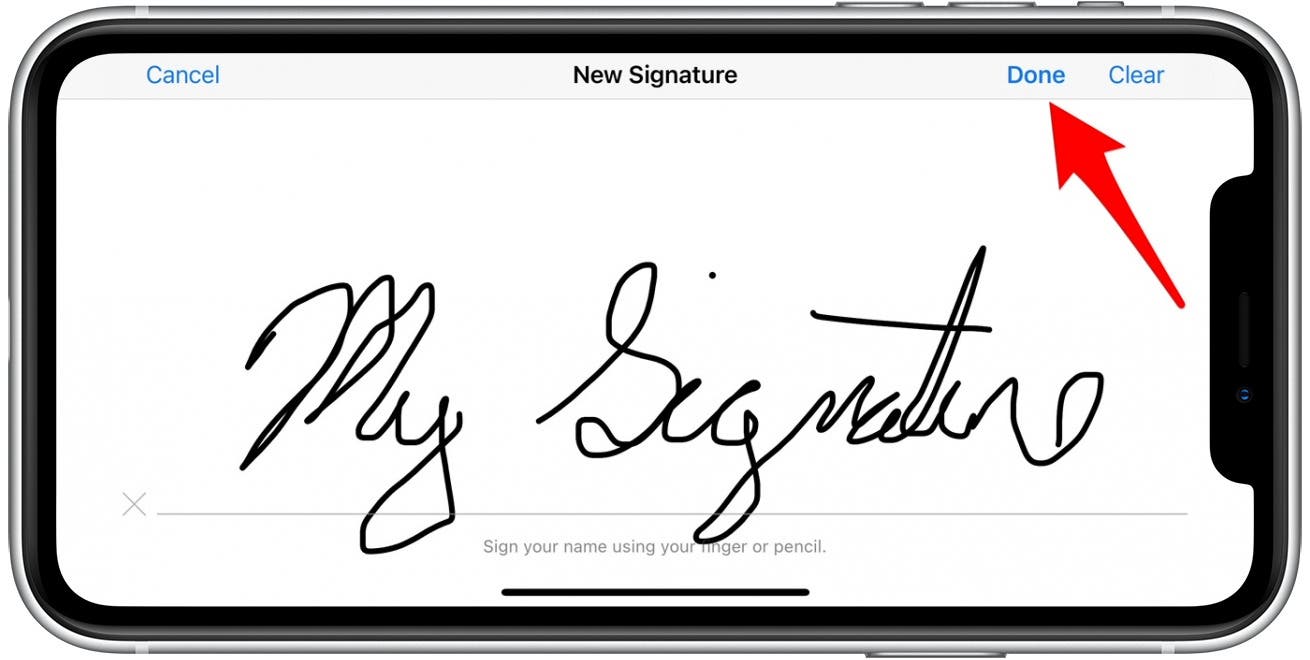
- Once you click the iPhone option on your computer, a signature form will appear on your iPhone screen. (If you do not see this screen appear, you may not be able to use this option and should choose instead to either use the Trackpad or Camera option above.) Sign your name with your finger and tap Done on your iPhone screen or laptop screen to save it.
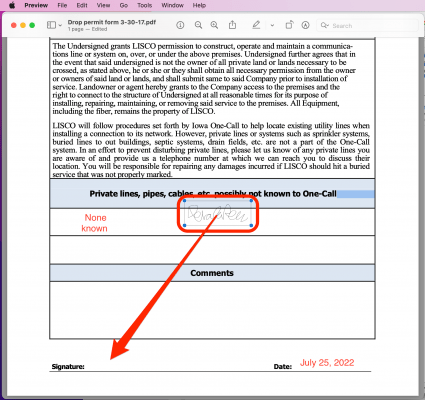
- Now that your signature has been created, click the Tools menu at the top of the screen, click Annotate, and select Signature. Click your signature to insert it.

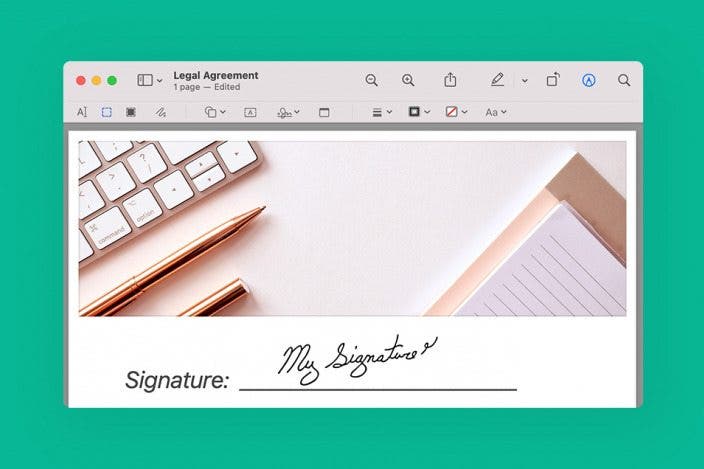
- Your signature will be inserted in the center of the PDF, and you can click and drag it to the position you want on the page.
And that’s how to digitally sign a PDF! You only have to create a signature once. After that, you can simply insert your saved signature. Happy signing!

Every day, we send useful tips with screenshots and step-by-step instructions to over 600,000 subscribers for free. You'll be surprised what your Apple devices can really do.

 Rhett Intriago
 Olena Kagui
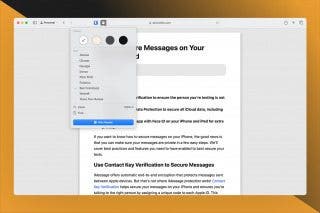
 Rachel Needell

 Leanne Hays

 Hal Goldstein