How to Rearrange Subjects in a Photo Using Free AI Tools

In the last 10 years, Olena has been published in dozens of publications internationally and written hundreds of how-to articles and complex guides about Apple products, software, and apps.
Learn More In the last 10 years, Olena has been published in dozens of publications internationally and written hundreds of how-to articles and complex guides about Apple products, software, and apps.
Learn MoreThe free version of the Canva app has some unique AI tools that can do much more than your iPhone's Photos app. Not only can you use it to delete a subject, you can also move it, resize it, and even clone it! I'll teach you the tricks you need to edit your photos with these AI-powered tools, completely free of charge!
Why You'll Love This Tip
- Resize, move, delete, or clone any object, person, or animal in your photo for free.
- Bypass the paid subscription and use free AI tools to quickly edit your photos.
- Easily remove unwanted people from your photo without leaving awkward gaps.
How to Remove People from Photos or Move, Resize & Clone Using Canva
System Requirements
This tip was performed on an iPhone 17 Pro running iOS 27. Find out how to install the latest OS.
If you enjoy the new AI tools in the native Photos app, you'll love the extra options that the free version of Canva: AI Video & Photo Editor (free) has to offer. I've been using Canva for over a decade and can show you how to use the free AI tools to remove, move, resize, and clone objects from the photos you've taken on your iPhone. To follow the steps below, download the Canva app on your phone, create an account if you don't already have one, and if you see a pop-up offering a free trial, simply tap the X icon in the top right. If you decide to use the free trial or have a paid subscription, the steps below are the same.
- Open Canva.
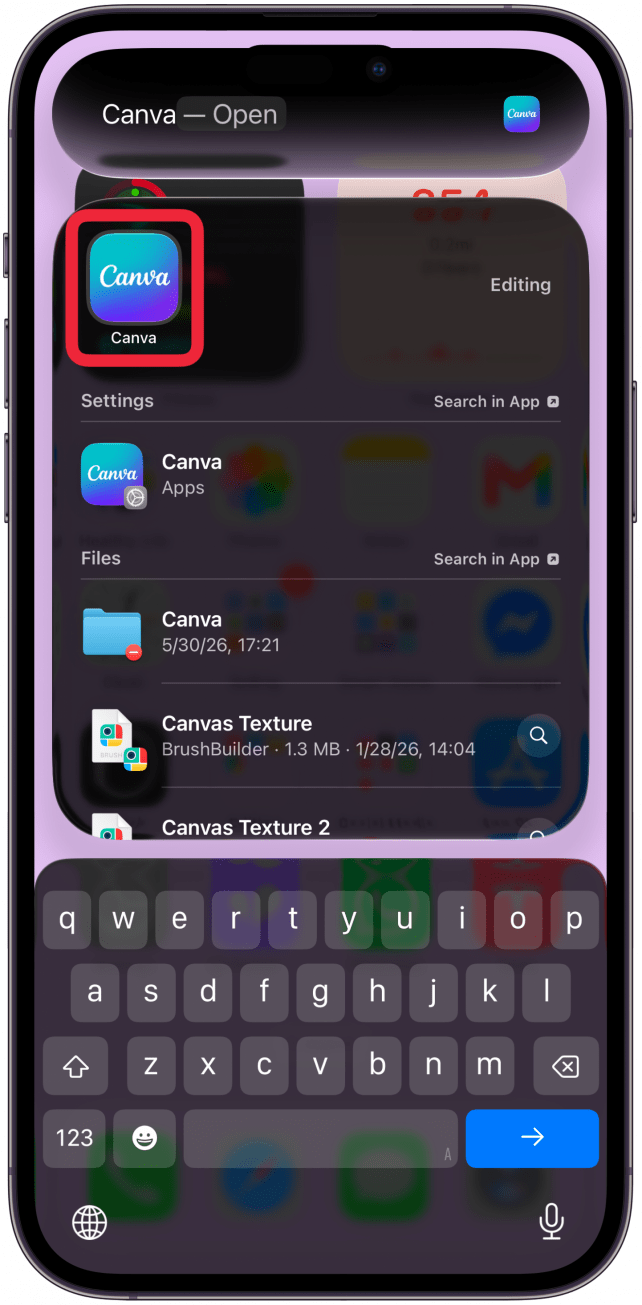
- Tap the plus icon.
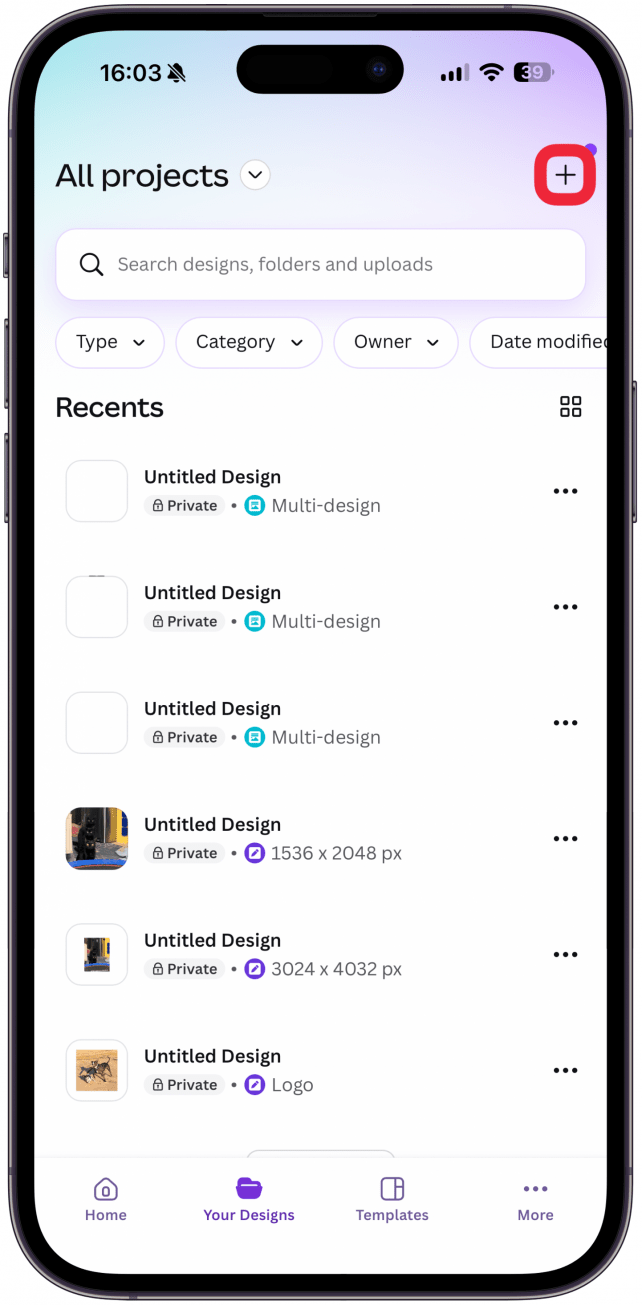
- Tap on Design.
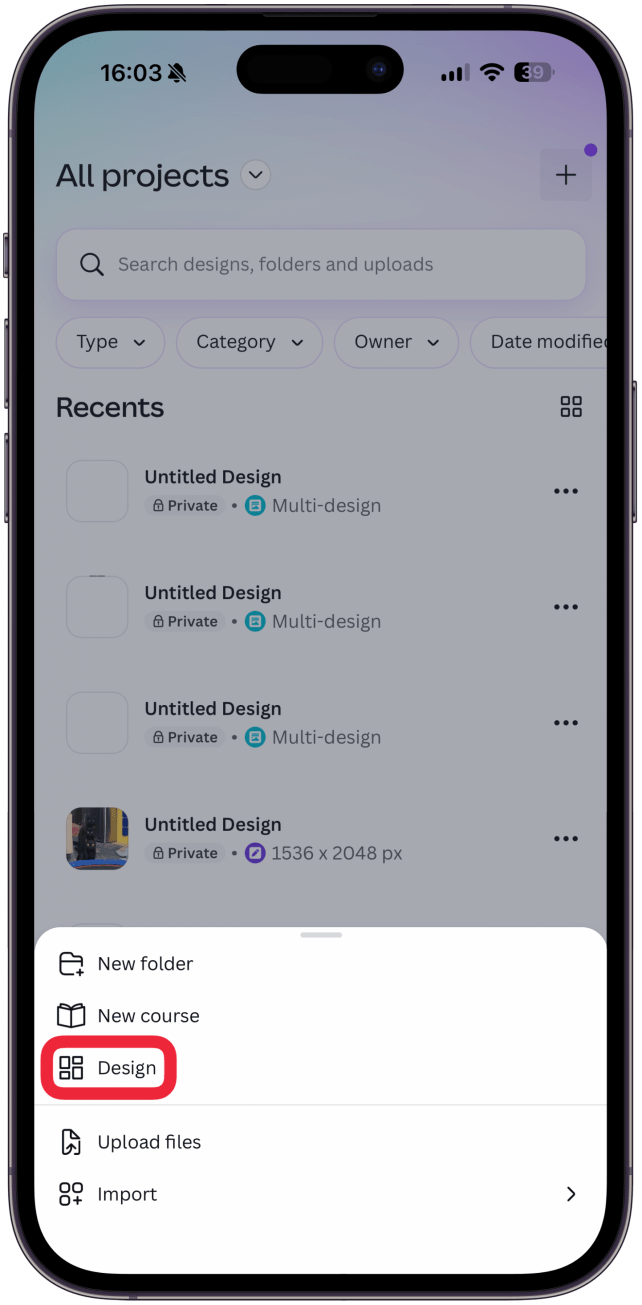
- You'll see lots of options for a new design, to save time, tap on Magic Layers under quick actions. If you don't see it, you can write "Magic Layers" in the search field, then tap on it.
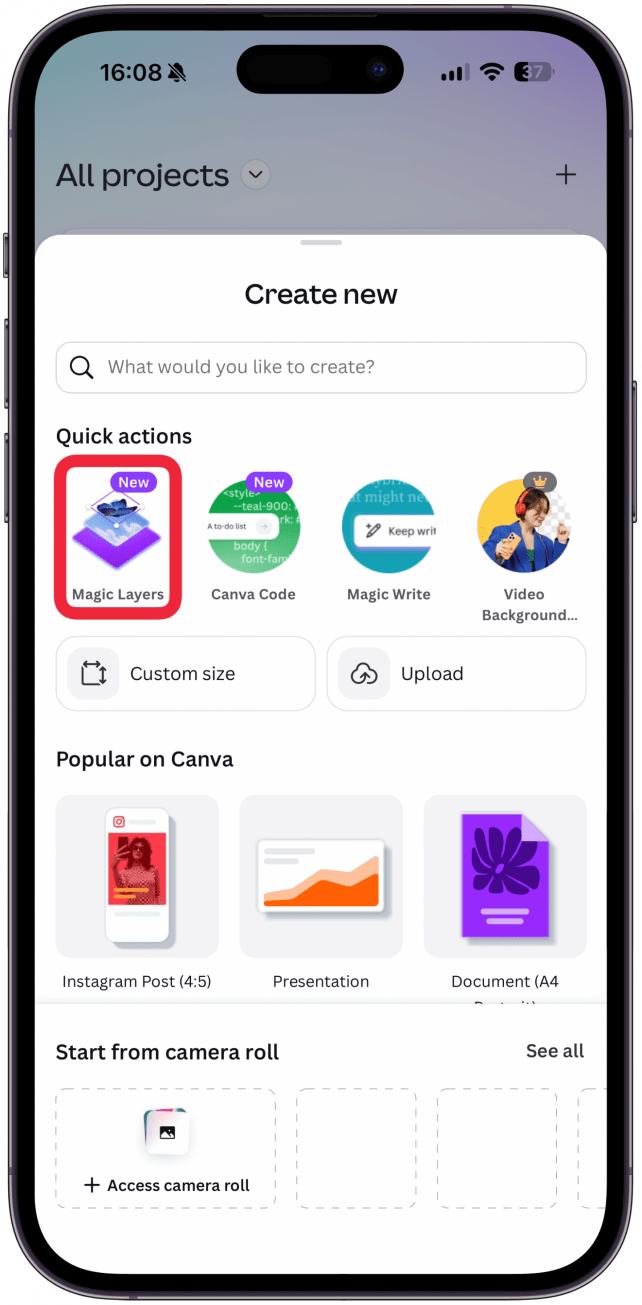
- Here you'll see some information about the Magic Layers feature. Tap Select Media.
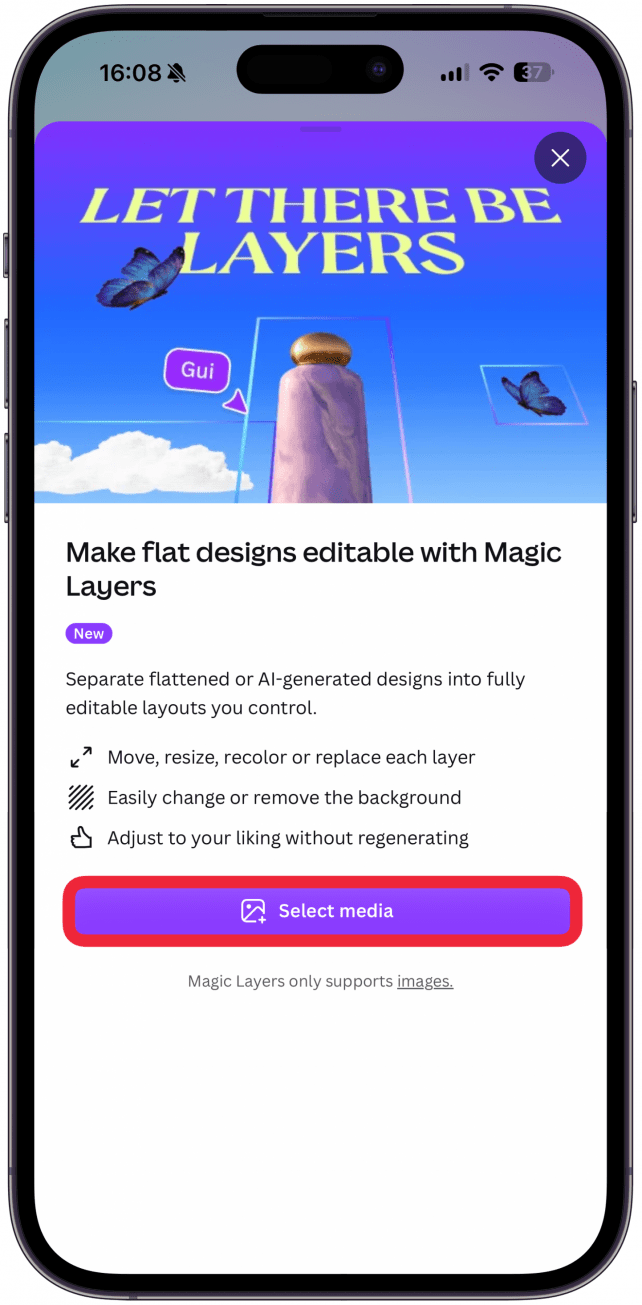
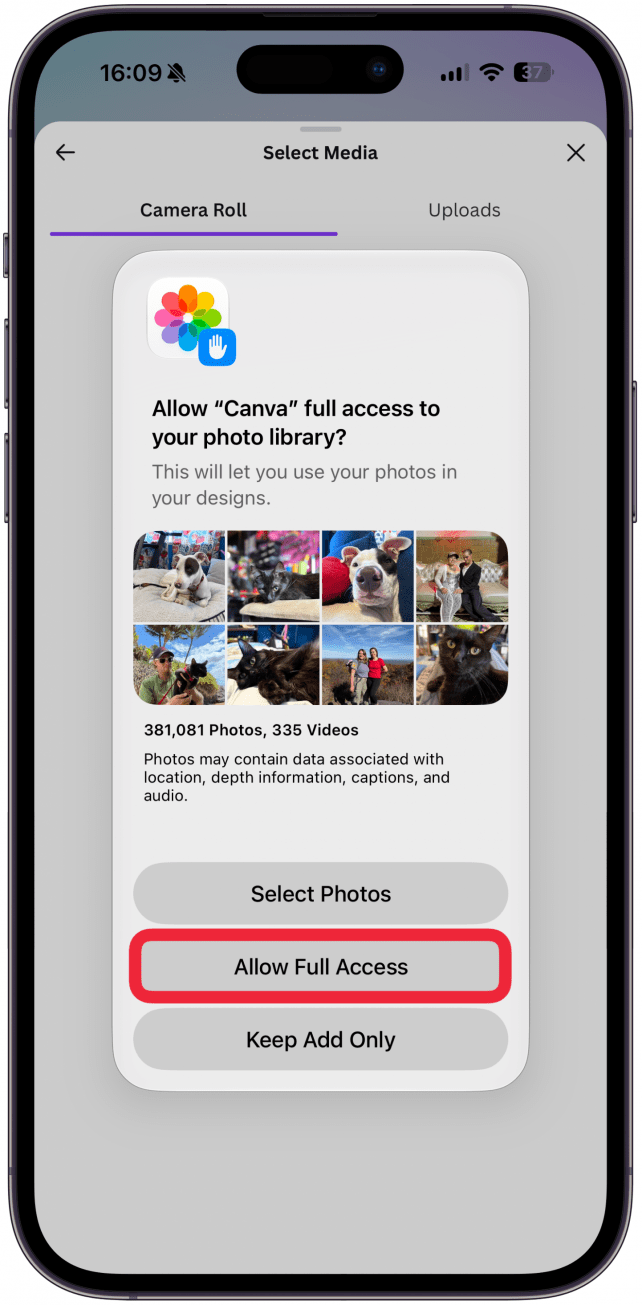
- If this is the first time you are uploading images to Canva, you'll have to give the app permissions to access your photos. I prefer to select Allow Full Access so that I don't have to repeat this step in the future, but you can also choose Select Photos to keep any photos you don't add private from Canva.
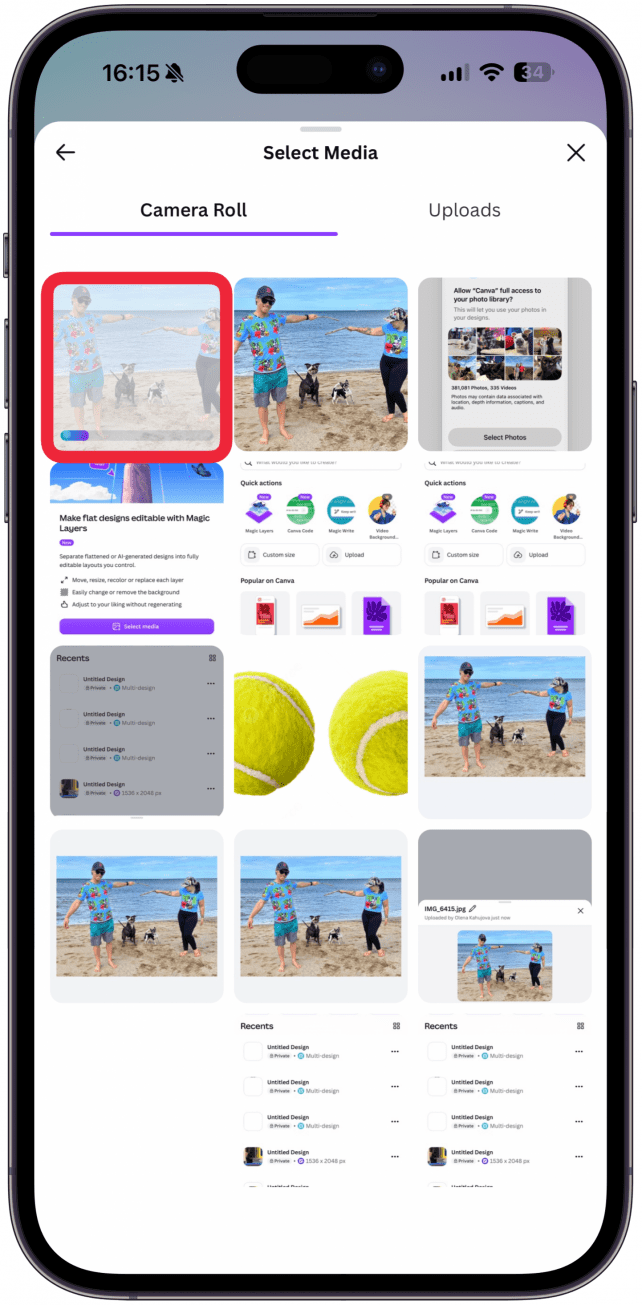
- Find the photo you wish to edit under Camera Roll. Try to use a photo with obviously separate objects/subjects. Tap it to select your photo, and you'll see the progress bar over the image.
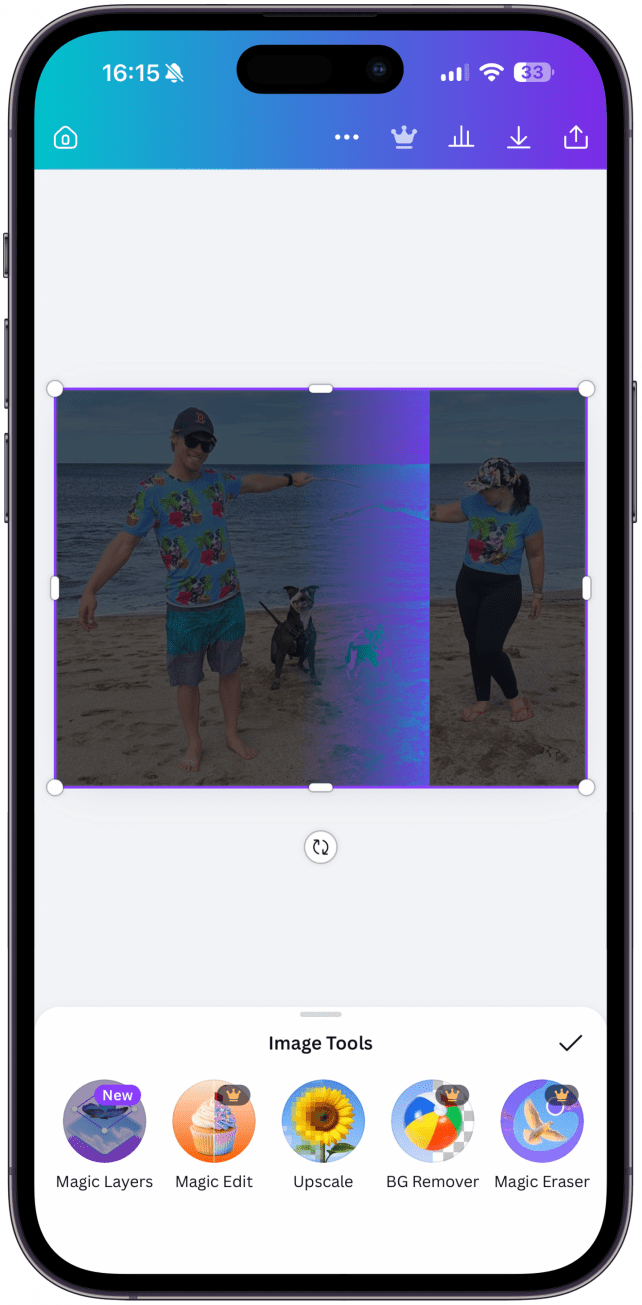
- Once it is uploaded, you will see a scanning animation moving over the photo, this represents the Magic Layers feature using AI to separate the different layers aka identifying the separate objects in the image. (Editor's note: I had to do this twice to make it work, so if at first you don't succeed, try again!)
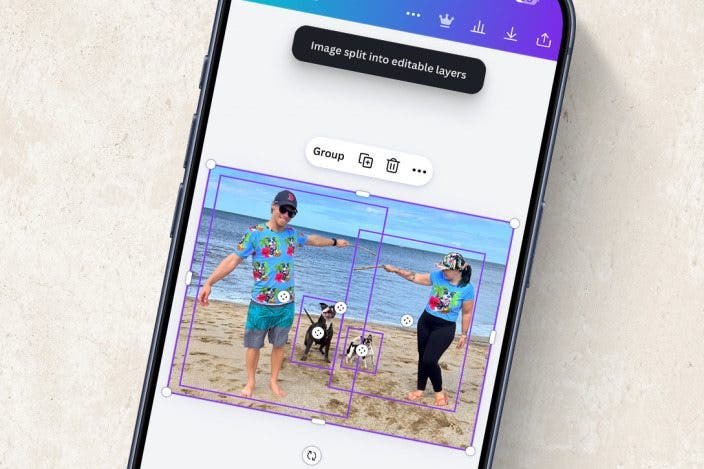
- You'll see text above the image saying "Image split into adjustable layers" once you are ready to edit. Every layer will have a rectangle outline. Tap on one of the objects to select it.
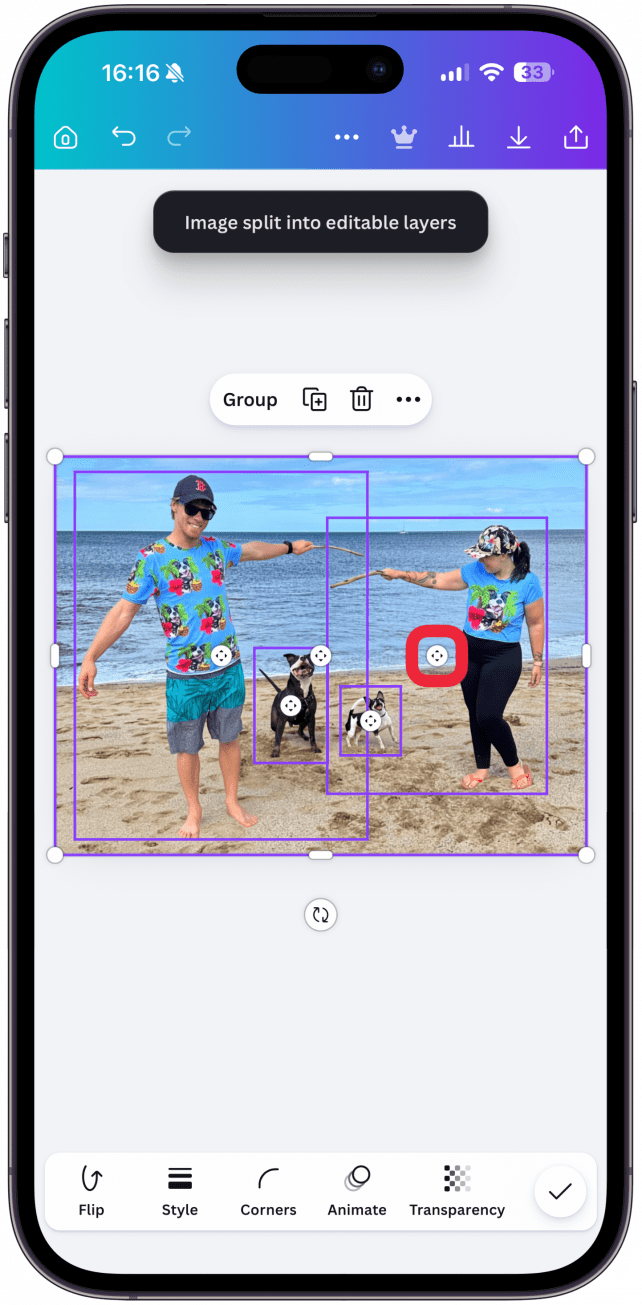
- You can now drag it to move it.
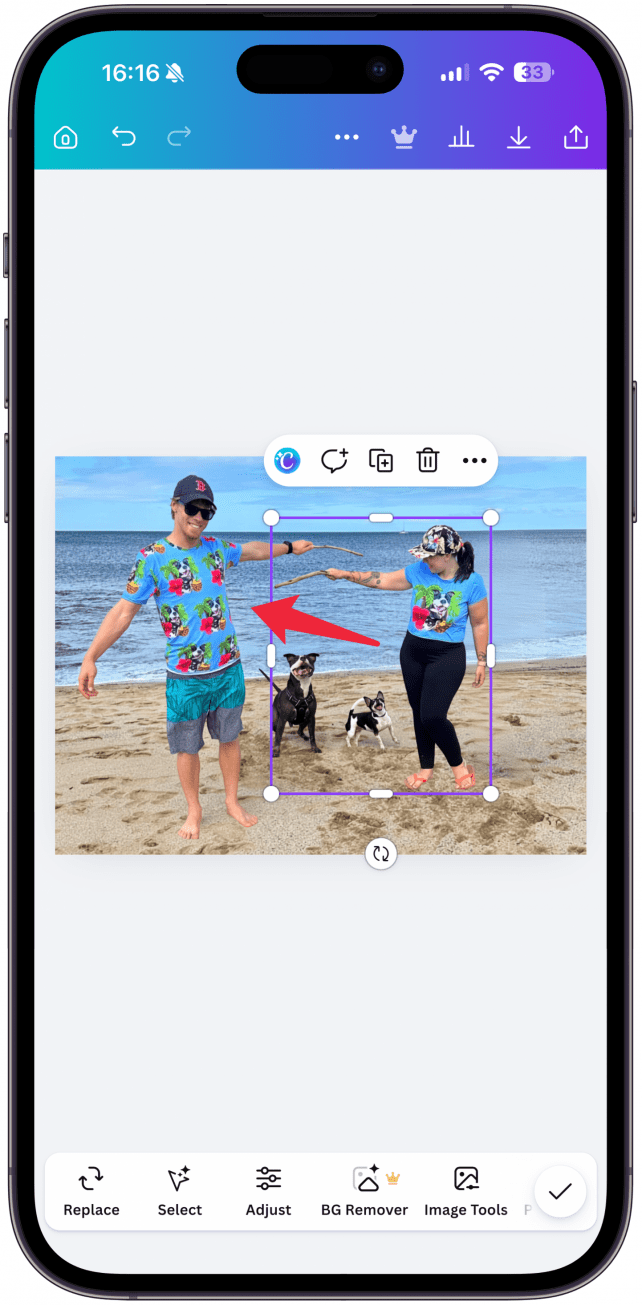
- You can tap the circles in the corners to resize it.
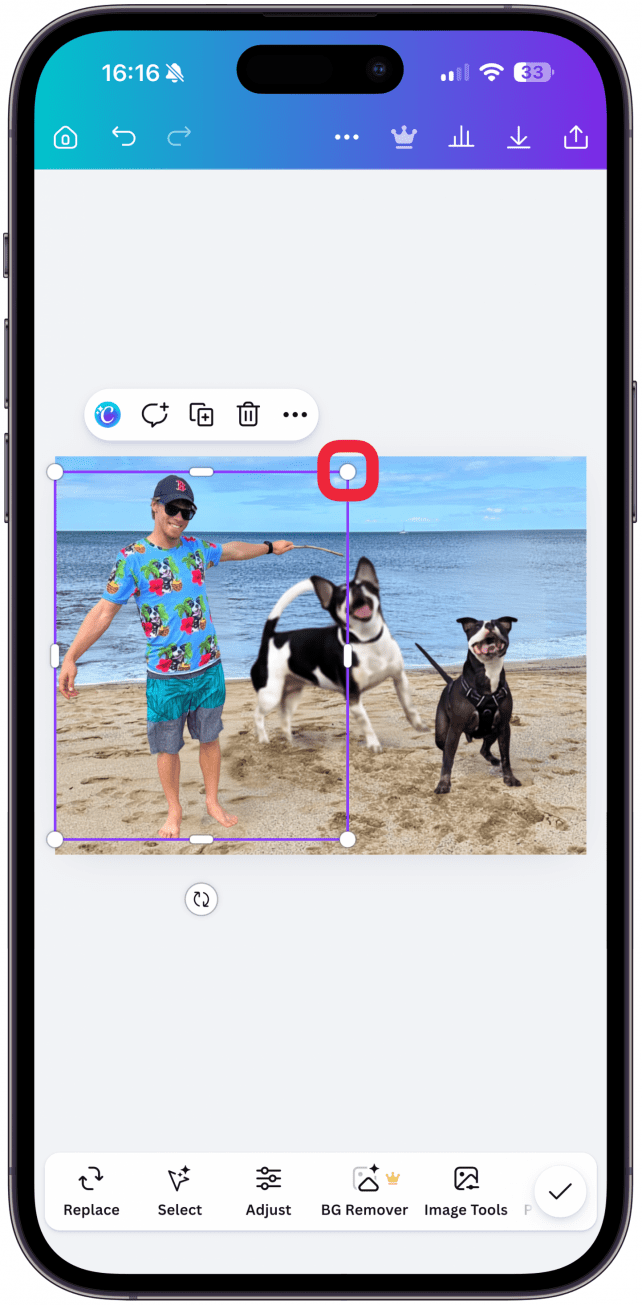
- You can delete it by tapping the trash can icon.
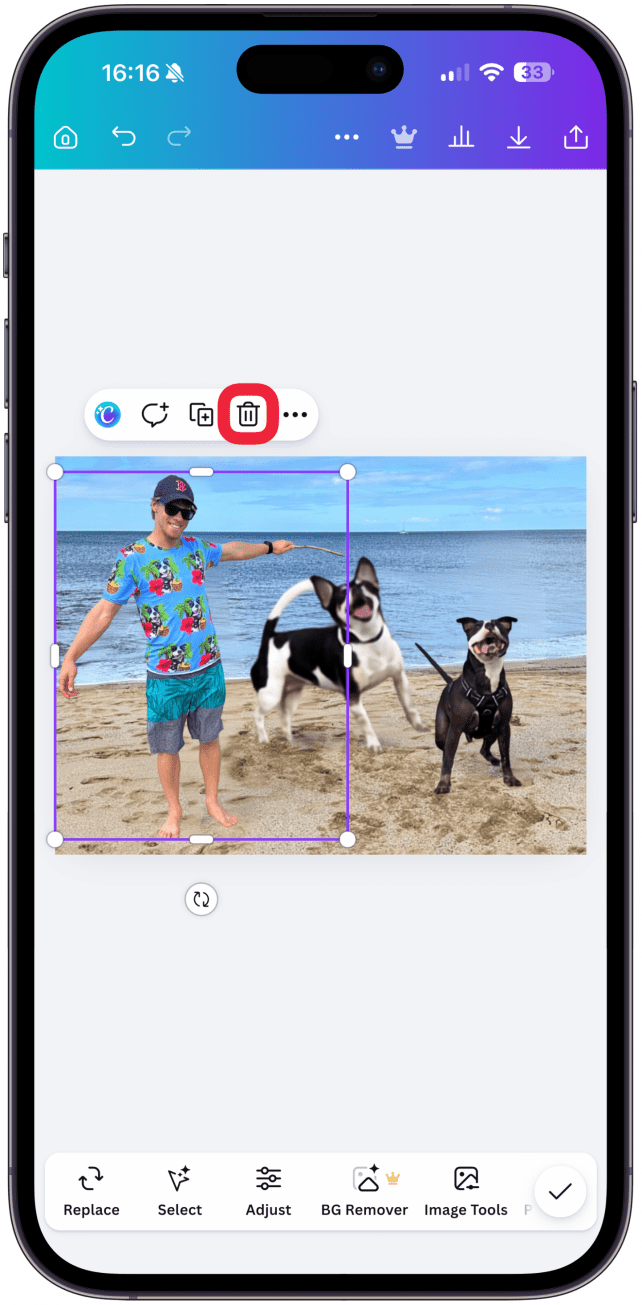
- You can clone it by using the plus icon.
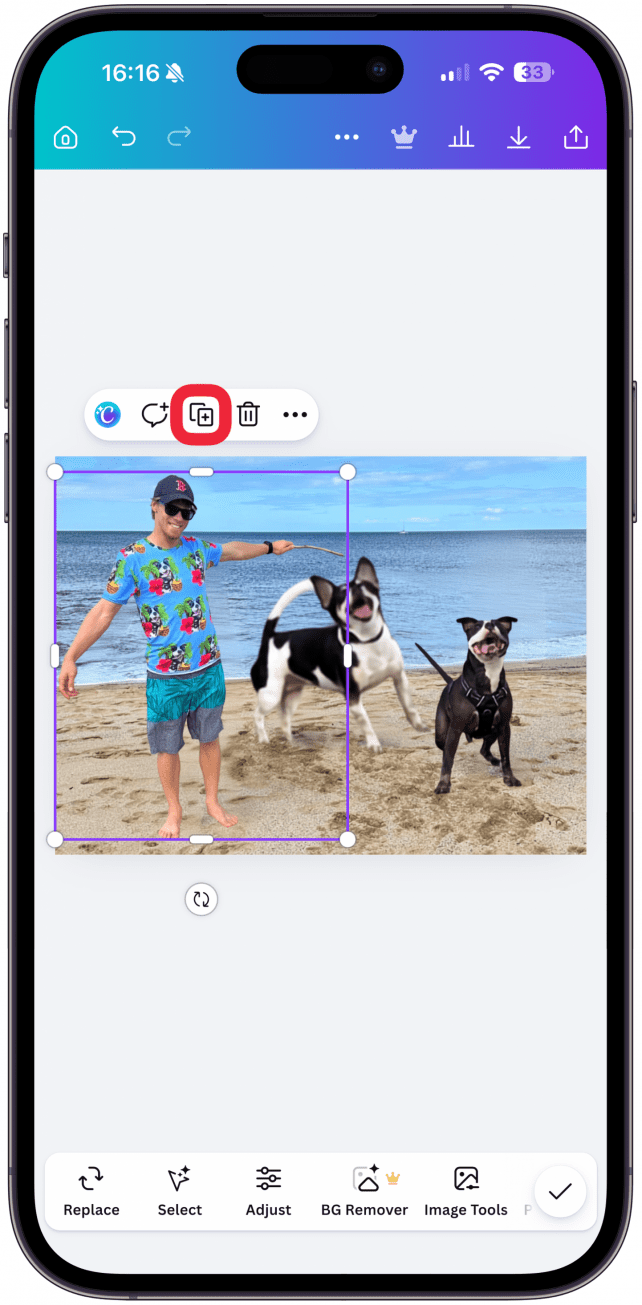
- If you tap the more icon (three dots), you'll see some more editing options.
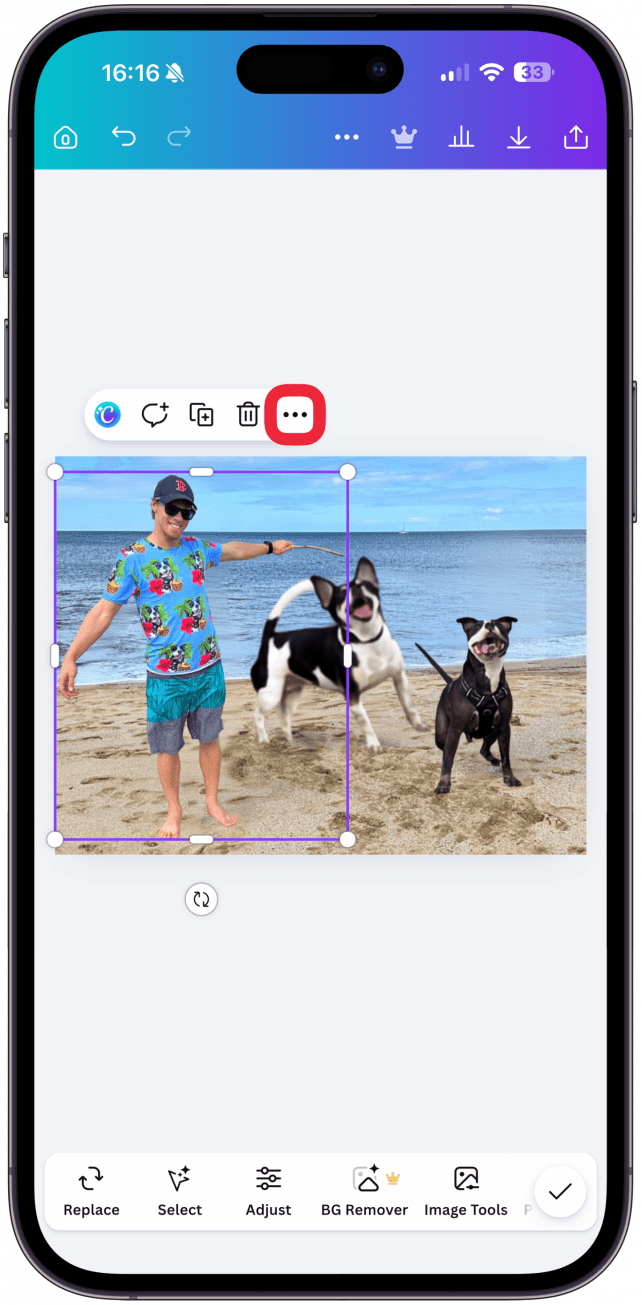
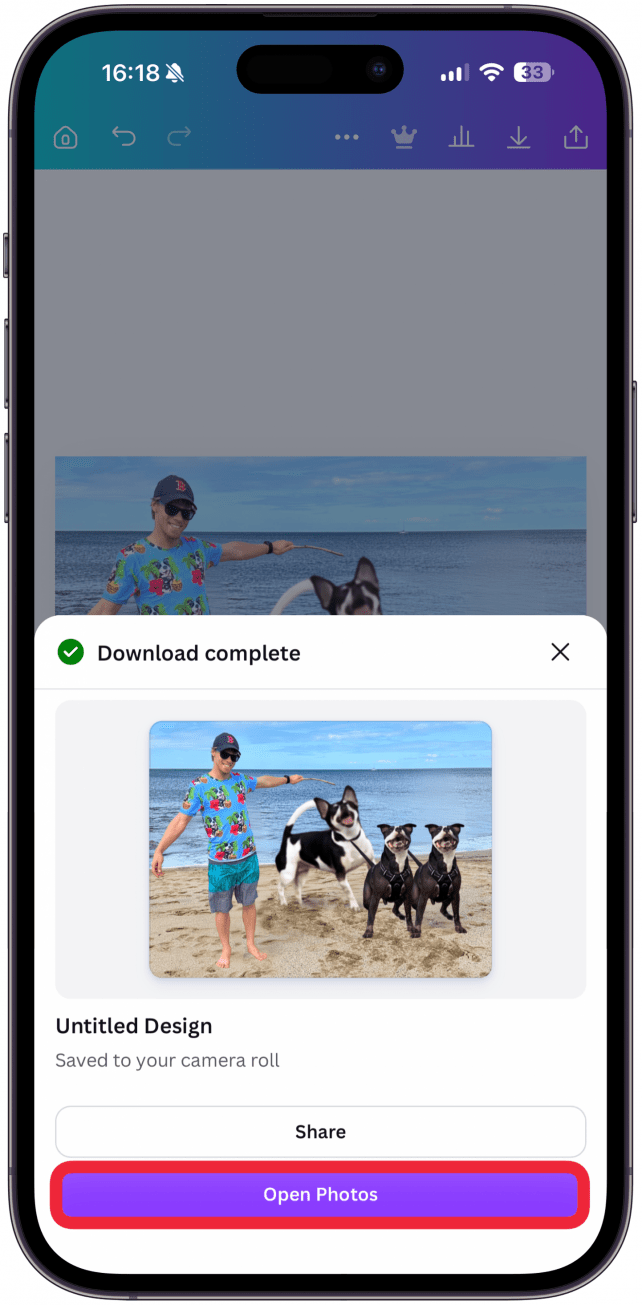
- For this example, I deleted myself, moved my small dog Millie into the middle and made her much bigger, then cloned Smiley so that there are two of him in the image. When you're done, tap the check mark in the bottom right corner.
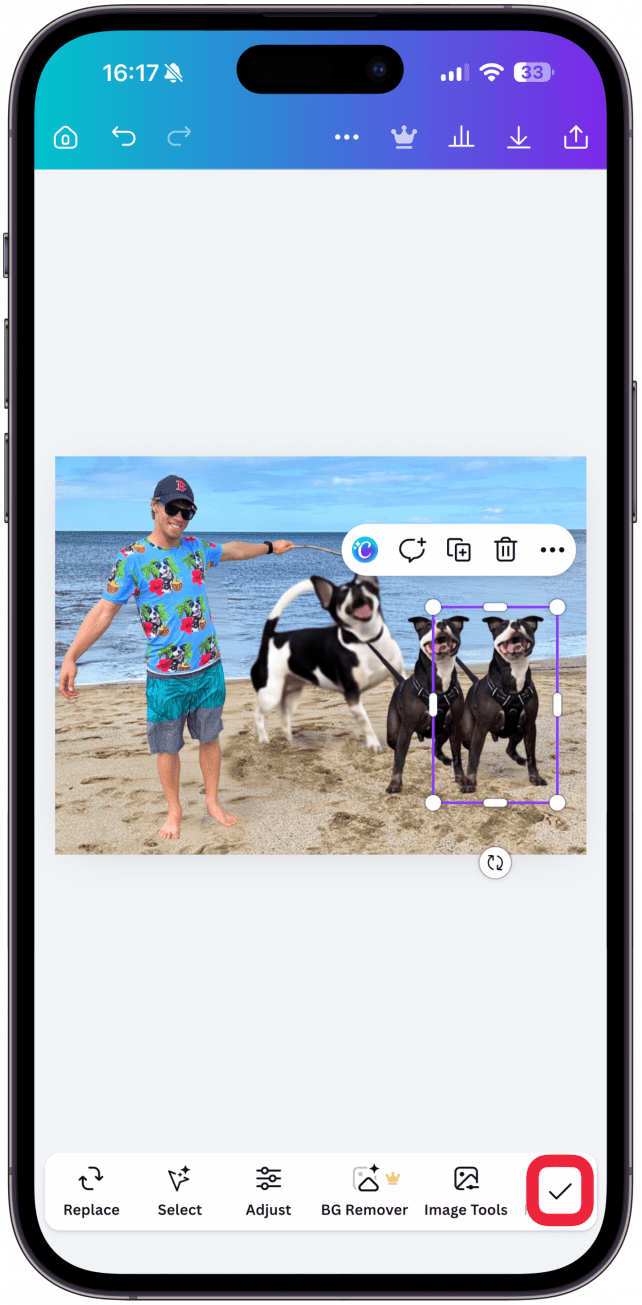
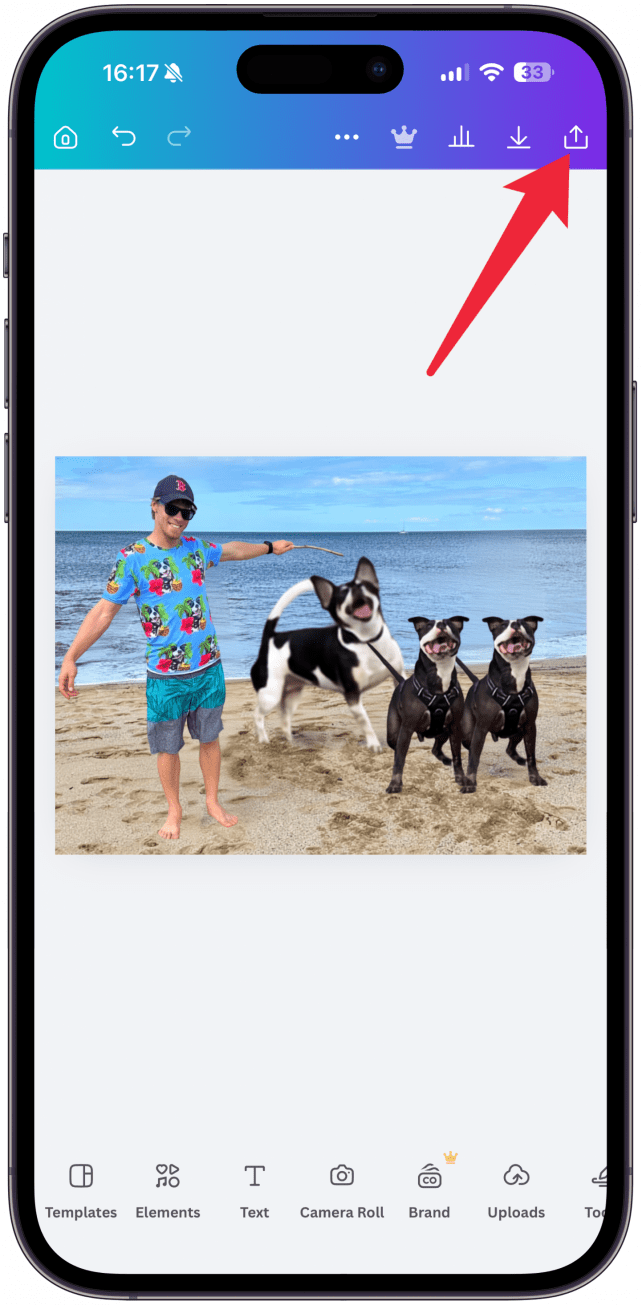
- To save or share the photo, tap the share icon in the top right corner.
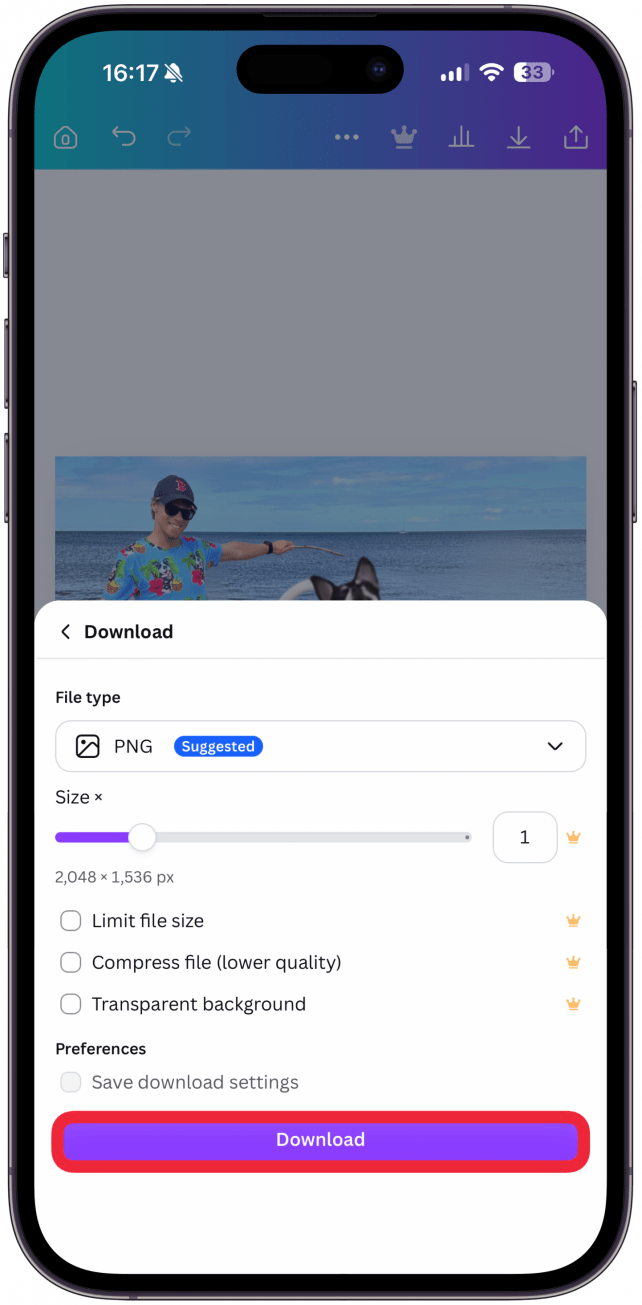
- If you select Download, it will be saved to your Photos app.
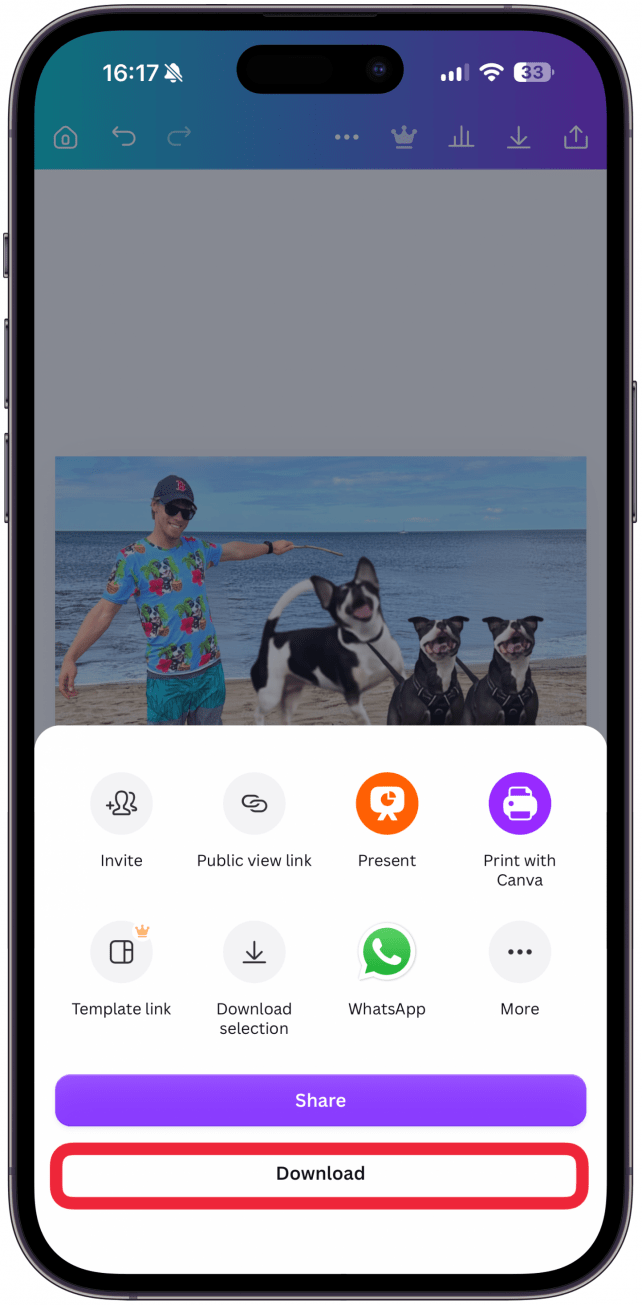
- Tap Download again.
- You can then share it, tap the x to return to Canva editing, or tap Open Photos to open the photos app. From there you can see your saved photo.
This is only one way to use Canva, which has been my go-to photo editor since I discovered it. I recommend testing the other free editing options or doing the free trial to test out some of the paid features. Whenever I agree to a free trial, I set reminders in my Calendar app in case I want to unsubscribe. Next, learn how to recognize AI-generated images!
More On: AI Features
Top image credit: W. Phokin / Shutterstock.com

Every day, we send useful tips with screenshots and step-by-step instructions to over 600,000 subscribers for free. You'll be surprised what your Apple devices can really do.

Olena Kagui
Olena Kagui is a Feature Writer at iPhone Life. In the last 10 years, she has been published in dozens of publications internationally and won an excellence award. Since joining iPhone Life in 2020, she has written how-to articles as well as complex guides about Apple products, software, and apps. Olena grew up using Macs and exploring all the latest tech. Her Maui home is the epitome of an Apple ecosystem, full of compatible smart gear to boot. Olena’s favorite device is the Apple Watch Ultra because it can survive all her adventures and travels, and even her furbabies.

 Rhett Intriago
 Linda Ruth
 Olena Kagui
 Leanne Hays



 Rachel Needell