How to Register for Apple Music
Get access to millions of songs without annoying ads by learning how to sign up in Apple Music.

Kenya Smith is a Feature Web Writer for iPhone Life with a background in journalism and strategic communication, including award-winning column writing and newspaper experience.
Learn More Kenya Smith is a Feature Web Writer for iPhone Life with a background in journalism and strategic communication, including award-winning column writing and newspaper experience.
Learn MoreApple Music allows you to listen to millions of songs at any time whether online or offline. You can also create playlists, stream and download audio files, get personal recommendations, see what your friends are listening to, watch music videos, and more. The best thing about Apple Music is that there are no ads that can interrupt you while listening to music. Whether you have an iPhone or iPad, here are simple steps that'll help you subscribe to Apple Music.
Related Article: How to Turn On Autoplay & Turn Off Autoplay in Apple Music on the iPhone
How to Subscribe to Apple Music on iPhone or iPad
When you subscribe to Apple Music, you will start off with a one-month free trial that you can cancel at any time. After the month is over, you will be charged a monthly payment. After you've subscribed to Apple Music, be sure to check out our article on how to sort playlists when using the app.
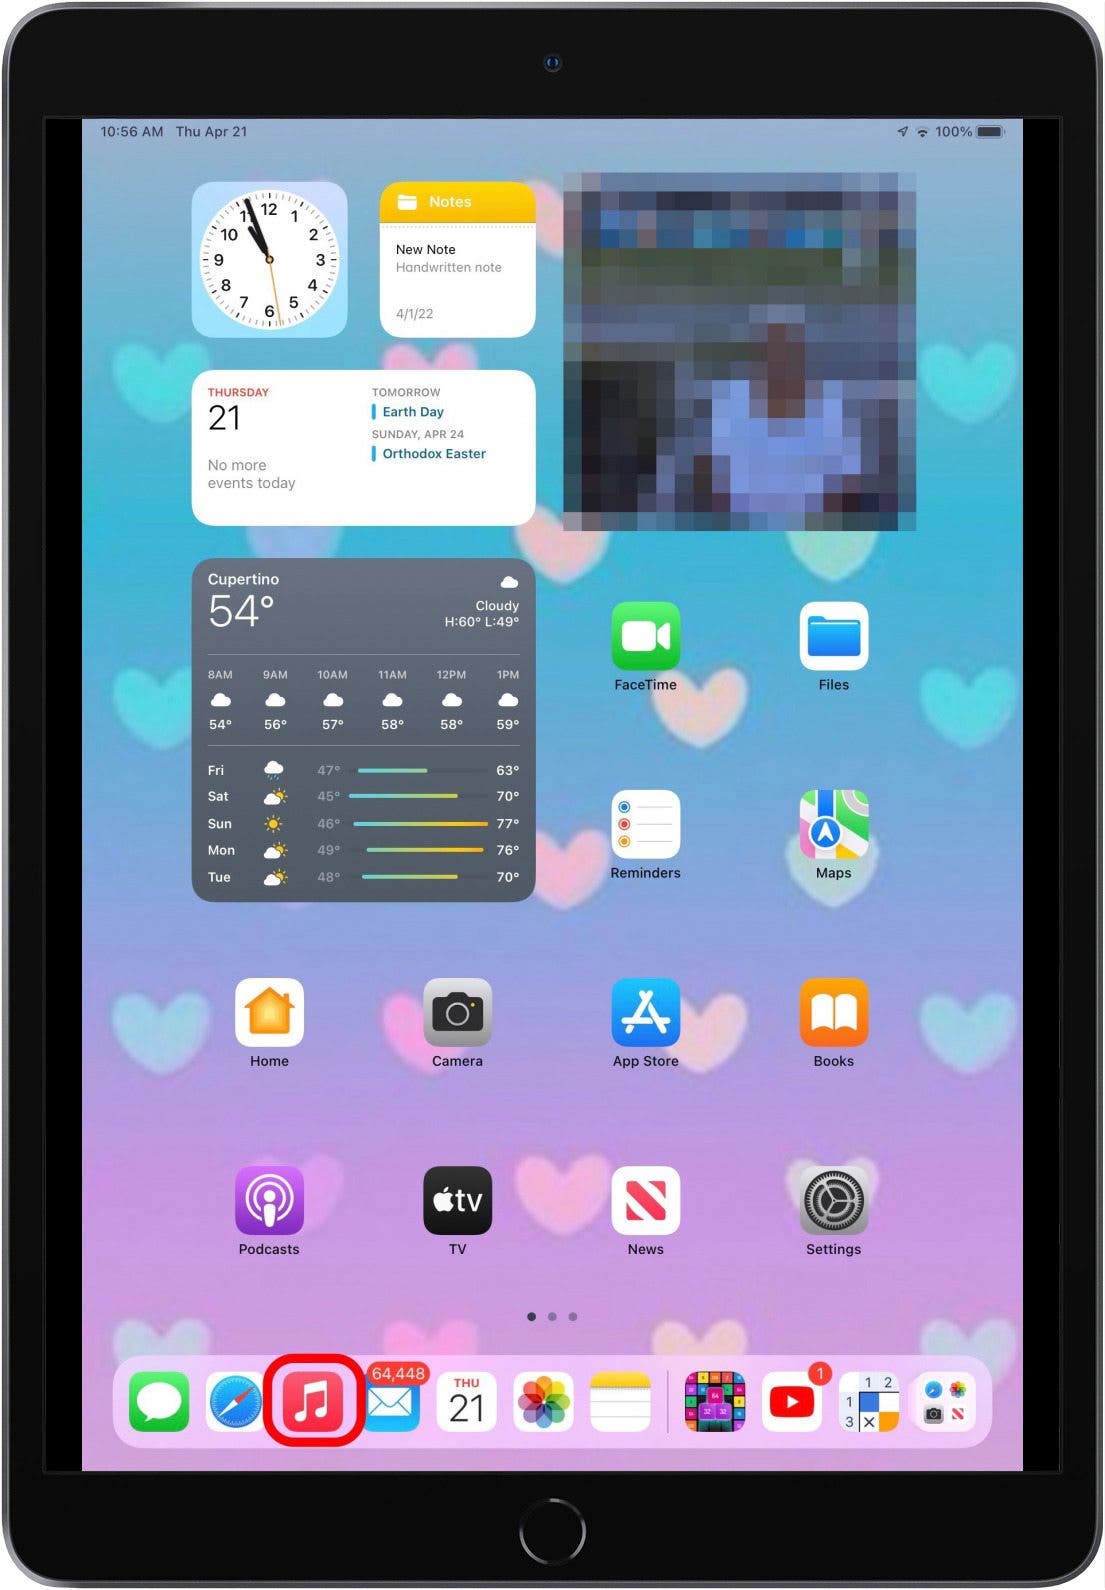
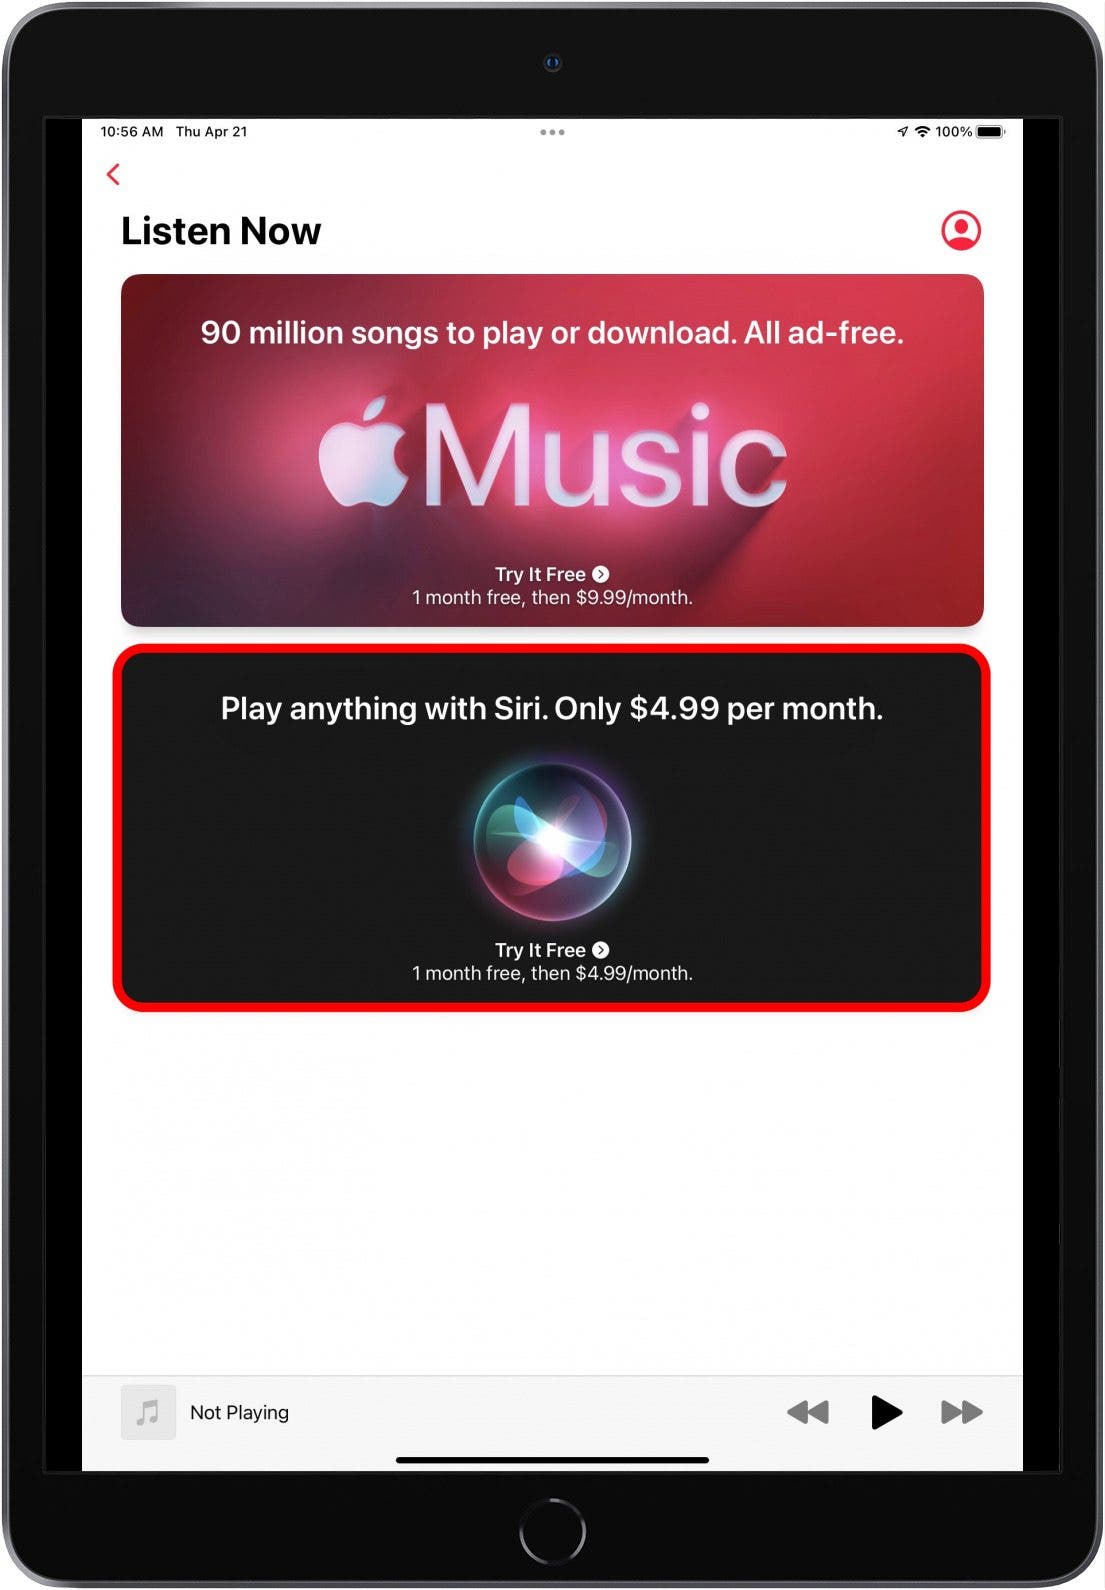
- Open the Apple Music app.
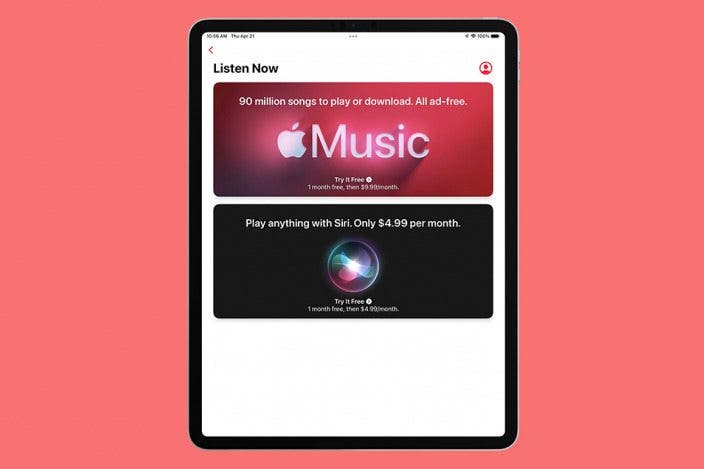
- Tap on the 1 month free, then $9.99 or the 1 month free, then $4.99 offer if you want.
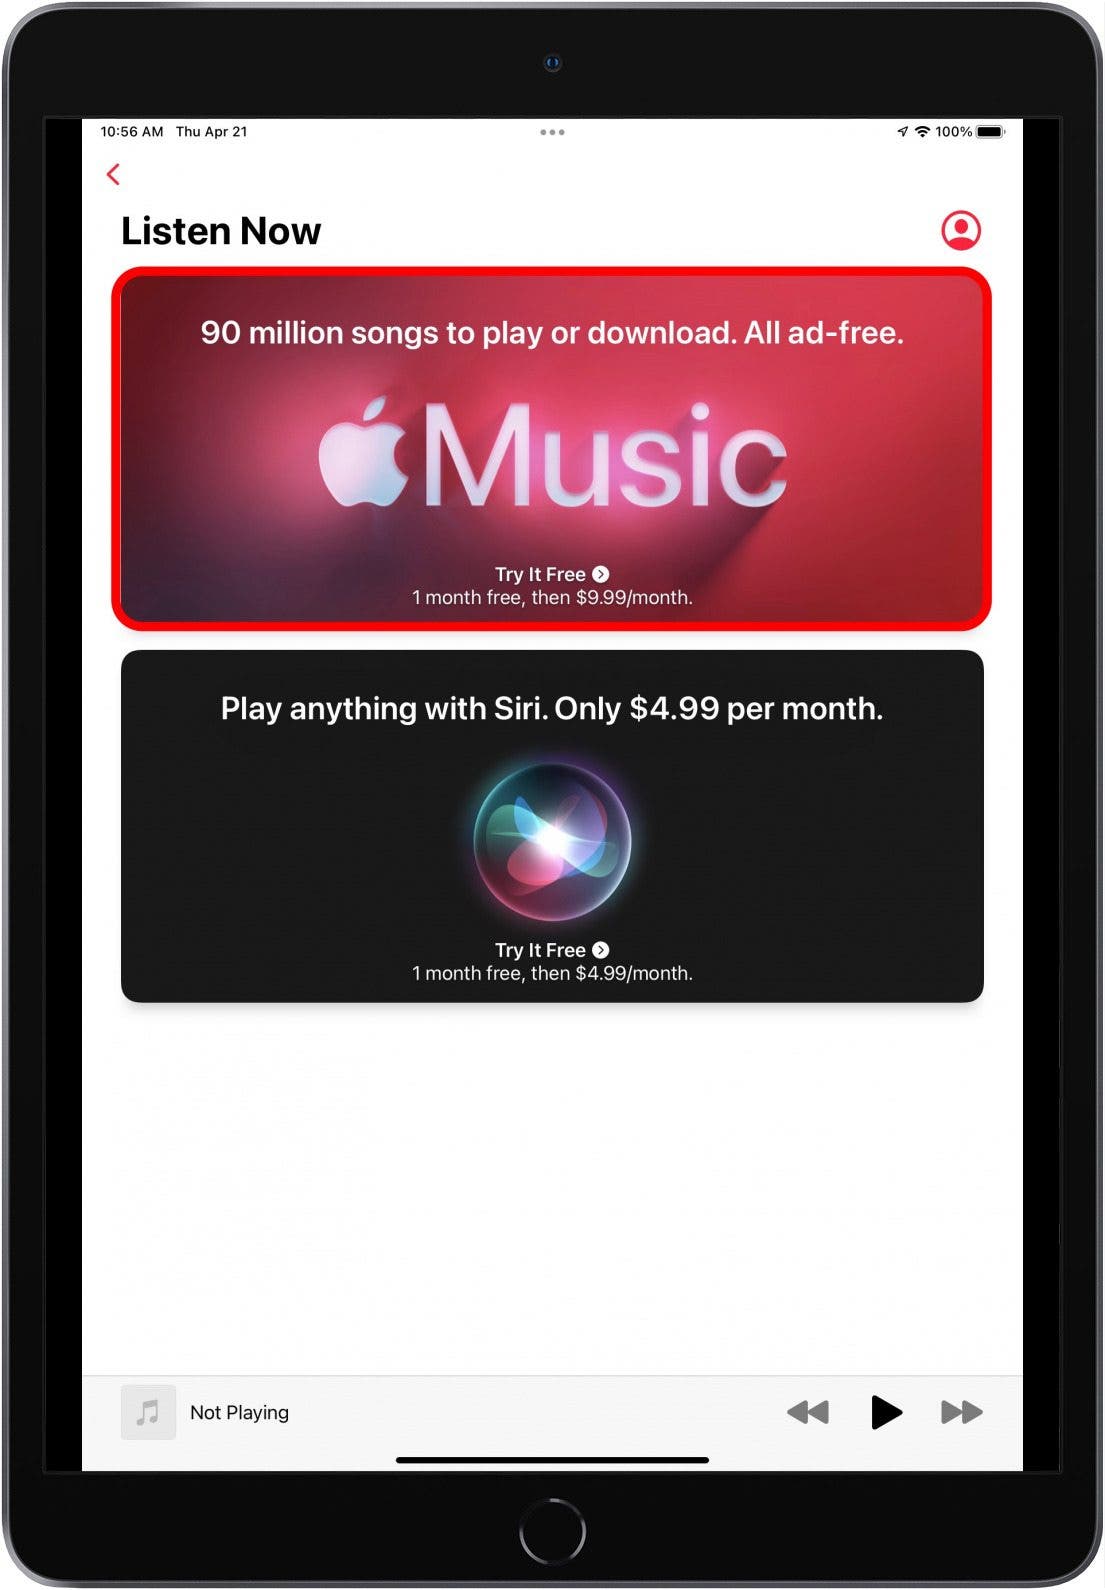
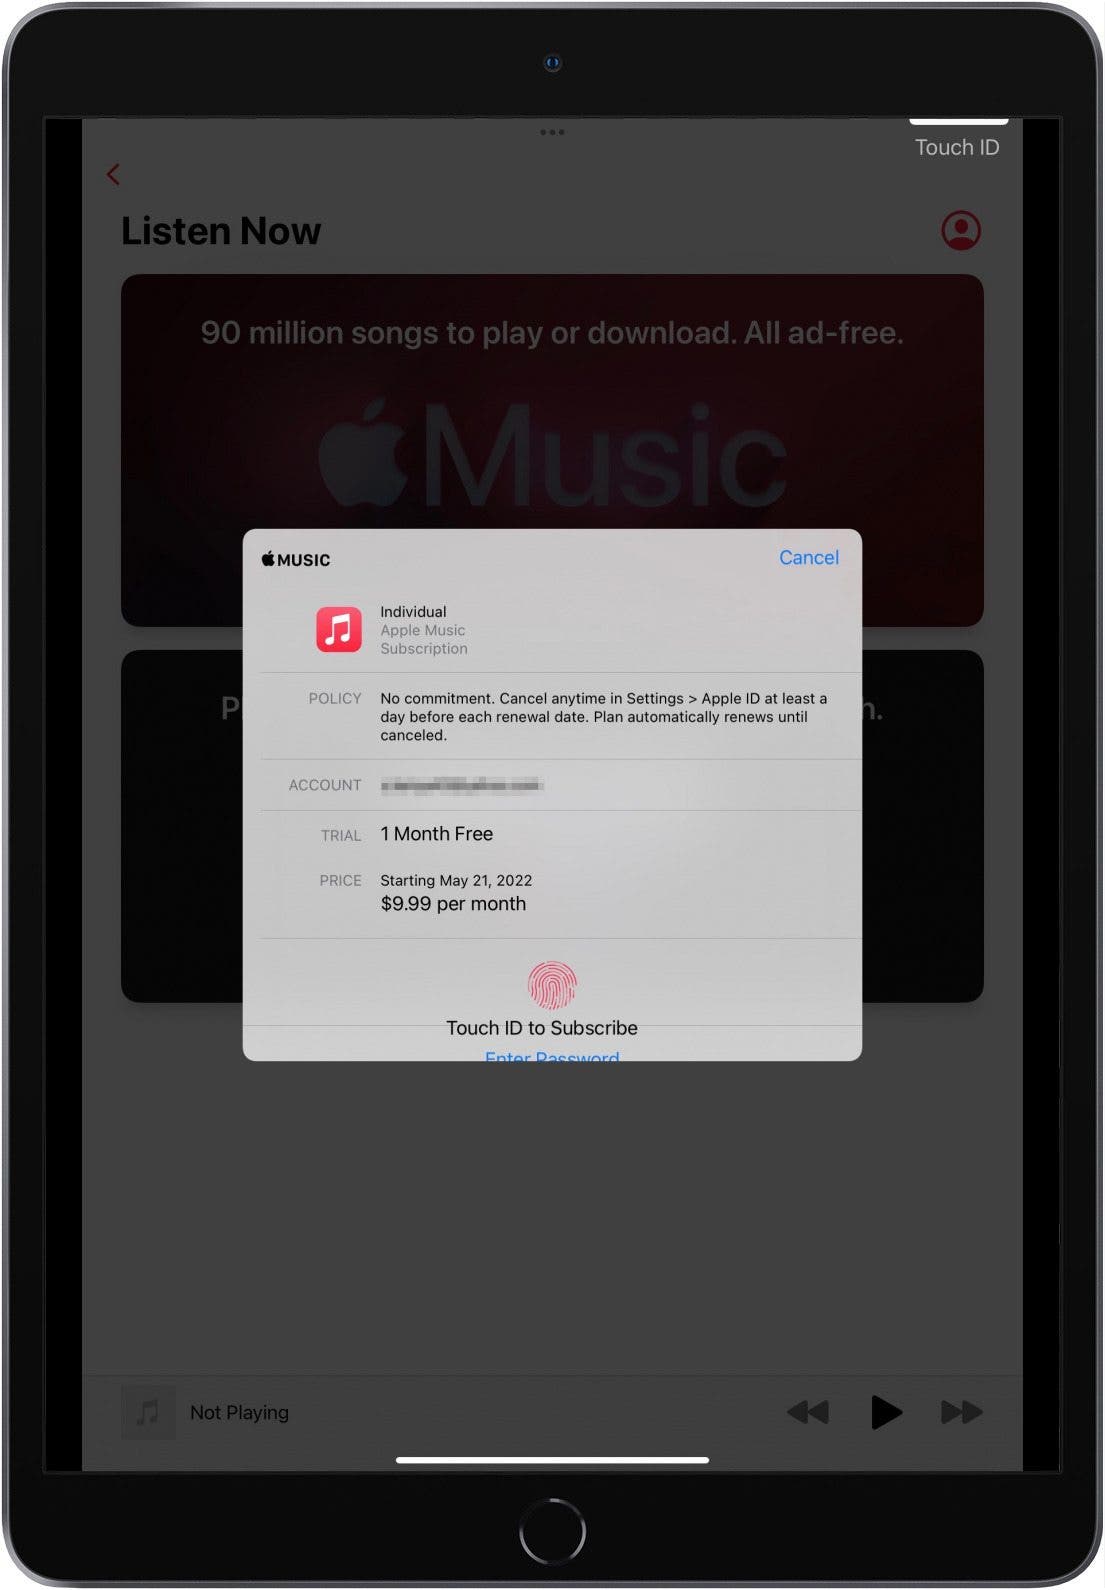
- Use Touch ID or Face ID to confirm your subscription.
How to Change Your Subscription in Apple Music
Now that you are subscribed to Apple Music, let's say that you aren't satisfied with your current subscription. The good news is that you can always change to another subscription. Keep in mind that each subscription has different pricing.
If you choose to get a family subscription, make sure you have set up Family Sharing before subscribing. Here’s an article to explain how to set up Family Sharing. If you choose the student subscription, you will be directed to the UNiDAYS website to verify your enrollment. After UNiDays verifies your enrollment, you will be returned to Apple Music to confirm your subscription. Also, be sure to read our article on deleting songs from Apple Music.
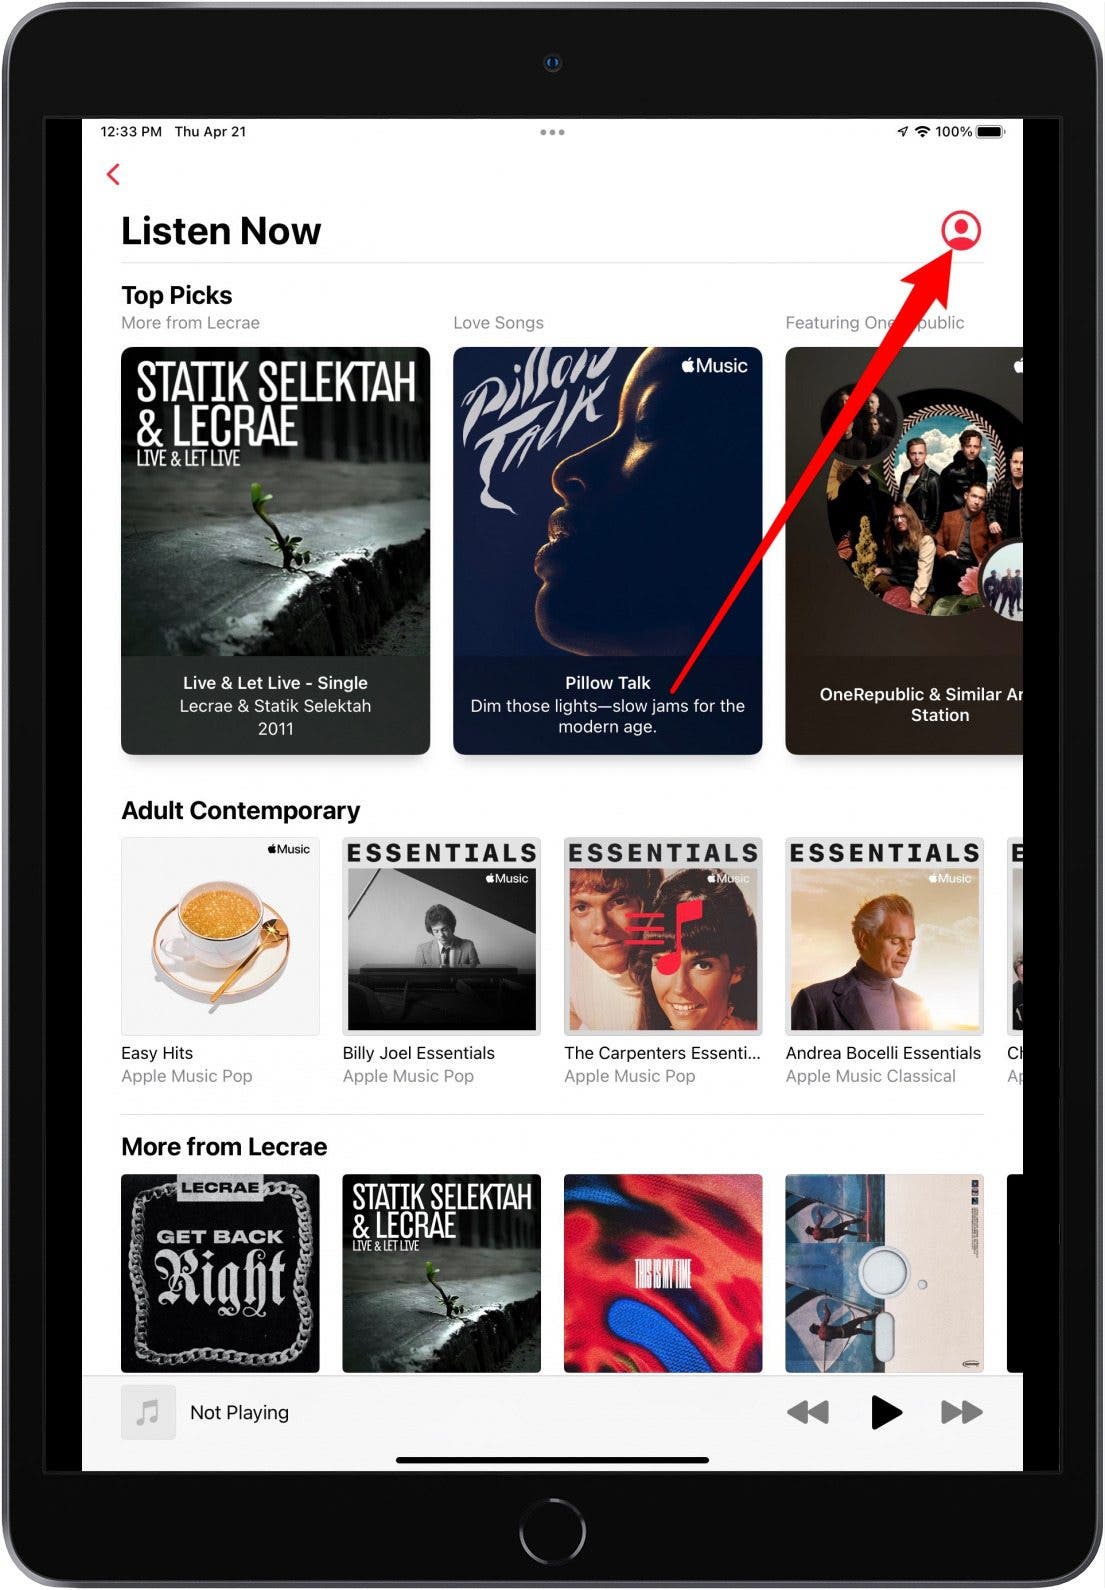
- Open Apple Music.
- Tap on the profile icon.
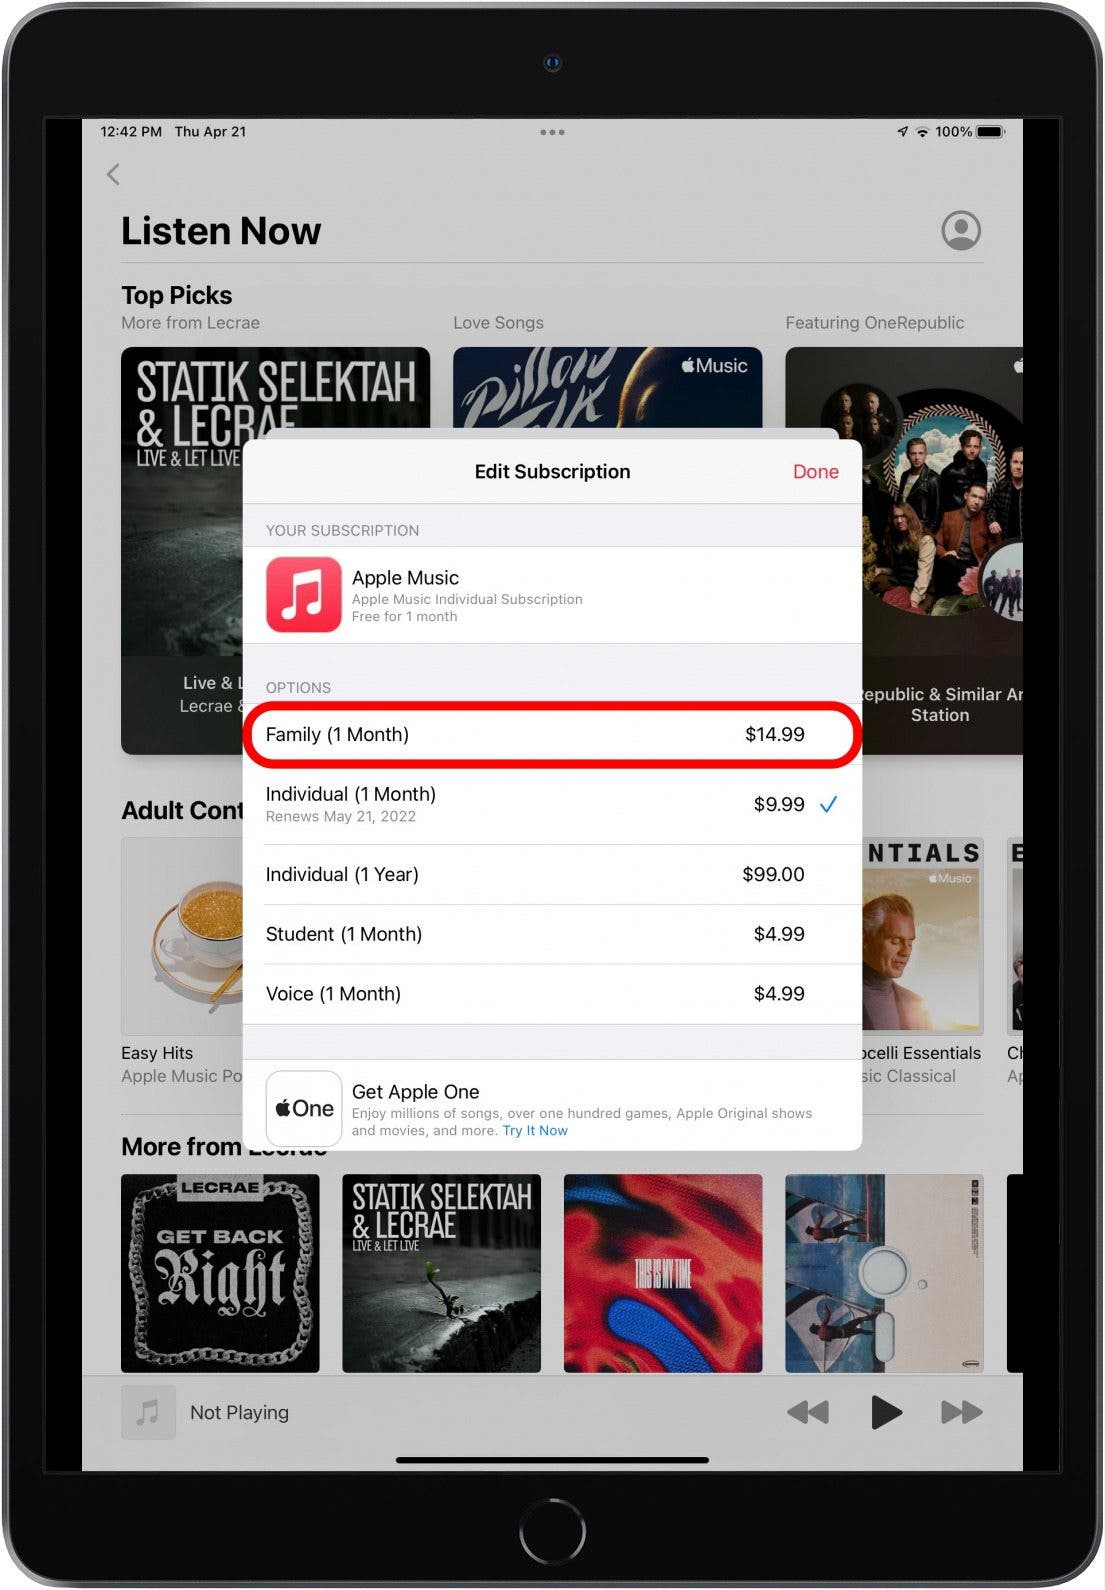
- Tap on Manage Subscription.
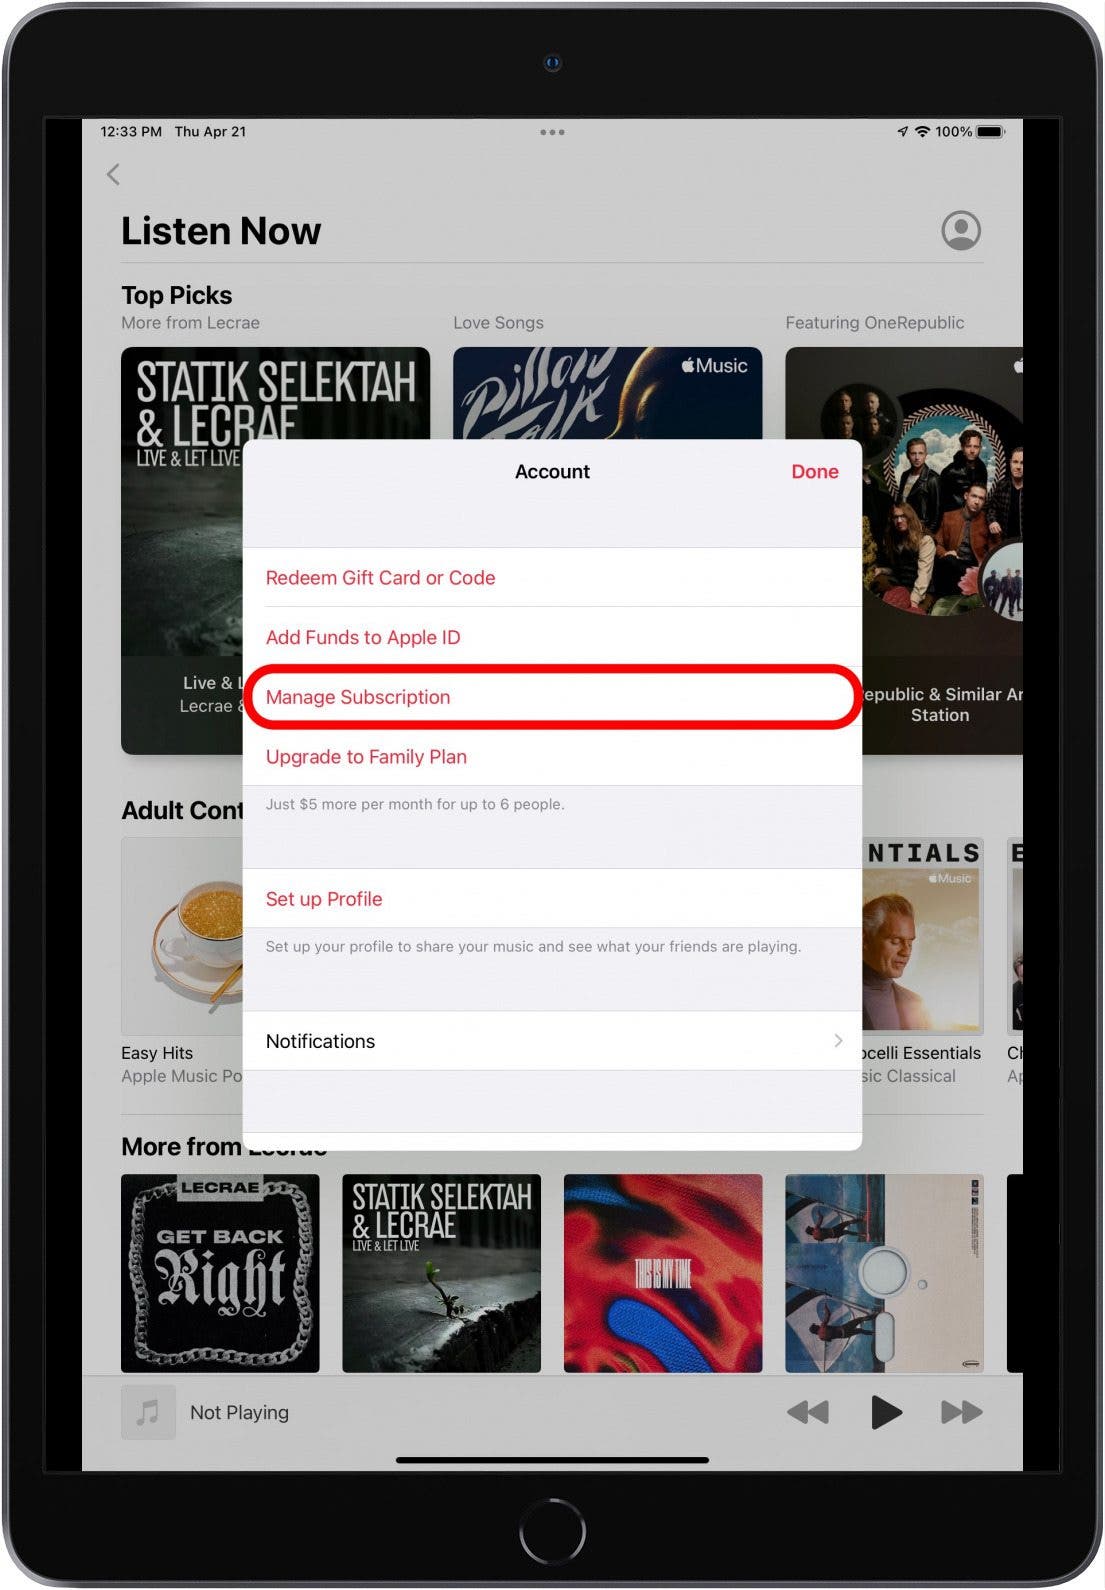
- Choose a subscription option.
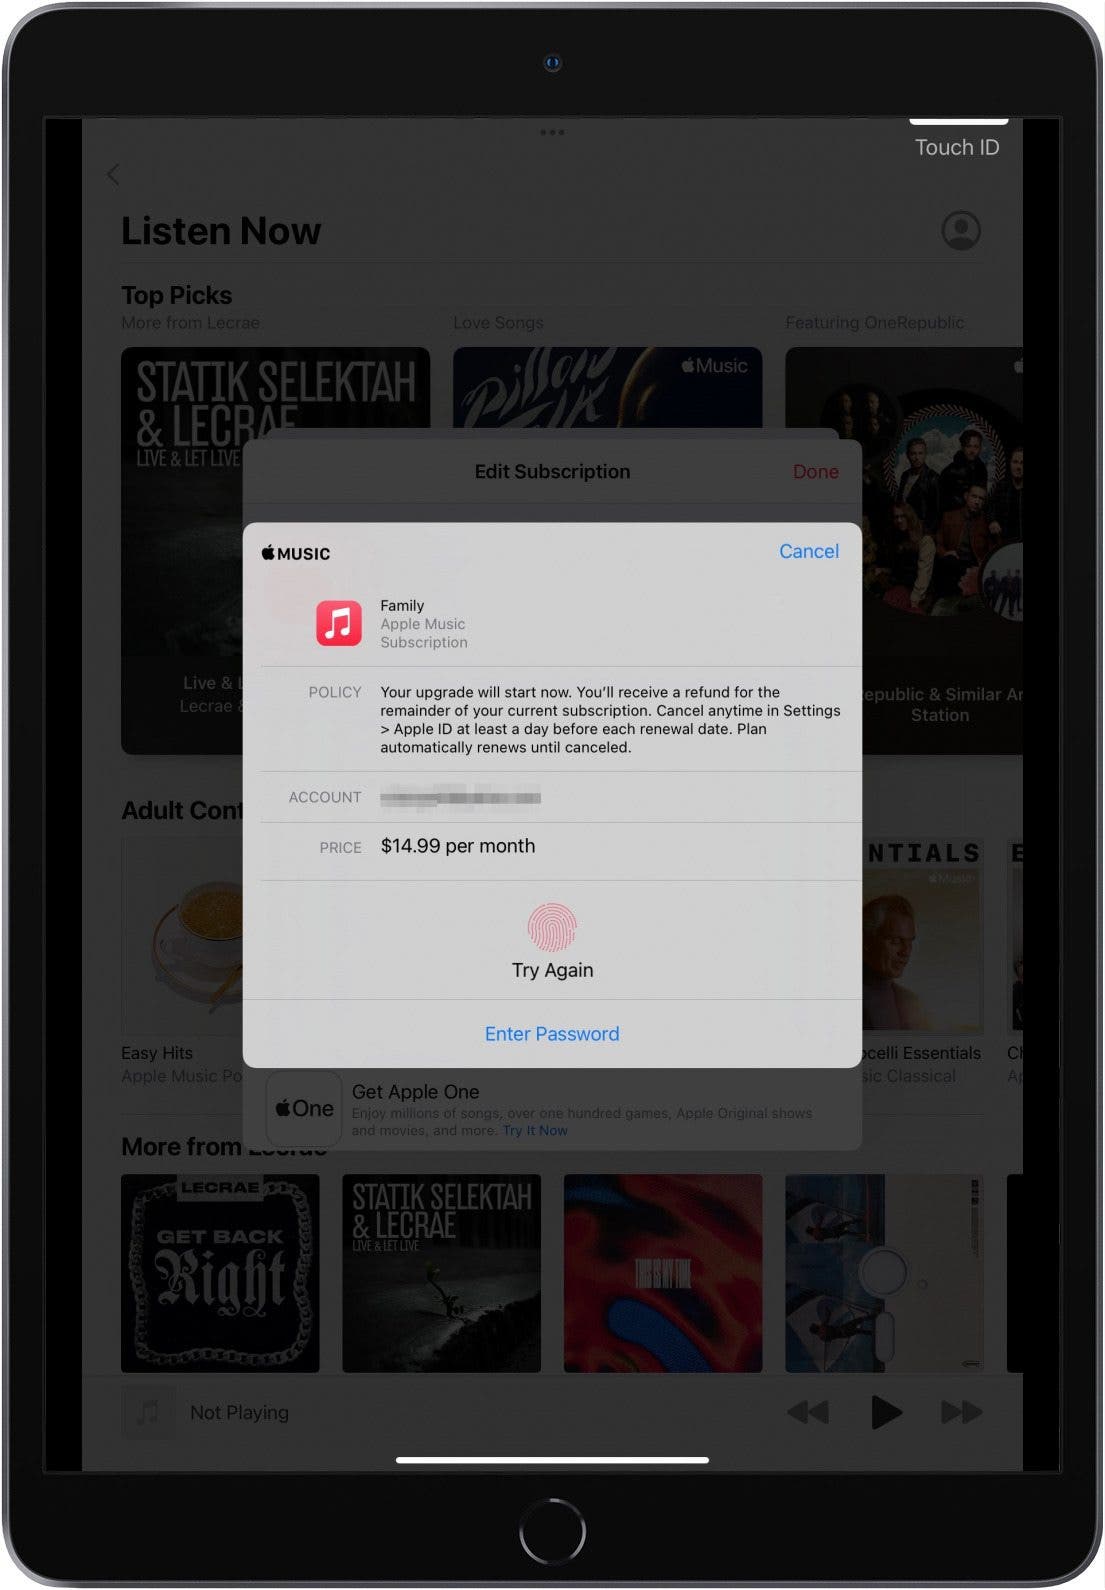
- Use Face ID or Touch ID to confirm your subscription.
Next, learn how to save money on your Apple subscriptions with the Apple One plan!

Kenya Smith
Related topics
Related Articles

Security News: App Location Data Is a Privacy Nightmare, iOS 18.1.1, and more
 Cullen Thomas
 Rhett Intriago
 Olena Kagui
Opinion: I Have Seen the Future with Apple Vision Pro & It Sucks


 Leanne Hays
 Amy Spitzfaden Both


 Rachel Needell