How to Extend a Photo on Your iPhone with iOS 27

Leanne puts her love of troubleshooting and repair to use managing our Ask an Expert Facebook group and has authored hundreds of how-to, Apple news, and gear review articles.
Learn More Leanne puts her love of troubleshooting and repair to use managing our Ask an Expert Facebook group and has authored hundreds of how-to, Apple news, and gear review articles.
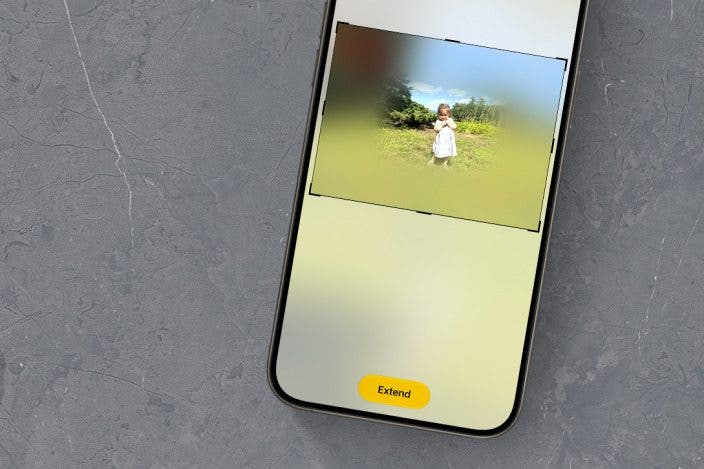
Learn MoreHave you ever photographed a subject closer than you meant to, and wished you got more of the surroundings in your shot? With iOS 27 and later, you can use Apple Intelligence to extend your photo. This feature doesn't work on every photo, but will most likely improve over time.
Why You'll Love This Tip
- Learn how to extend photos you've taken with your iPhone or iPad.
- Tap the Edit icon, then the Apple Intelligence tools icon, then tap Extend. Pinch inwards with two fingers, then tap Extend.
How to Use the Extend Tool to Zoom Out on a Photo
System Requirements
This tip was performed on an iPhone 17 running iOS 27. These steps do not work for users running iOS 26, or for iPhones and iPads that cannot use Apple Intelligence features. Find out how to update to the latest version of iOS.
Apple Intelligence allows iPhone and iPad users to alter pictures after taking them. One of these new features is the Extend tool, which uses AI to fill in the area around the subject when you zoom out on a photo.
- Open the Photos app on your iPhone or iPad.
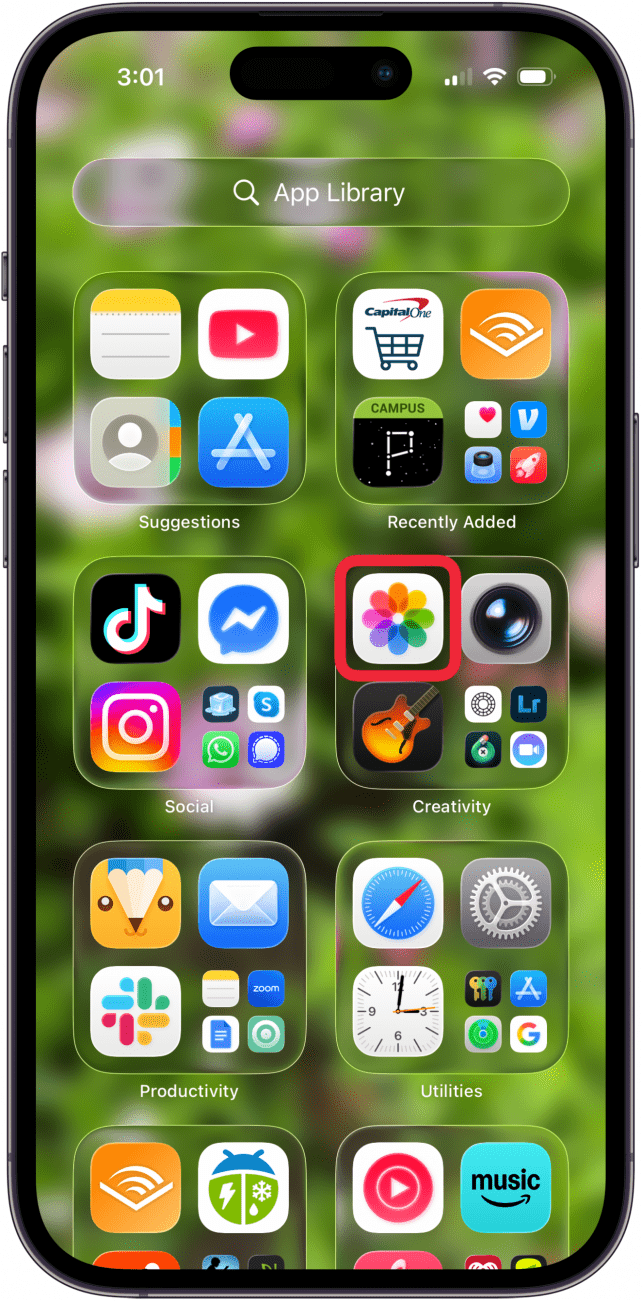
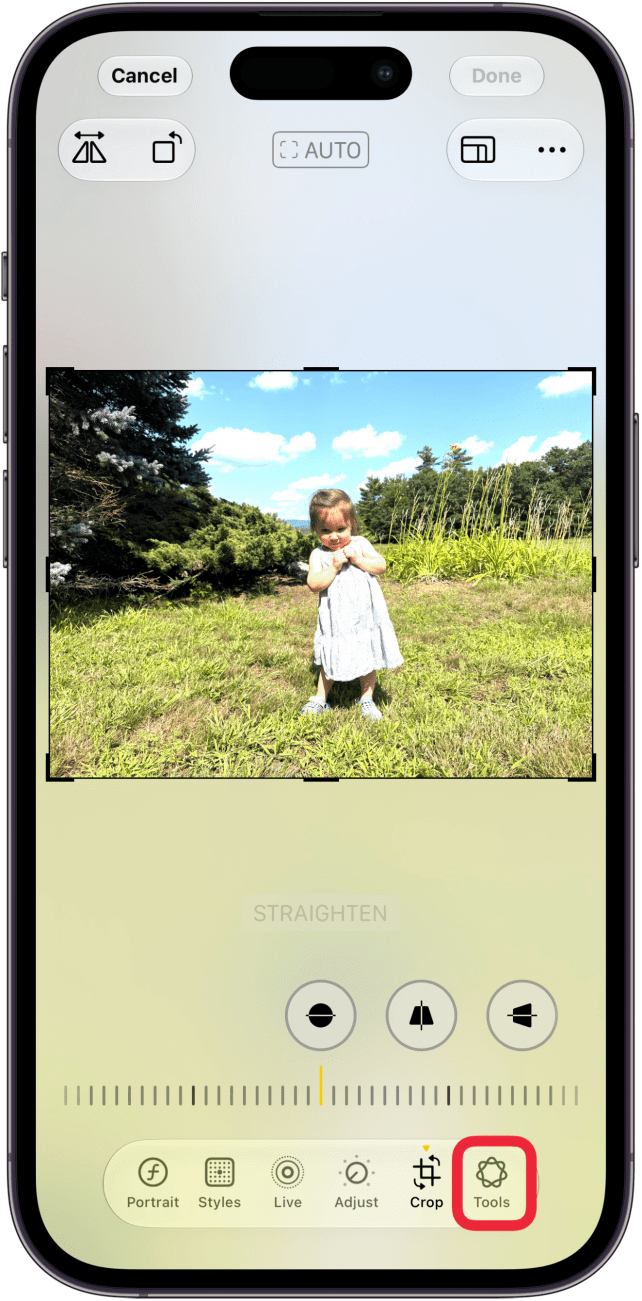
- Tap the photo you want to edit, then tap the Edit icon at the bottom of your screen.

- Tap the Apple Intelligence Tools icon.
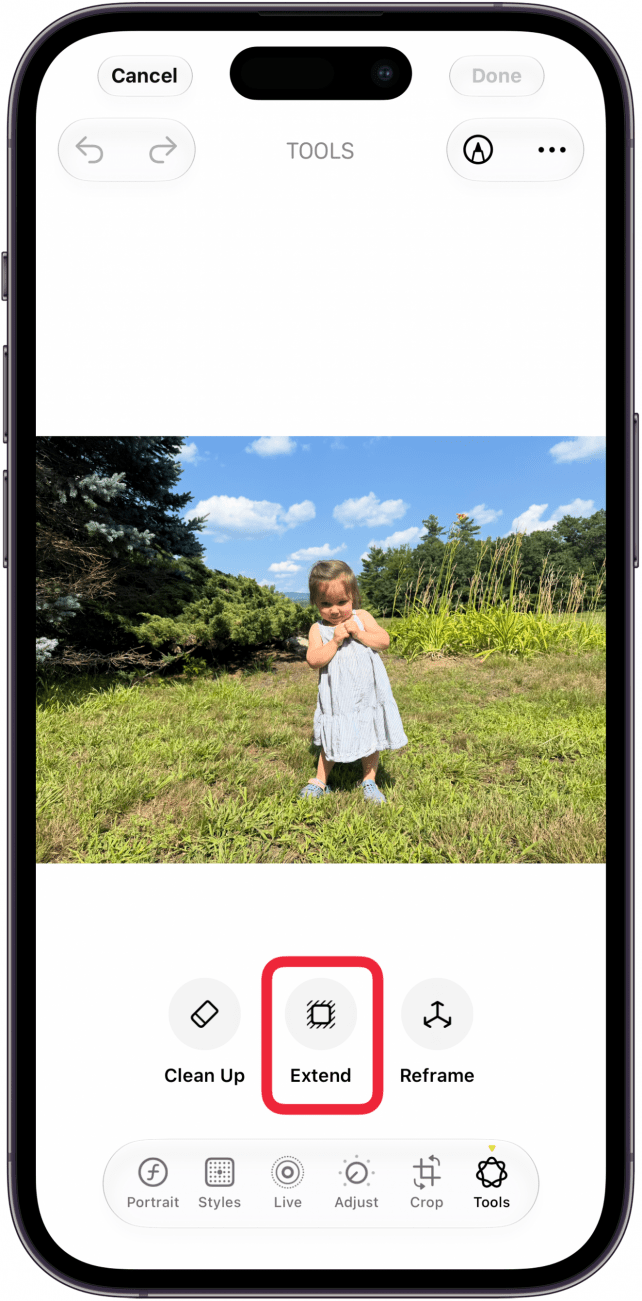
- Tap Extend.
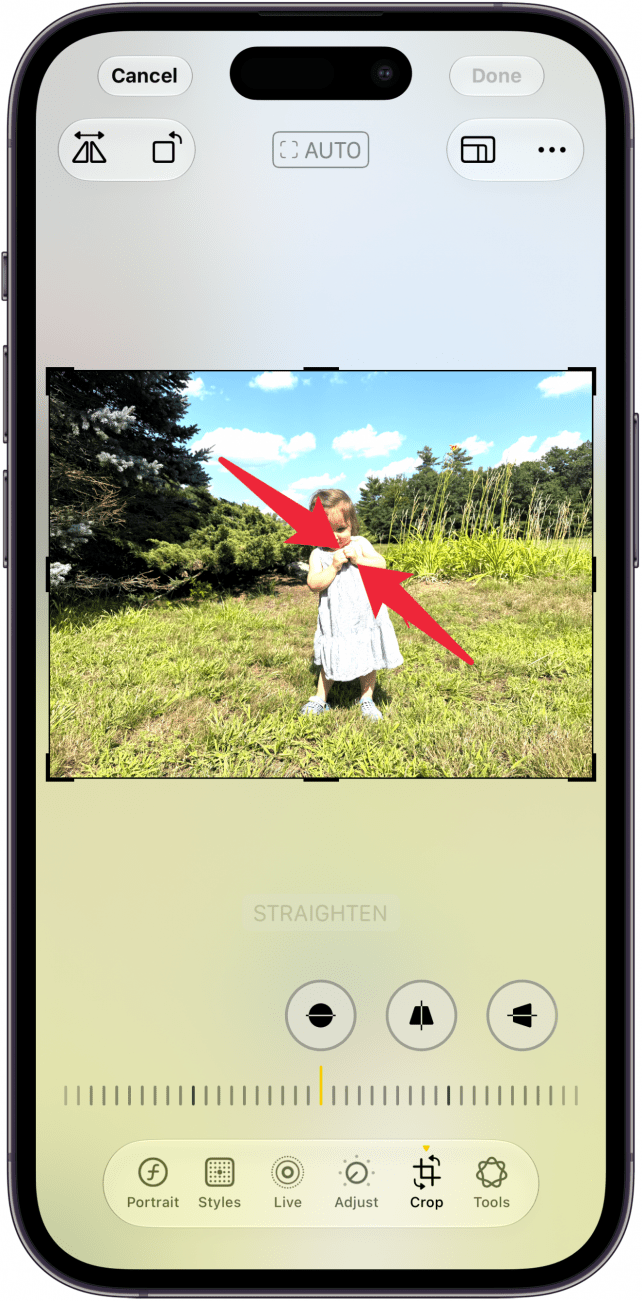
- Pinch two fingers inwards, or drag one of the black corners or lines along the perimeter of the photo to enlarge your picture.
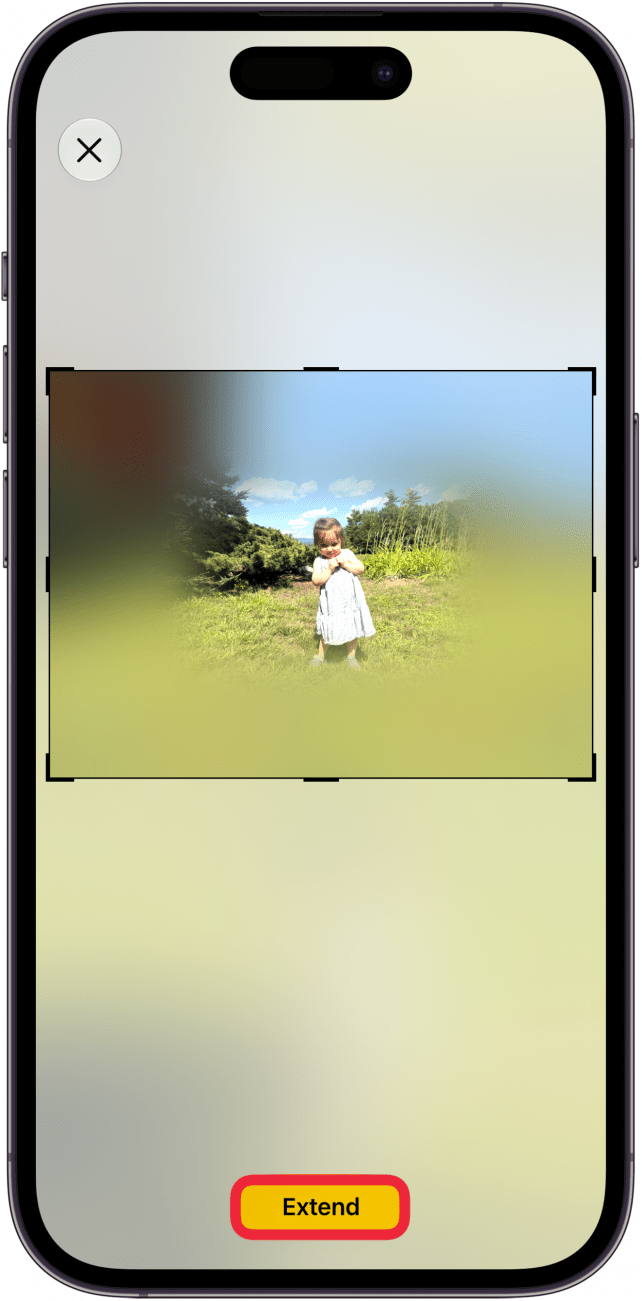
- Tap the Extend button.
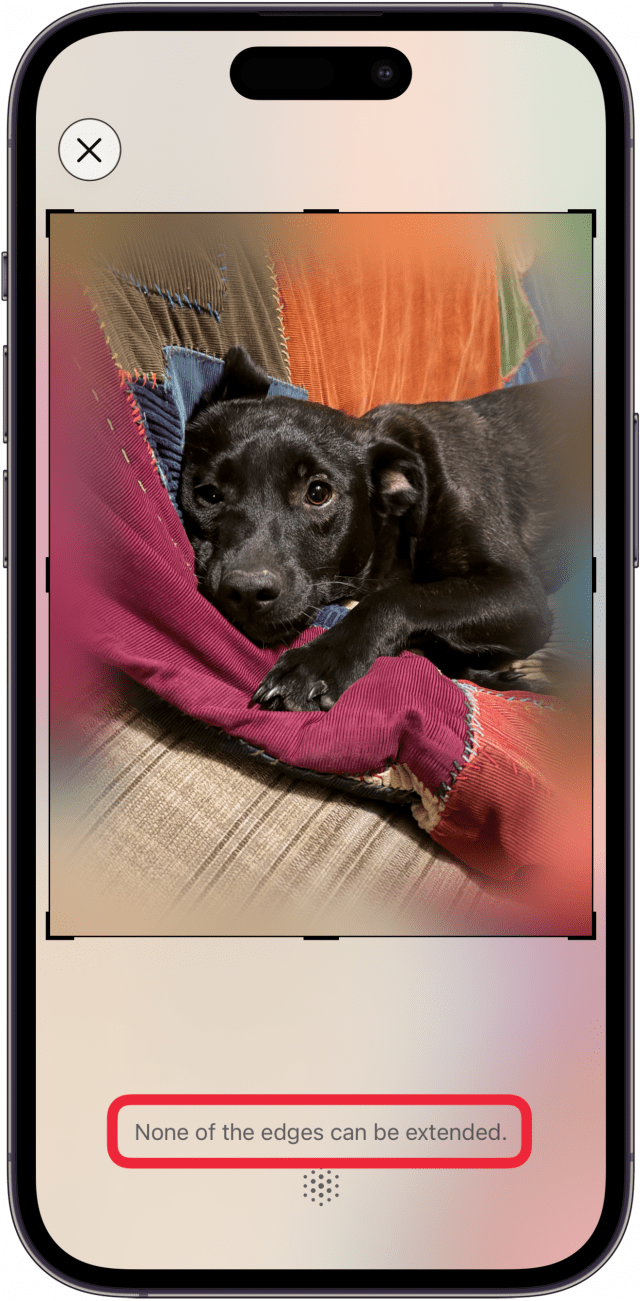
- If the feature can't be used on your photo, you'll see a notice that reads, "None of the edges can be extended."
- If it is possible to use the Extend feature, it may take several minutes for Apple Intelligence to generate the new part of the photo.
- You'll see a notification that reads, "Your photo has been extended. Tap to see the original."

- You'll see your original photo. Tap the check mark to go back to the extended version, or the X to exit.

More On: Editing Photos
Top image credit: The-DesignStudio / Shutterstock.com

Every day, we send useful tips with screenshots and step-by-step instructions to over 600,000 subscribers for free. You'll be surprised what your Apple devices can really do.

Leanne Hays
Leanne Hays has more than sixteen years of experience writing for online publications. As a SEO Specialist and Feature Writer for iPhone Life, she has authored hundreds of how-to, Apple news, and gear review articles, as well as a comprehensive Photos App guide. Leanne holds degrees in education and science and loves troubleshooting and repair. This combination makes her a perfect fit as manager of our Ask an Expert service, which helps iPhone Life Insiders with Apple hardware and software issues.
In off-work hours, Leanne is a mother of two, homesteader, audiobook fanatic, musician, and learning enthusiast.

 Leanne Hays
 Olena Kagui
 Rachel Needell

 Rhett Intriago

 Amy Spitzfaden Both

 David Averbach