How to Reverse a Video on iPhone

In the last 10 years, Olena has been published in dozens of publications internationally and written hundreds of how-to articles and complex guides about Apple products, software, and apps.
Learn More In the last 10 years, Olena has been published in dozens of publications internationally and written hundreds of how-to articles and complex guides about Apple products, software, and apps.
Learn MoreWhat to Know
- There are many ways to reverse videos online or using third-party apps.
- Unfortunately, there is no built-in way to reverse a video on an iPhone.
- I’ll teach you how to reverse a video using paid websites and apps, plus a neat trick to do it for free!
Reversing a video on your iPhone is not as straightforward as it should be. I’ll teach you how to reverse a video on iPhones using websites and third-party apps. While the easiest and quickest solutions are paid, I will also teach you how to put a video in reverse for free!
How Do You Reverse a Video Using a Third-Party App
There is a wide selection of third-party apps with video reverse features, and most are free to download but have premium fees. Some apps will reverse a limited number of videos for free but will include a watermark or will export at a lower quality.
Since most of these apps have fees anyway, my go-to is Filmora: AI Video Editor, Maker ($34.99/year) because it is cheaper than apps such as Reverse Vid: Video Reverser ($49.99/year), but it has lots of bonus features. They have a three-day trial if you wish to try it out before making the commitment, or if you only have a select number of videos to reverse. Here's how to reverse a video with iPhone using Filmora:
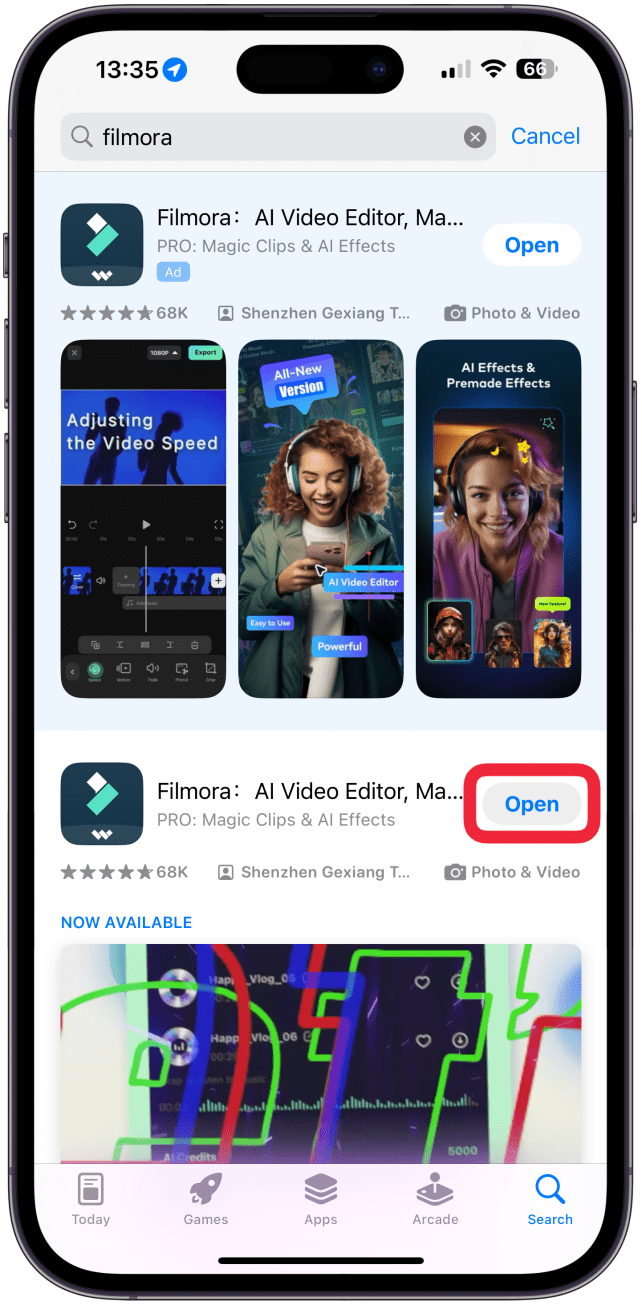
- Download Filmora from the App Store and open it. You'll have to make an account the first time you use it.
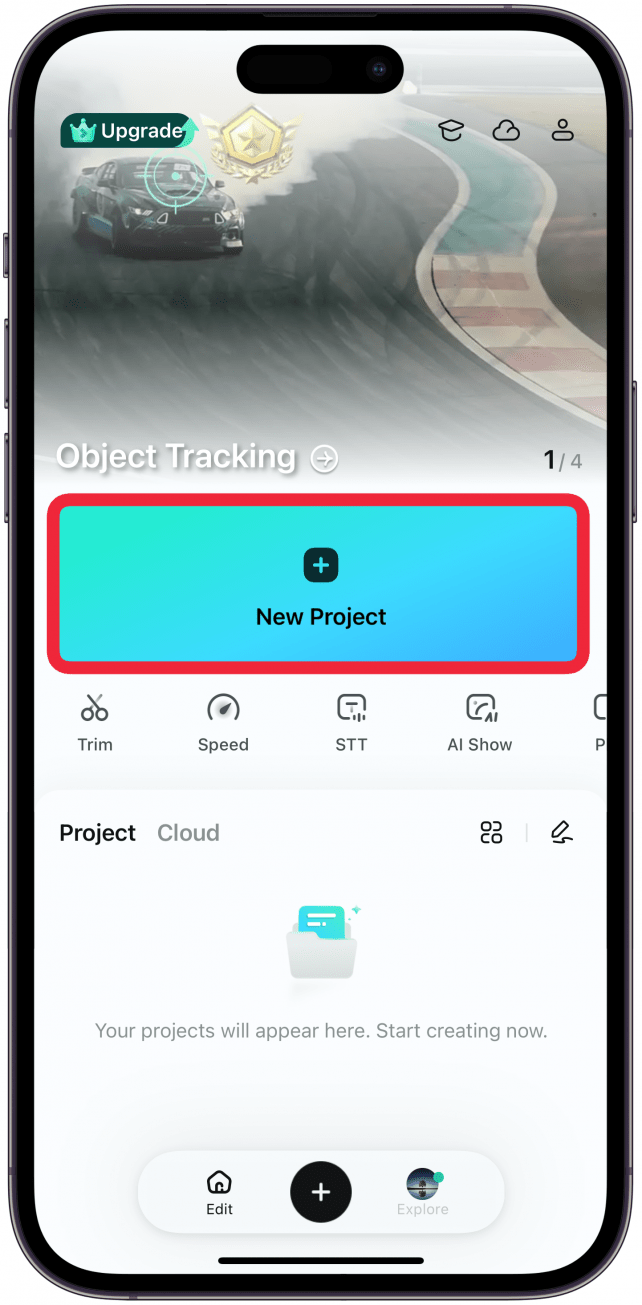
- Tap New Project.
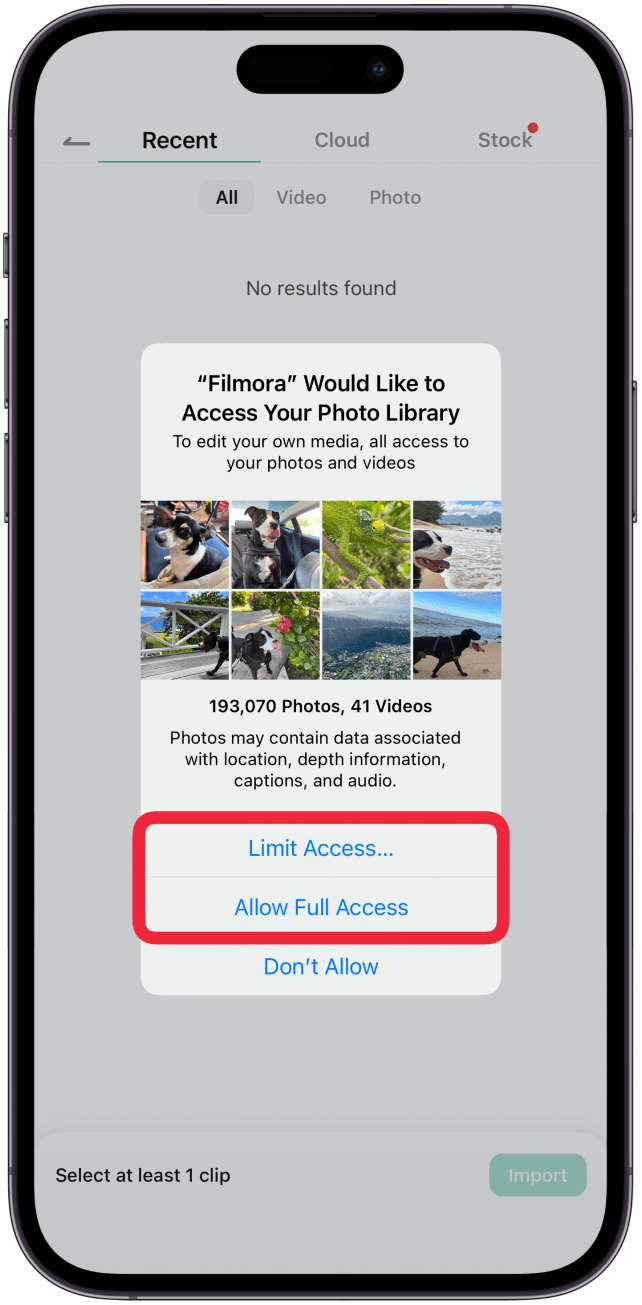
- The first time you do this, you’ll have to give the app access to your Photo Library. Tap Allow Full Access or Limit Access.
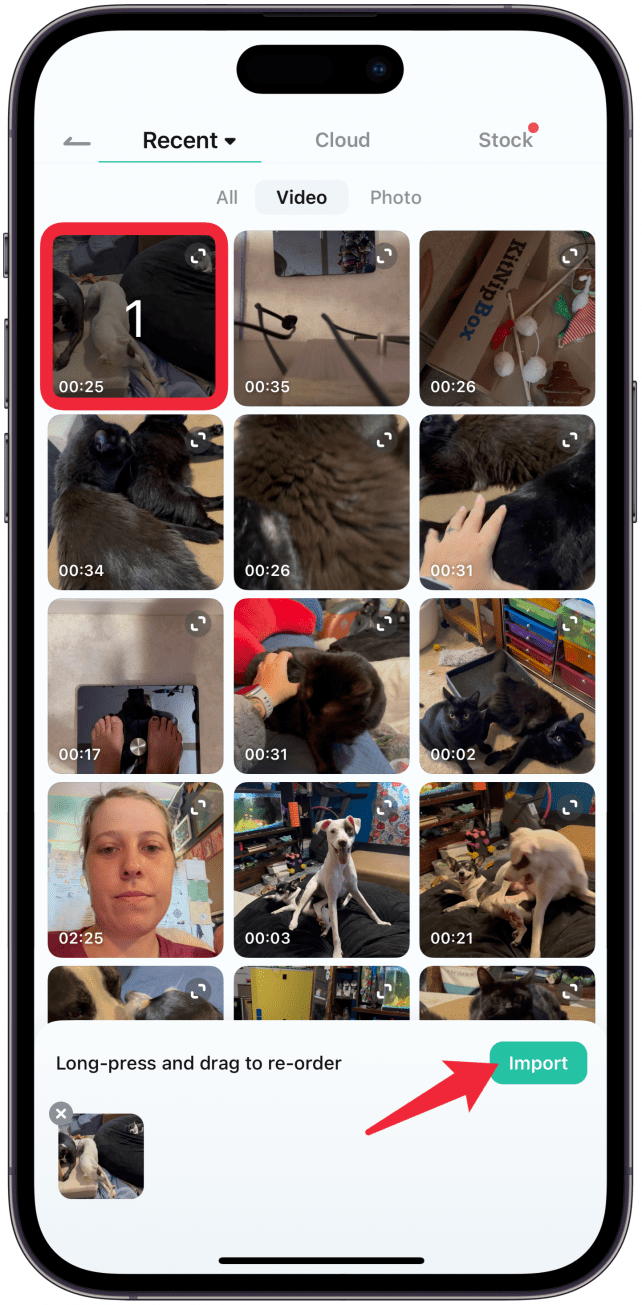
- Once your content is loaded, you can pick something out either under All or tap Video to see all your videos.
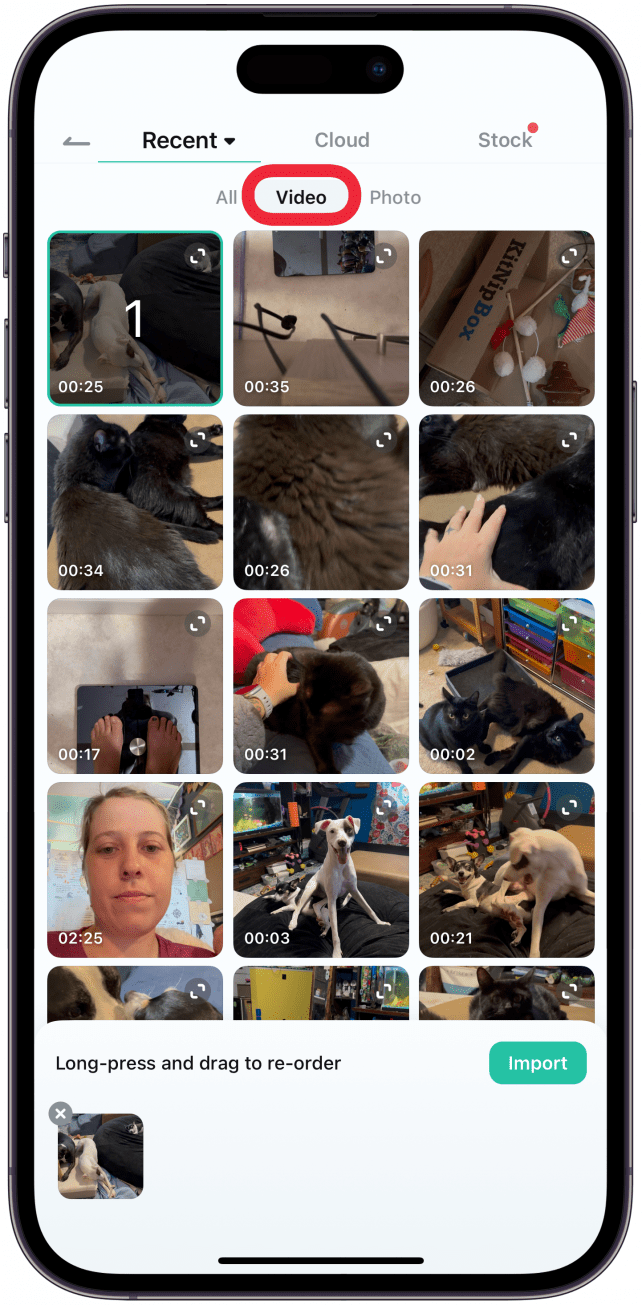
- Select the video(s) and tap Import.
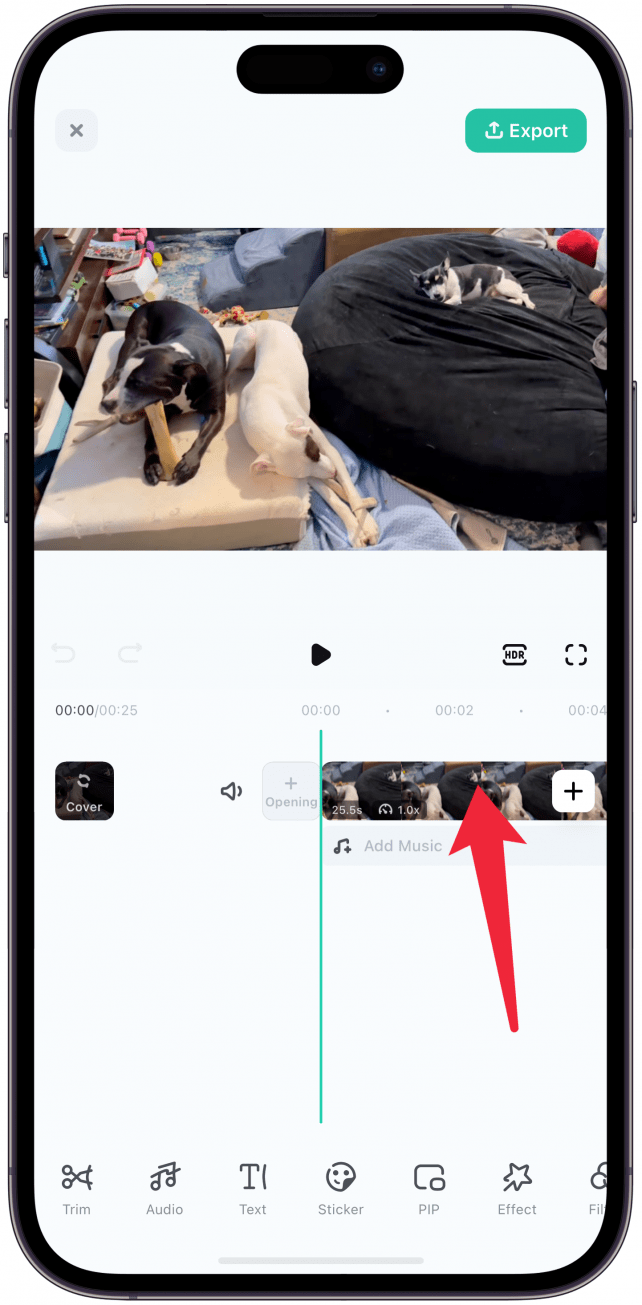
- Tap on the video clip once it is finished loading.
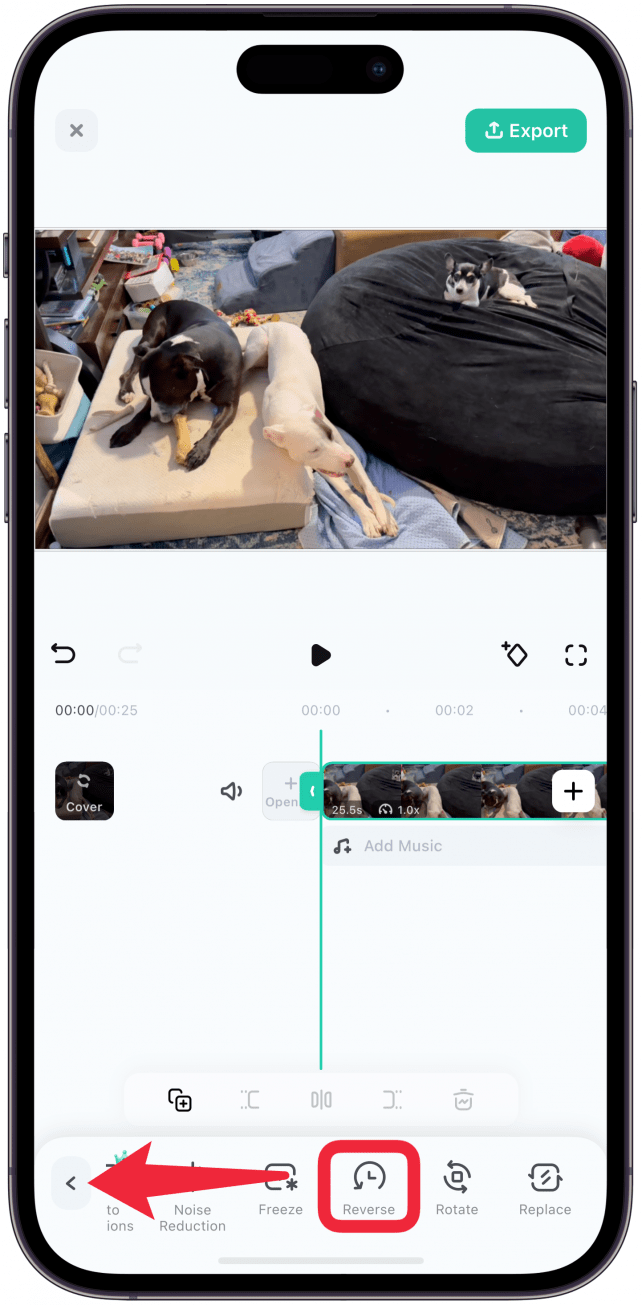
- At the bottom of your screen, swipe to the very left until you see Reverse. Select it.
- You can now make other edits if you wish. To save the reversed video on your iPhone, tap Export.
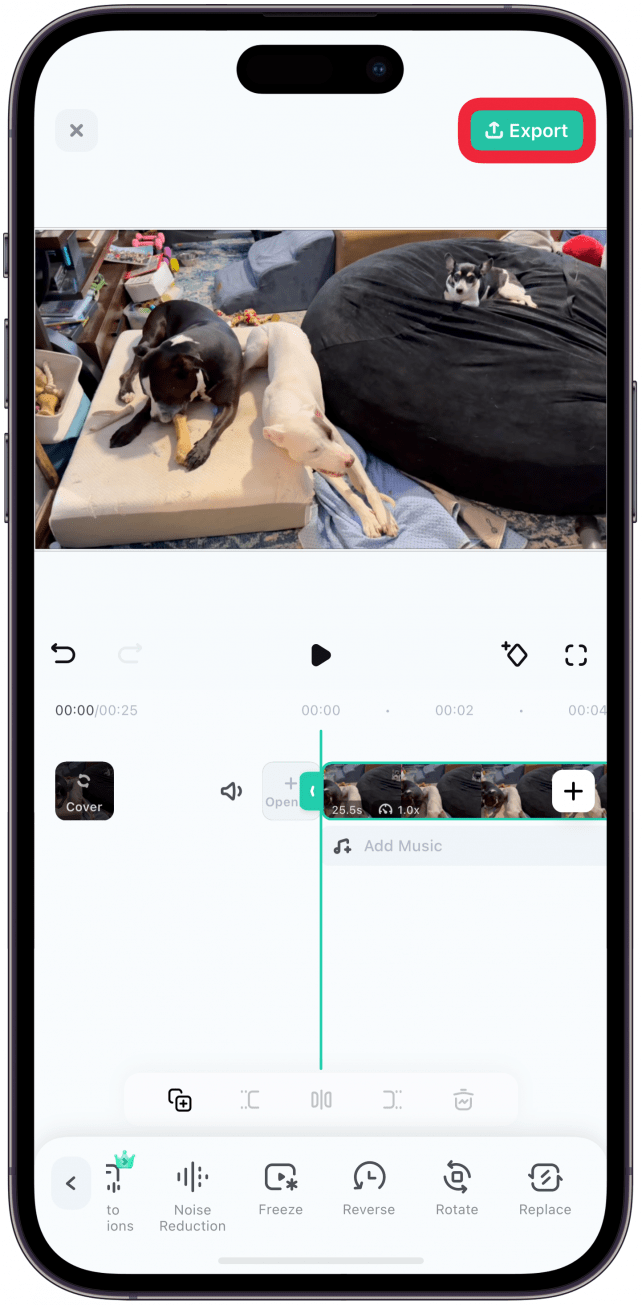
- Select a resolution and frames per second, toggle on Remove Watermark and Smart HDR for best results, and then tap Export.
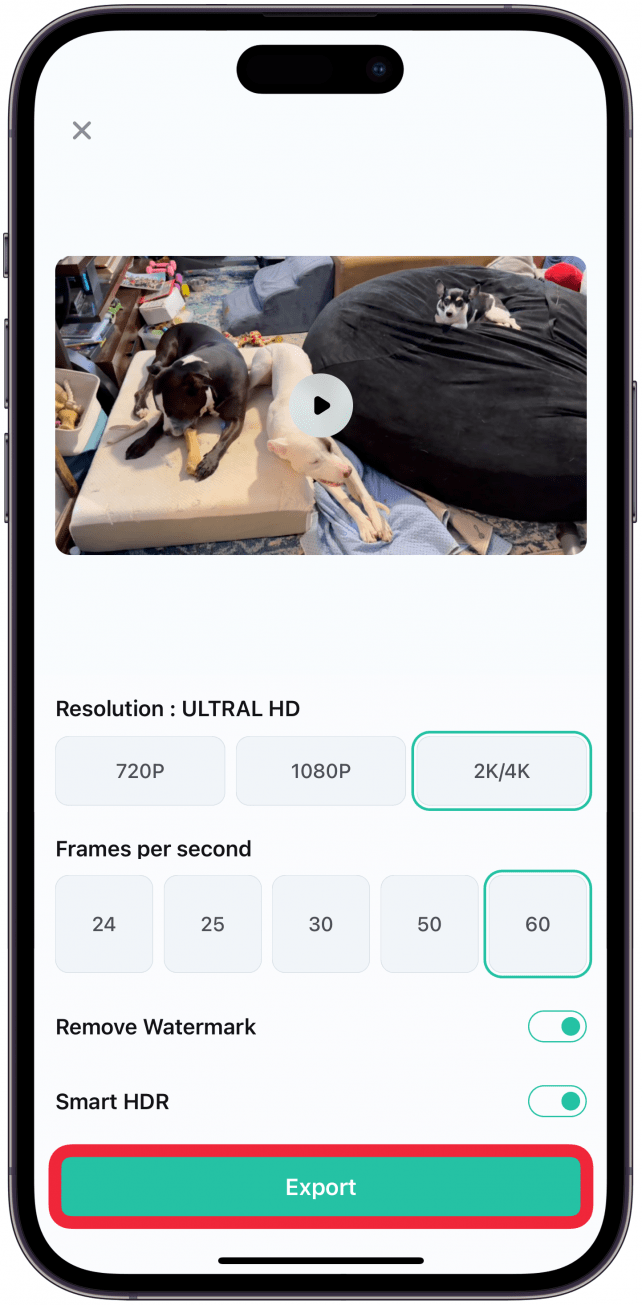
Do not lock your phone or close the app while the video exports. Once it is finished, the video will show up in your Photos app. The great thing about Filmora is that it will offer you lots of tips on how to use it and the many features it offers.
How to Reverse a Video Online Using a Website
If you don’t want to download a whole new app, you can always use a website to reverse videos. Again, there are many to choose from. I’ll show you how to do it with Clideo, which offers free video reverse features but includes a watermark unless you pay a fee of $9/month or $72 a year for premium features.
Warning
Unlike apps in the app store that are heavily vetted by Apple, using websites can be a lot more risky. When uploading or downloading content from any website, make sure you read the fine print and proceed with caution.
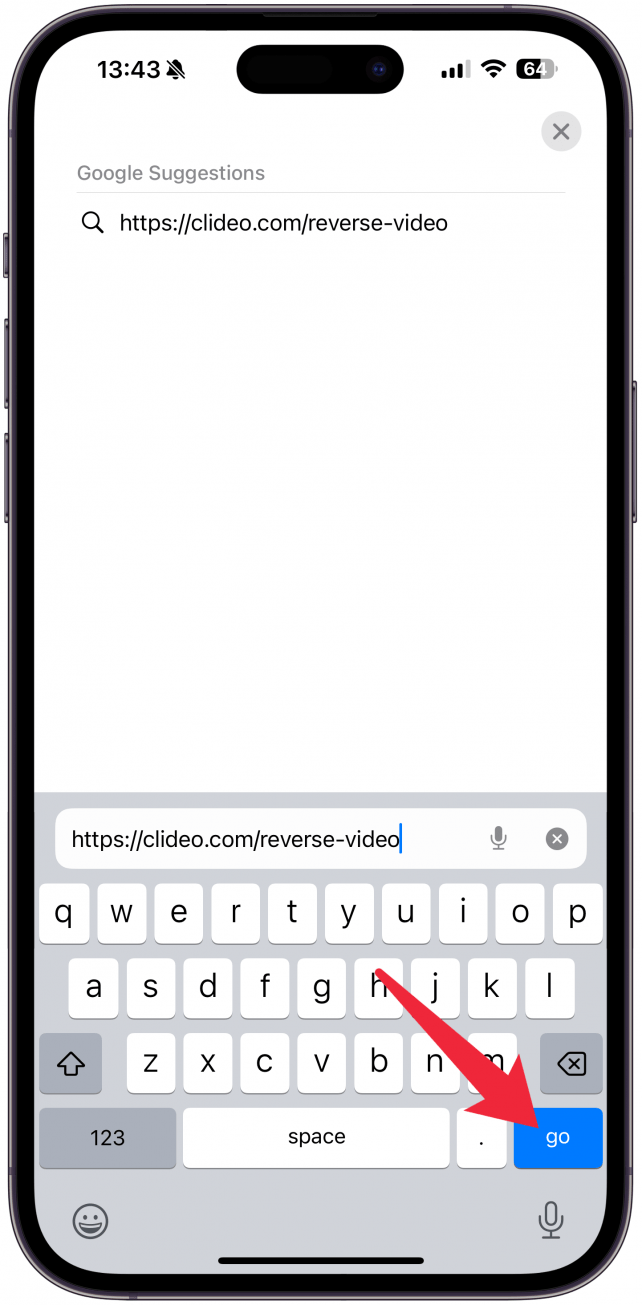
- Open https://clideo.com/reverse-video on your iPhone in your preferred browser.
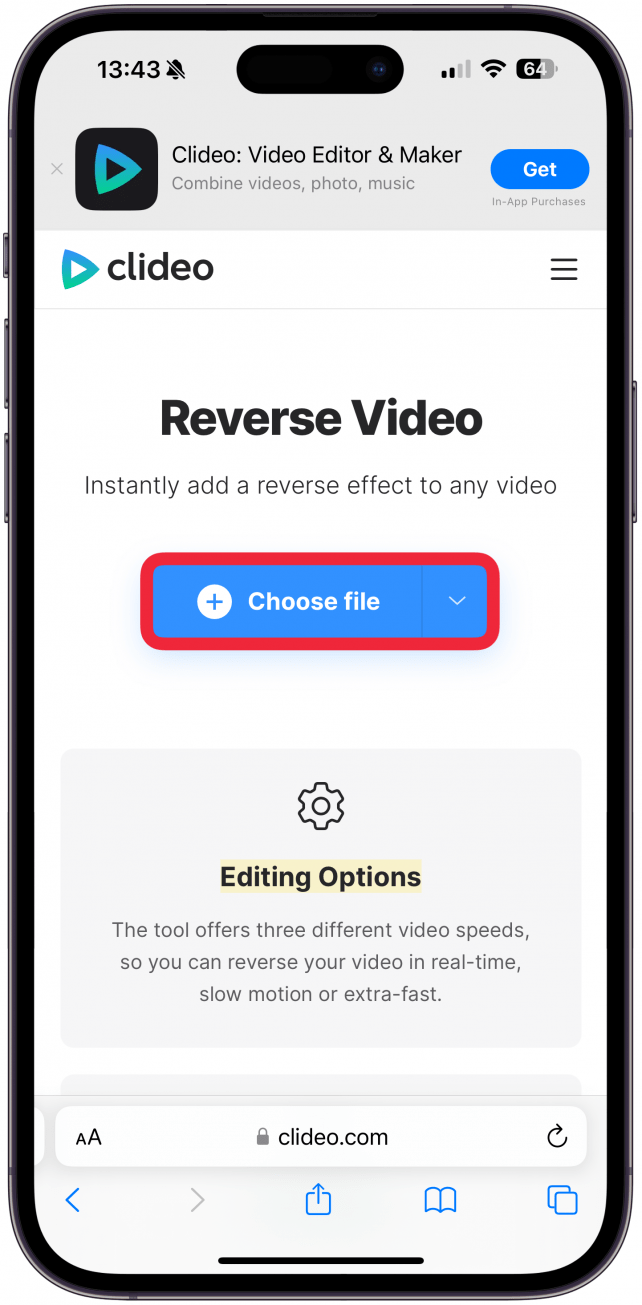
- Tap Choose file.
 5
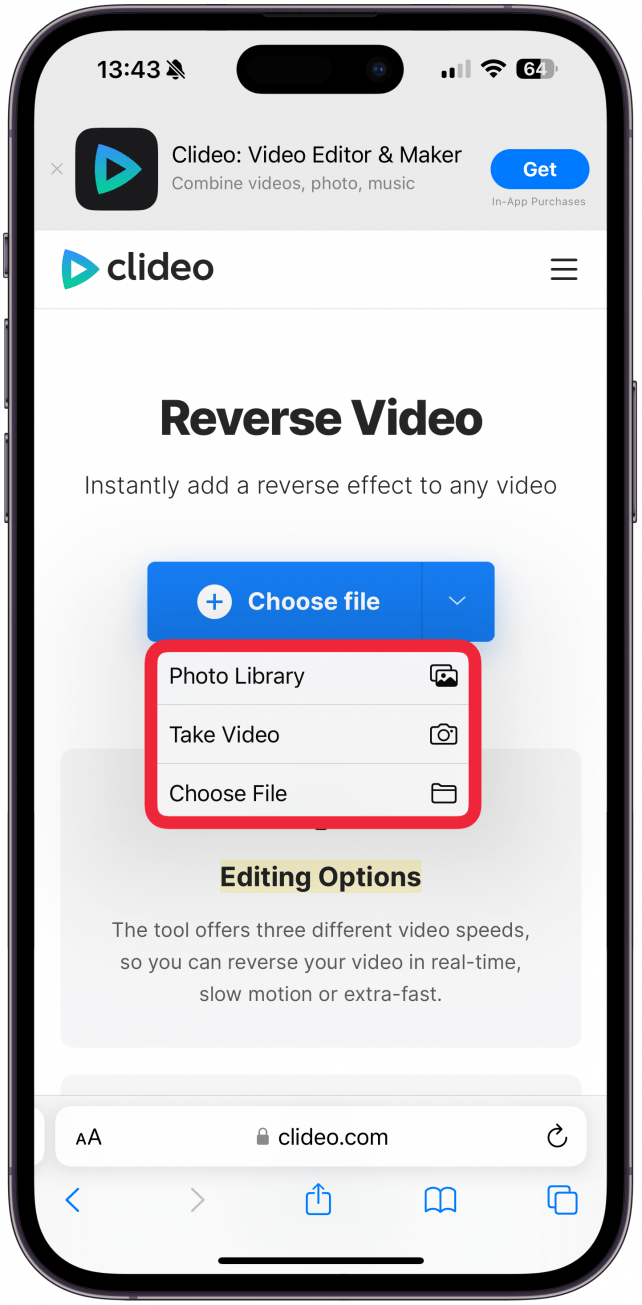
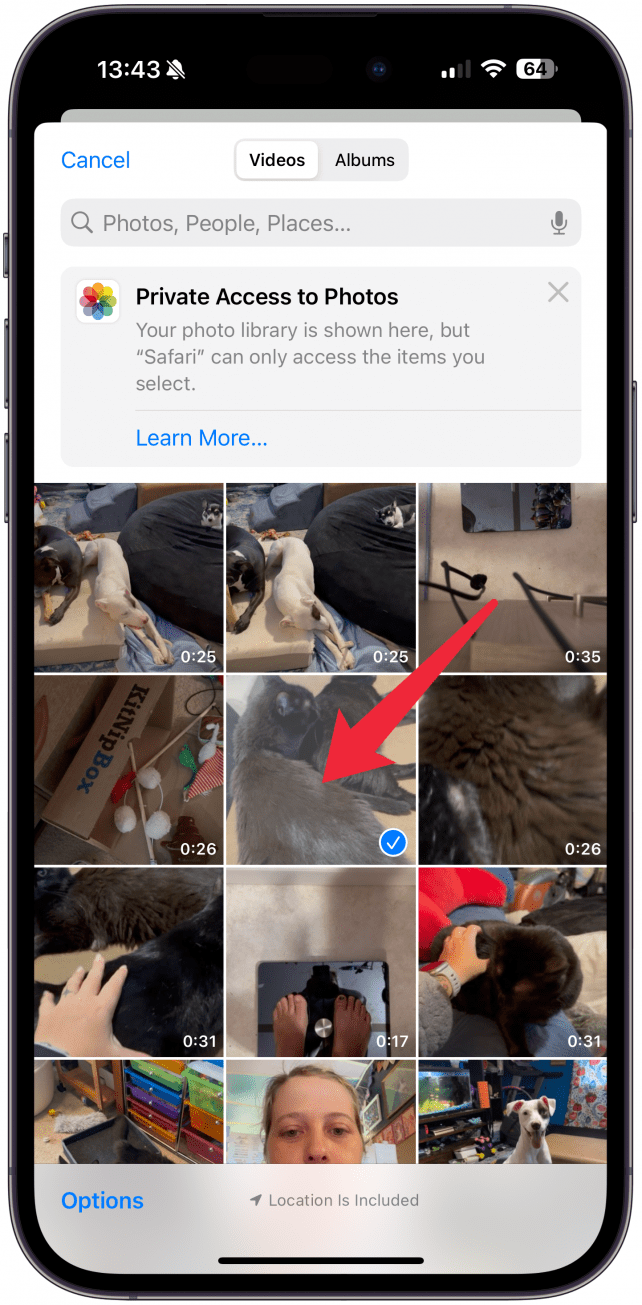
5 - Select Photo Library, Take Video, or Choose File, depending on your needs. You may need to give your browser access to your Photo Library if you haven't done that in the past.
- Select the video you wish to reverse.
- Tap Done.
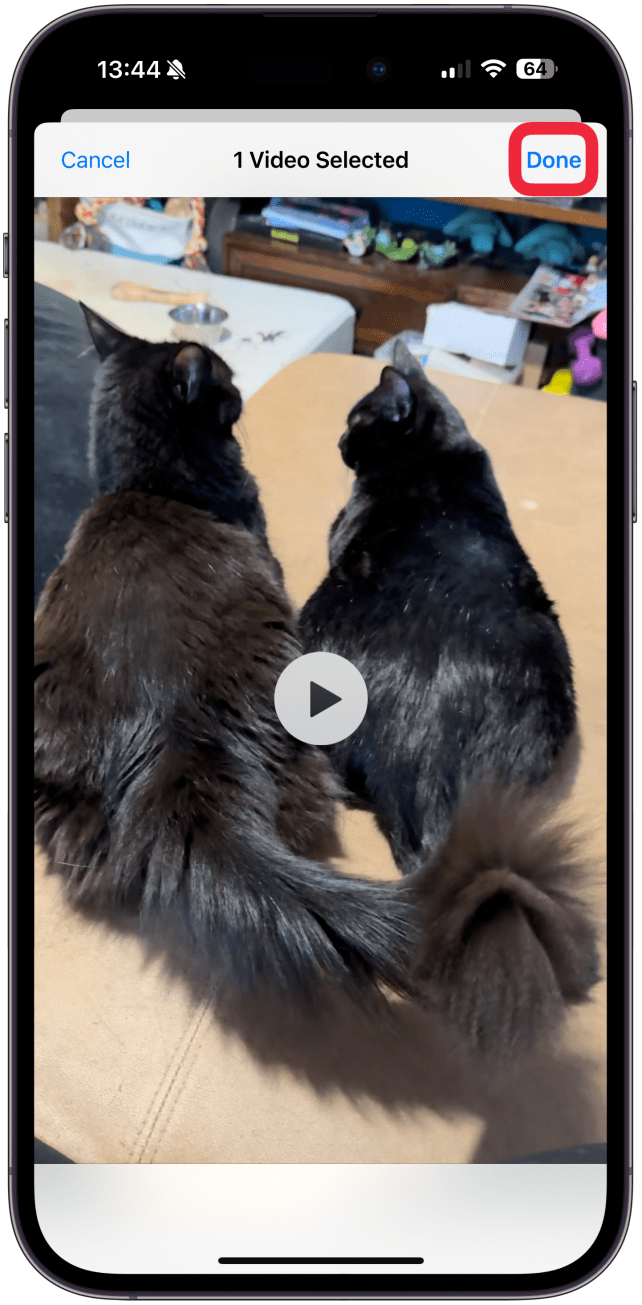
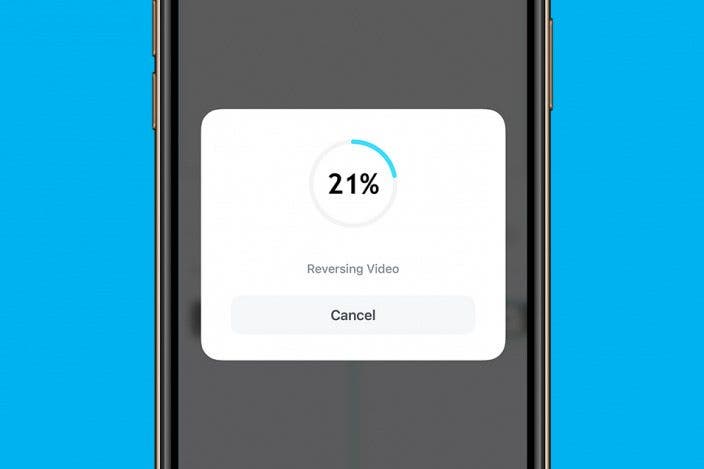
- Once the video is uploaded, tap Export.
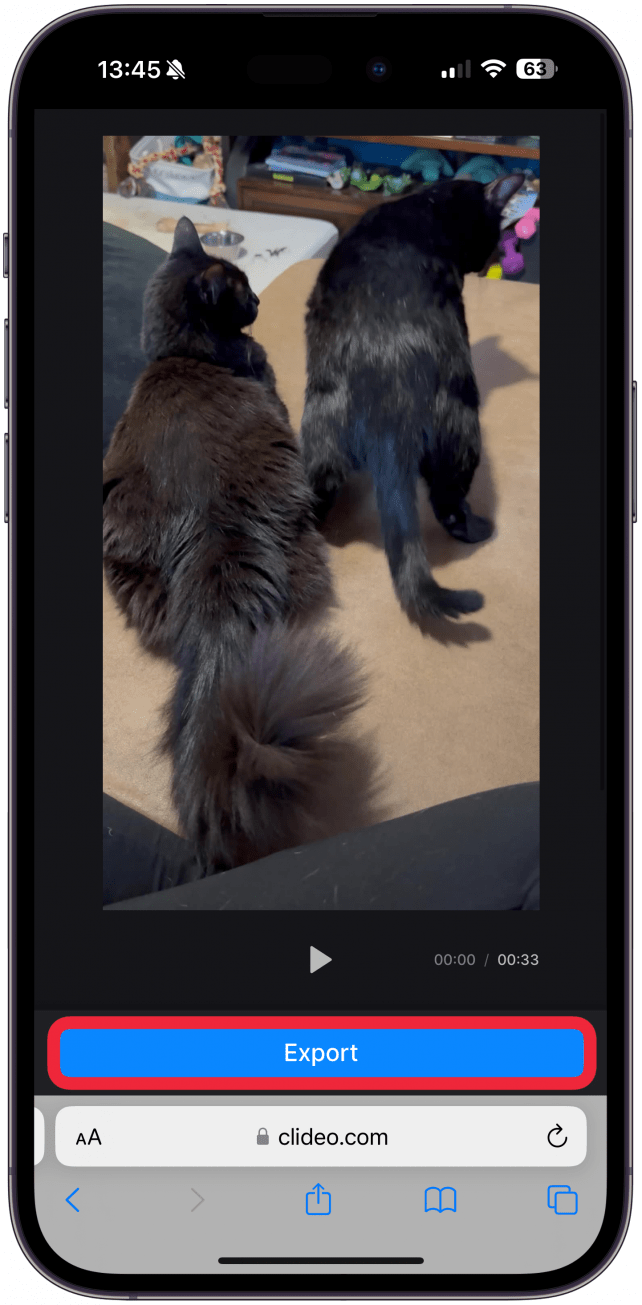
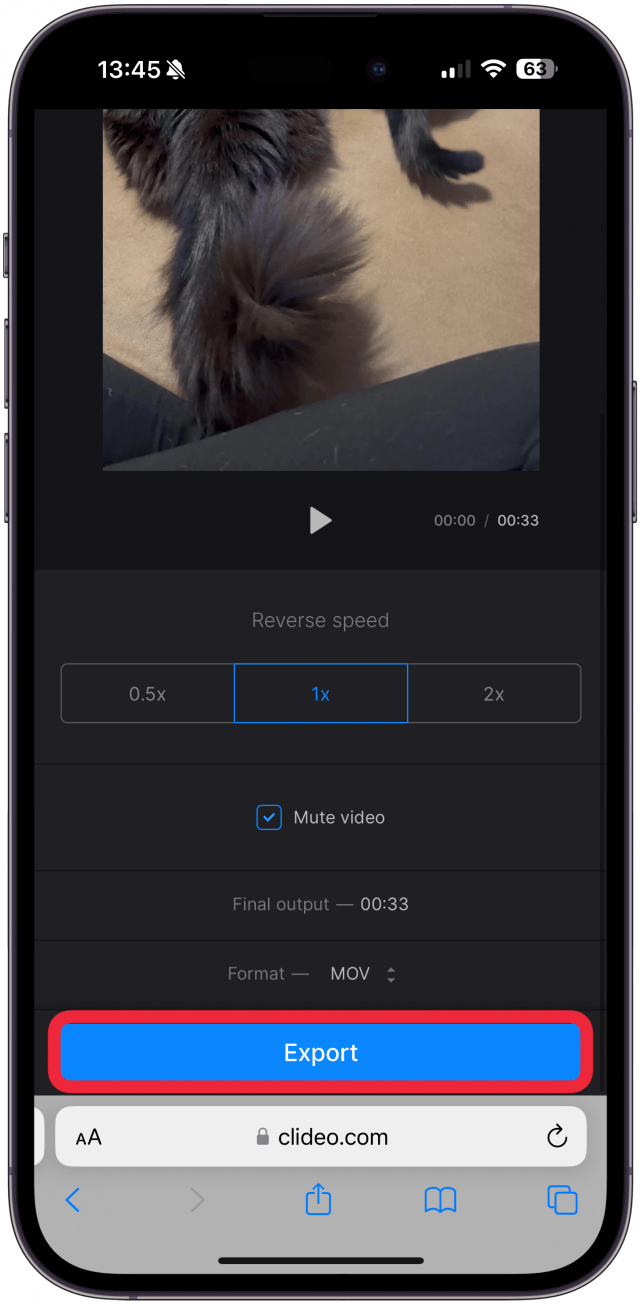
- Here you can select your preferred reverse speed, choose to Mute the video if you wish, then tap Export.
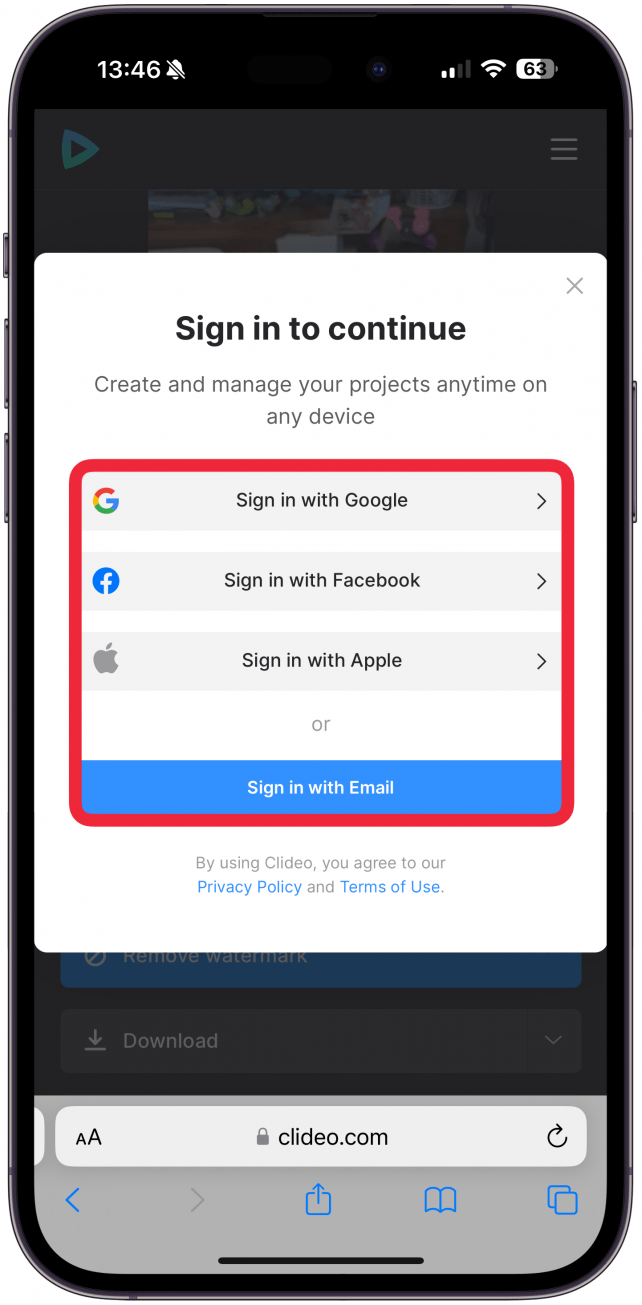
- Now you can view the reversed video and tap Download. If you tap Remove watermark, you will be prompted to create a paid account. You will need to create an account to download the video. Follow the onscreen directions to do this, and don't forget that if you Sign in with Apple, you can use Hide My Email.
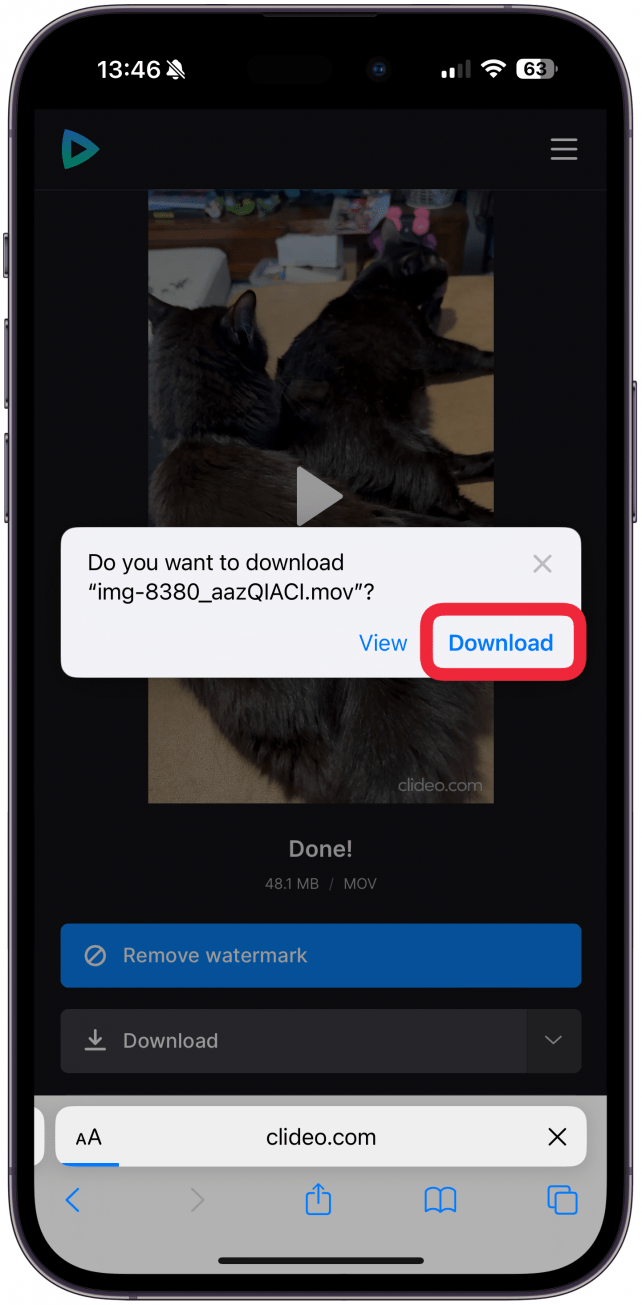
- Once your account is created, tap Download.
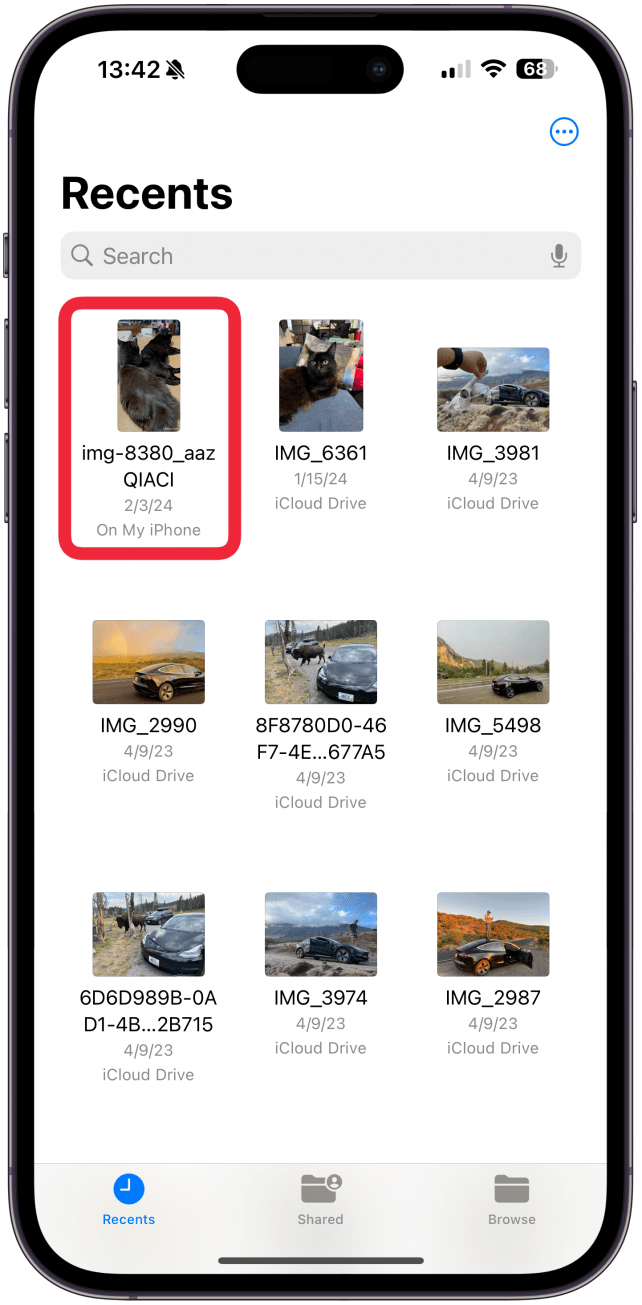
- The video will appear in your Files app. If you want to move it to your Photos app, open the video in your Files app.
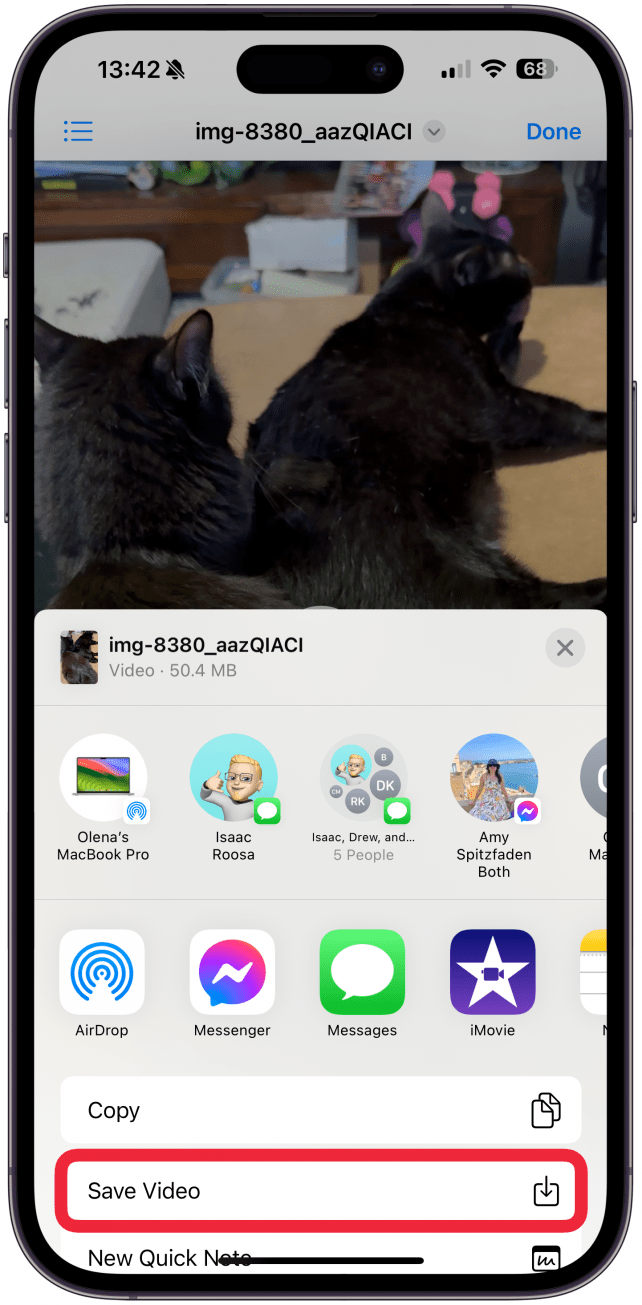
- Tap the share icon.
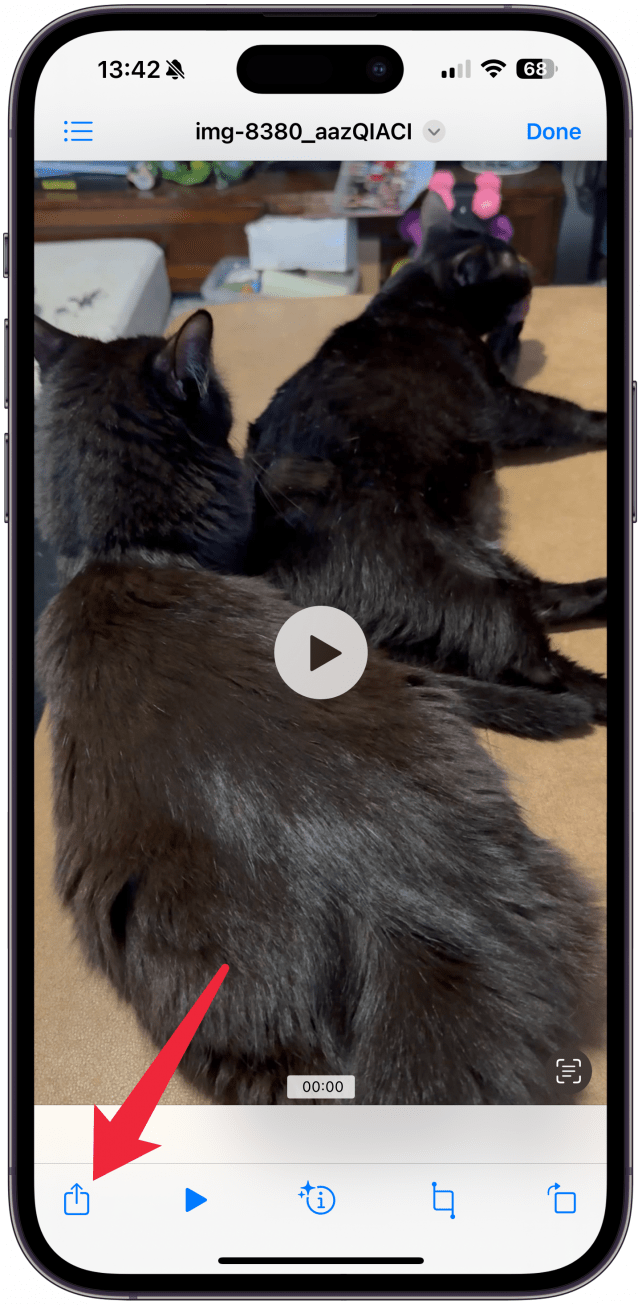
- Select Save Video.
Pro Tip
You can edit the video in the Photos app and crop it to remove the watermark. However, this is ethically questionable, and Clideo may have rules against doing this.
Now you know how to use a website to reverse a video on your iPhone! You can always try out different websites; the process is usually similar to the steps above. To learn more about video editing on your iPhone, sign up for our free Tip of the Day.
How to Reverse Video on Mac for Free
Unfortunately, there is no native app that can reverse videos on your iPhone. Since I have a MacBook, I personally just AirDrop the video there and use iMovie to reverse it. For some reason, the iPhone version of iMovie doesn't offer the reverse feature, and neither does the Photos app. To do this:
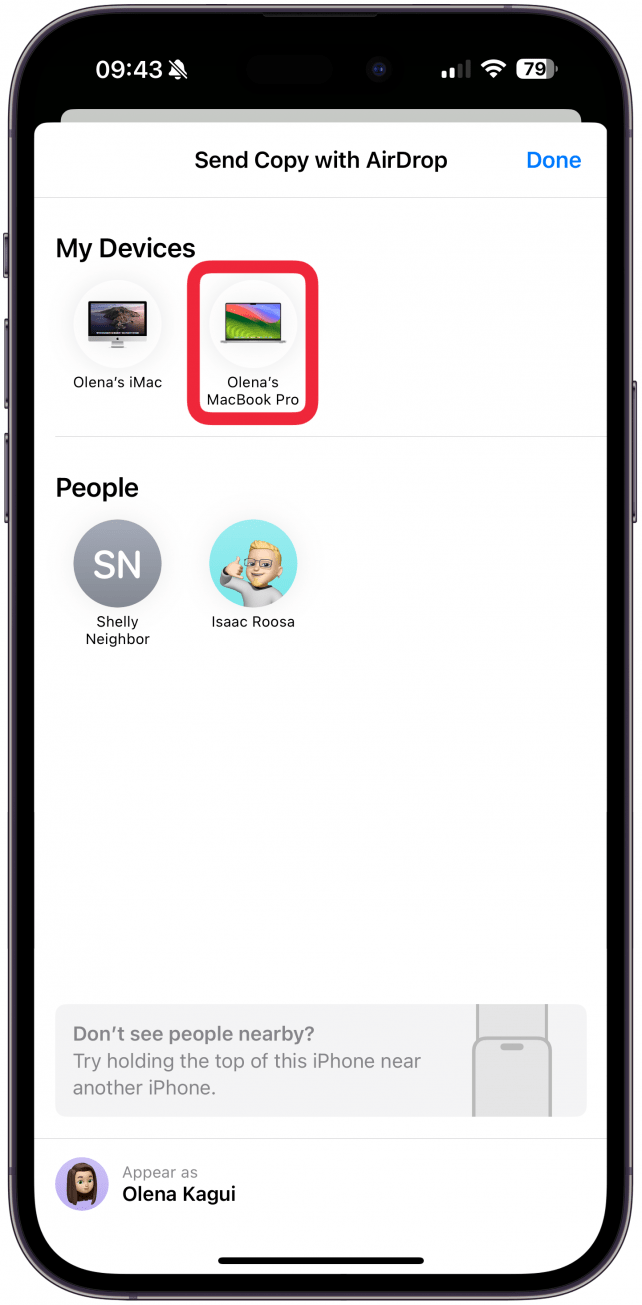
- AirDrop the video you wish to reverse from your iPhone to your Mac. Or find it in your Mac's Photos app if you have your photos and videos synced across your devices.
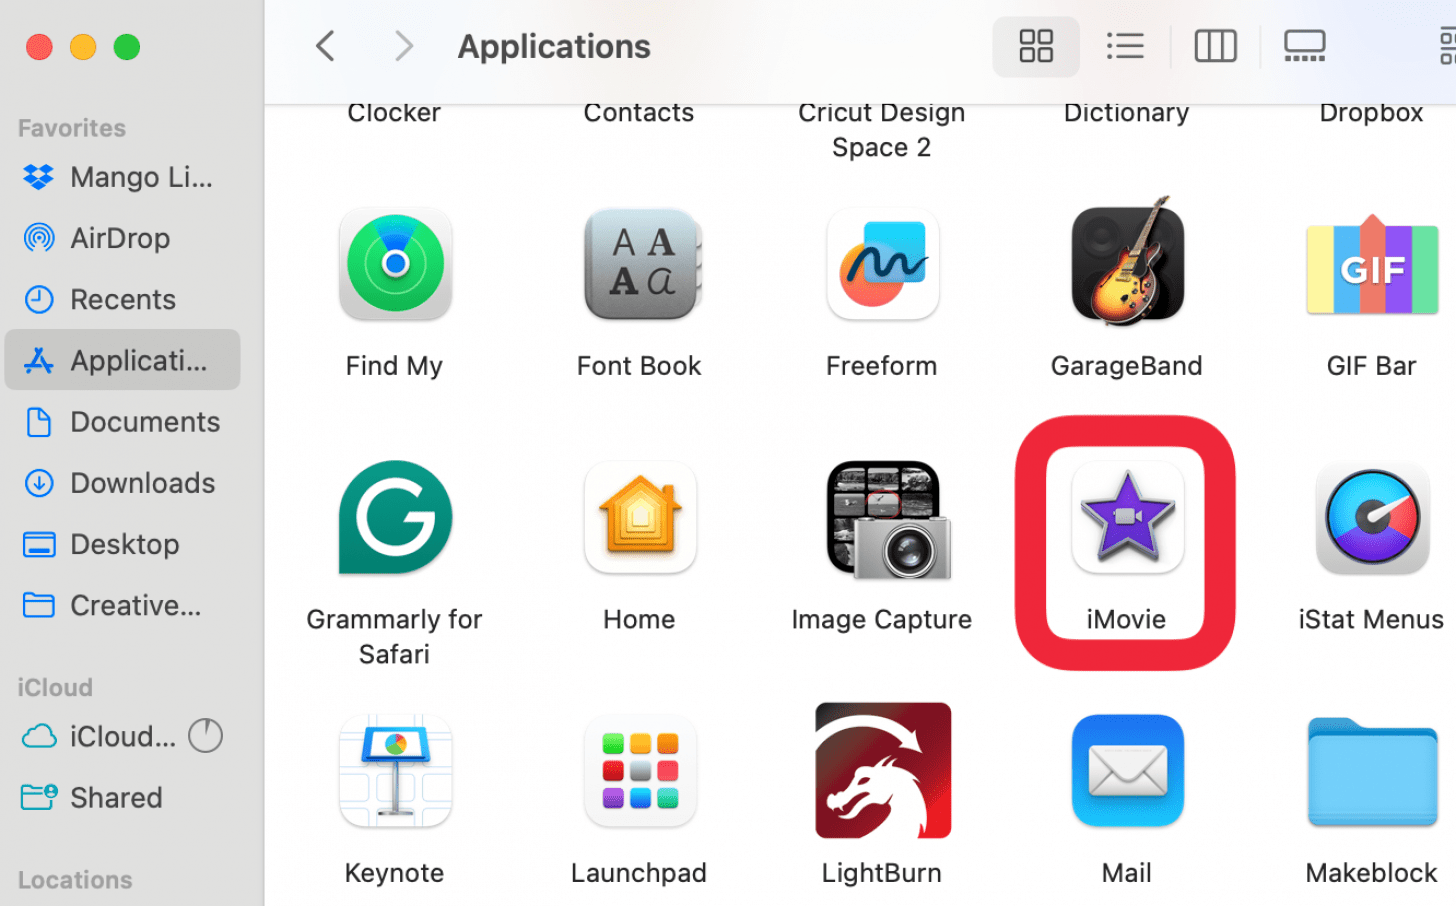
- Open iMovie on your Mac.
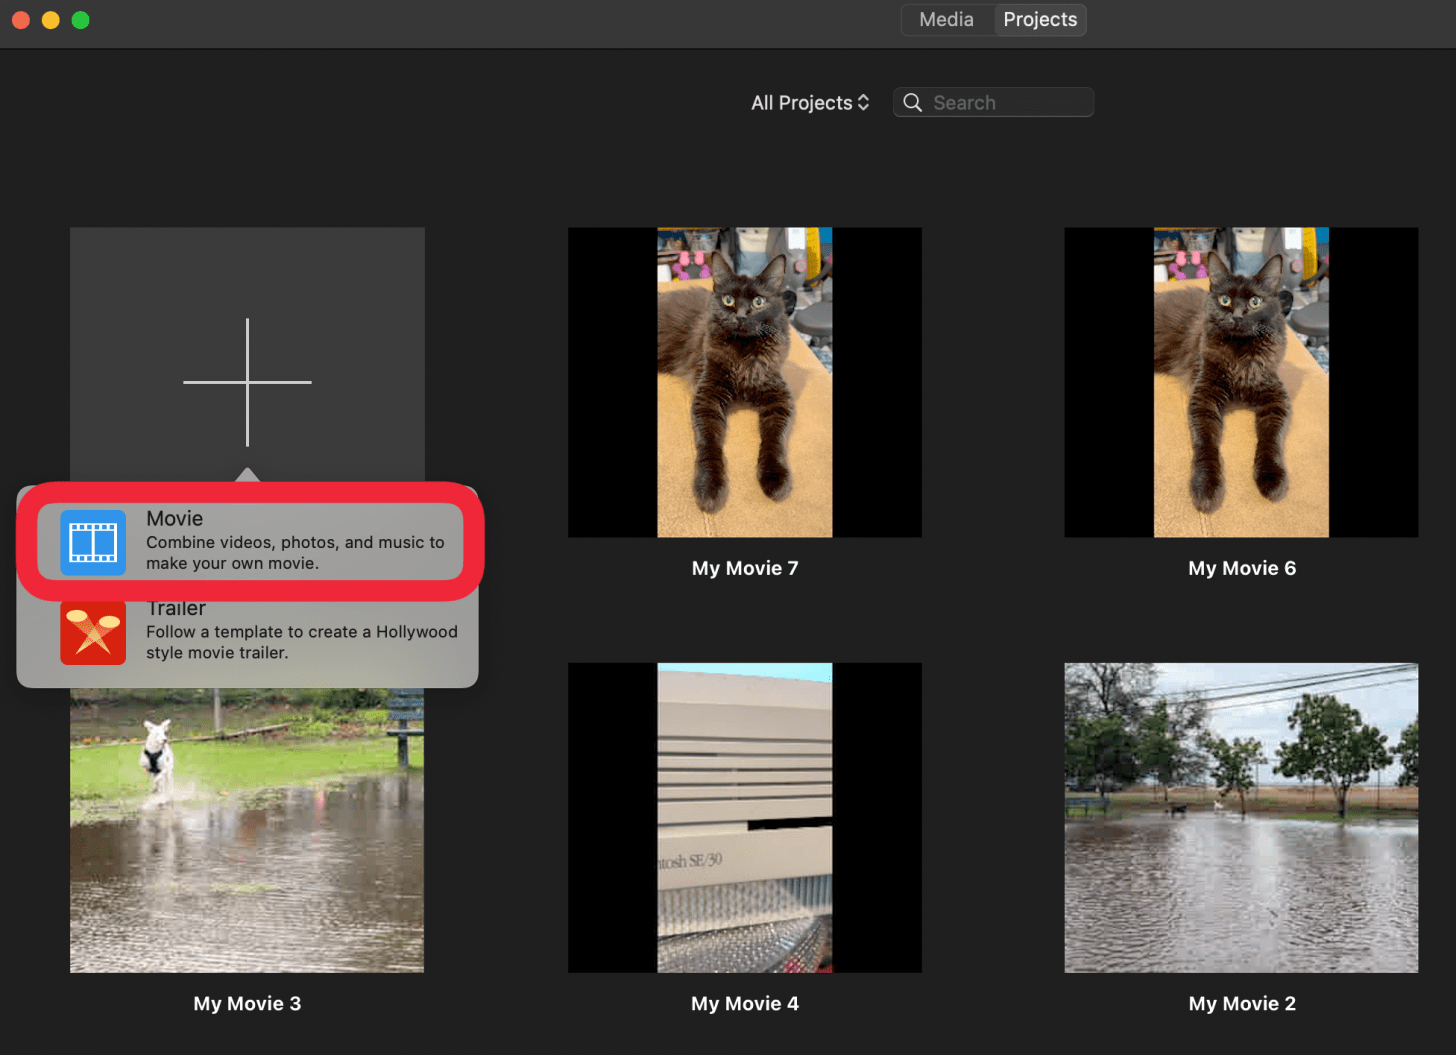
- While in the Projects tab, click Create New.
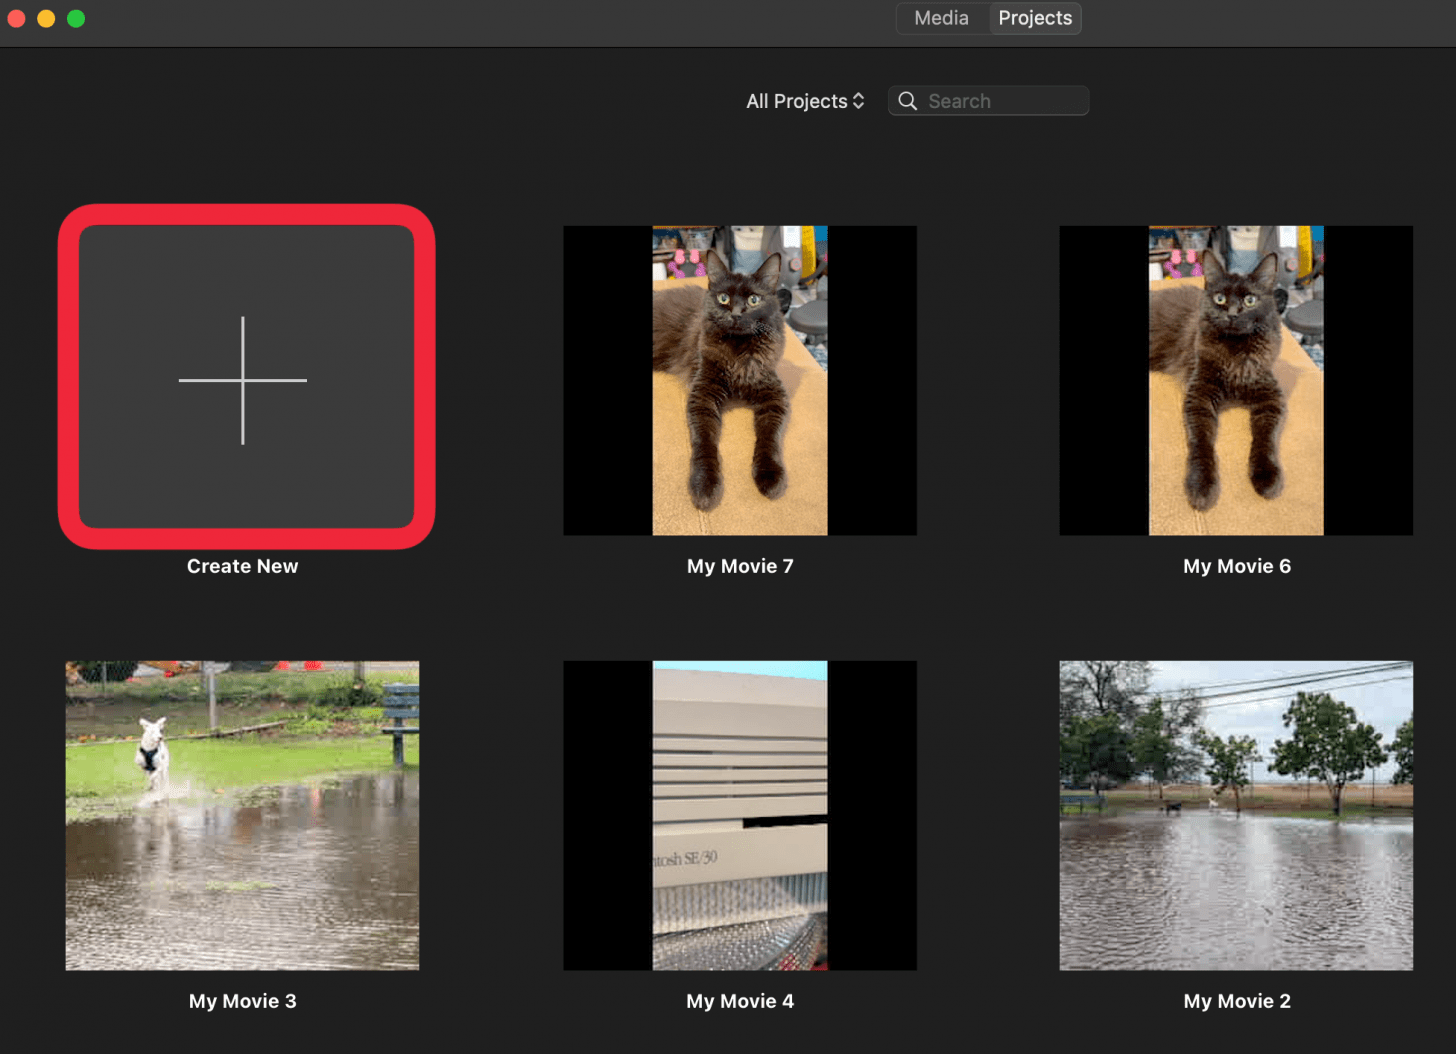
- Select Movie.
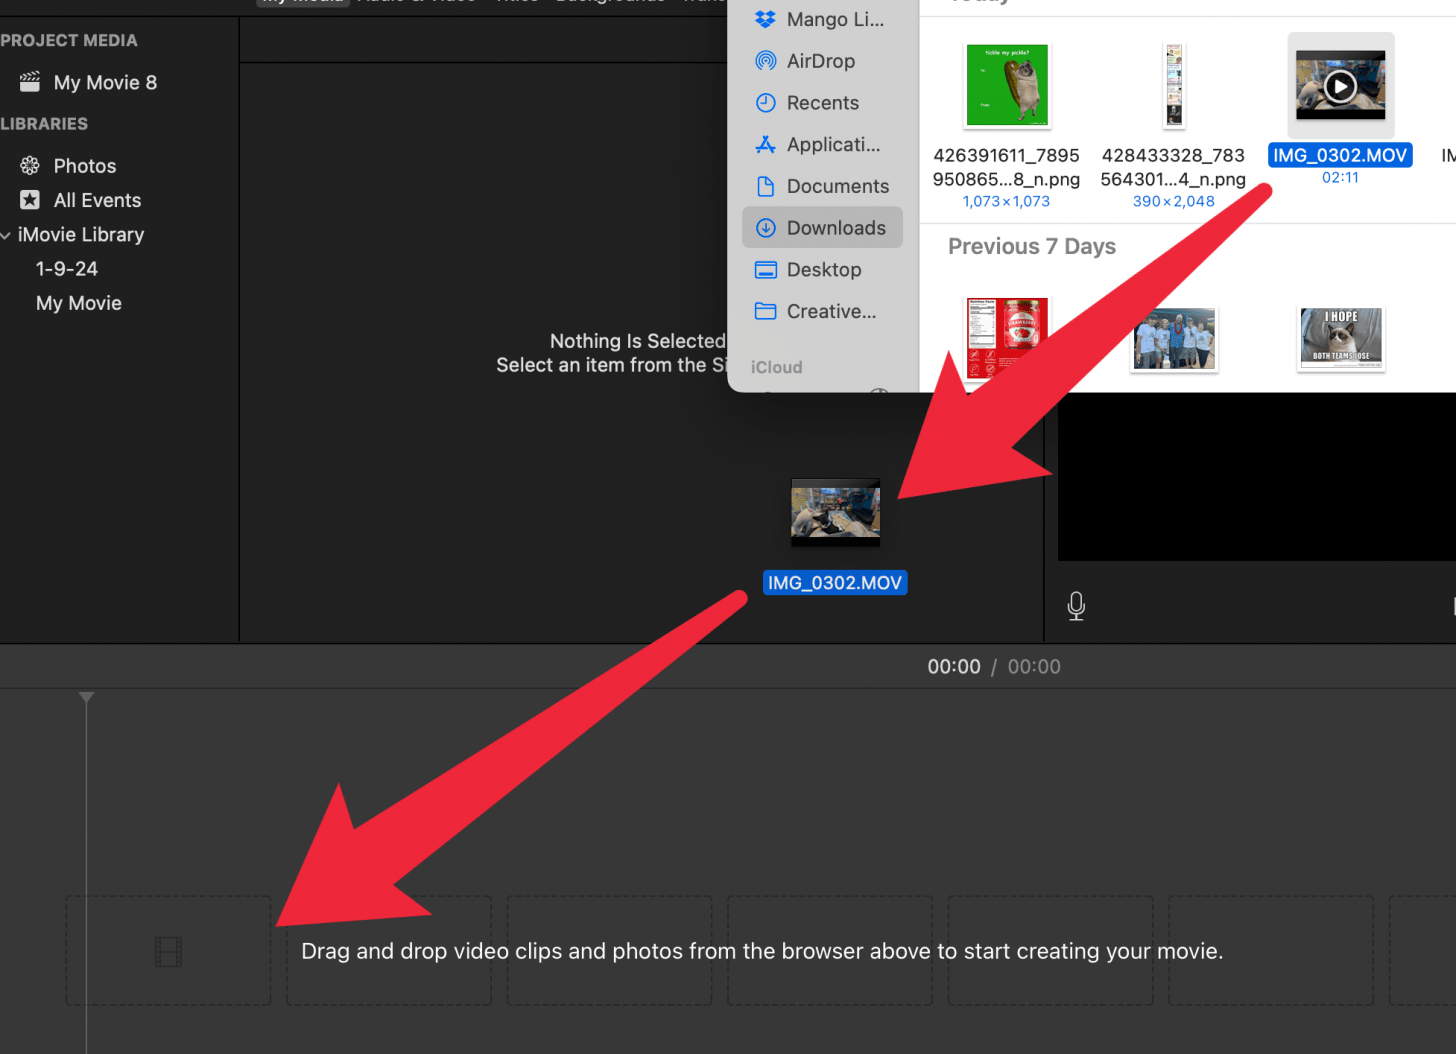
- Find your movie in Finder, then drag and drop the video into the video editing area.
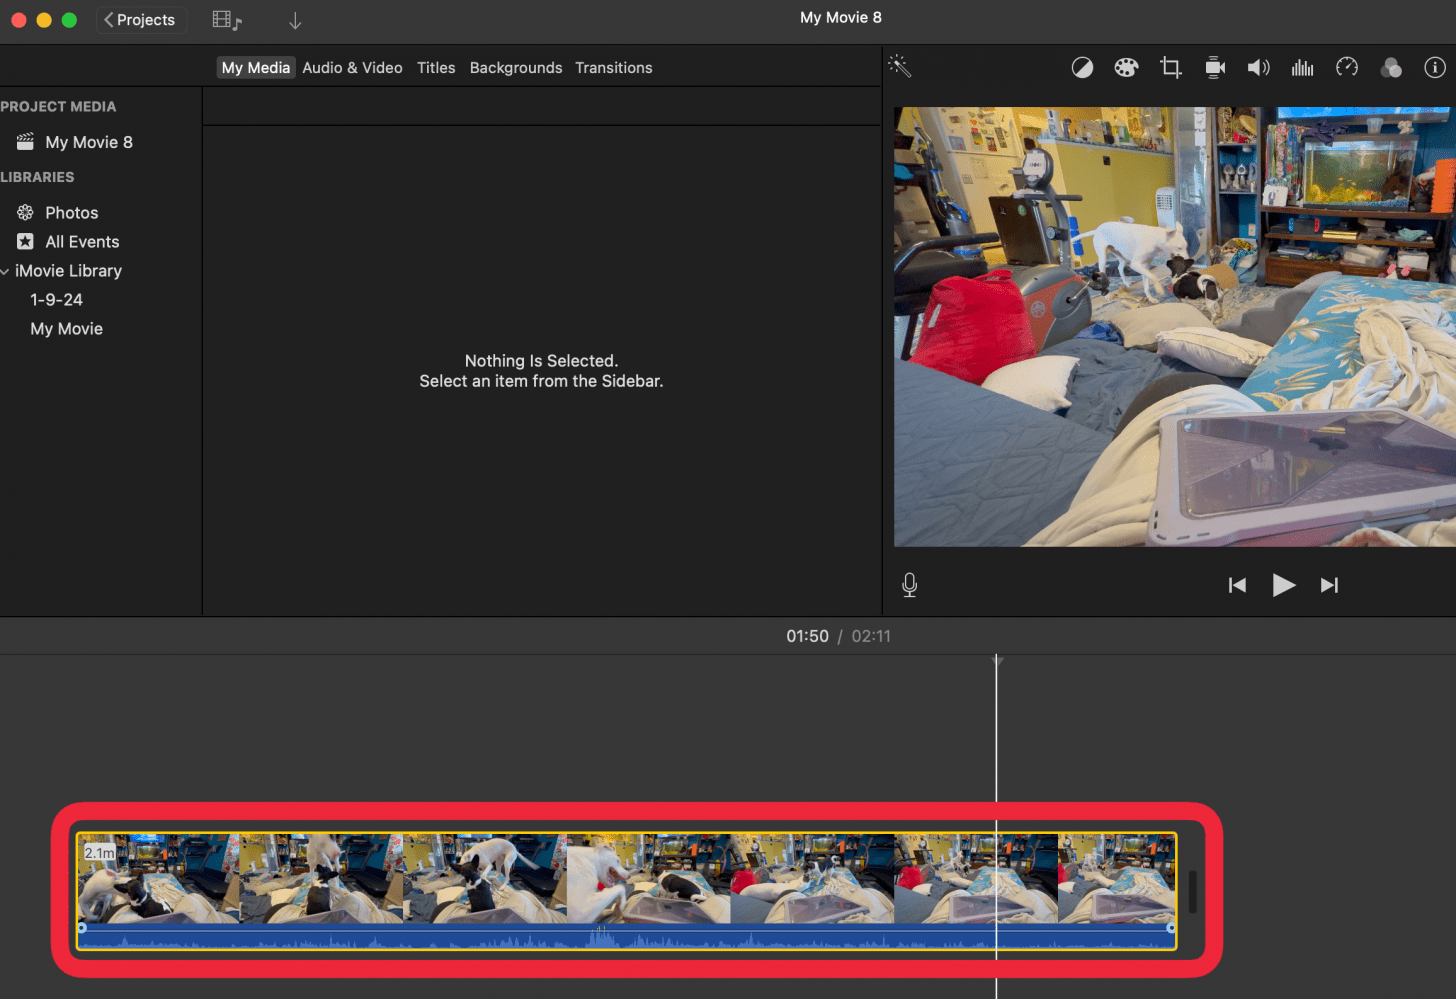
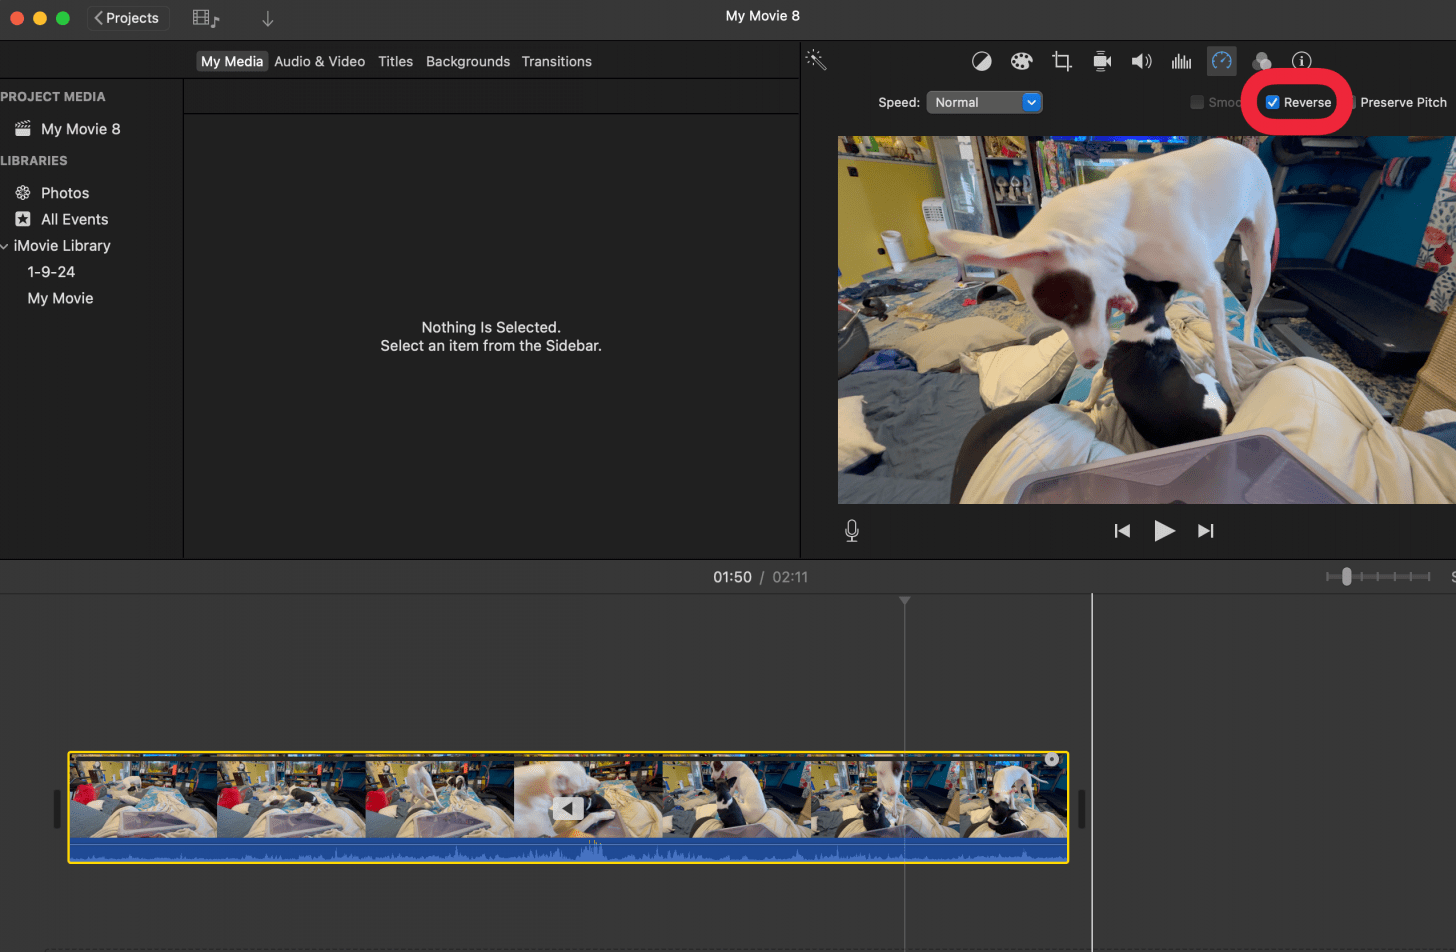
- Select the video.
- Tap the Speed button.
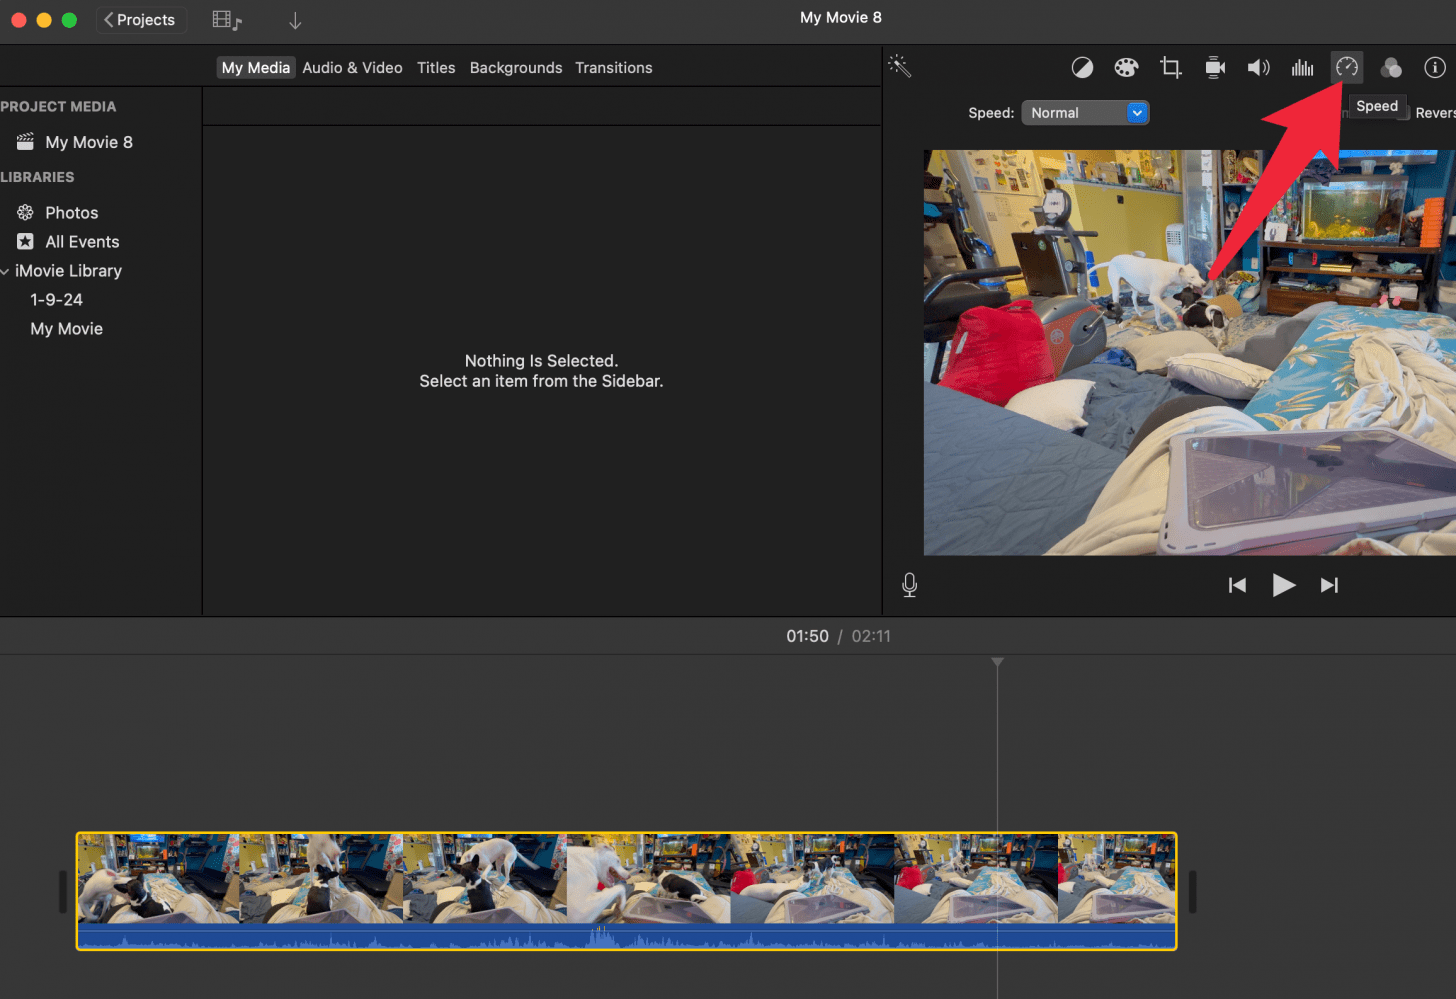
- Check the Reverse box.
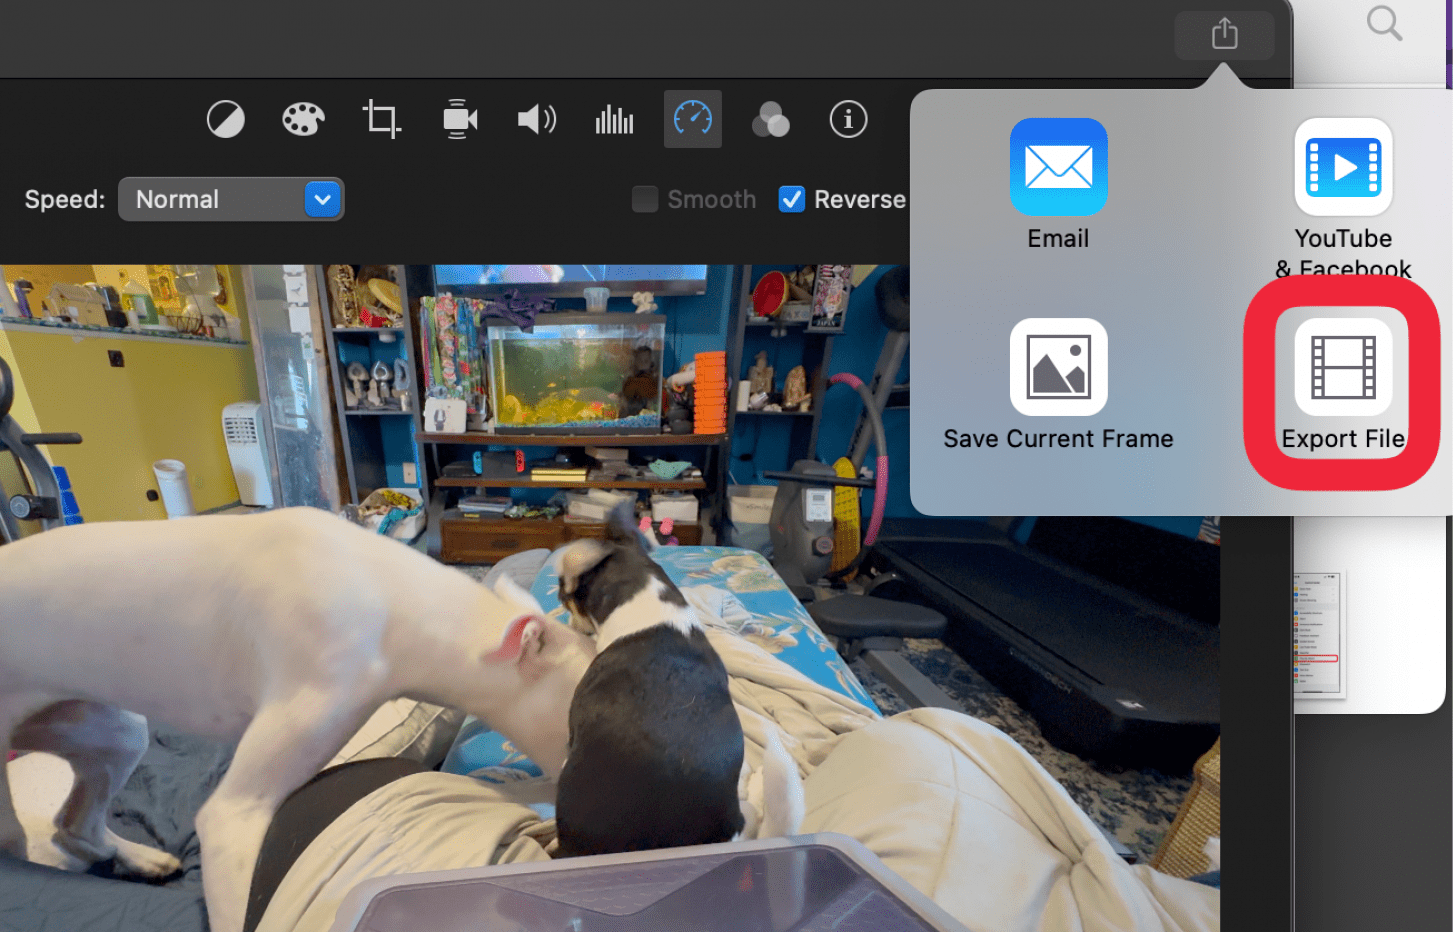
- Click the Share icon.
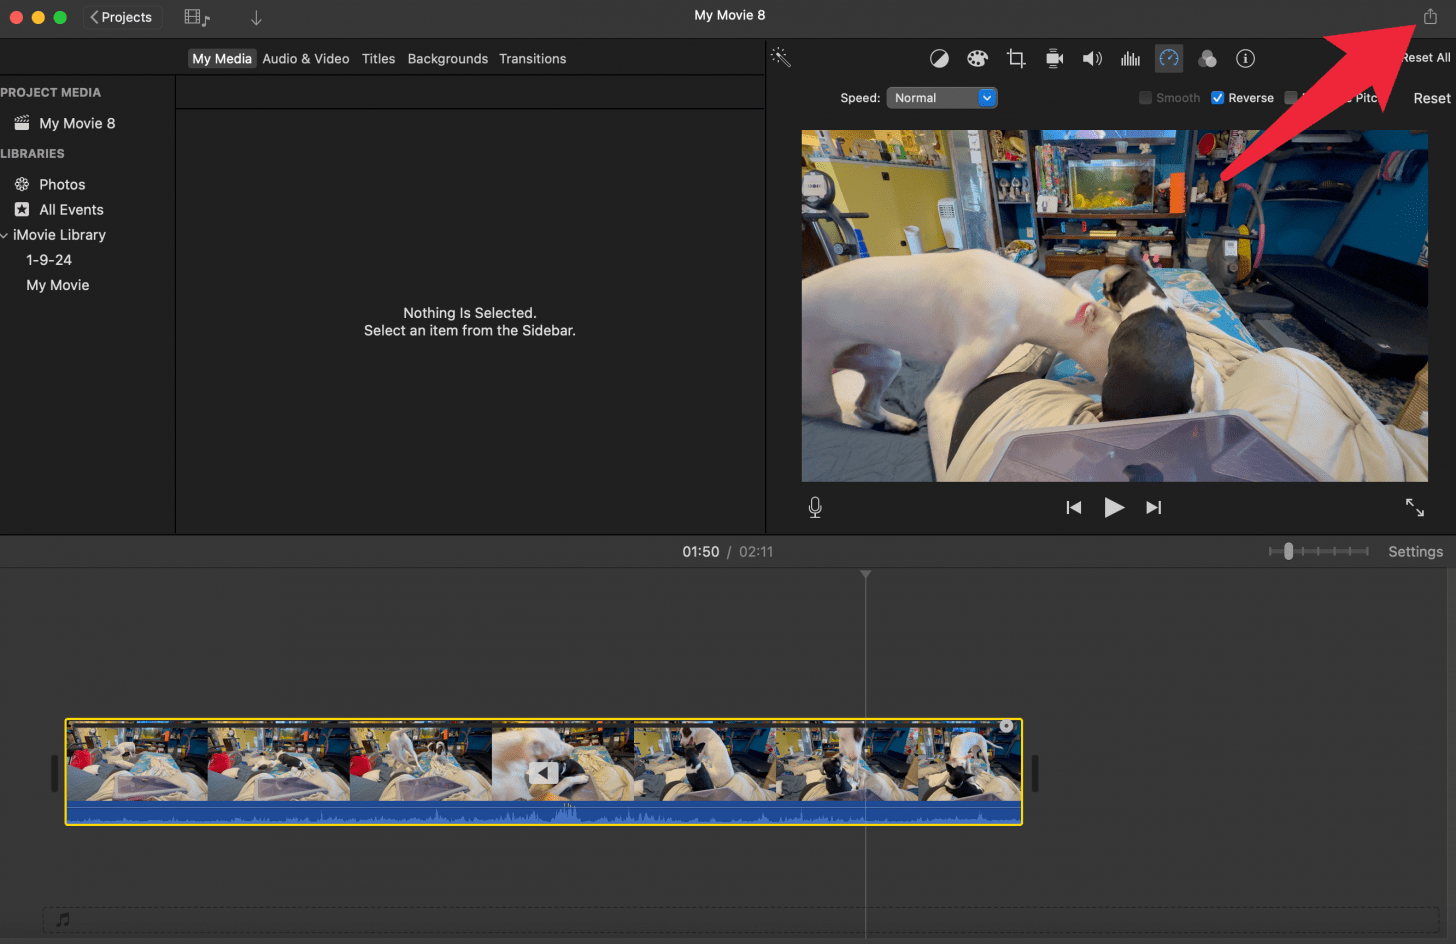
- Select Export File.
- Make any changes to the quality and speed of the video, then click Next.
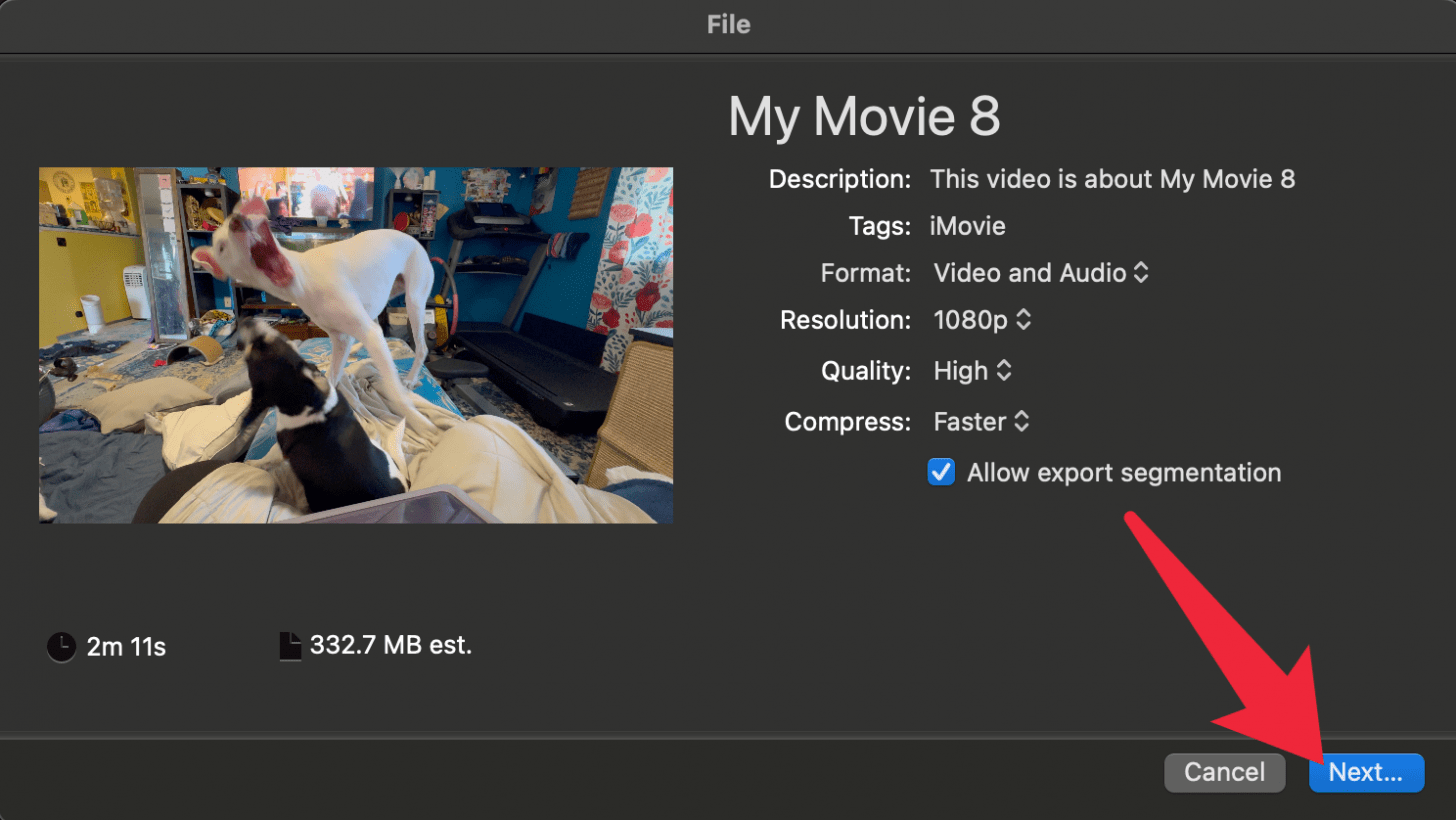
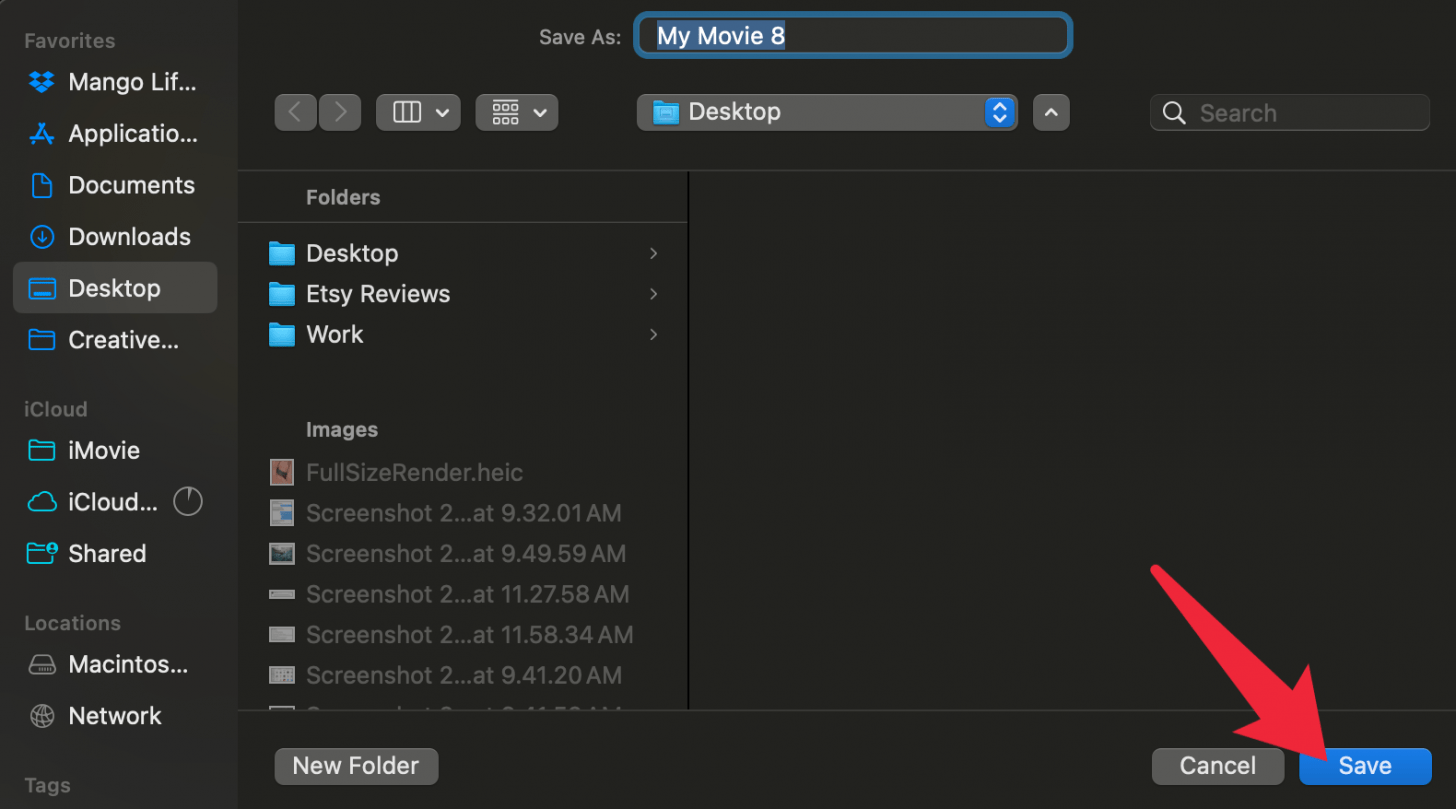
- Select a location where you want to save the video and rename it if you wish, then click Save. Depending on the length of the video, it might take some time to finish exporting.
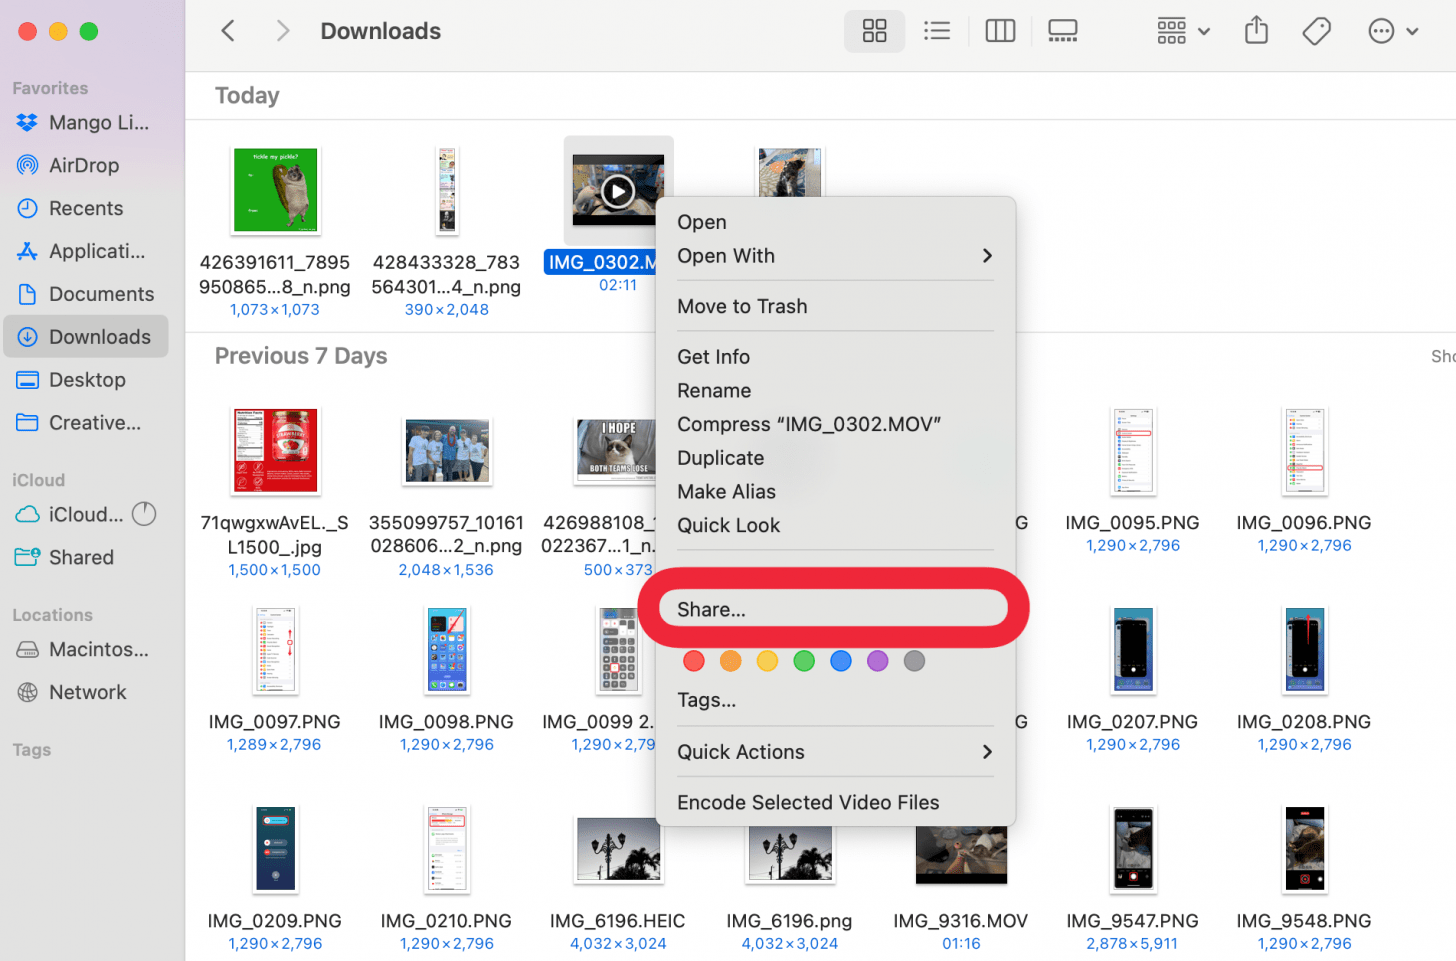
- Right click (or press the control key then select) the exported video and click Share.
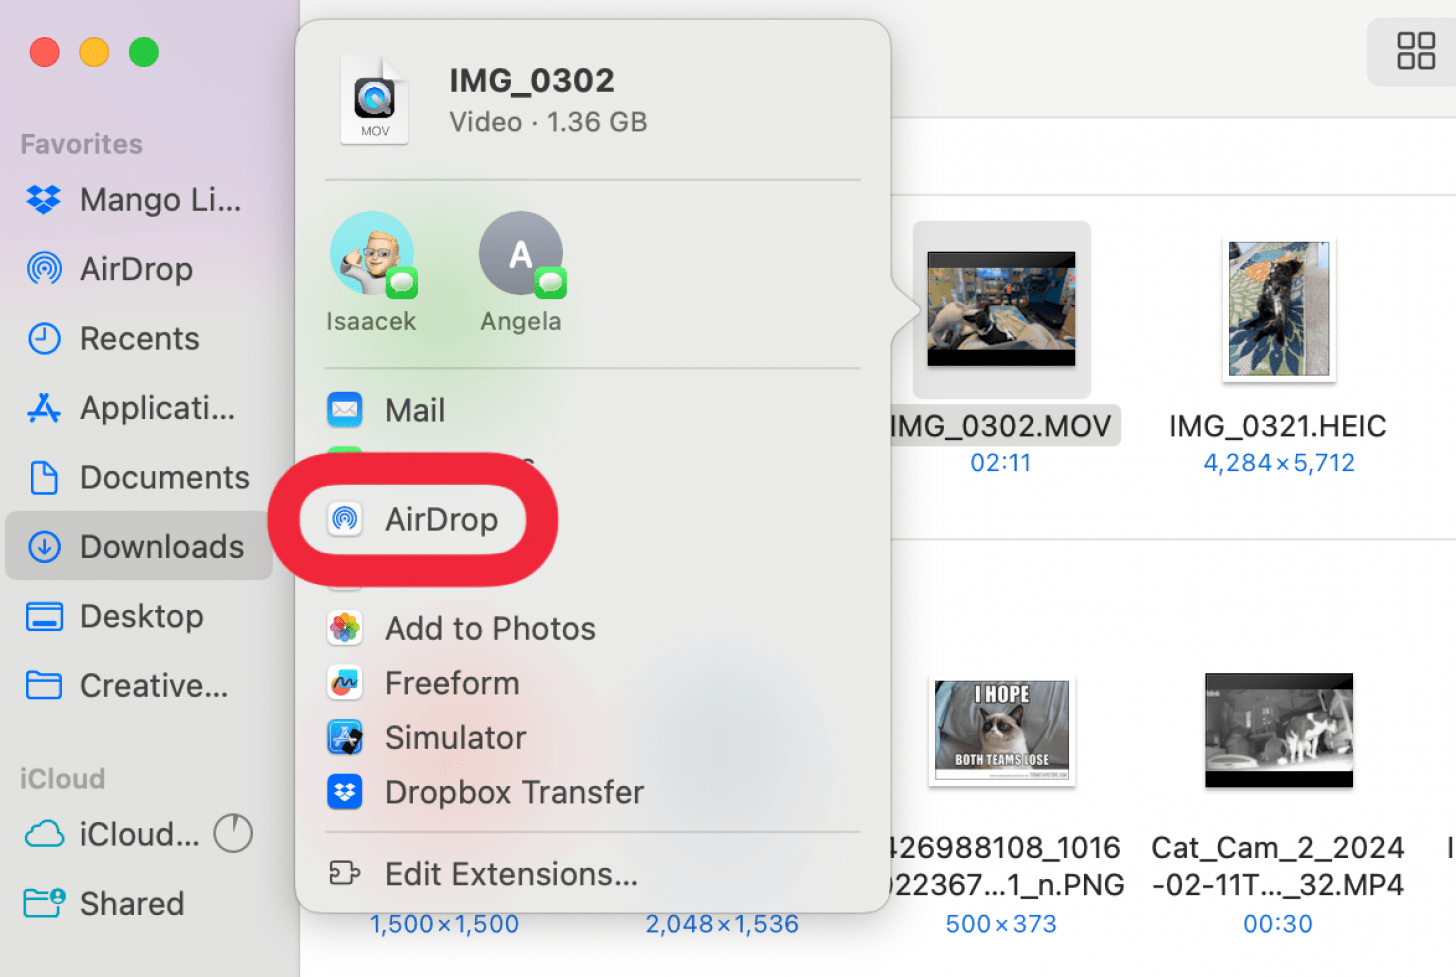
- Select AirDrop and select your iPhone.
iMovie is a useful app for editing videos. I really hope that in the future, iMovie on iPhones and iPads will get more features, such as video reversing!
Now you know how to reverse a video on iPhone using either a website or a third-party app. Hopefully, a future iOS update will add a reverse video feature to the Photos app, but until then, you have a few options, including several free ones.
FAQ
- How to speed up a video on iPhone? The iMovie app on your iPhone can be used to speed up or slow down videos. Here are step-by-step instructions on how to speed up a video on your iPhone.
- How to find photos and videos taken in a specific location? Open the Photos app and search for a location to find all the photos and videos that were taken there.
- How to use Cinematic mode on iPhone? Cinematic mode blurs the background and focuses on the subject just like Portrait photos. Learn more about taking Cinematic videos with the bokeh effect.
- How to record slow motion video on iPhone? The Camera app has a Slo-Mo setting that lets you record slow motion videos.

Olena Kagui
Olena Kagui is a Feature Writer at iPhone Life. In the last 10 years, she has been published in dozens of publications internationally and won an excellence award. Since joining iPhone Life in 2020, she has written how-to articles as well as complex guides about Apple products, software, and apps. Olena grew up using Macs and exploring all the latest tech. Her Maui home is the epitome of an Apple ecosystem, full of compatible smart gear to boot. Olena’s favorite device is the Apple Watch Ultra because it can survive all her adventures and travels, and even her furbabies.
 Amy Spitzfaden Both
 Olena Kagui
 Leanne Hays
 Rachel Needell

 Susan Misuraca


 Rhett Intriago