AirPods Pro Noise Cancelling Not Working? Find the Fix Here!
Find out how to fix the AirPods Pro’s best feature!


A lifelong tech enthusiast, with experiences ranging from jailbreaking his iPhone to building his own gaming PC, Rhett specializes in maintaining privacy in a digital world and iPhone security.
Learn More A lifelong tech enthusiast, with experiences ranging from jailbreaking his iPhone to building his own gaming PC, Rhett specializes in maintaining privacy in a digital world and iPhone security.
Learn MoreWhat to Know
- Test your AirPods Pro with another device to confirm the issue is not with your iPhone or iPad.
- Clean your AirPods Pro and perform an ear tip fit test to ensure optimal noise cancellation.
- Try switching between noise-control modes or, if all else fails, resetting your AirPods.
One of the biggest draws of the AirPods Pro is its Active Noise Cancellation, which uses external microphones to detect sounds around you and filter them out. However, your listening experience may be negatively impacted if your AirPods Pro noise canceling is not working. In this article, we’ll go over what to do to help resolve the situation.
Jump To:
- Test AirPods Pro Noise Cancelling with Another Device
- Clean AirPods Pro to Fix Noise Cancellation
- AirPods Pro Noise Cancellation Requires Both AirPods
- Switch Between Noise-Control Modes
- Perform an Ear Tip Fit Test
- Check for Updates to Fix AirPods Pro Noise Cancellation
- Reset Your AirPods Pro
- Frequently Asked Questions
Test AirPods Pro Noise Cancelling with Another Device
The first step in troubleshooting your AirPods Pro noise cancelling not working is to test your wireless earbuds with another device. If the noise cancelling functionality is still not working when connected to a different iPhone, you’ll know the issue is with the AirPods themselves and not your phone.
If your AirPods Pro are not already connected to another device, you can follow the steps in the How to Reset AirPods Pro section to connect them to a different iPhone or iPad. For more AirPods advice, be sure to sign up for our free Tip of the Day newsletter.
Clean AirPods Pro to Fix Noise Cancellation
One of the many factors that go into making Active Noise Cancellation work is the external microphone on the AirPods Pro. If the microphones become caked with dirt or earwax, then noise cancellation may not work as effectively. Try cleaning the microphone meshes with a dry cotton swab to remove any built-up debris.
AirPods Pro Noise Cancellation Requires Both AirPods
Are you using both AirPods when using Active Noise Cancellation or just one? Noise Cancellation is designed to be used when both AirPods are inserted into your ears. If you are only using one AirPod at a time, Active Noise Cancellation will automatically turn off. Since this feature is designed to block out external sound, the purpose of the functionality is lost when using only one AirPod.
However, if you wish to use Active Noise Cancellation with a singular AirPod, Apple has provided an option to turn it on. Here’s how to turn on noise cancelling on AirPods when using only one:
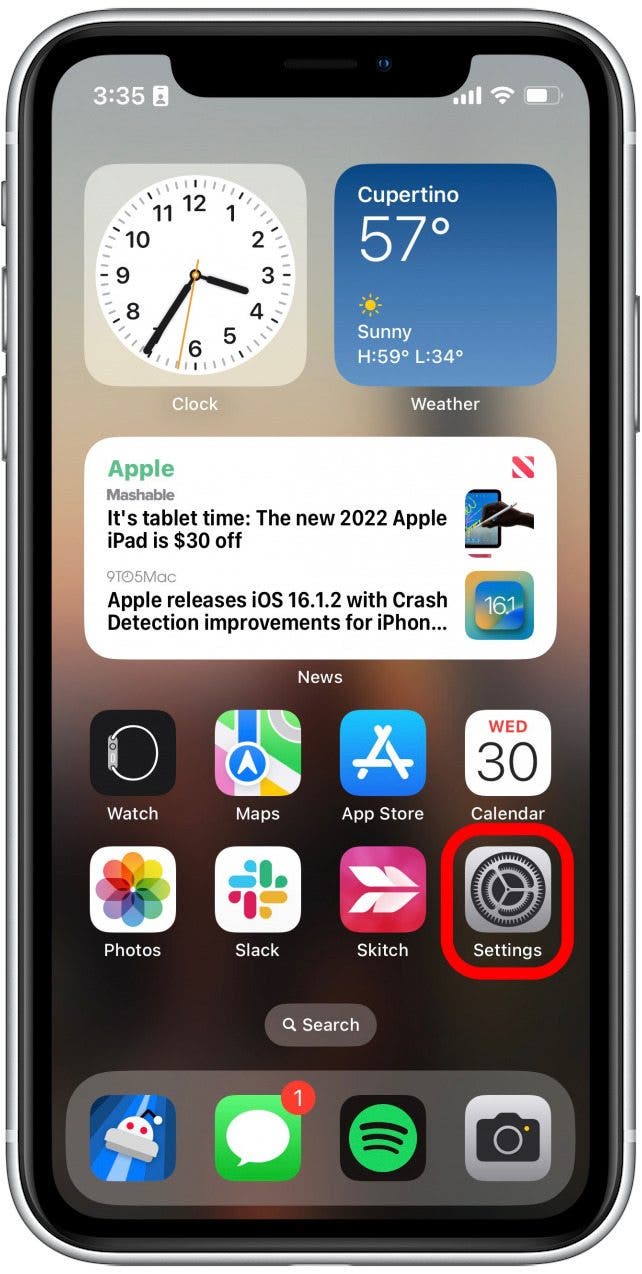
- With your AirPods Pro connected to your iPhone or iPad, open the Settings app.
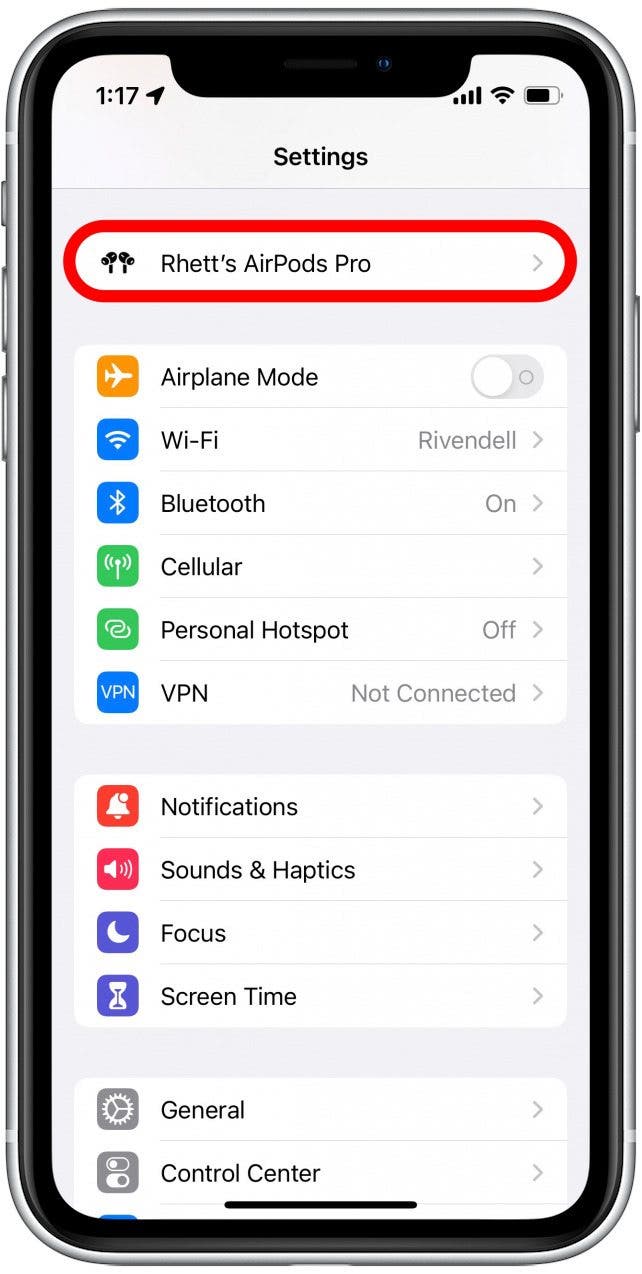
- Tap your AirPods.
- Scroll down and tap Accessibility.
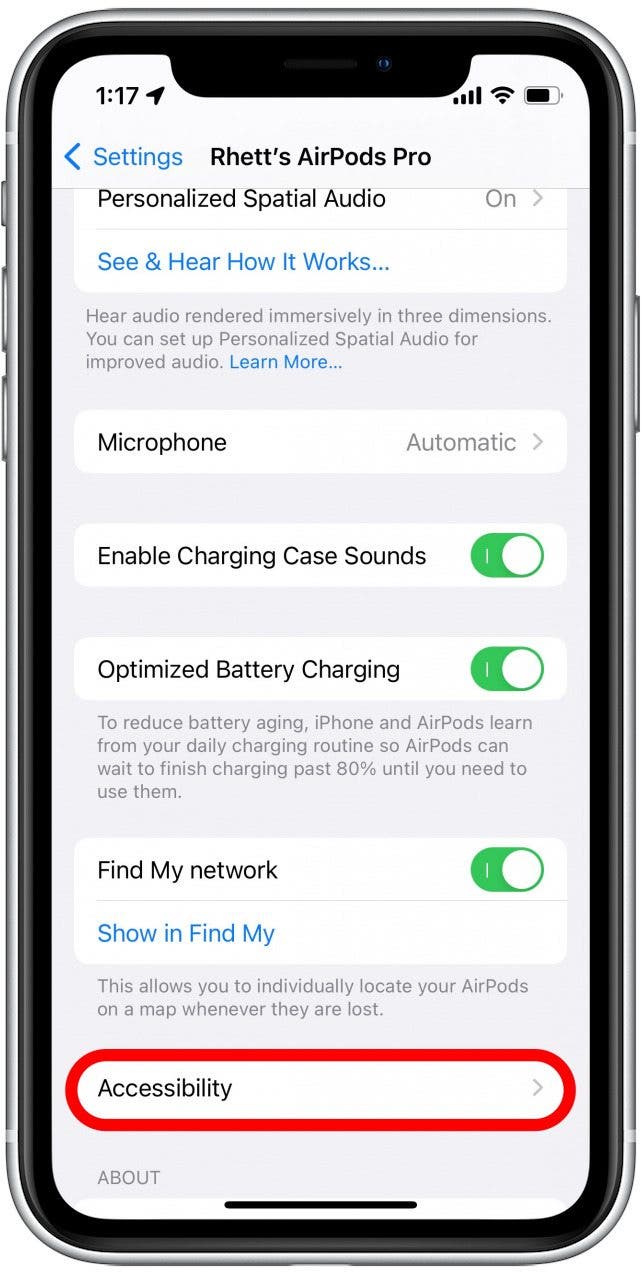
- Under Noise Control, tap the toggle next to Noise Cancellation with One AirPod so that it turns green.
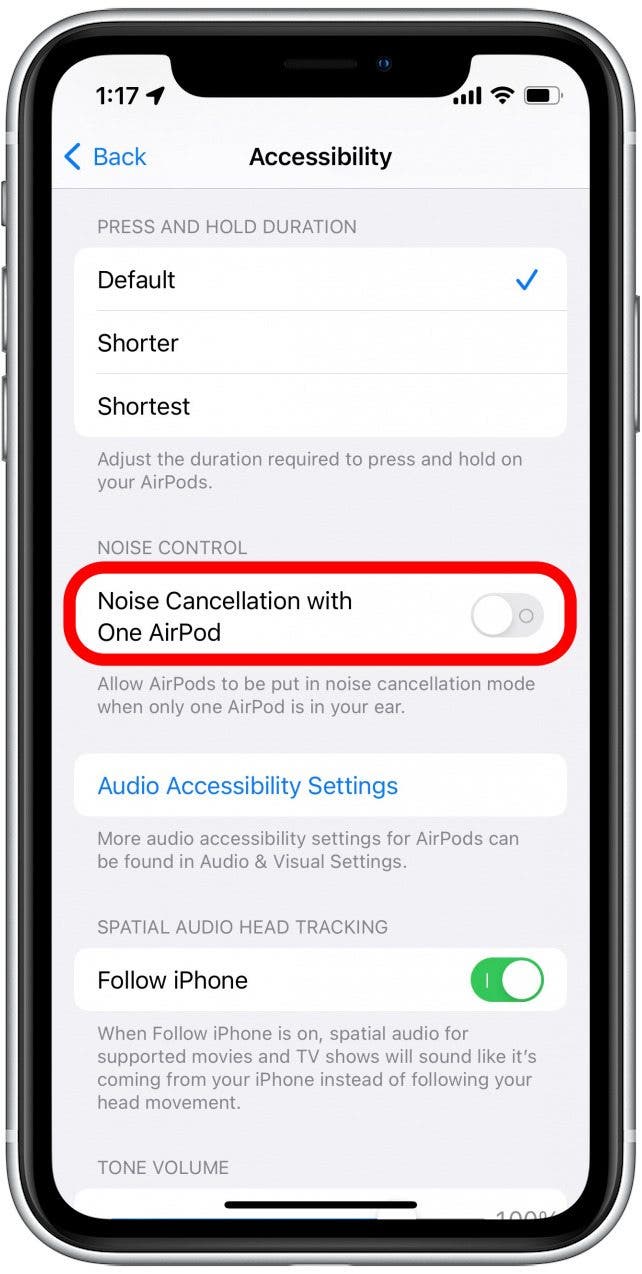
With this feature toggled on, you will now be able to use Active Noise Cancellation while only one AirPod is in your ear. However, it will not be as effective since external sound can still reach your other ear.
Switch Between Noise-Control Modes
The AirPods Pro are unique in that they offer more than just Active Noise Cancellation. They also have Transparency mode, which allows you to better hear the world around you while listening to music. You can quickly switch between Active Noise Cancellation and Transparency mode by pressing and holding the force sensor on the stem of either AirPod.
Alternatively, you can switch between noise-control modes on your iPhone:
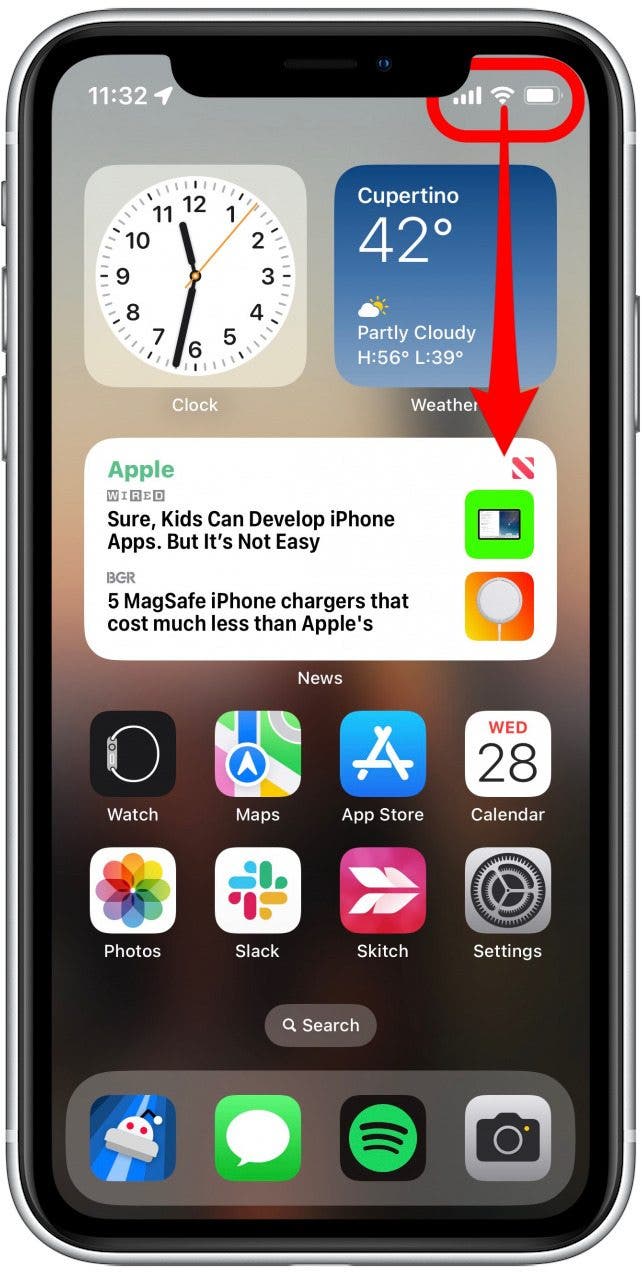
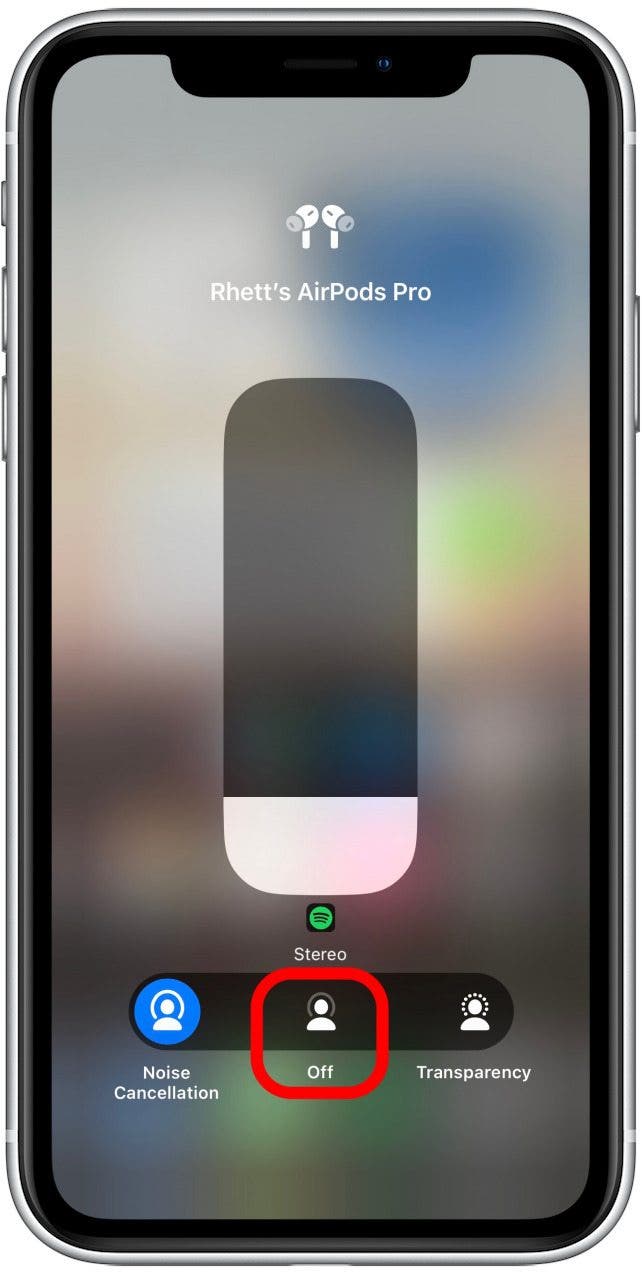
- With your AirPods connected to your iPhone, swipe down from the upper right corner of your screen to open the Control Center.
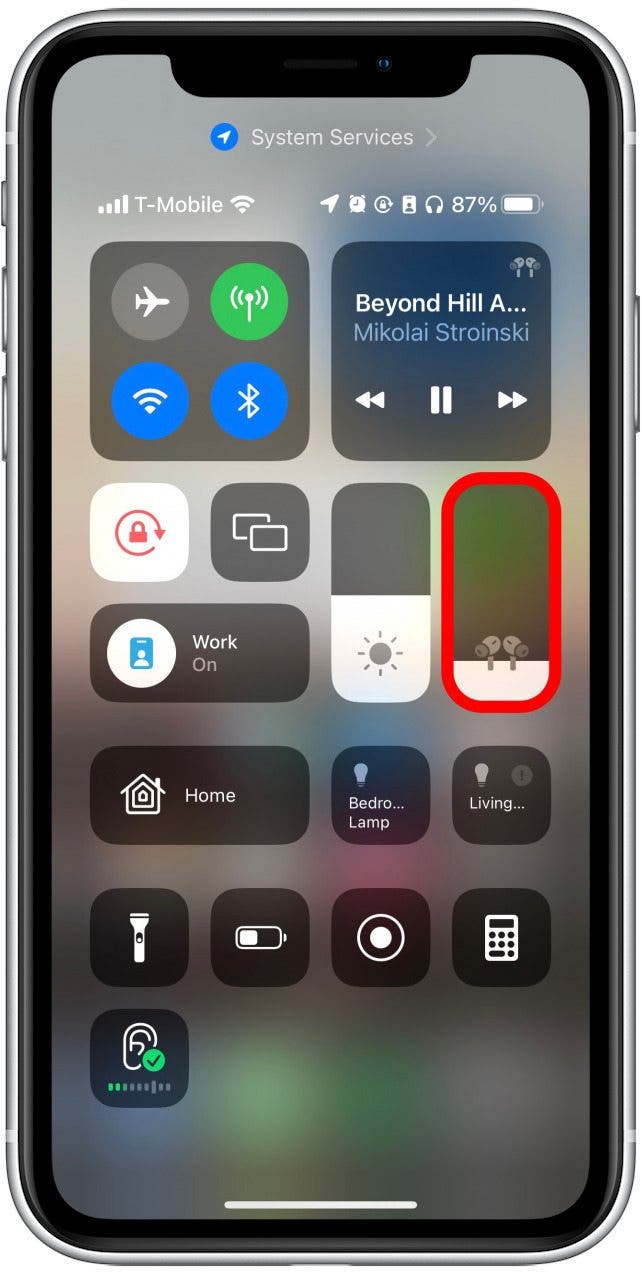
- Tap and hold the volume bar.
- Tap Noise Control.
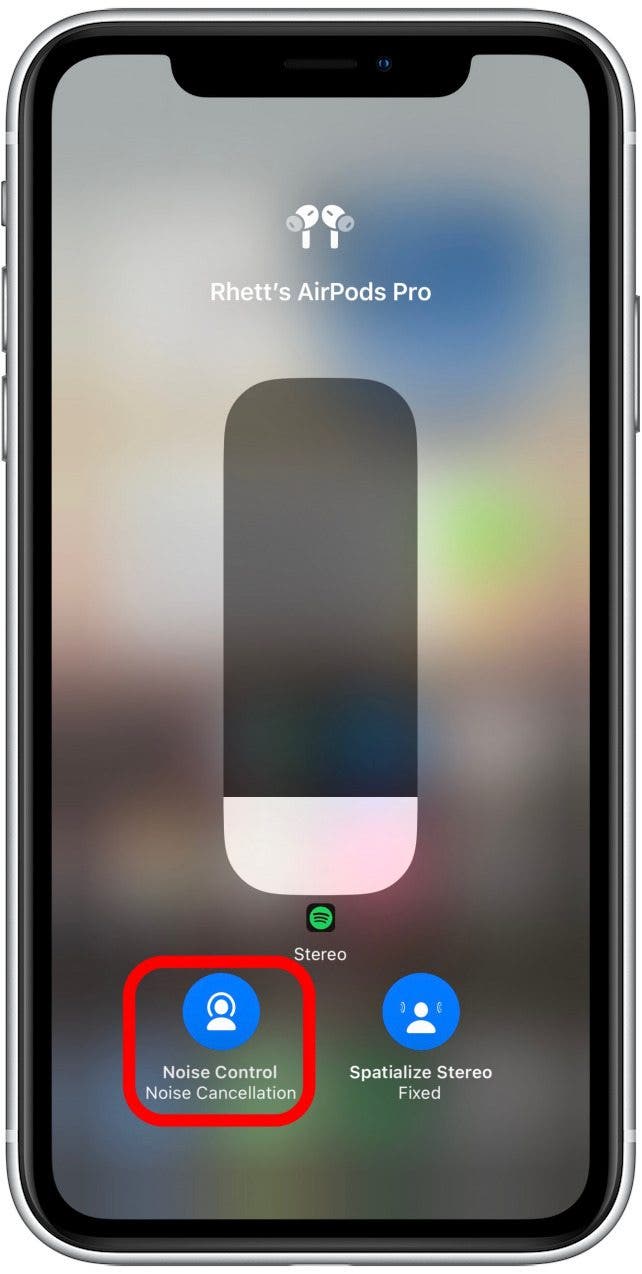
- Tap Off to turn off both Active Noise Cancellation and Transparency modes.
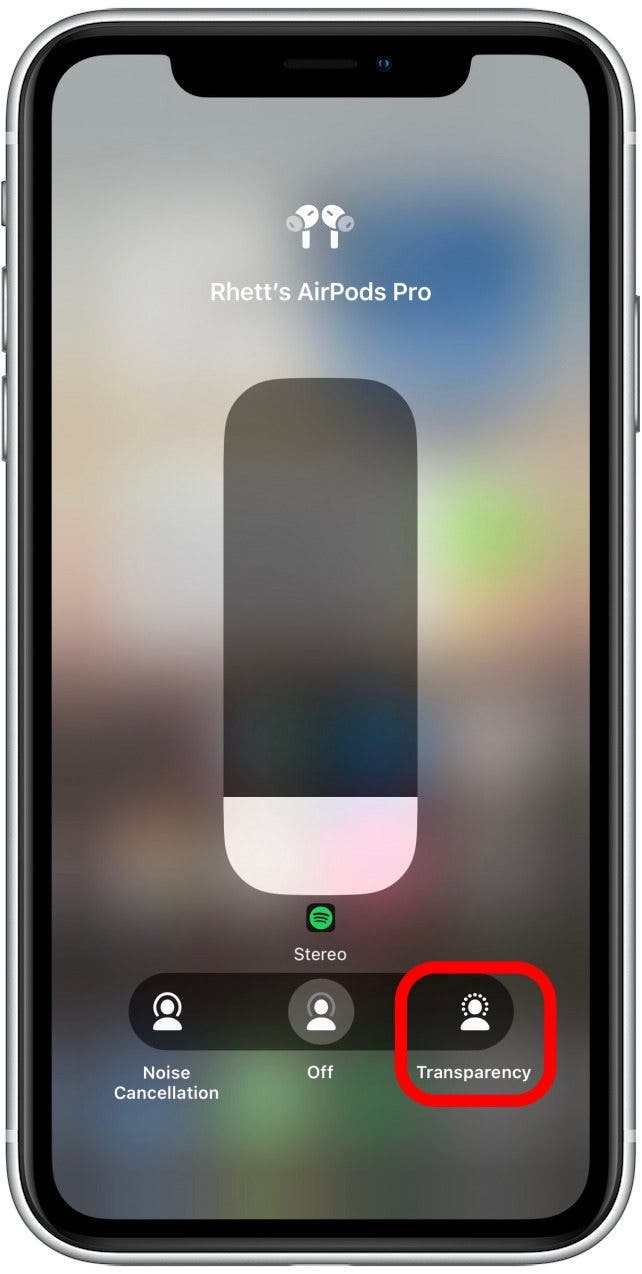
- Tap Transparency mode to turn it on.
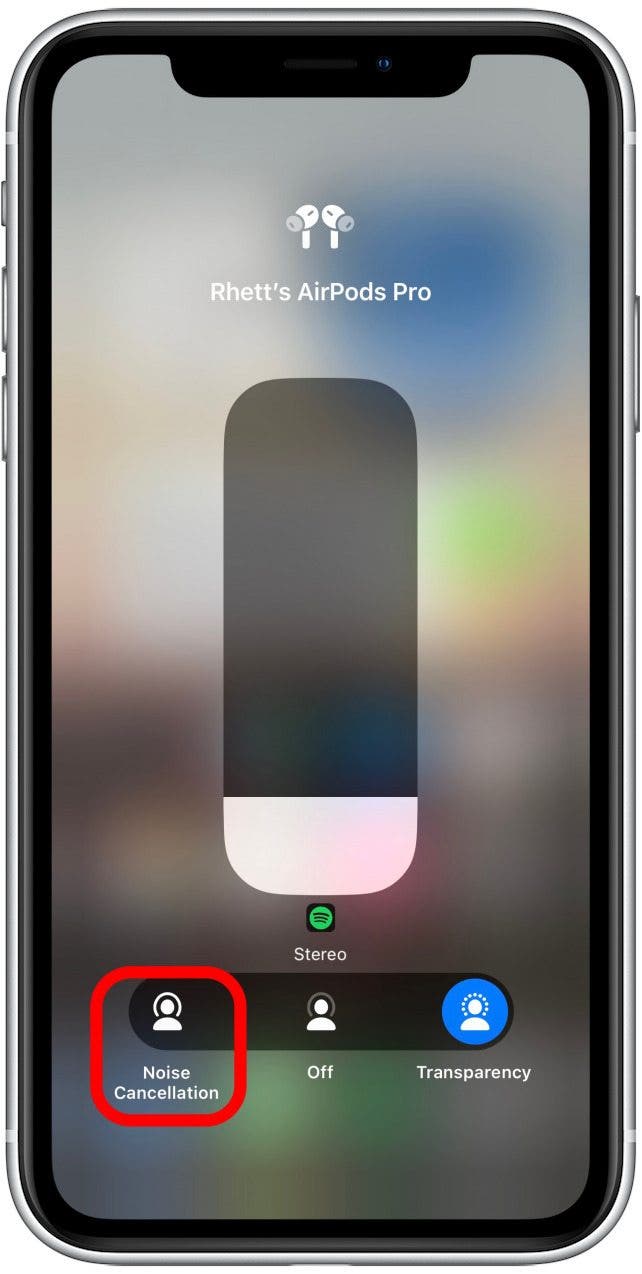
- Tap Noise Cancellation to switch back to Active Noise Cancellation.
Note: If you don’t want Active Noise Cancellation or Transparency mode on, you can simply stop at step 4. This can help conserve AirPods battery life as well.
If this does not work or there is no discernable difference when switching between noise-control modes, there may be another underlying issue.
Perform an Ear Tip Fit Test
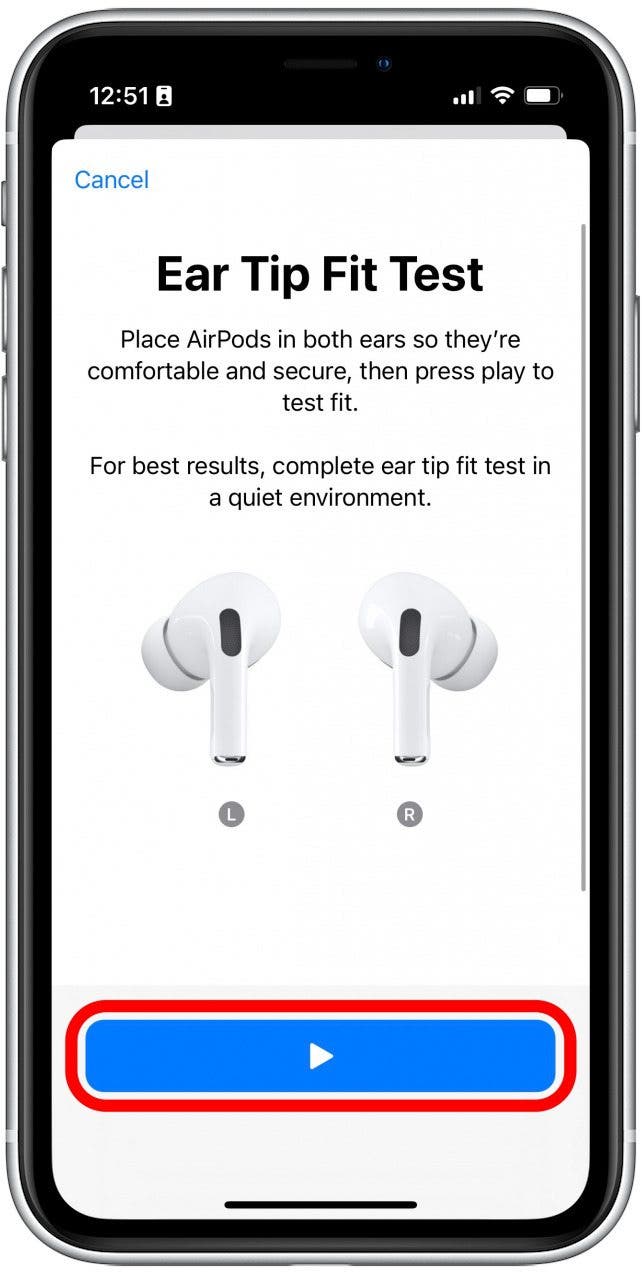
The AirPods Pro noise cancellation works best when you have the right ear tips installed. If you use ear tips that are too big or too small, your AirPods cannot create a good seal. This means external sounds can leak in, making noise cancelling less effective. Luckily, there is an easy-to-use Ear Tip Fit Test built into iOS. Make sure to have your AirPods Pro in before starting this process. Here’s how to access the Eart Tip Fit Test:
- Open the Settings app.
- Tap your AirPods Pro when they are connected to your phone.
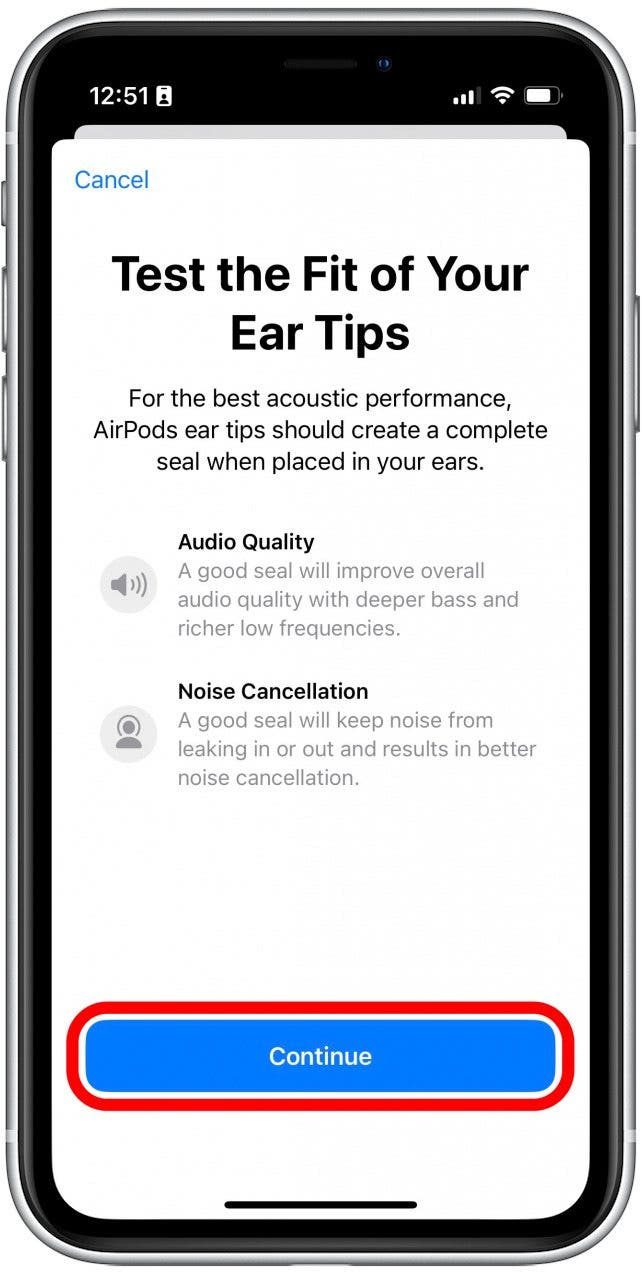
- Tap Ear Tip Fit Test.

- Tap Continue.
- With your AirPods inserted into your ears, tap the play icon to play a test sound which will help your iPhone determine the right ear tip size for you.
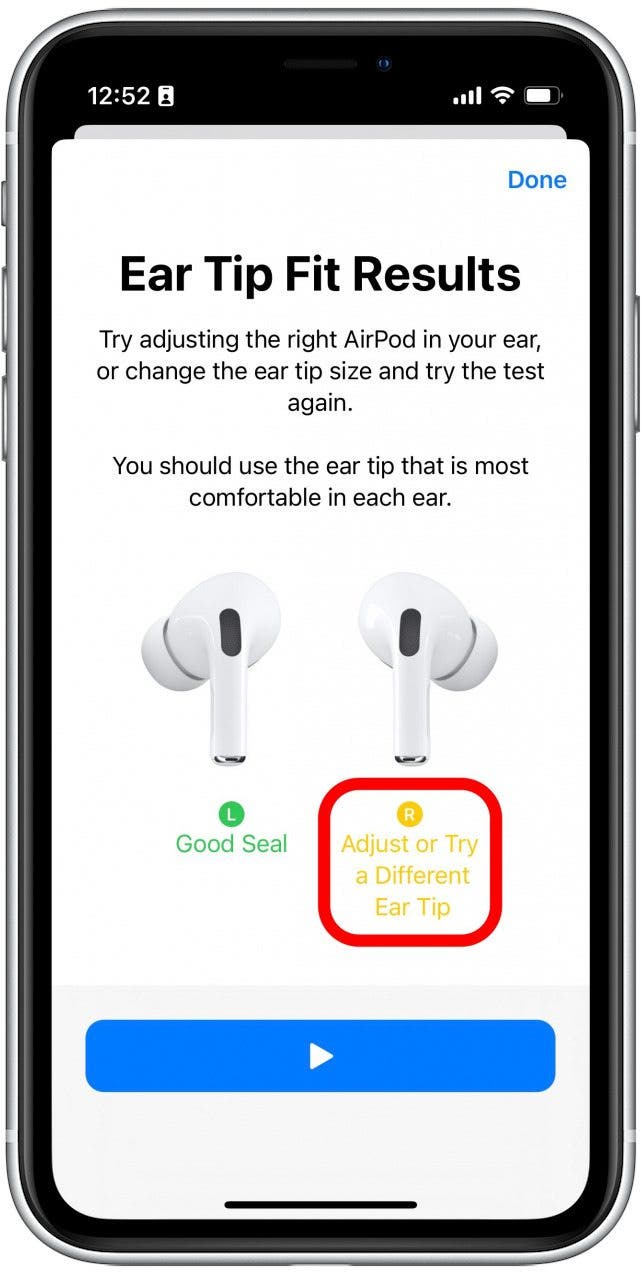
- If you have the wrong size ear tips, you will see yellow text suggesting you try a different size. You may have to change out the tips of your AirPods Pro multiple times during the test, and you may end up needing different size tips for each ear.
- Once both AirPods have green Good Seal text next to them, you can tap Done.
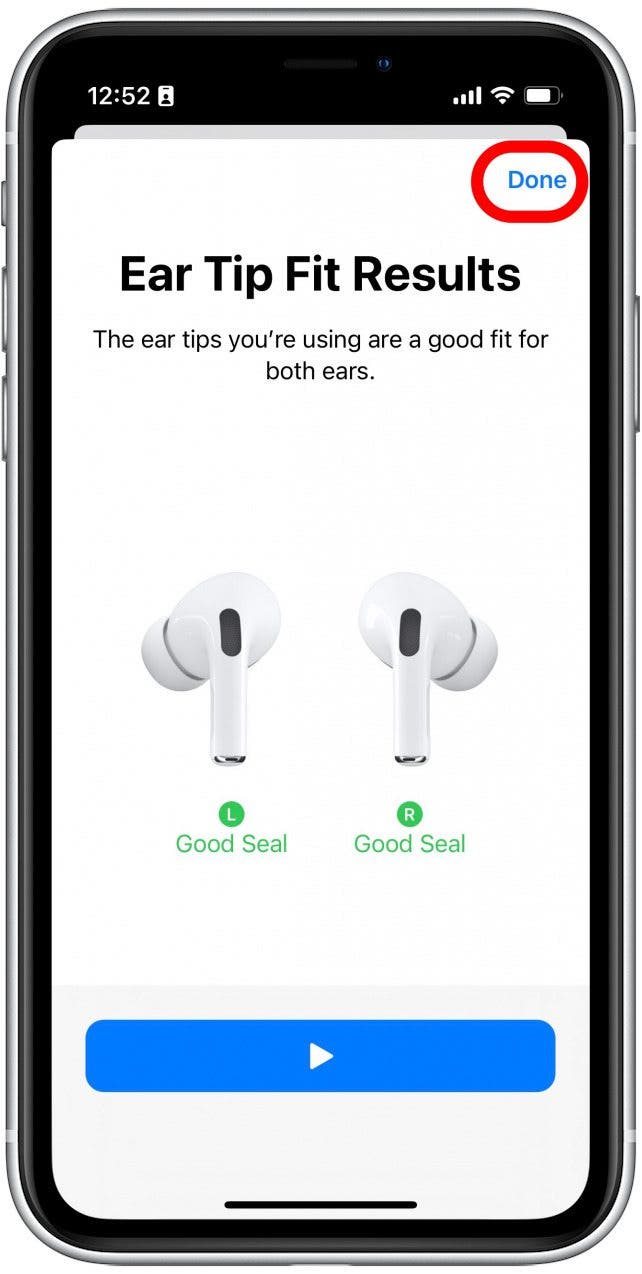
If you had the wrong size ear tips installed, it might have seemed like noise cancellation was not working. By having the right ear tips on your AirPods Pro, you can create the best seal needed for Active Noise Cancellation to work.
Check for Updates to Fix AirPods Pro Noise Cancellation
Sometimes updating your iPhone or iPad can fix software-related bugs. While the AirPods have their own firmware, updates are installed automatically whenever your AirPods are connected to your iPhone, iPad, or Mac. There is no way to manually check for AirPods firmware updates, so your best bet is to check if your iPhone or iPad needs to be updated:
- Open the Settings app.
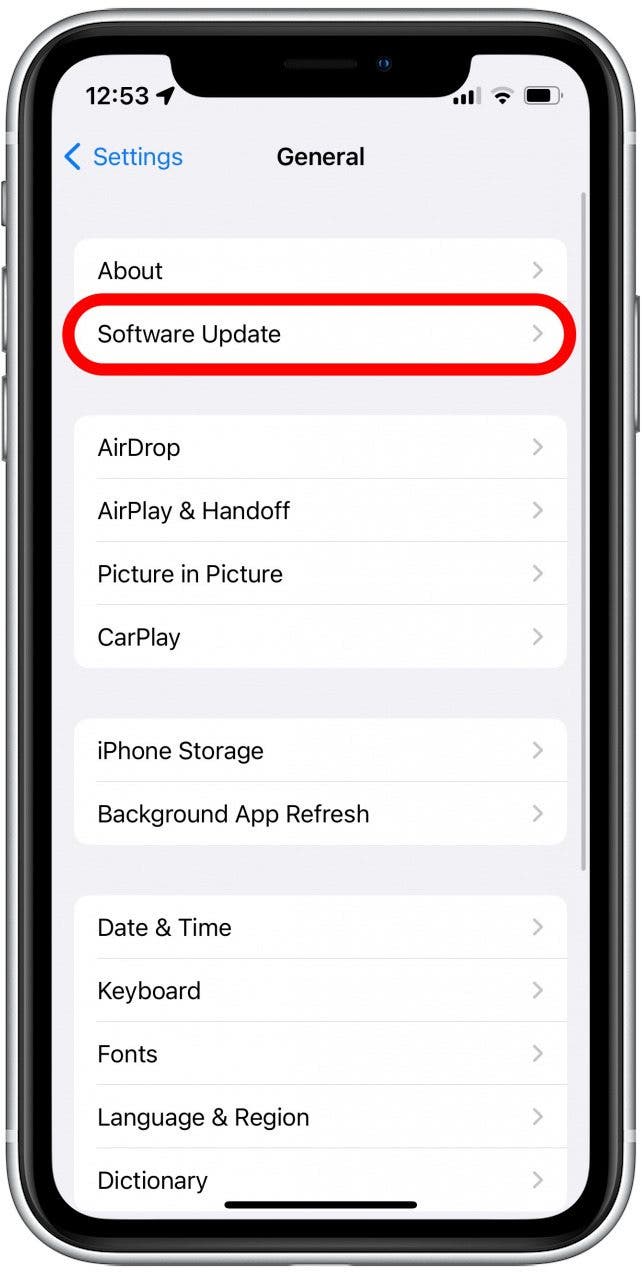
- Tap General.
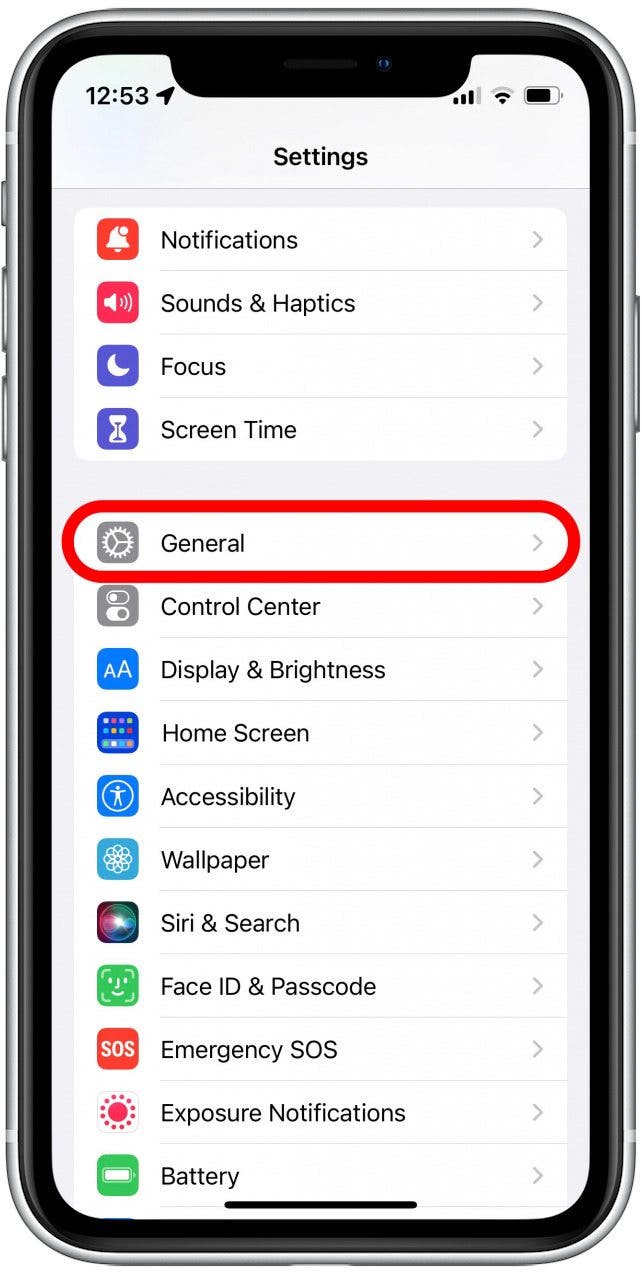
- Tap Software Update.
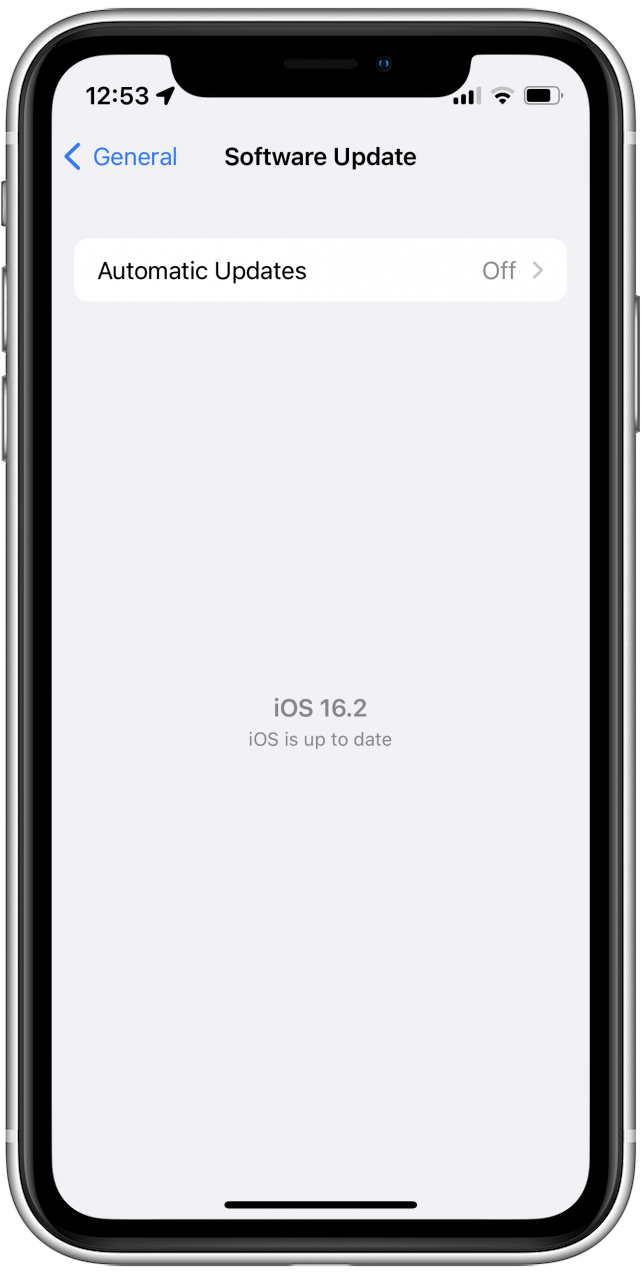
- If your device is up-to-date, you’ll see a screen similar to the one below. If there is an update available, be sure to tap the Download & Install button.
If your device is already up-to-date, try restarting it instead. You can do this by pressing and holding the power button and either of the volume buttons until the power options menu appears. Tap and slide the power toggle to the right to turn off your iPhone. After a few seconds, press and hold the power button to turn it back on.
Reset Your AirPods Pro
Sometimes, resetting electronics can help resolve any unusual issues. The same is true for AirPods Pro when noise cancelling is not working:
- Open the Settings app.
- Tap your AirPods Pro when they are connected to your phone.
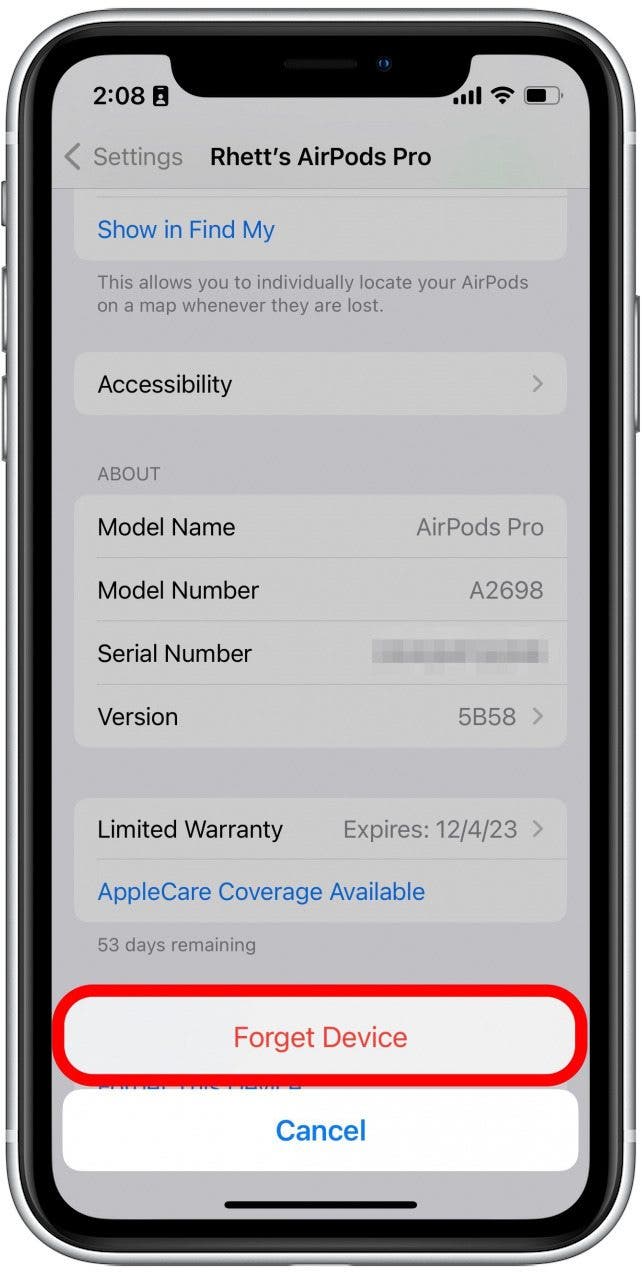
- Scroll all the way to the bottom and tap Forget This Device.
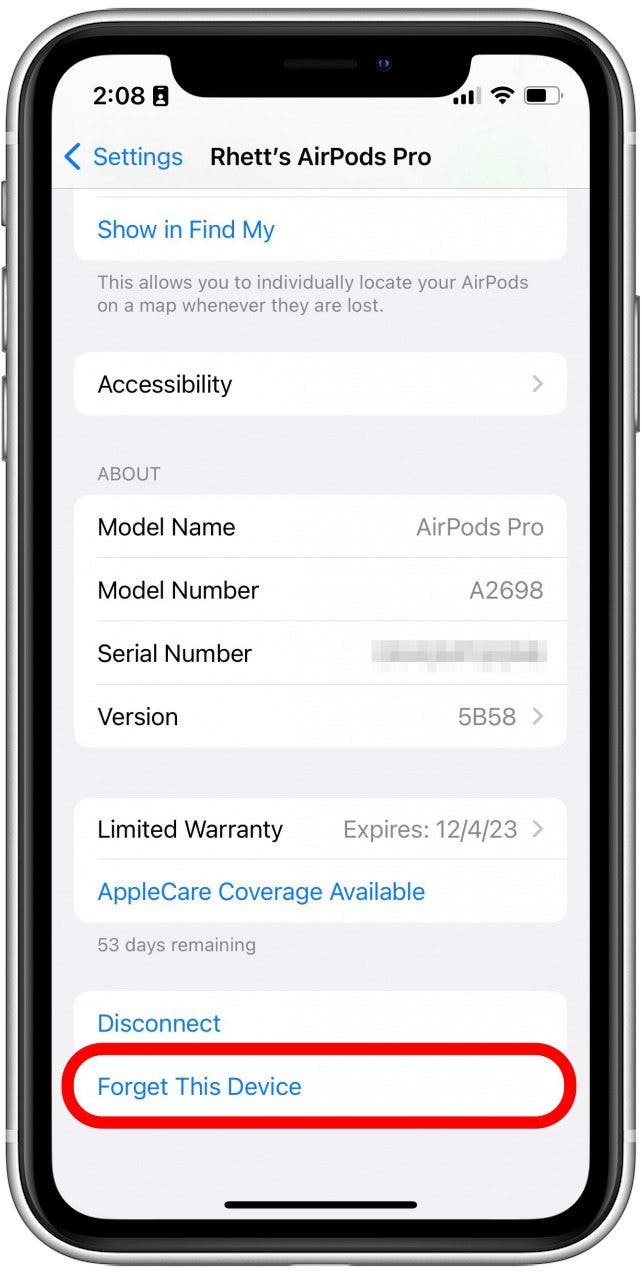
- Tap again to confirm.
- Place both AirPods in the case, and close it.
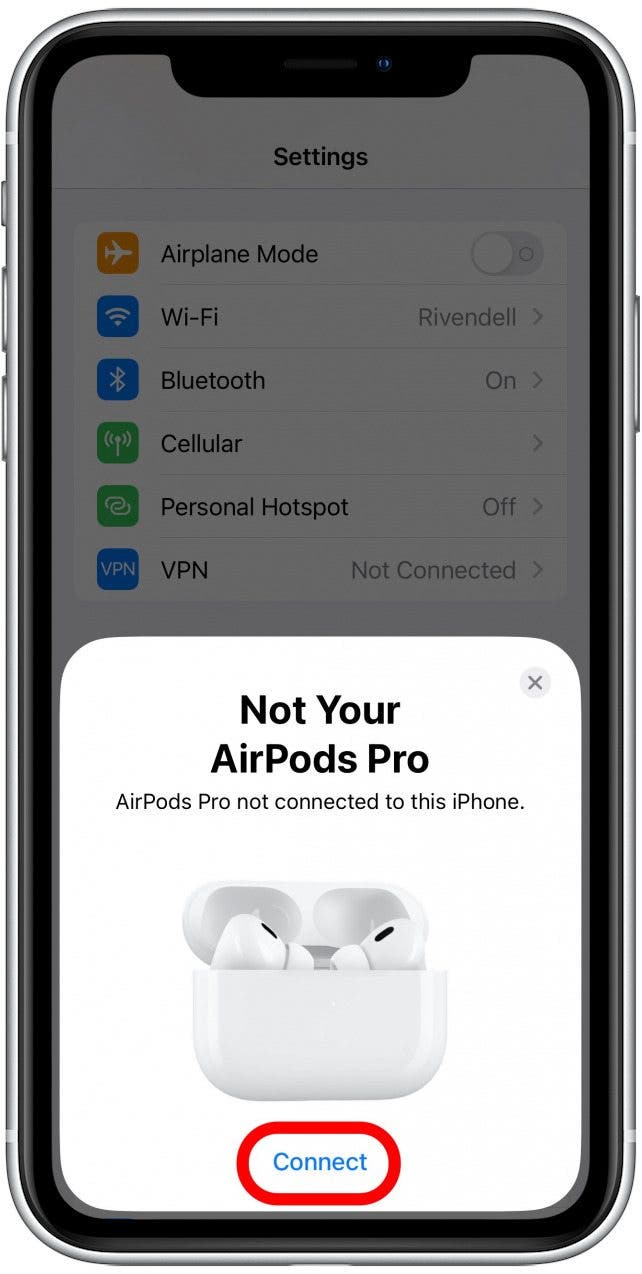
- Open your AirPods case, and when the Not Your AirPods screen pops up on your iPhone, tap Connect.
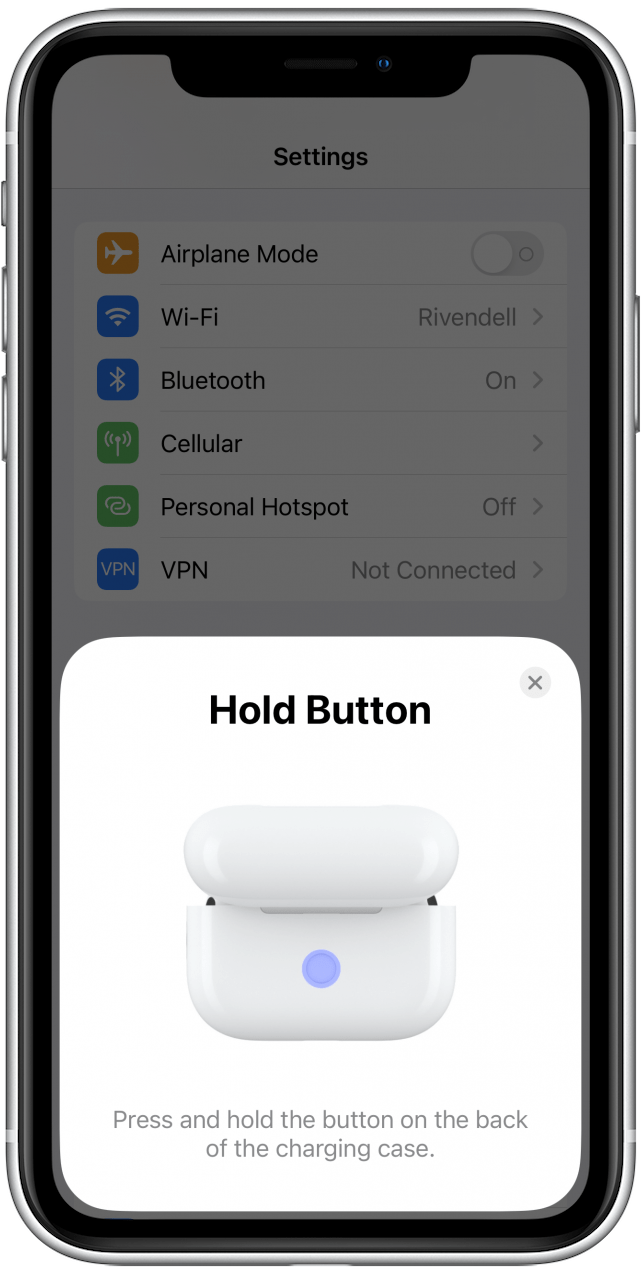
- On your iPhone, follow the on-screen instructions to continue connecting your AirPods.
You can also follow the above steps to connect your AirPods to another device.
If none of these solutions fix your AirPods Pro noise cancellation troubles, there could be a more serious problem. In that case, you should contact Apple Support or visit your nearest Apple Store to receive further assistance. Next, check out our extensive AirPods guide to get the most out of your wireless earbuds. Did you know that Active Noise Cancellation is a surefire way to identify fake AirPods?
FAQ
Do AirPods 3 have noise cancellation?
No, Active Noise Cancellation is only available on the 1st and 2nd generation AirPods Pro and the AirPods Max. If you're not sure which AirPods you have, check out this helpful guide.
What does Transparency mode do?
Transparency mode uses the external microphones on your AirPods Pro to let outside sounds in. This is useful when you are listening to music while on a walk or your daily commute so that you can stay aware of the world around you. If you have the second-generation AirPods Pro, you can also use Adaptive Transparency, which helps to reduce external loud sounds and prevent hearing damage.
How to turn off noise cancellation on AirPods?
You can quickly switch between Active Noise Cancellation and Transparency mode by pressing and holding the force sensor in the stem of either AirPod. If you want to turn off both modes completely, you can follow the steps outlined in the Switch Between Noise-Control Modes section above and simply stop at step 4. This can help conserve your AirPods Pro battery life as well.

Rhett Intriago
Rhett Intriago is a Feature Writer at iPhone Life, offering his expertise in all things iPhone, Apple Watch, and AirPods. He enjoys writing on topics related to maintaining privacy in a digital world, as well as iPhone security. He’s been a tech enthusiast all his life, with experiences ranging from jailbreaking his iPhone to building his own gaming PC.
Despite his disdain for the beach, Rhett is based in Florida. In his free time, he enjoys playing the latest games, spoiling his cats, or discovering new places with his wife, Kyla.
Related topics
Related Articles
 Amy Spitzfaden Both
 Rachel Needell
 Rhett Intriago

July Apple Watch News: Watch 10 Rumors, watchOS 11 Beta, More!
 Olena Kagui
 Leanne Hays
Updated Siri? A Major Redesign? Everything We Know about iOS 19


 Linda Ruth

 Hal Goldstein