Instantly Transfer Photos & Scans from iPhone to Mac Using Continuity Camera
Continuity on Mac easily lets you scan and transfer photos from your iPhone or iPad to your Mac without using wires or even AirDrop.


Want to know how to transfer photos from your camera to a Mac or scan documents? Here's how to use the Continuity Camera feature on the Mac, which enables you to scan documents or take photos on your iPhone and instantly have them uploaded on your Mac. Your Mac needs to be updated to macOS 10.14 or later and your iPhone to iOS 12 or later. You won't have to use AirDrop or have your device physically connected to the Mac with a cable for this tip. However, both your iPhone and Mac do need to be connected to the same Wi-Fi network with Bluetooth enabled and be near each other (like in the same room). Both Mac and the iPhone will also need to be signed in to iCloud with the same Apple ID using two-factor authentication.
Related: How to Get Text Messages & iMessages on Mac
How to Transfer Photos & Scan Documents from Your iPhone to Your Mac
We've gone over other time-saving Mac tips, including how to use Mac keyboard shortcuts, and how to transfer photos from an iPhone to a Mac or PC. For more great Apple device tutorials, check out our free Tip of the Day.
- Continuity Camera works in the Finder, Mail, Messages, Notes, Pages, Keynote, and Numbers. Open a Continuity Camera compatible app on your Mac and right click or Control + Click to open a drop-down menu within the app's document.
- Select Insert from iPhone or iPad and choose either Take Photo or Scan Documents.
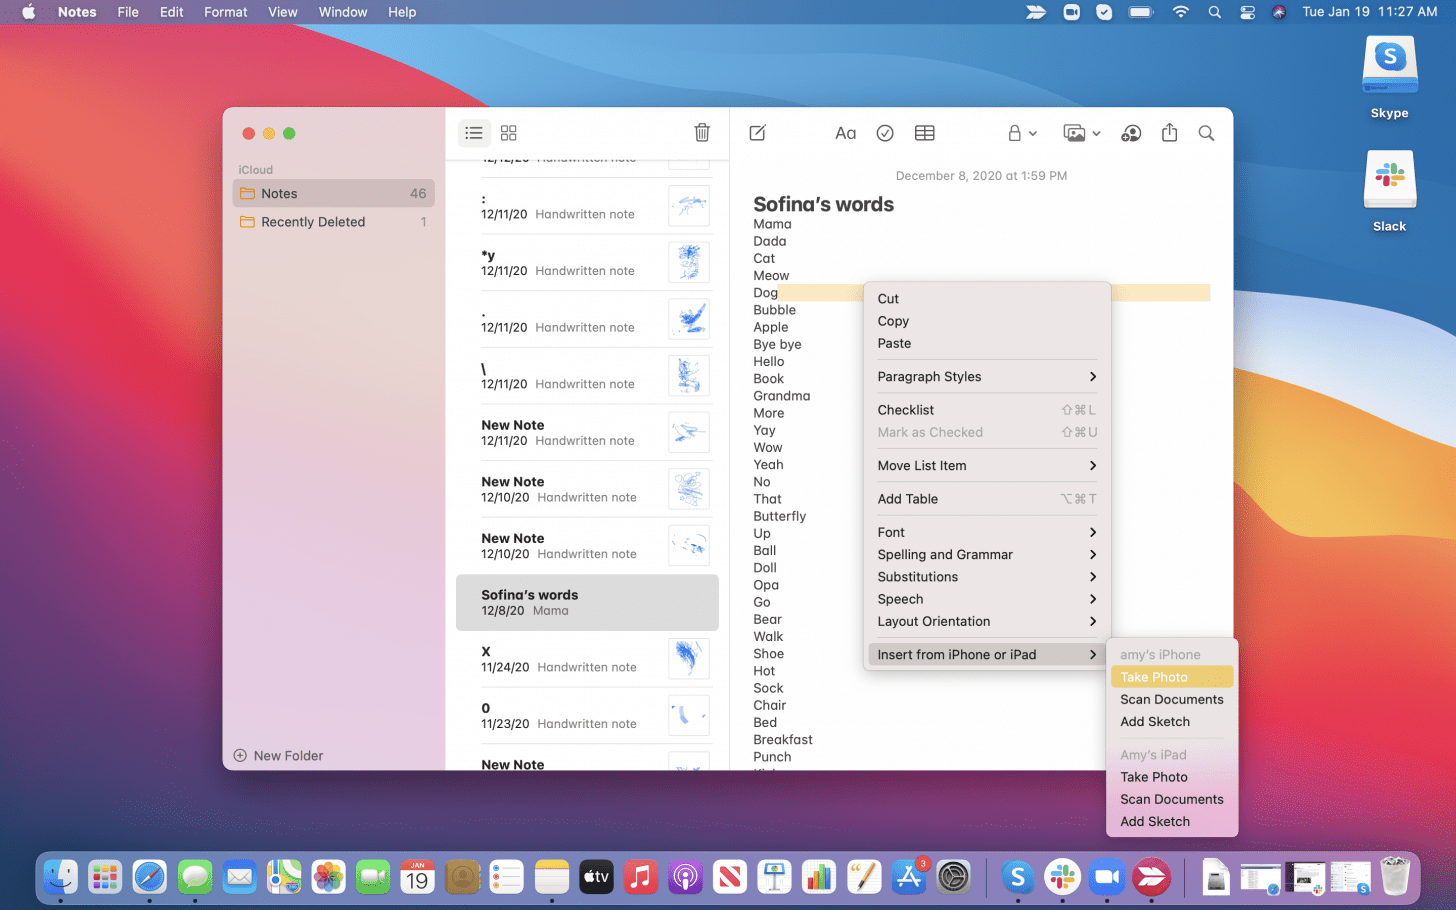
- Now on your iPhone, the Camera app is automatically opened. Either take a photo or scan a document with your iPhone. Select Use Photo when satisfied.
- The photo or document will instantly be loaded onto the open document on your Mac.
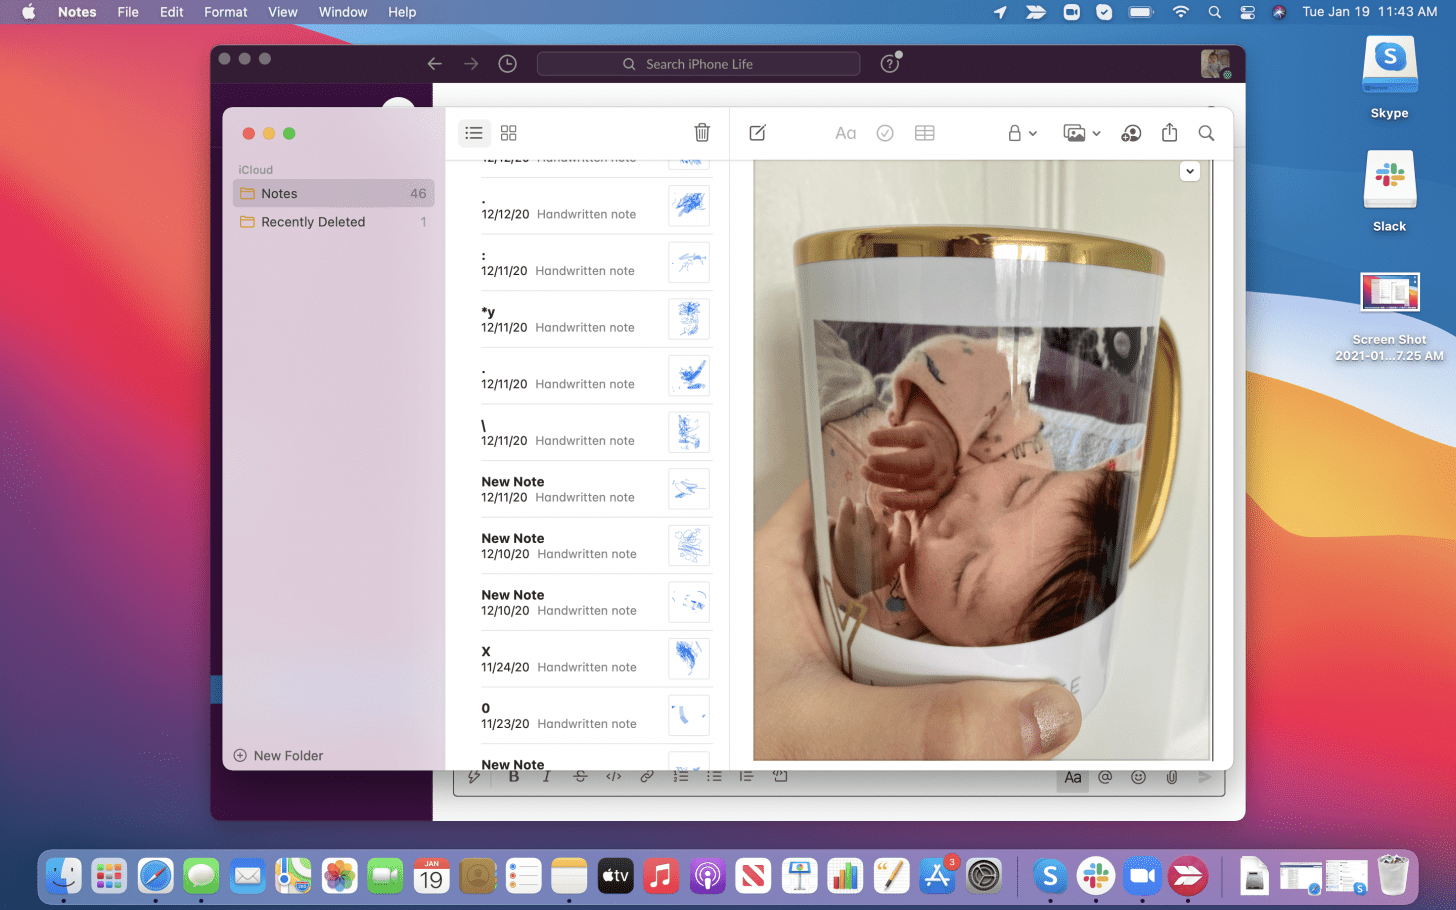
For more ways to easily transfer photos between devices, check out our Tip of the Day!
You can also use this tip to simply load a photo or document into a folder or just onto the desktop of your Mac rather than into a document where you'd have to insert the photo. To do this:
- In an opened folder or on the desktop, right click (or Control + Click) and select Import from iPhone or iPad.
- Select either Take Photo or Scan Documents. Use your iPhone to snap a photo or scan the document you want to transfer to your Mac.

- Photos will be saved as .jpeg and documents will be saved as .pdf files.
Now you can quickly transfer photos and documents onto your Mac!
Every day, we send useful tips with screenshots and step-by-step instructions to over 600,000 subscribers for free. You'll be surprised what your Apple devices can really do.

Hallei Halter
Hallei is a 2018 graduate of Maharishi University of Management with a BFA in Creative & Professional Writing. She's currently working on a novel about people using witchcraft to clean their houses.


 Susan Misuraca
 Olena Kagui

 Rachel Needell

 Rhett Intriago


 Leanne Hays

