How to Take a Screenshot on Mac Using the Screenshot Menu
Adjust borders and select where you want to save a screenshot, even before taking the screenshot!


As an online tech educator, Jivan is passionate about making complex topics approachable through clear, engaging instruction, with a focus on practical skills and emerging AI education.
Learn More As an online tech educator, Jivan is passionate about making complex topics approachable through clear, engaging instruction, with a focus on practical skills and emerging AI education.
Learn MoreWith the built-in screenshot function in Mac, you can easily take screenshots of all or a part of your screen, adjust the borders, and select where you want to save the image. We’ll show you how to pull up the screenshot menu and prepare the perfect crop.
Related: How to Sync Messages from iPhone to Mac
Why You’ll Love This Tip:
- Access all of your screenshot options in one place.
- Set the crop borders before taking the picture and eliminate the need for editing after you take the screenshot.
How to Access and Use Your Mac’s Screenshot Menu
In order to access the screenshot menu, you will need to have a Mac running macOS Mojave or later. The screenshot menu allows you to control all your screenshot options in one place. For more nifty Mac tips, consider signing up for our free Tip of the Day Newsletter. Now, here’s how to access the screenshot menu:
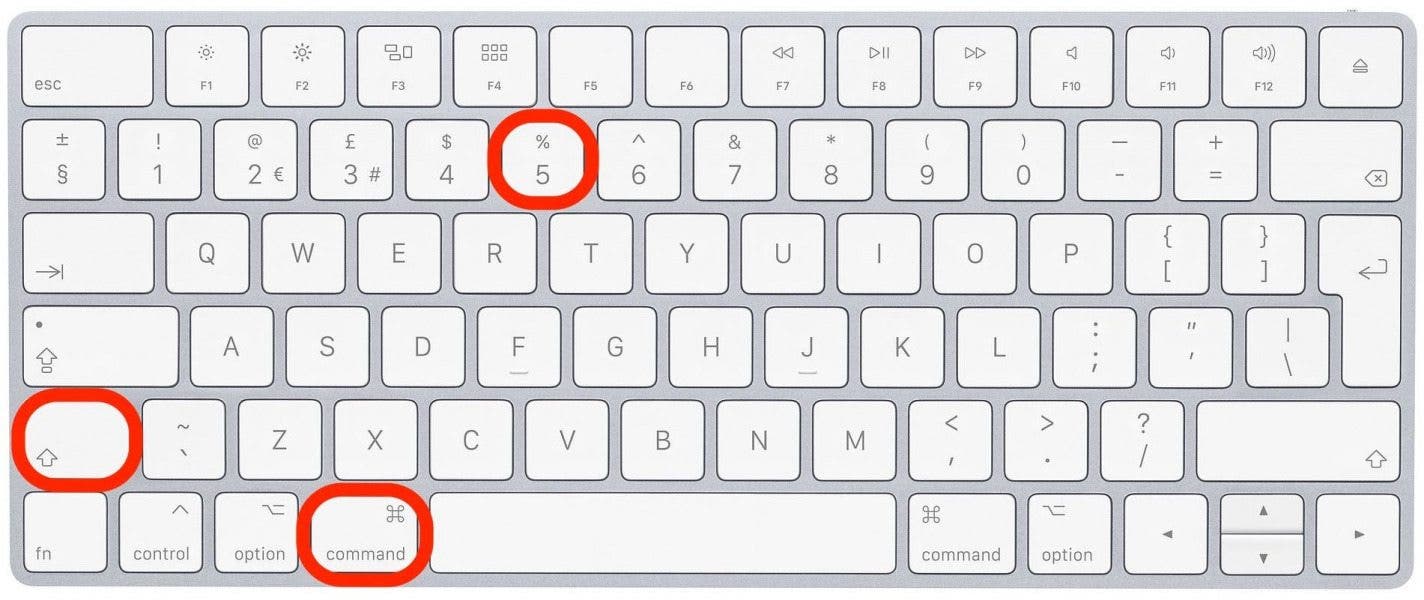
- Press Shift+Command+5 on your keyboard.
- The screenshot menu will appear on your screen.
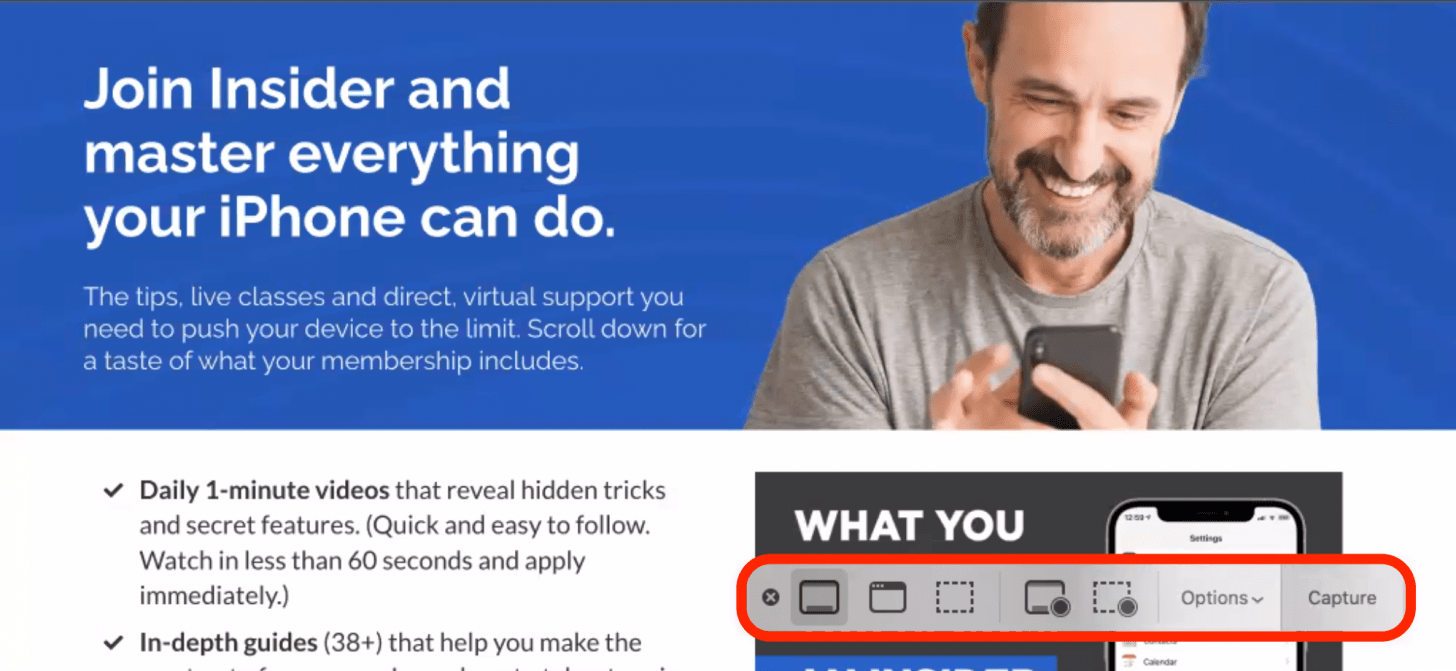
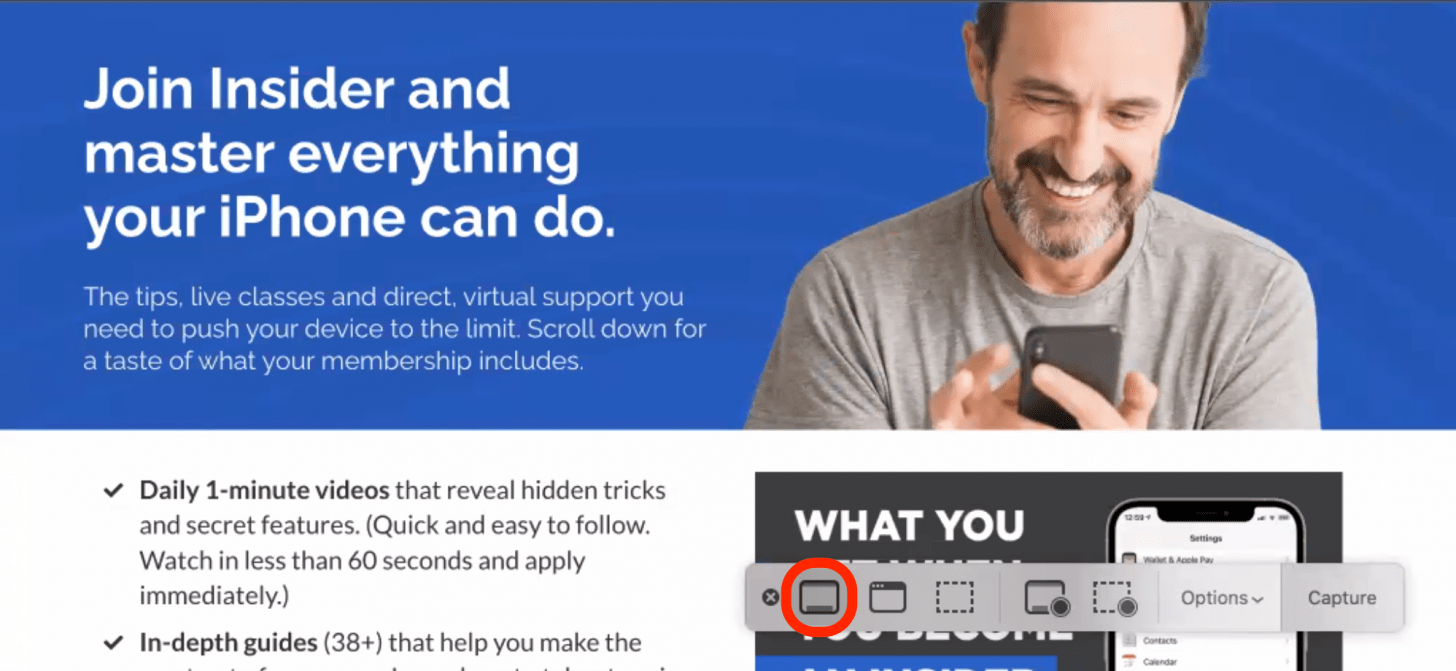
- If you want to show your entire screen, click the Capture Entire Screen icon.
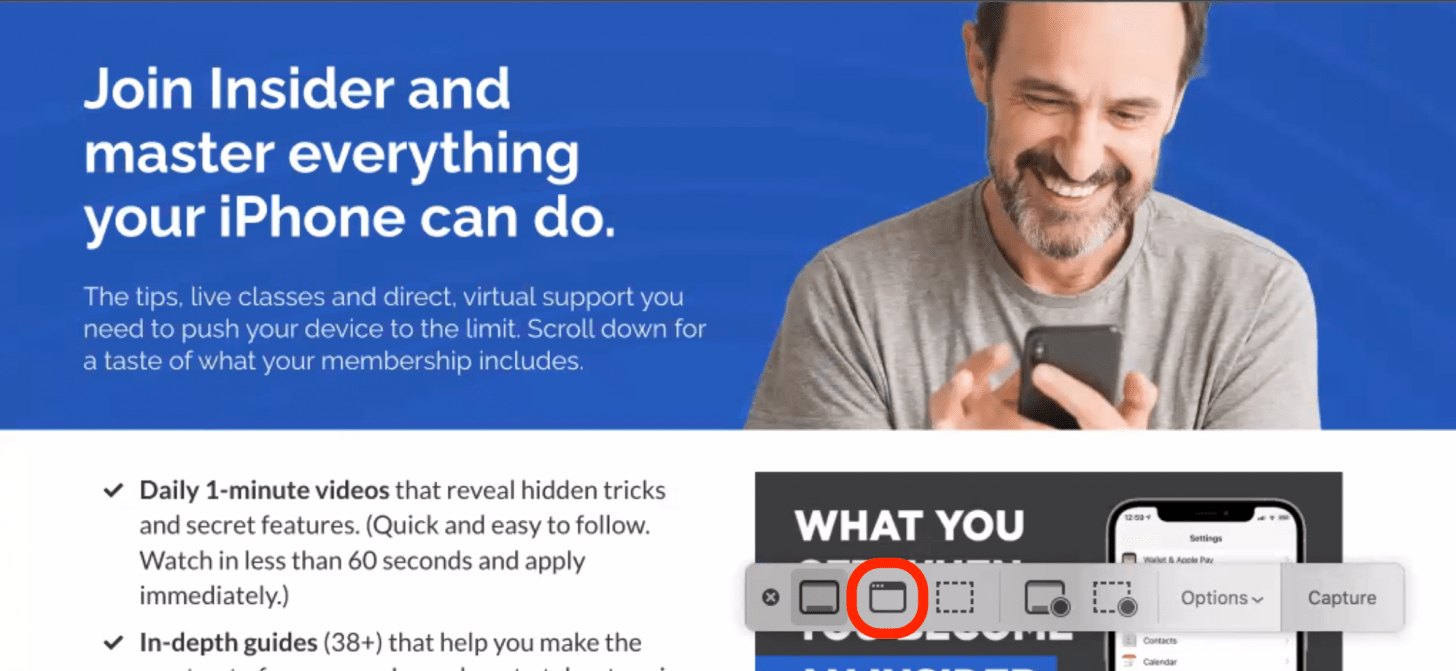
- If you want to capture a window, click the Capture Window icon.
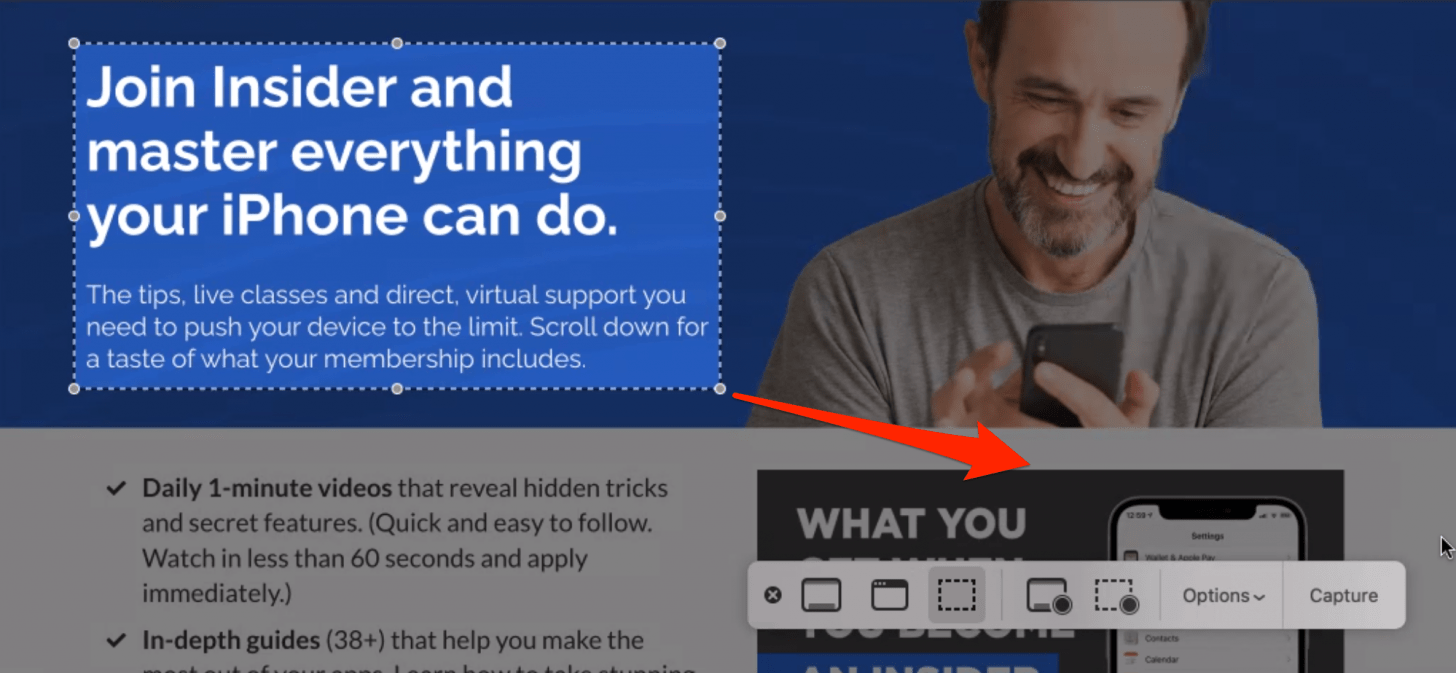
- If you want to capture a specific area on your screen, click on the Capture Selected Portion icon.

- A border will appear to indicate your crop zone. The lighter area is your image, while the grayed-out area outside the border will be cropped out.

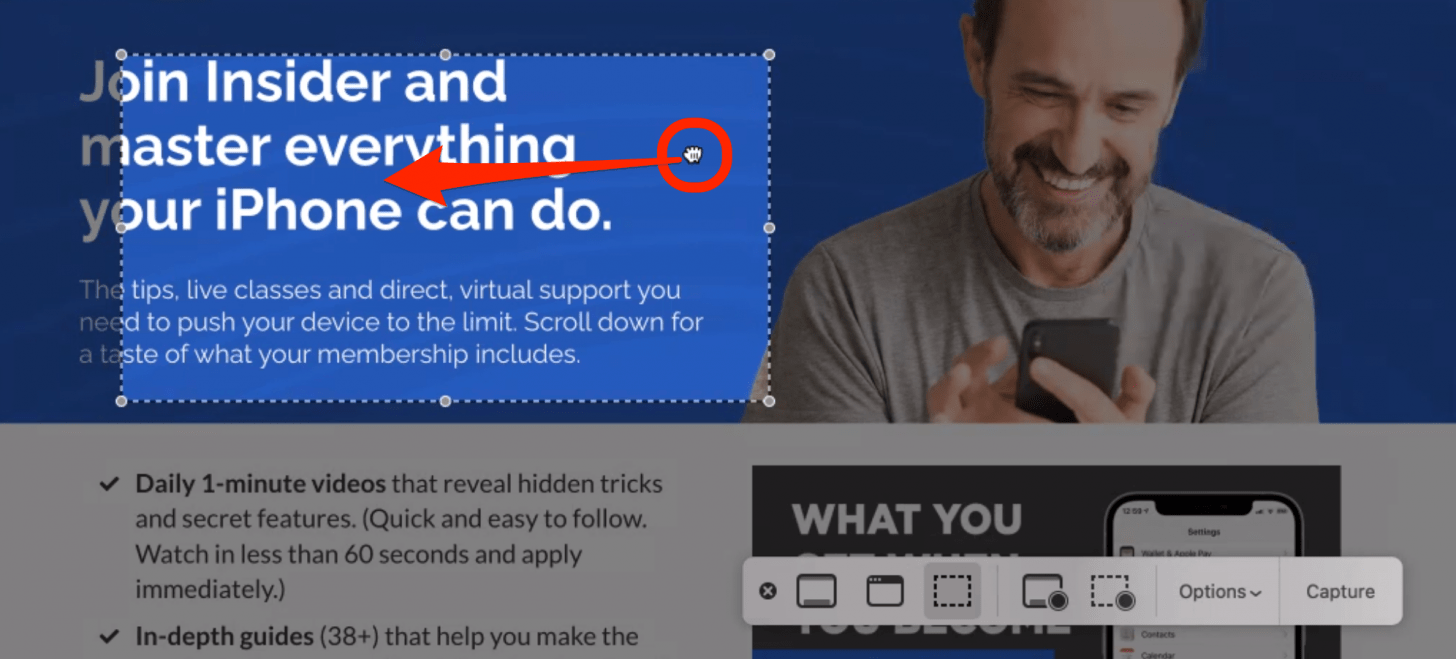
- Click and drag any of the gray dots on the border to adjust the crop zone.
- To move the crop zone to a different part of your screen, hover your curser inside the border. Now you can click and drag to move the crop zone to a different area.
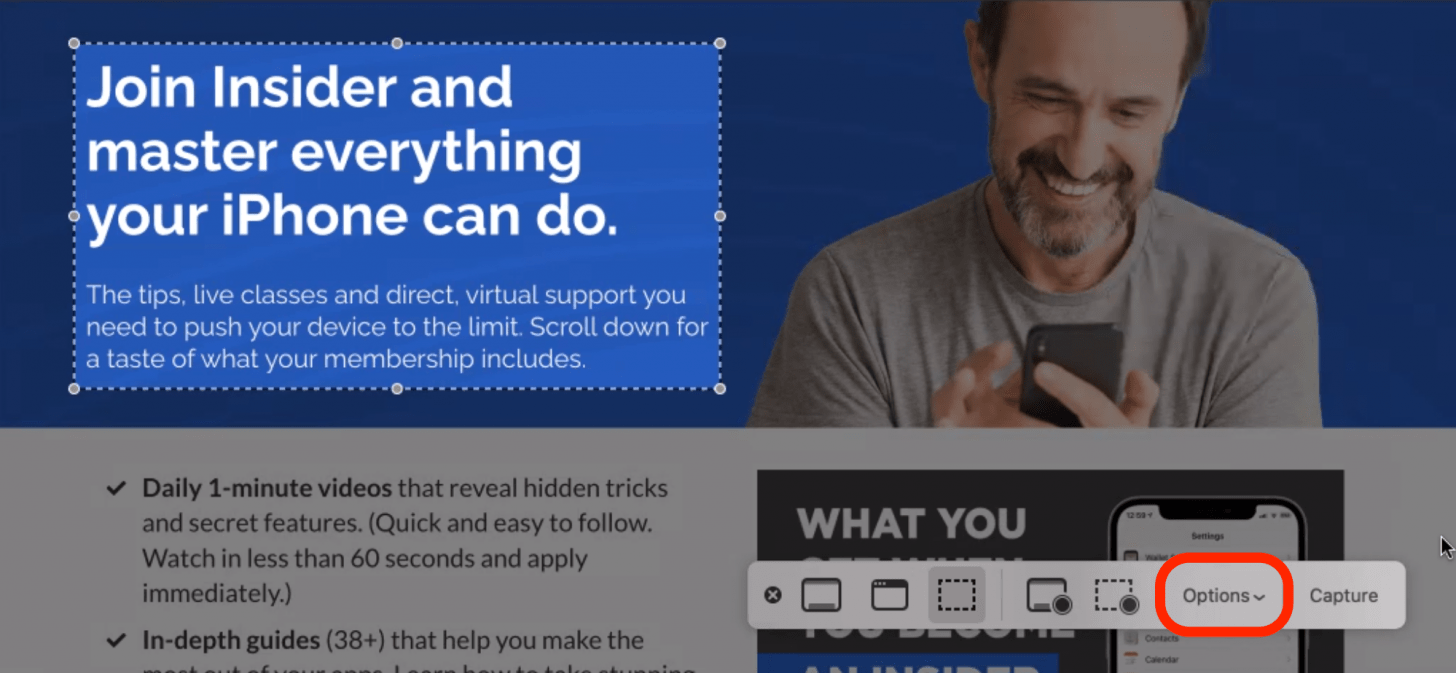
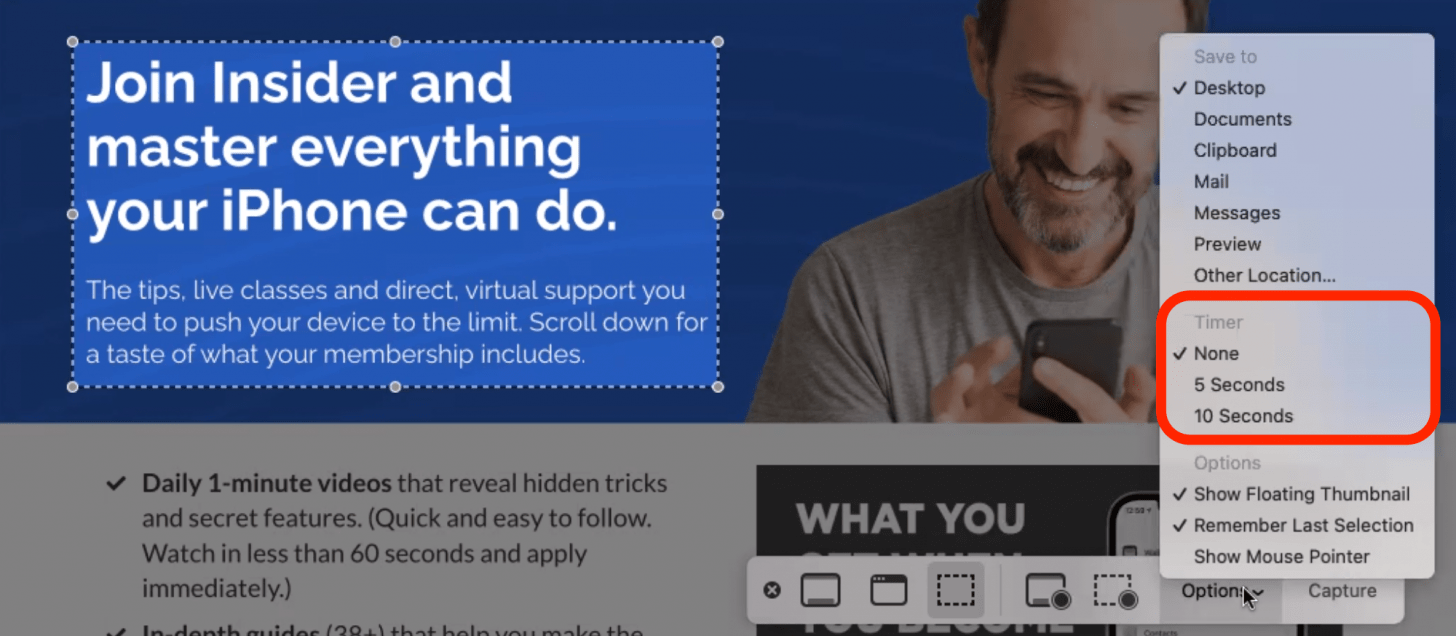
- If you want to save your screenshot in a particular location, click Options.
- Beneath Save to, select where you'd like to save your screenshot. (By default, screenshots will save to your desktop.)
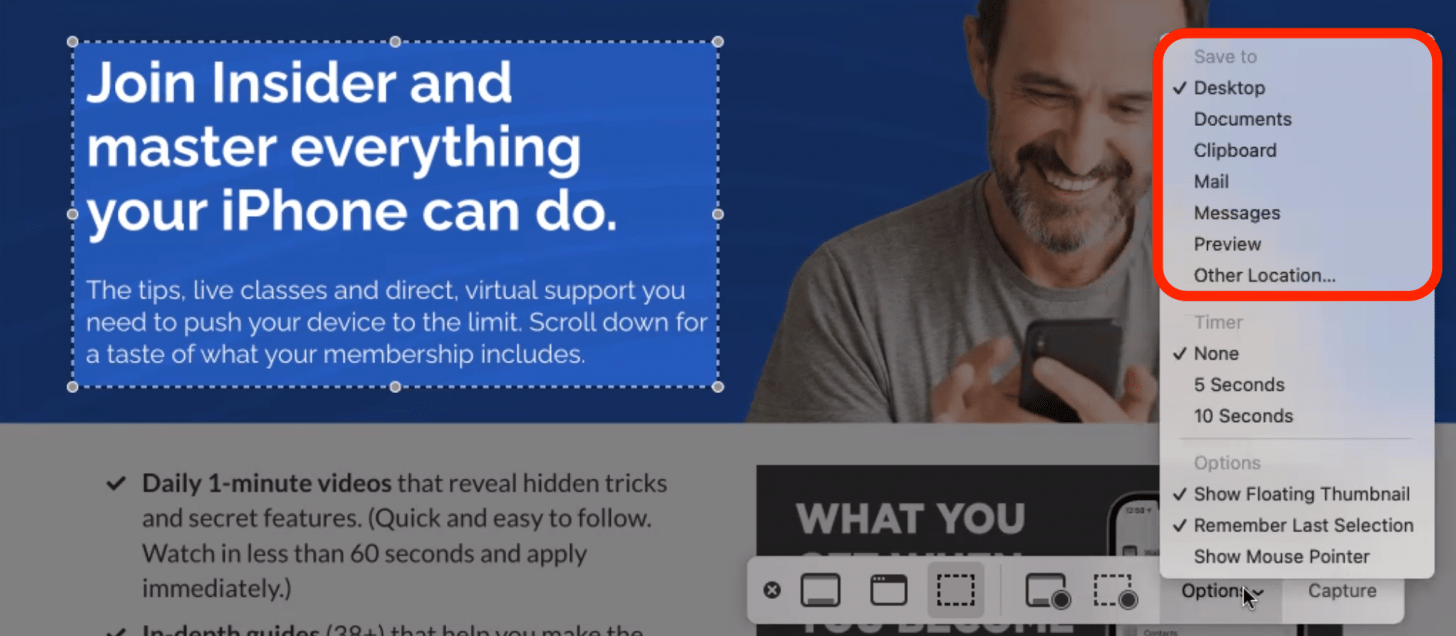
- From the Options menu, you can also set a short time delay before a screenshot is taken. Beneath Timer, click either the 5 seconds or 10 seconds option.
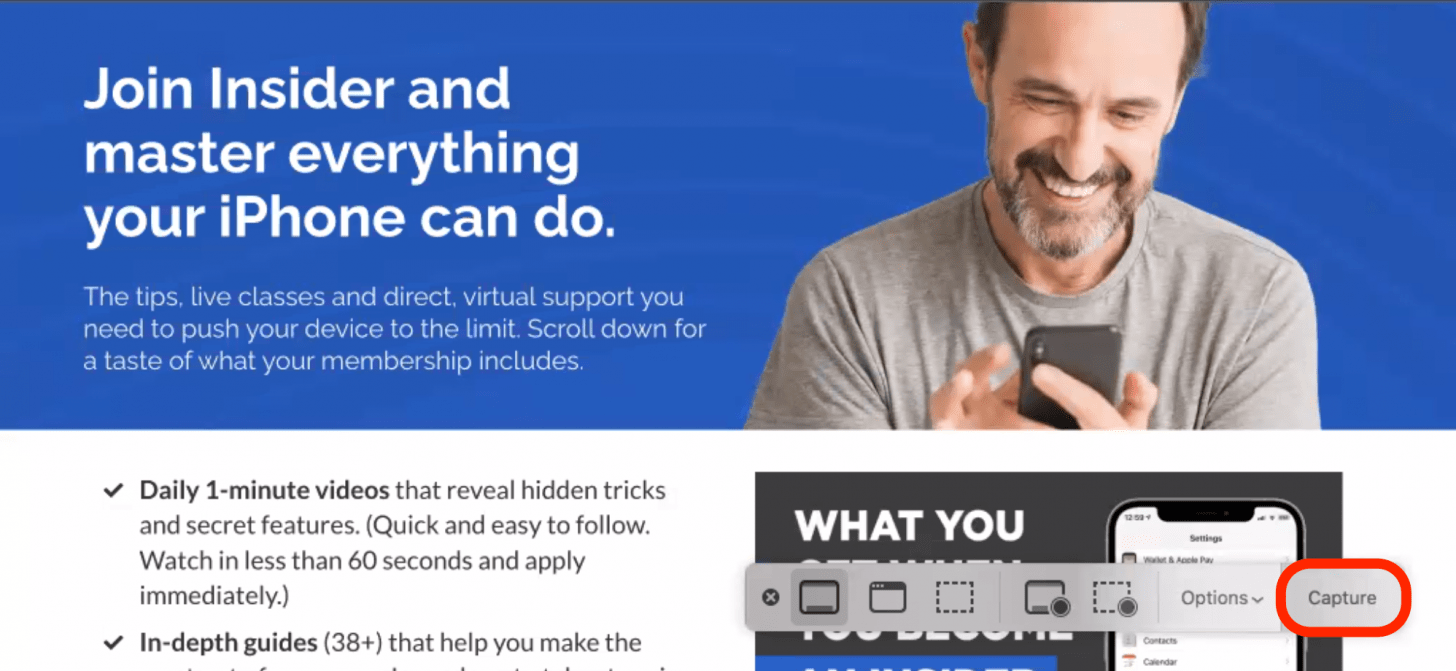
- Once you are happy with your crop settings, click Capture or just hit Return on your keyboard.
Now you can take the perfect screenshot each and every time! While using the screenshot menu is a great way to get more nuanced screengrabs, you can still use keyboard shortcuts to take screenshots. You can also press Shift+Command+3 to capture your whole screen, Shift+Command+4 to capture a portion of your screen, and Shift+Command+4+Spacebar to capture a specific window or menu.

Every day, we send useful tips with screenshots and step-by-step instructions to over 600,000 subscribers for free. You'll be surprised what your Apple devices can really do.

Jivan Hall
Based in sunny San Diego, California, Jivan spends as much time as possible outdoors, with his two young sons, playing sports, chasing waves, and continuing the never-ending quest for the perfect fish taco.
Related Articles

 Olena Kagui
 Ashleigh Page
 Rhett Intriago
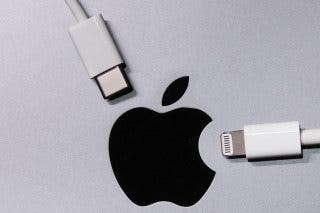
Can You Use an iPad Charger for iPhone? Here's What to Know
 Amy Spitzfaden Both

The Best iPhone Gear for Summer & Does Siri AI Live Up to the Hype?
 Susan Misuraca
Apple Announces Major New Features in Tim Cook's Final WWDC
 Leanne Hays

WWDC iOS 18: All-New Features & the Addition of Apple Intelligence


 Rachel Needell