* This article is from our Tip of the Day newsletter. Sign Up. *
This nifty trick is an excellent way to make a digitized copy of any physical document that you can save to your phone, or quickly send via messages, email, or AirDrop, depending on your needs. In this tip, we’ll cover how to scan on iPhone using the Notes app.
Why You’ll Love This Tip
- Scan and store documents in your iPhone’s Notes app.
- Easily convert paper documents to PDF files for sharing over email, text, etc.
How to Scan a Document on iPhone
The scanning feature isn’t just a photograph of a piece of paper. It actually uses special software to flatten and standardize the pages and uses Live Text to allow you to physically copy and paste words or numbers from the document into any text field. To discover more iPhone hidden gems, be sure to sign up for our free Tip of the Day newsletter. Now, here’s how to scan documents on iPhone:

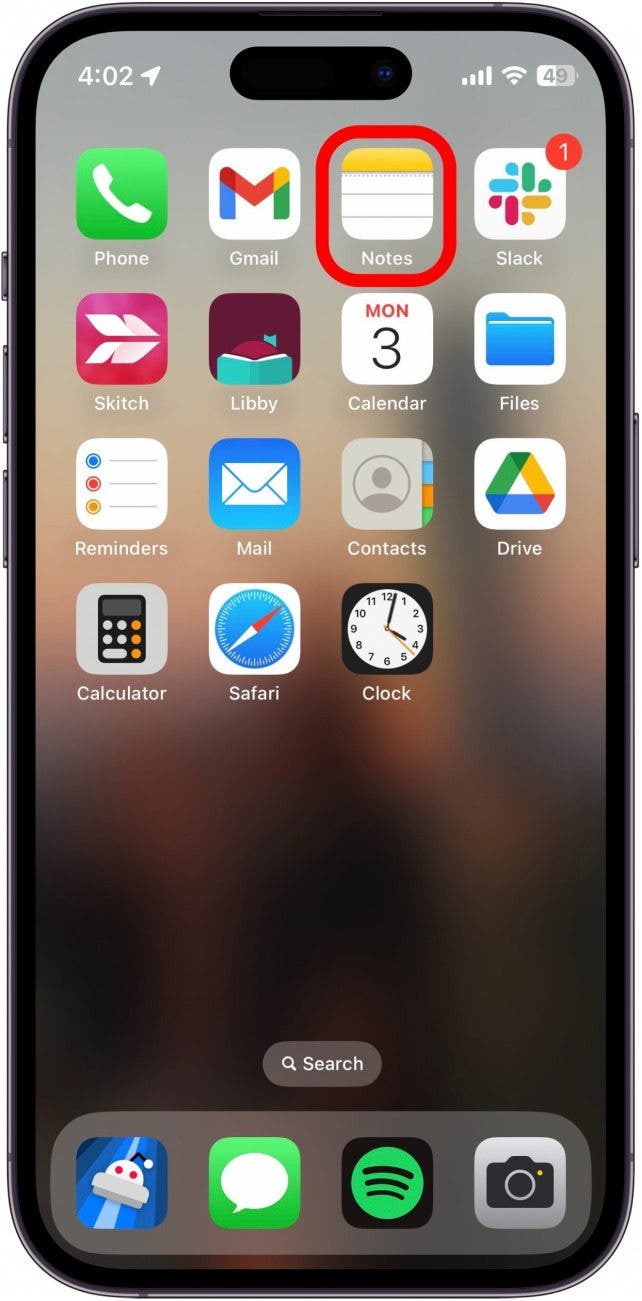
- On your iPhone, open Notes.
![On your iPhone, open Notes.]()
- Open a new note by tapping the New Note button in the bottom right or open an existing note.
![Open a new note by tapping the New Note button in the bottom right or open an existing note.]()
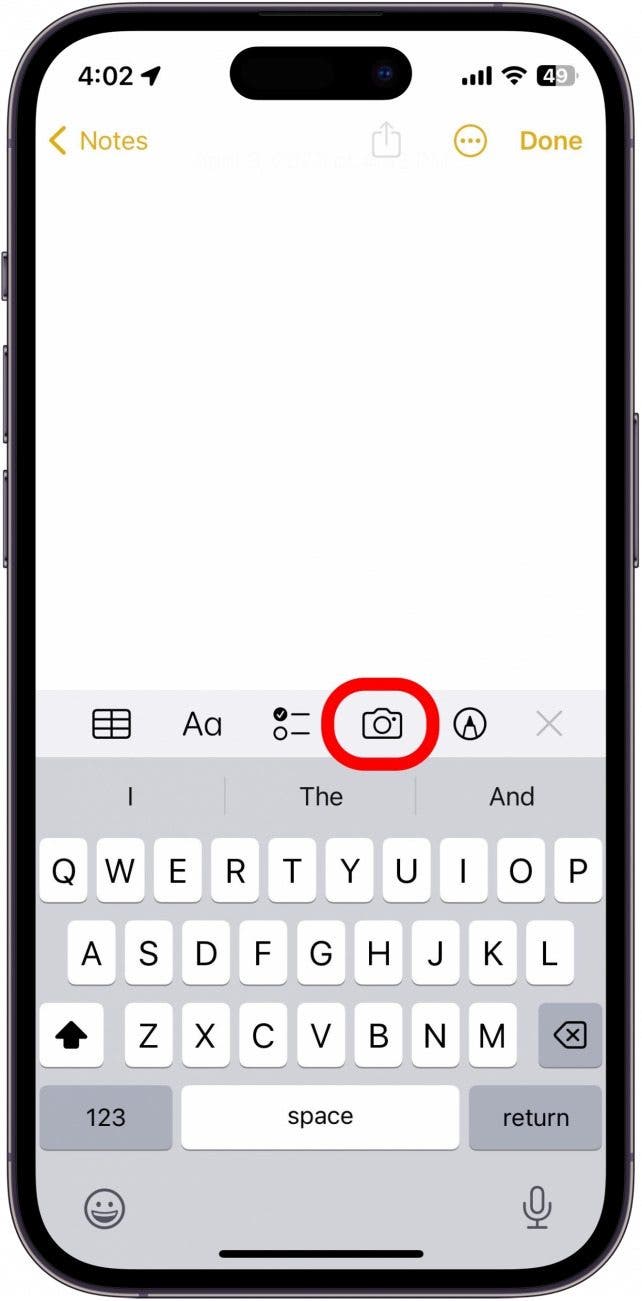
- Tap the Camera icon.
![Tap the Camera icon.]()
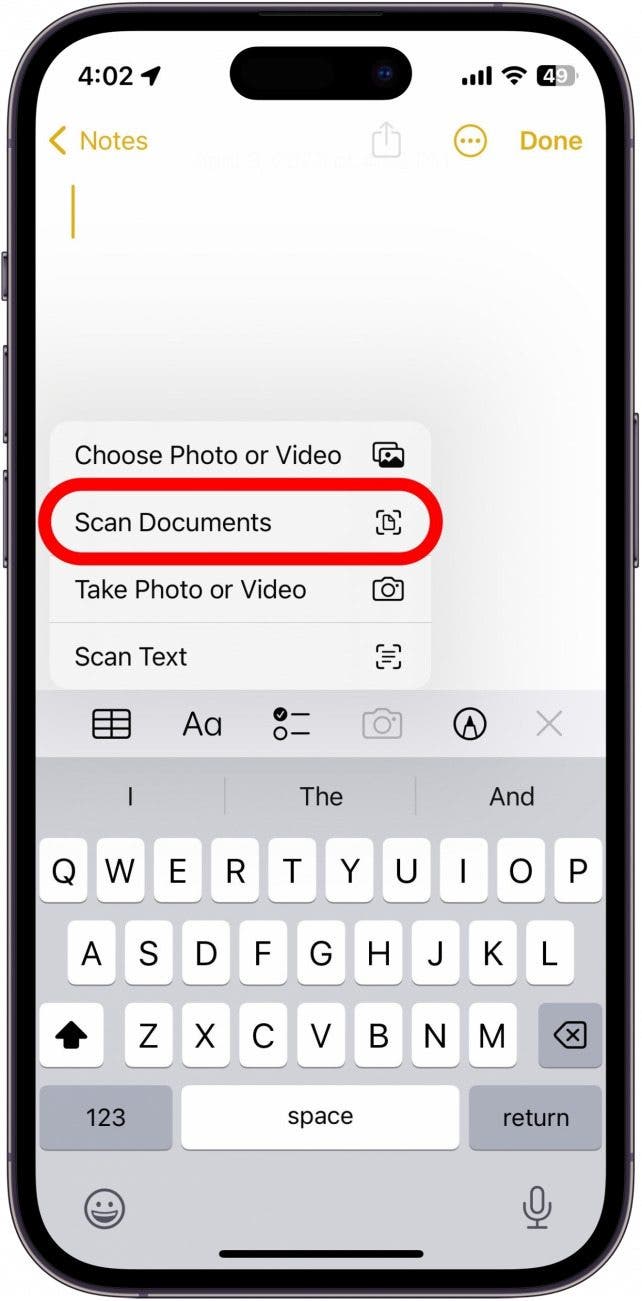
- Tap Scan Documents.
![Tap Scan Documents.]()
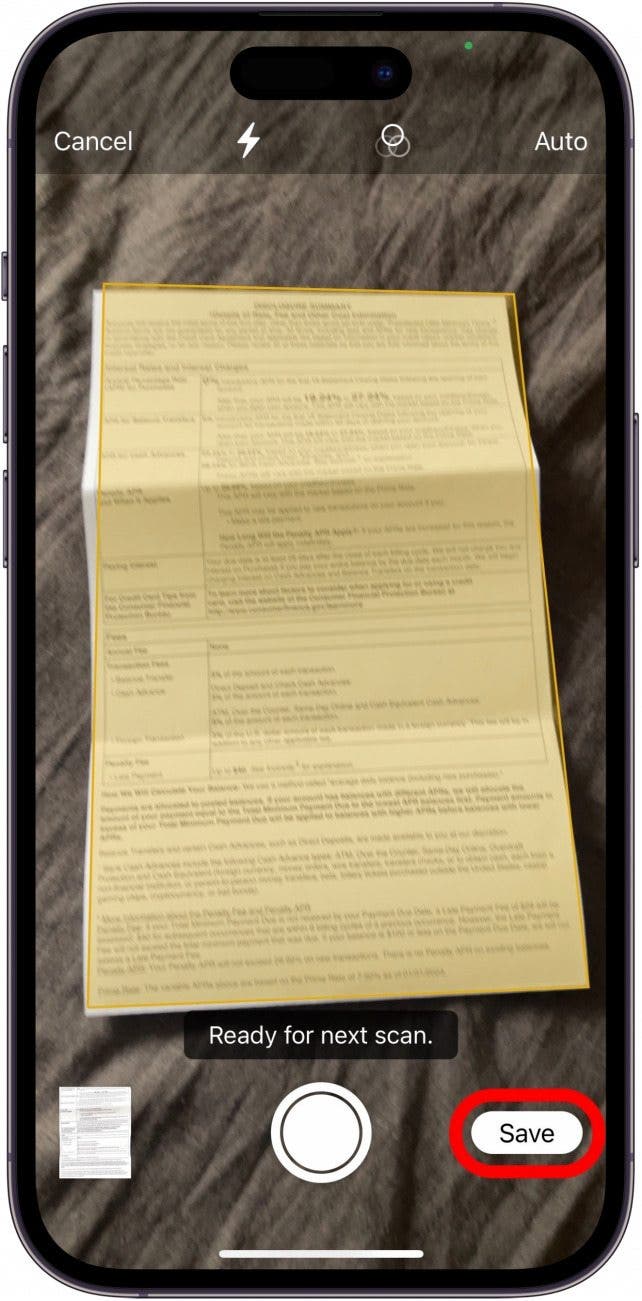
- Position the document so that it is entirely in view and the camera will automatically take the photo.
![Position the document so that it is entirely in view and the camera will automatically take the photo.]()
- You can continue scanning by repeating the above step. When you’re done, tap Save.
![You can continue scanning by repeating the above step. When you’re done, tap Save.]()
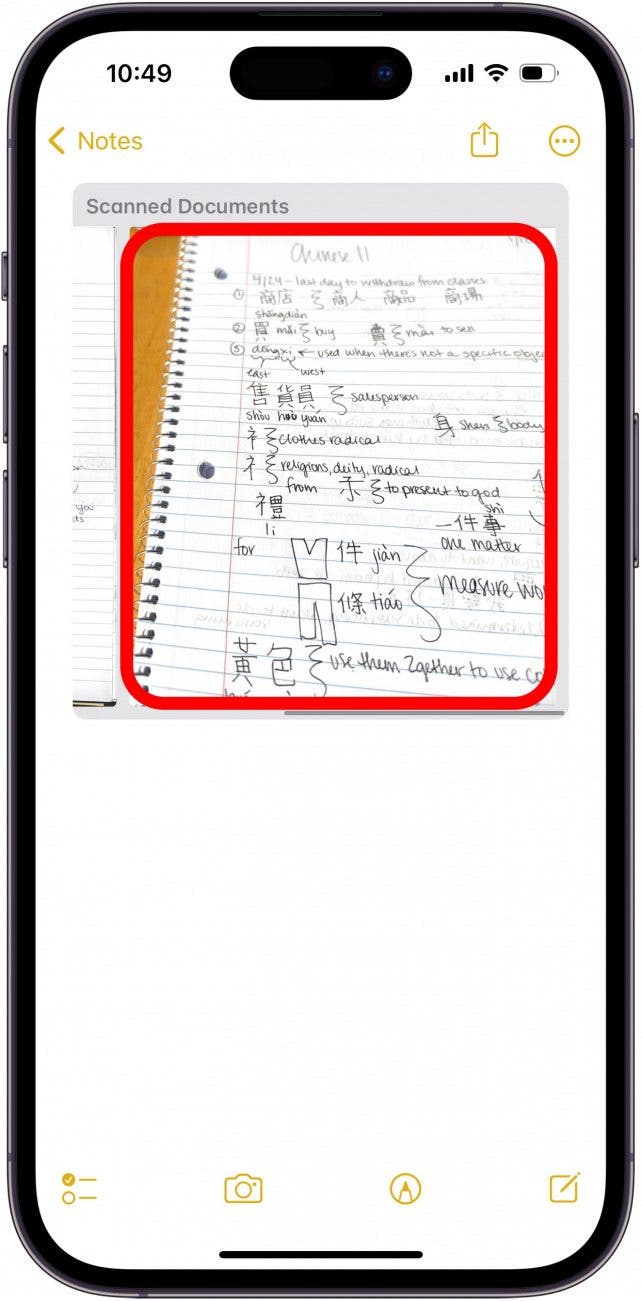
- Because the pictures take automatically, you may accidentally get a picture you didn't want to save. To delete a scan, tap the erroneously scanned image.
![Select the image you accidentally scanned.]()
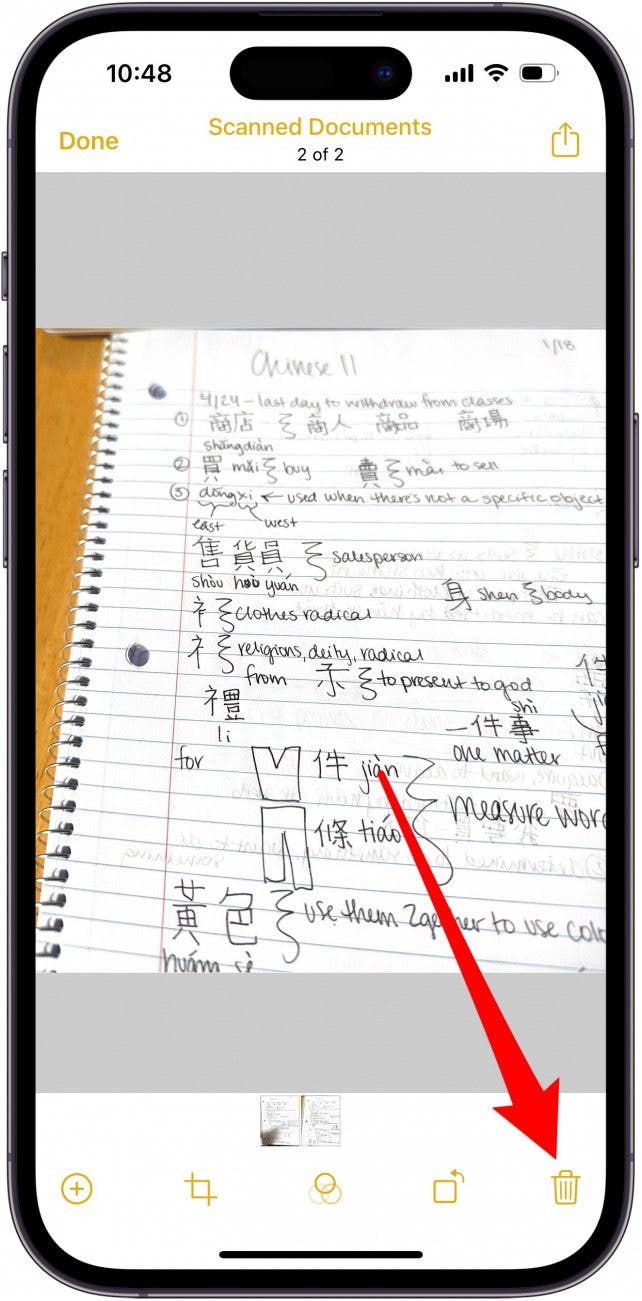
- Tap the Delete icon.
![Tap the Delete icon to remove the scan.]()
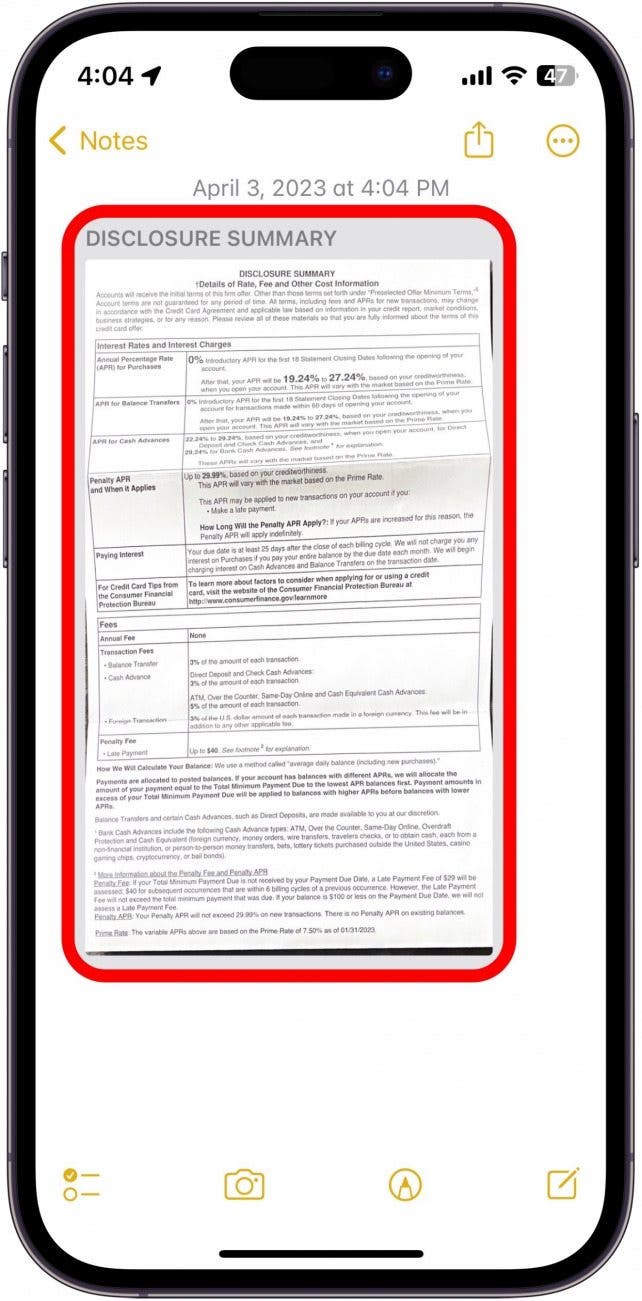
- If you want to send the scanned document, tap the image.
![If you want to send the scanned document, tap the image.]()
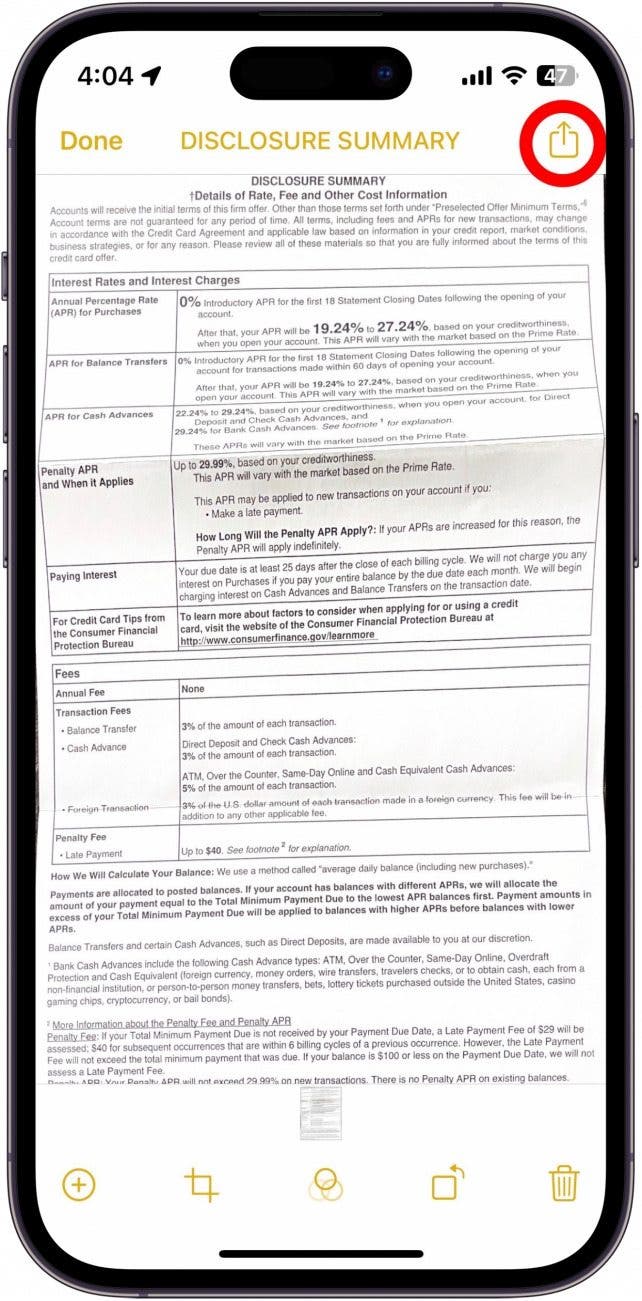
- Tap the Share button in the top right corner.
![Tap the Share button in the top right corner.]()
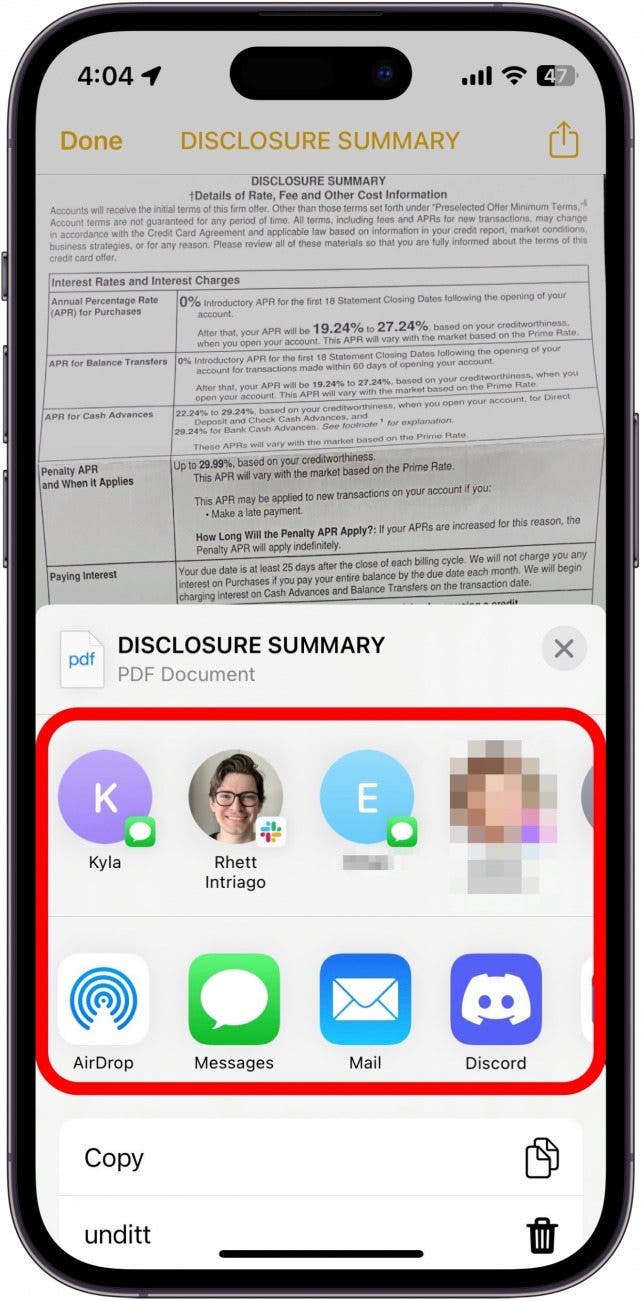
- From here, you can choose where and how you’d like to share your scanned image.
![From here, you can choose where and how you’d like to share your scanned image.]()


That’s how to scan documents with iPhone! Being able to scan a document and insert it into my Notes app, with the addition of the built-in password protection already offered by Notes, is the perfect way to eliminate traditional filing systems and keep all my important documents safe and in one place. If you'd rather scan documents with the Files app, you can do that too.