How to Add Funds to Your Apple ID Account on an iPhone, iPad, or Mac
You can add money to your Apple ID to simplify transactions and keep better track of your spending. We’ll show you how.


You can add money to your Apple ID account for App Store purchases or use Apple Pay without having to use a linked card. Here's how to add funds to your Apple ID directly. If you budget your app or iTunes purchases, you can even load the balance you want to spend and make purchases accordingly.
How to Add Funds to an Apple ID on an iPhone or iPad
First, we'll go over how to add funds to an Apple ID on an iPhone or iPad.
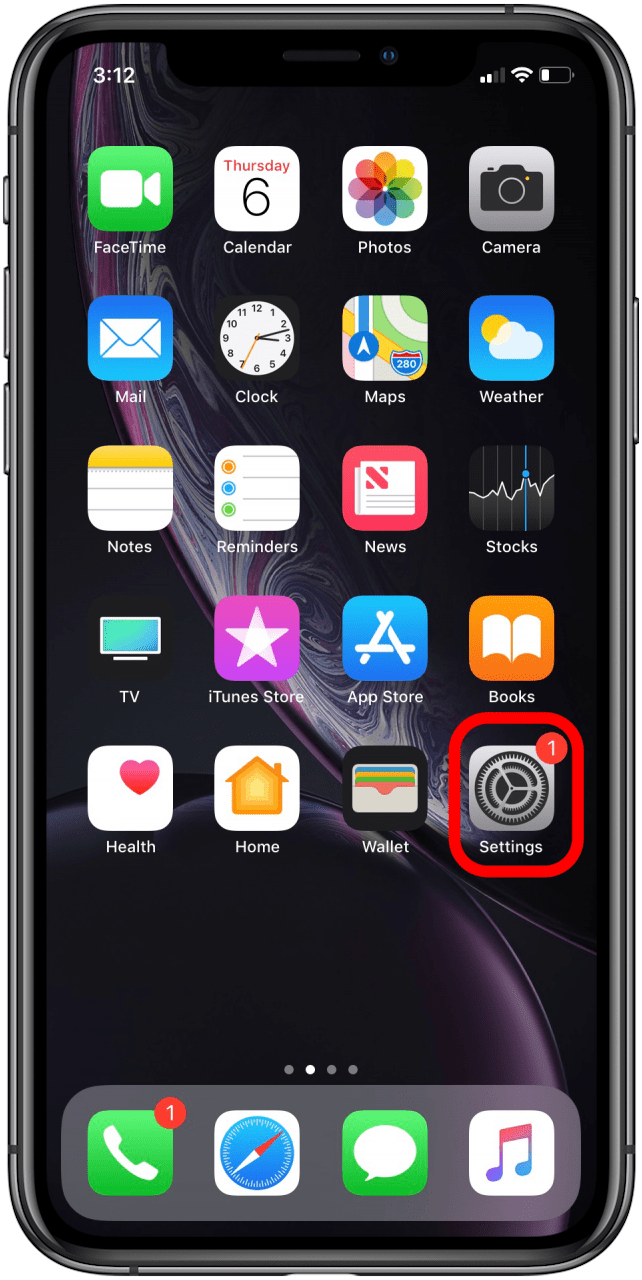
- Open the App Store app.
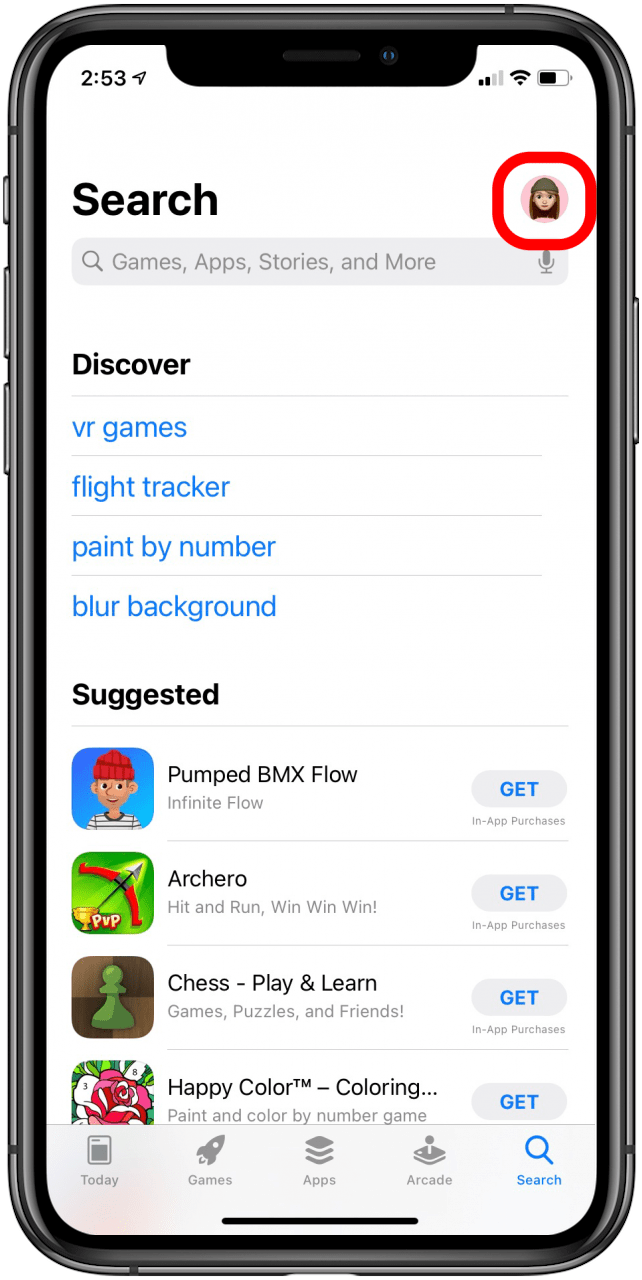
- Tap your profile icon in the top-right corner of the screen.
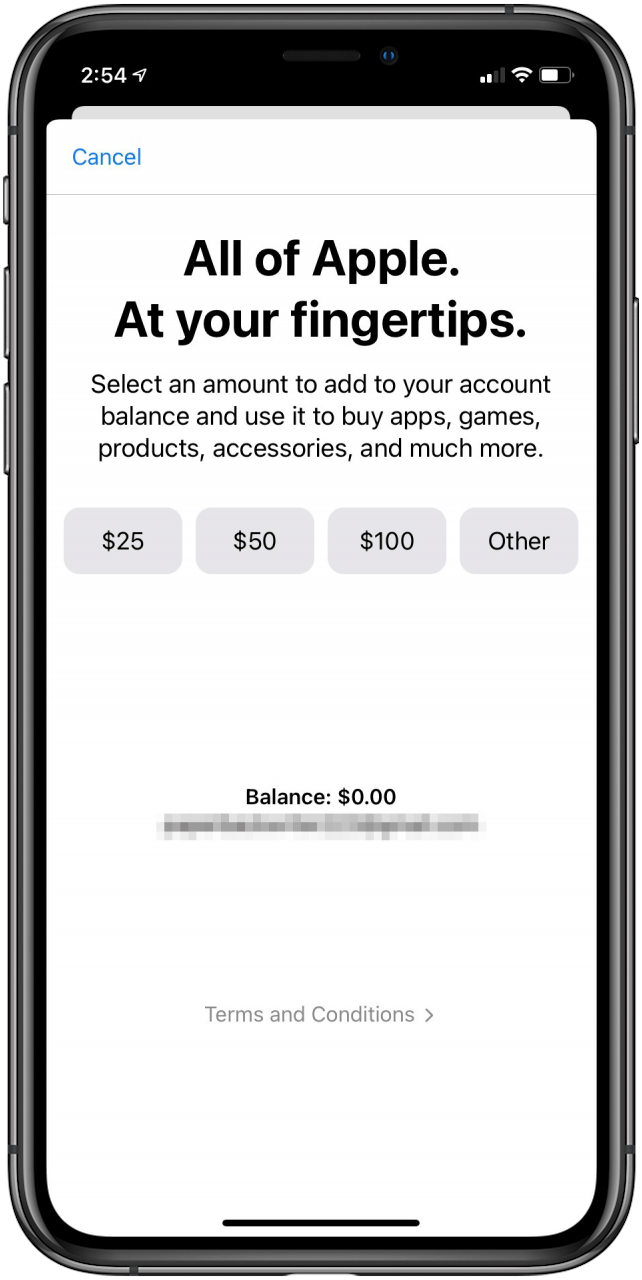
- Tap Add Funds to Apple ID.

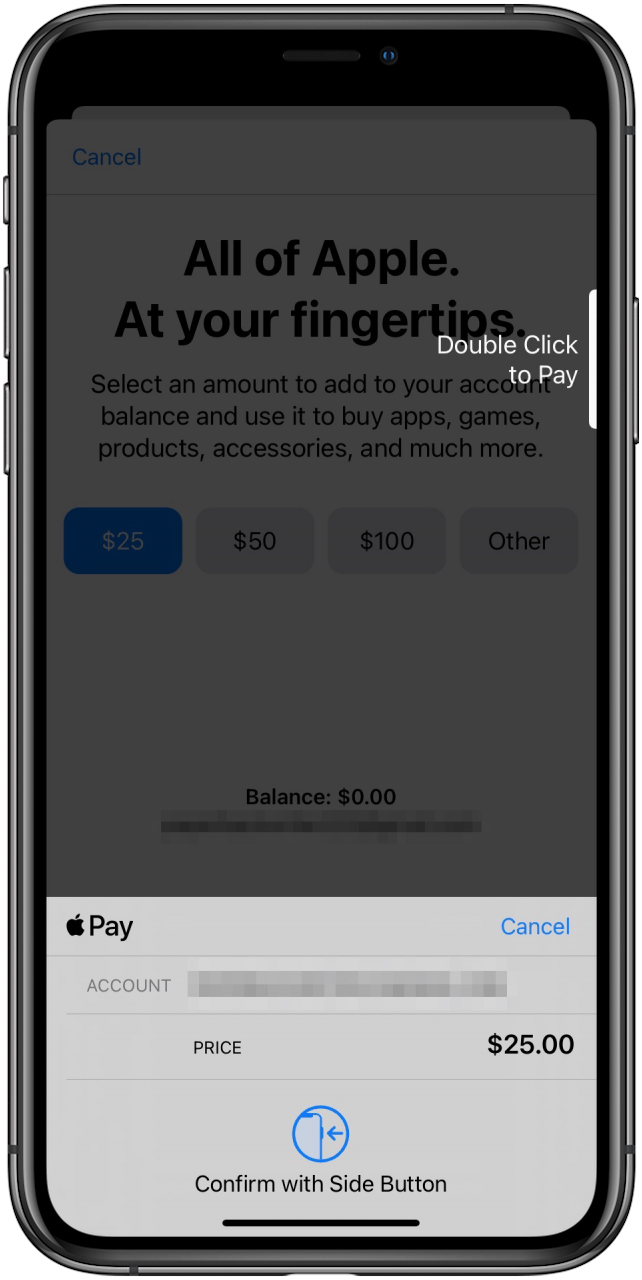
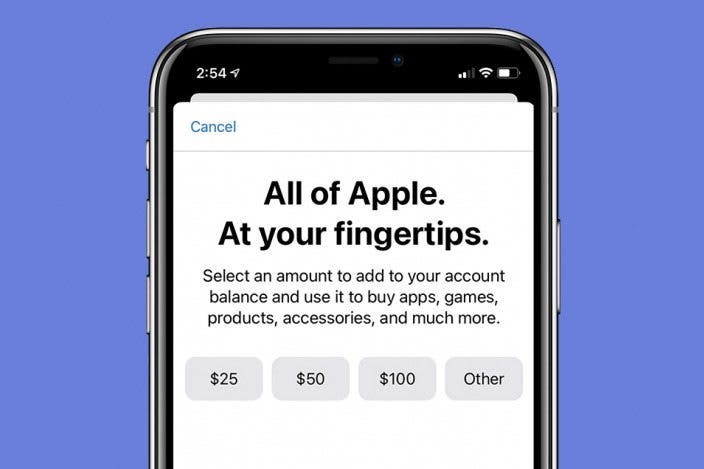
- Choose the amount you want to add.
- Confirm your purchase by following the on-screen instructions. On my iPhone, I double-click the side button to confirm.
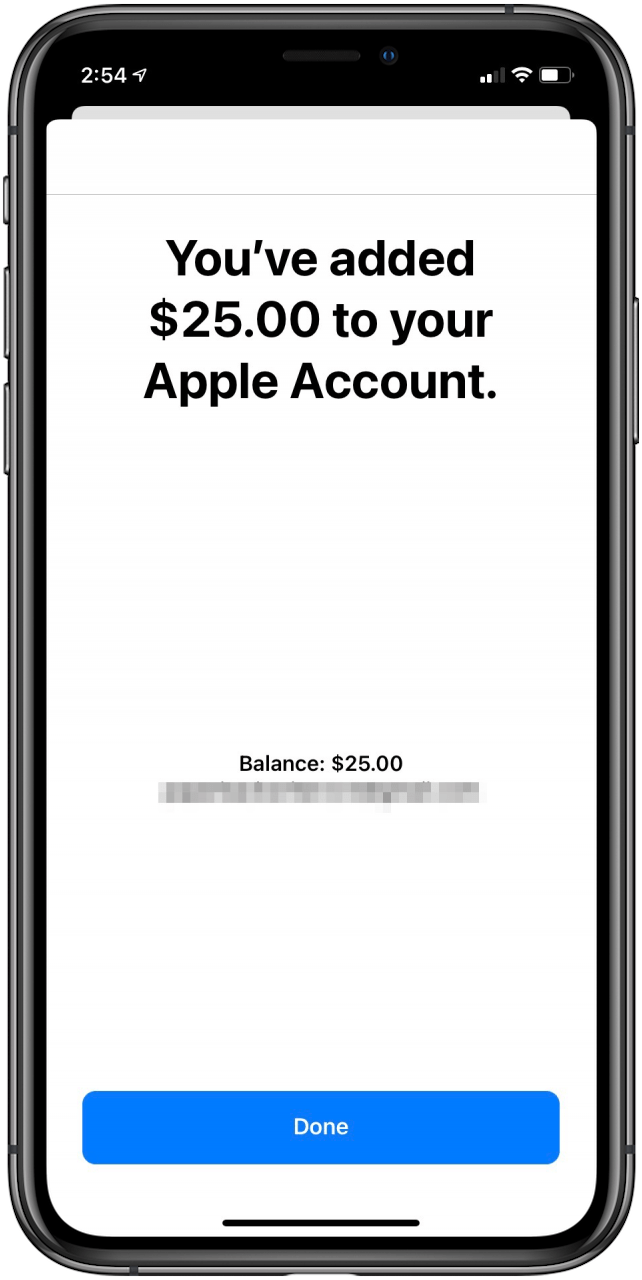
- You'll see a confirmation that the funds were added.
Related: How to Reset Your Forgotten Apple ID & iCloud Password
How to Add Money to Your Apple ID on a Mac
The process to add Apple funds to your account is slightly different on a Mac or MacBook. Here's how to add money to your Apple ID on your Mac computer:
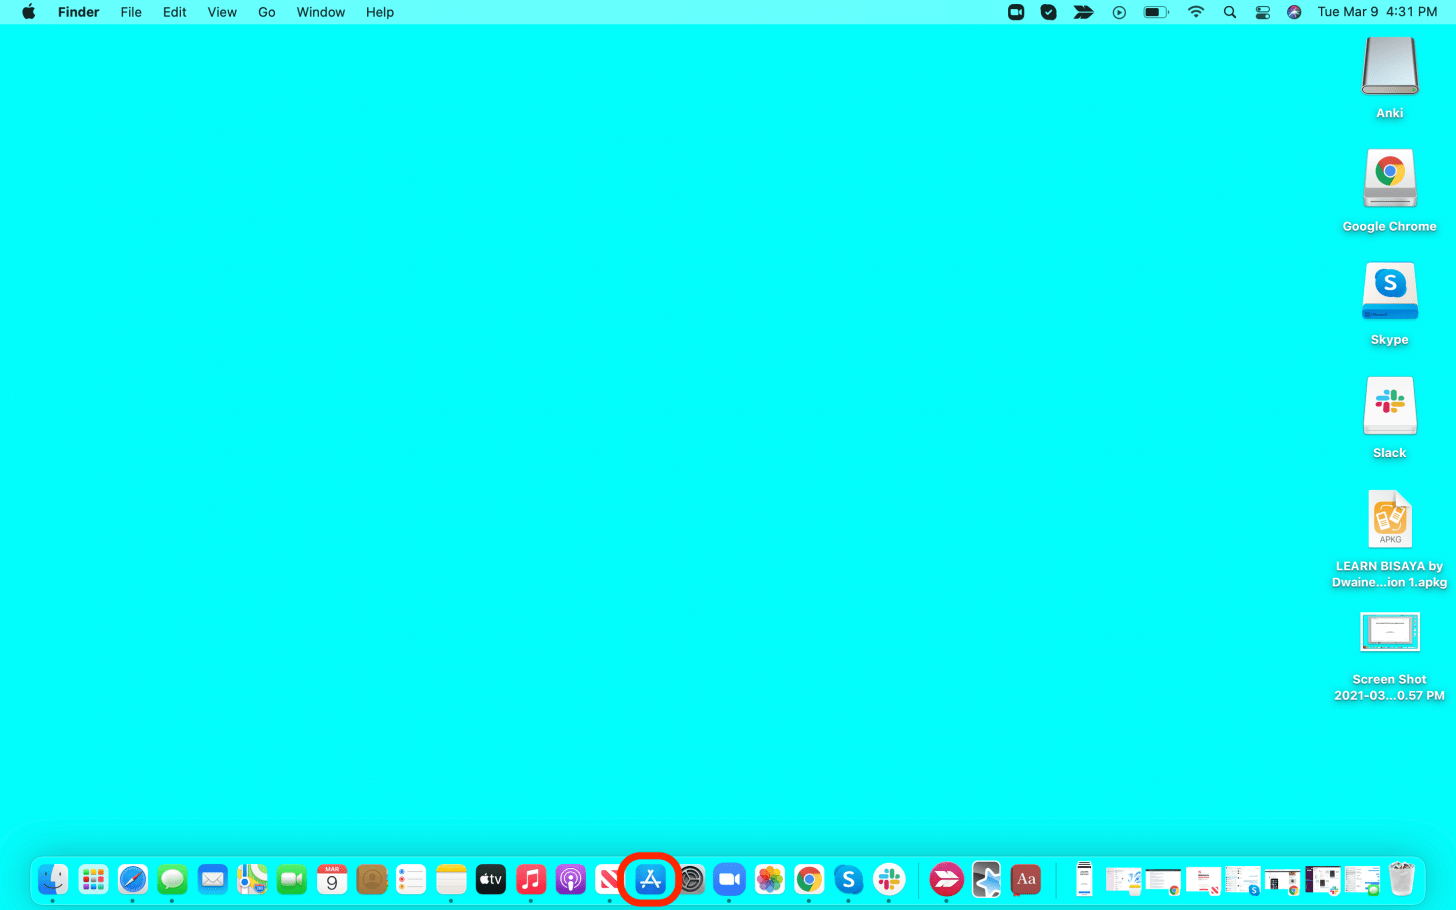
- Open the App Store.
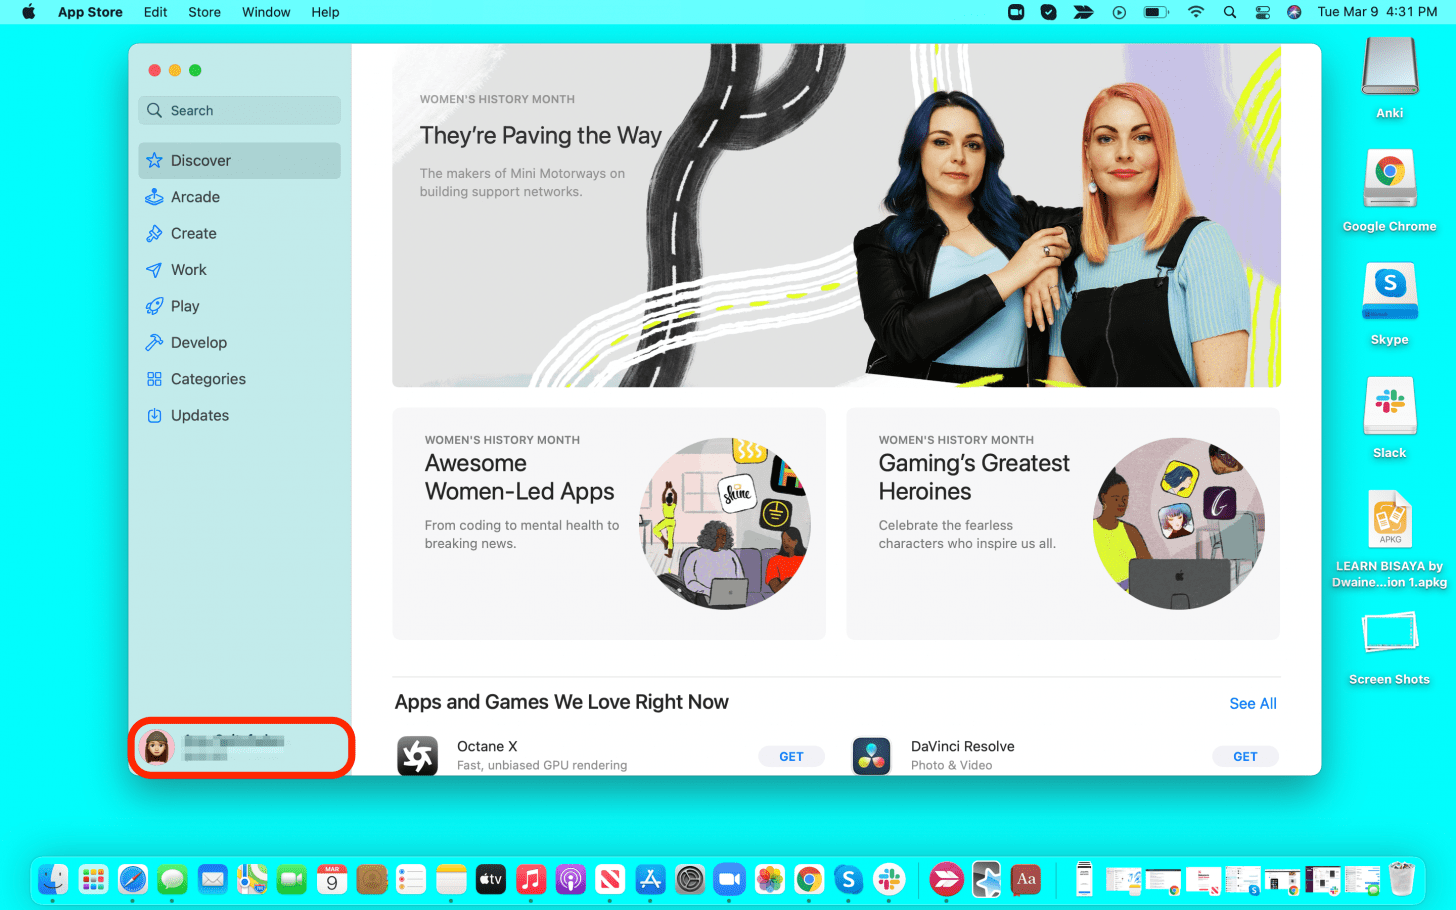
- Click on your profile icon on the bottom left of the window.
- Click View Information.
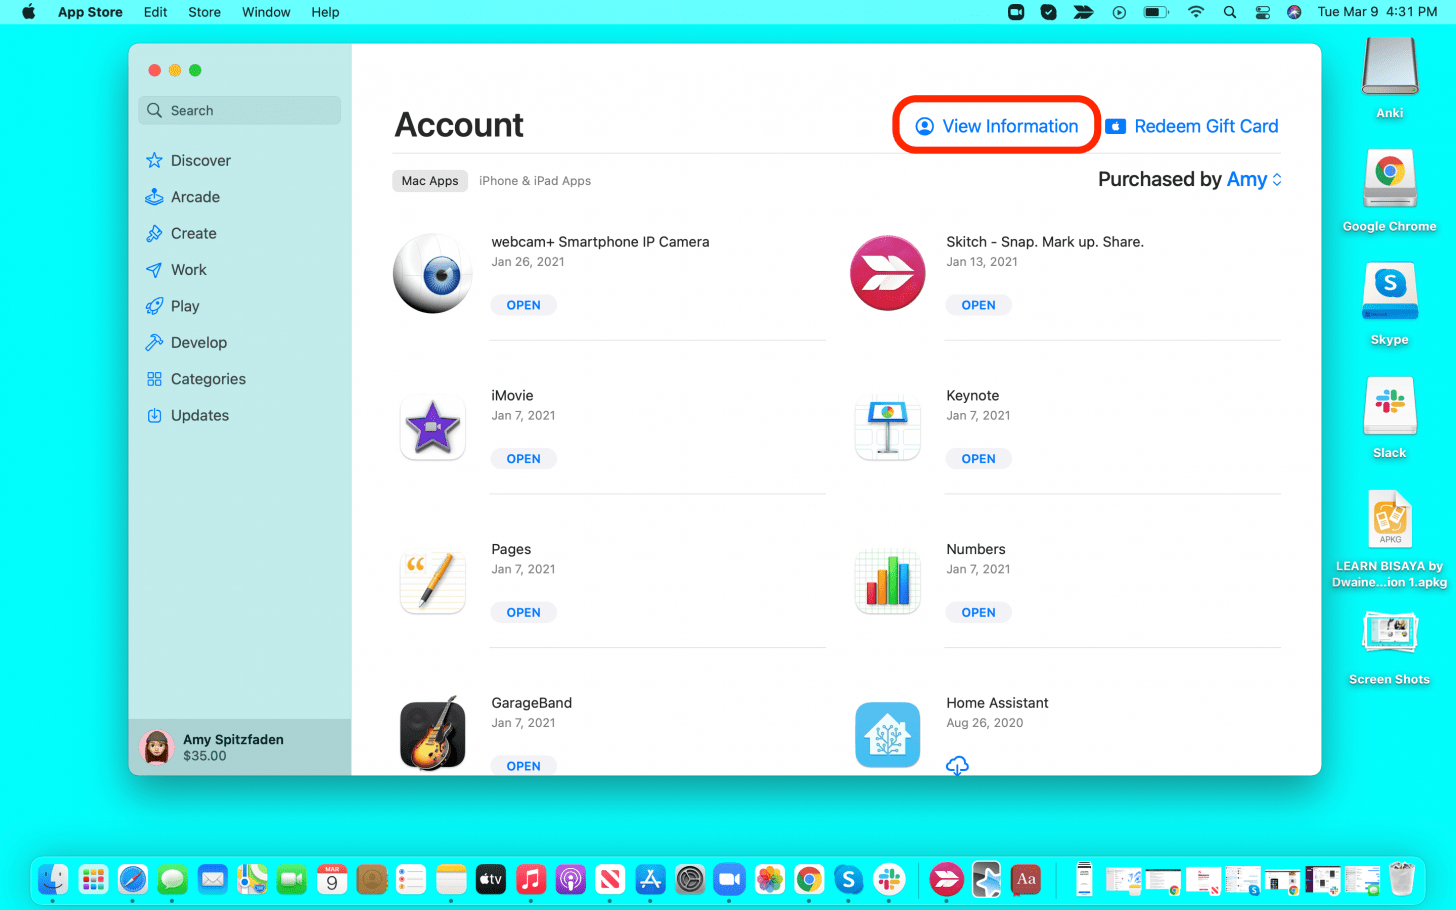
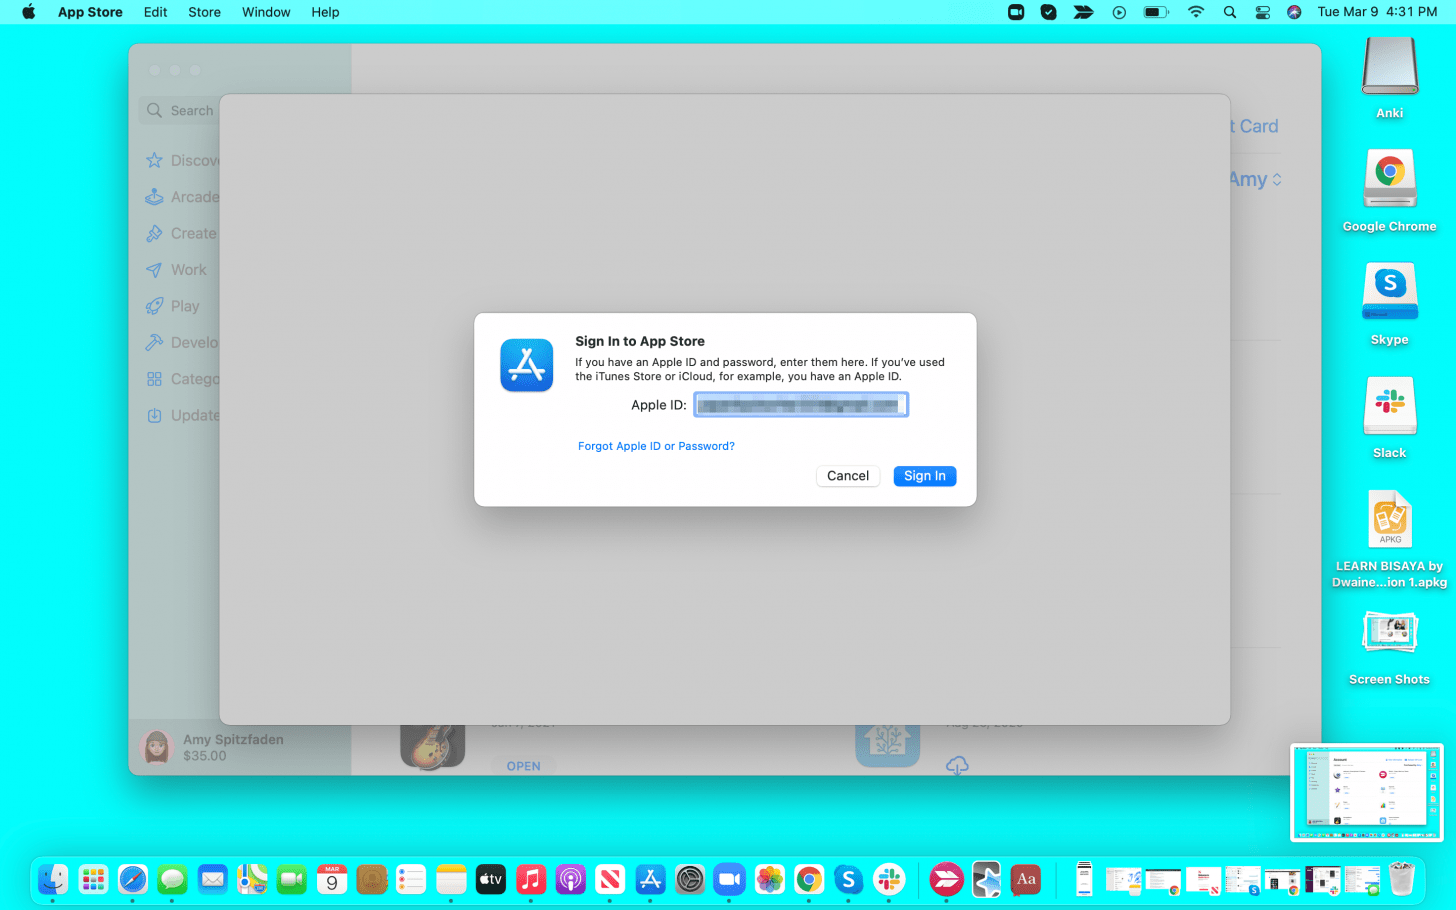
- Enter your Apple ID and password if prompted.
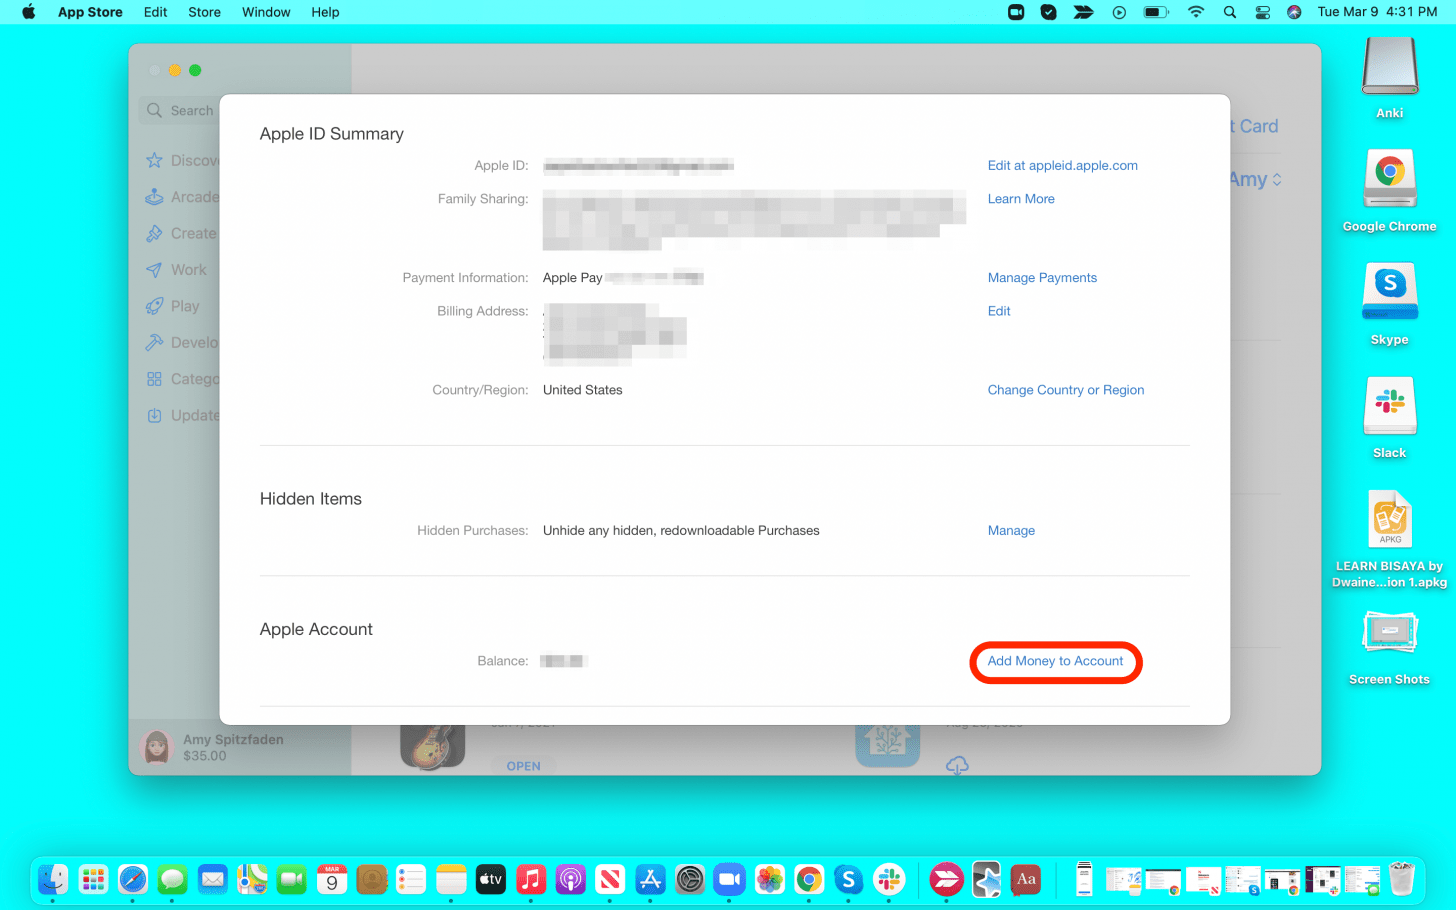
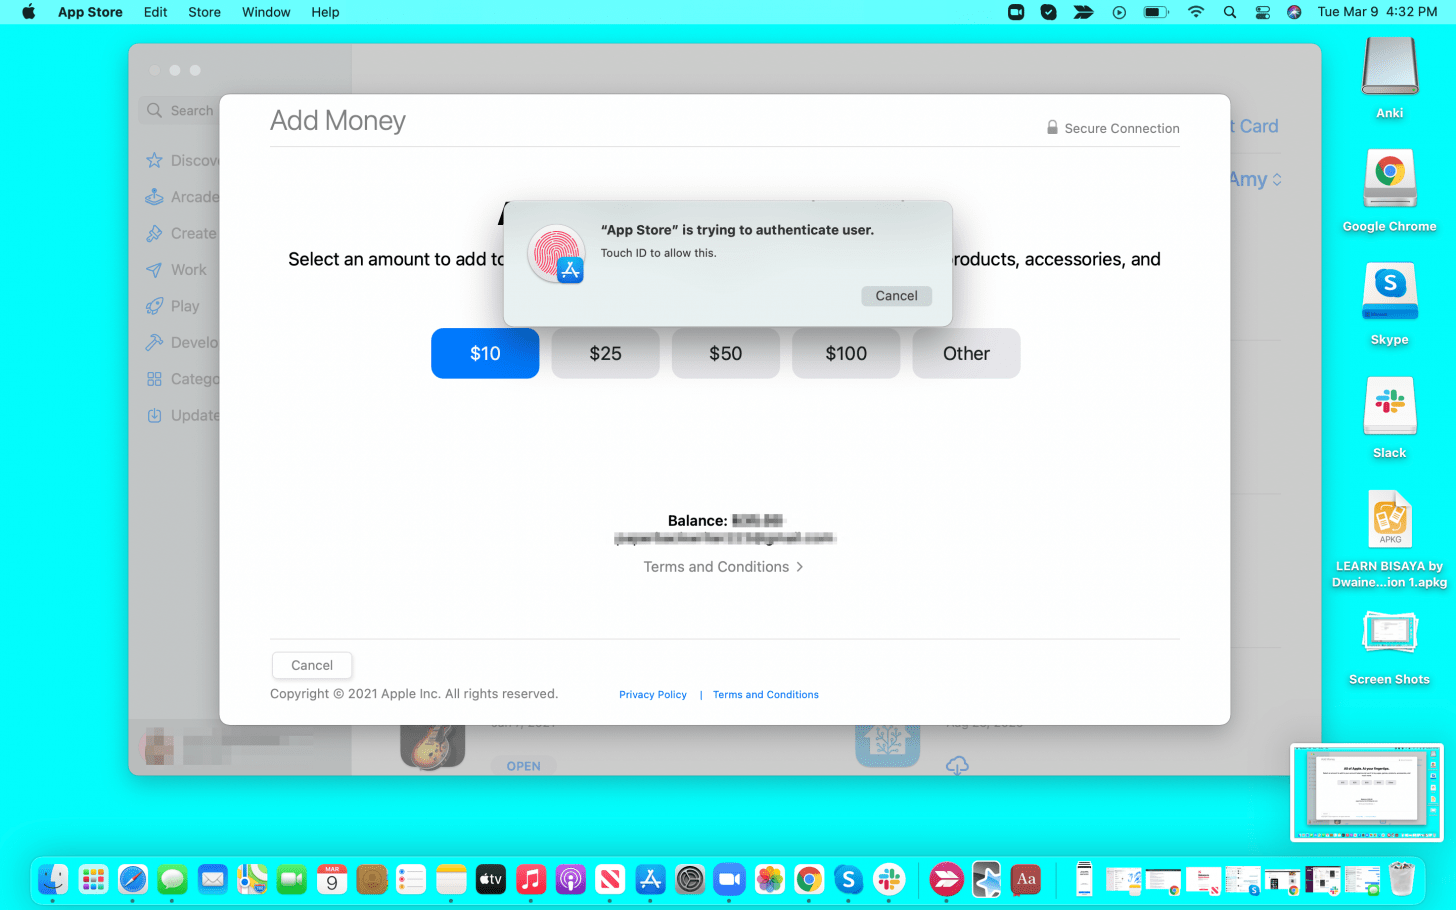
- Click Add Money to Account.
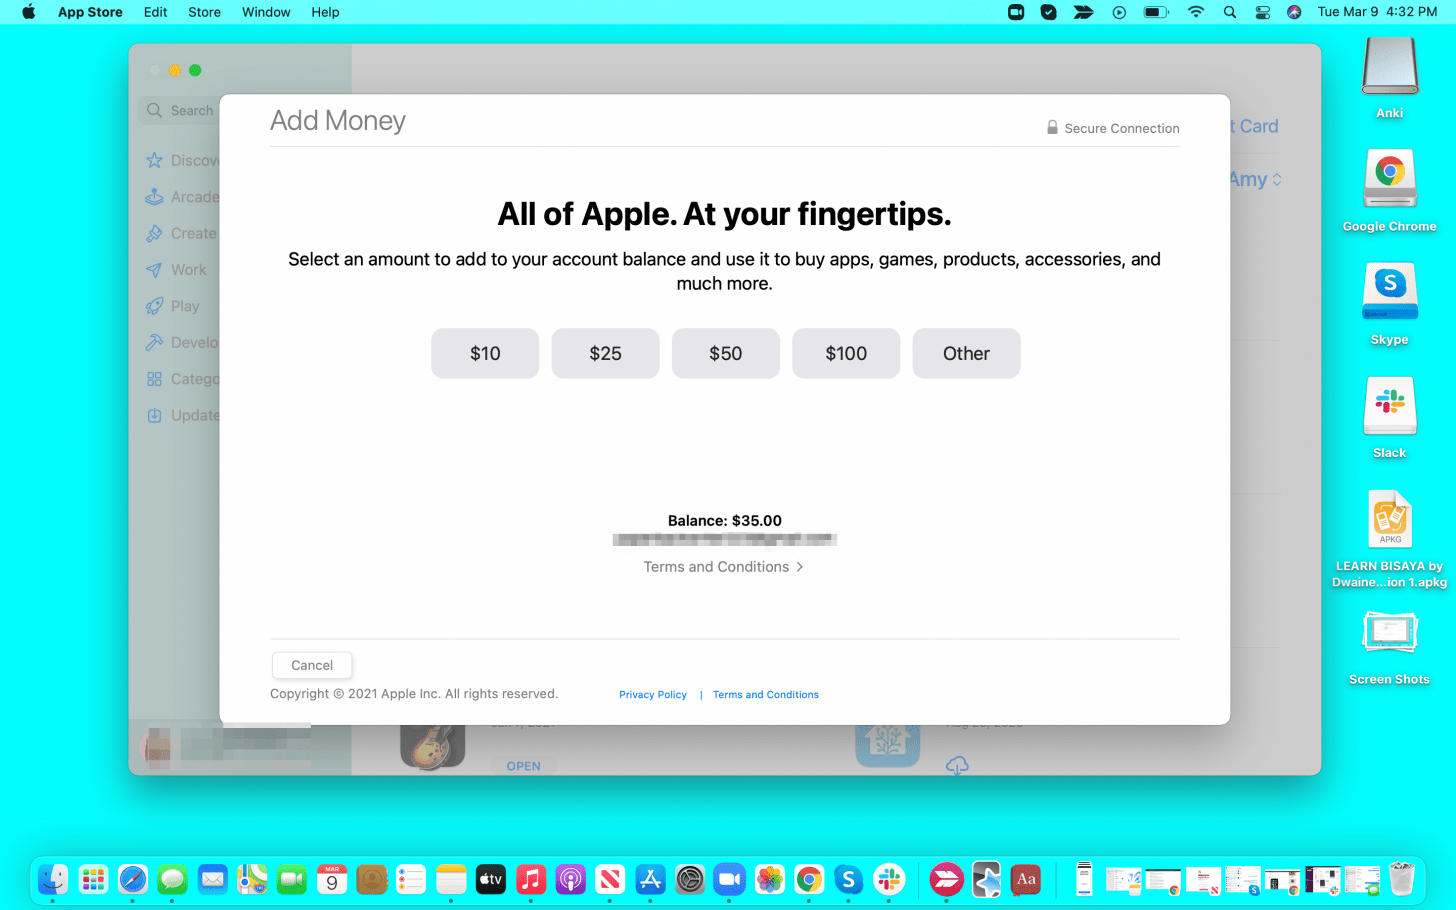
- Select the amount you wish to add.
- Enter your passcode or use Touch ID to confirm your transfer.
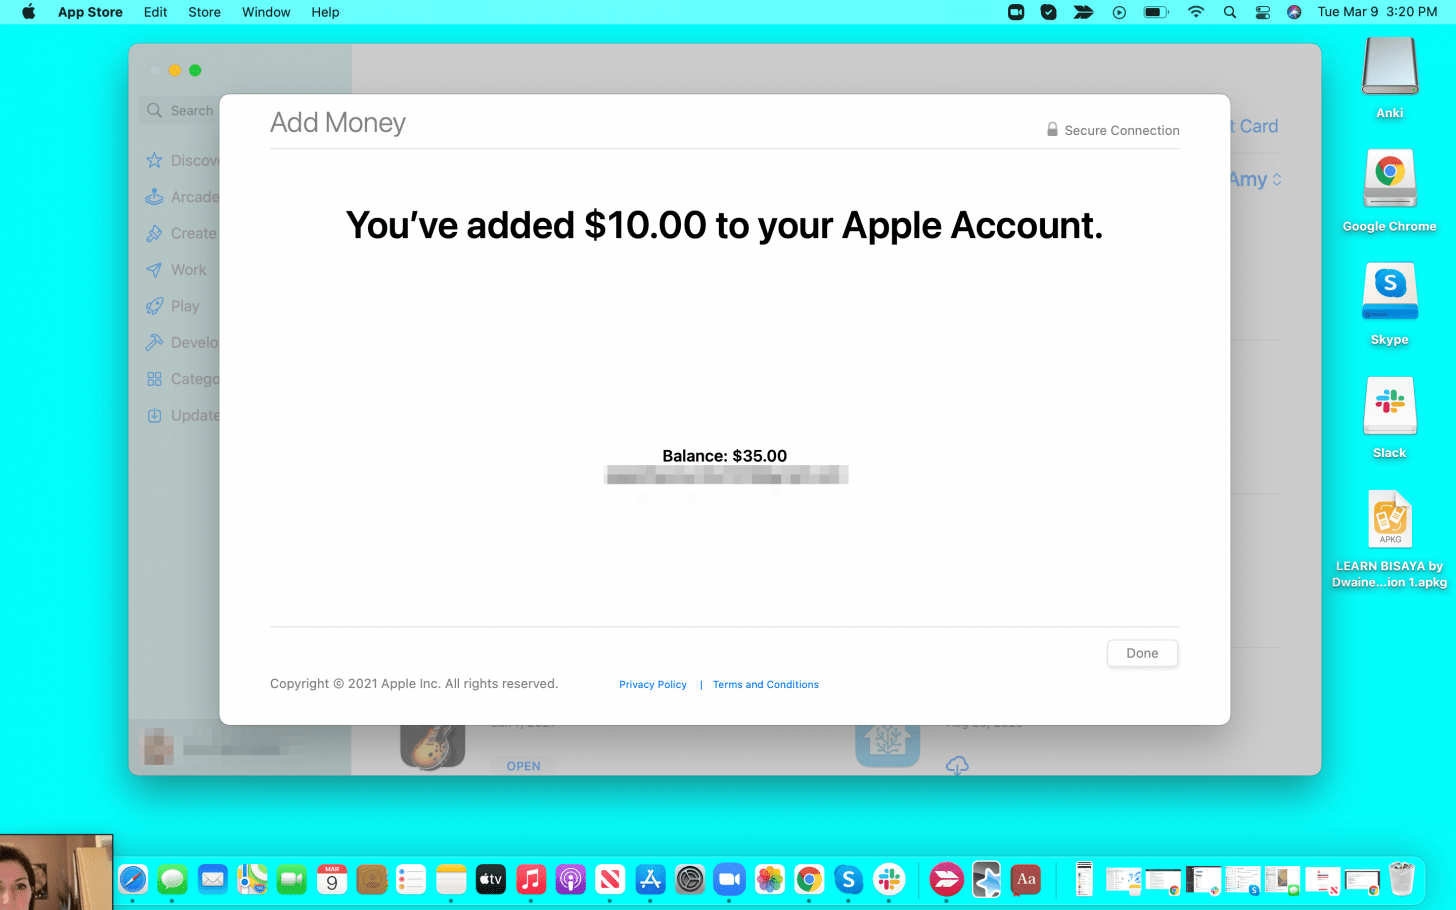
- You'll see a confirmation screen when the transfer is complete.
By adding funds to your Apple ID on your iPhone, iPad, or Mac, you can make purchases while keeping an eye on just how much you're spending!

Hallei Halter
Hallei is a 2018 graduate of Maharishi University of Management with a BFA in Creative & Professional Writing. She's currently working on a novel about people using witchcraft to clean their houses.
 Rhett Intriago
 Rachel Needell

 Olena Kagui
 Amy Spitzfaden Both

 August Garry



 Leanne Hays
 Kenya Smith