What to Know
- You can use any maps app on your iPhone to share your final destination with your car directly from your phone.
- If you sync your phone's calendar with your Tesla, your car can automatically navigate to your next appointment's location.
- Learn how to switch from Tesla Maps to Tesla Waze if you prefer the Waze app over Google Maps and MapBox.

Planning a Tesla road trip is so much fun! But do you have to sit in the car to do it? Or can you access Tesla Maps on an iPhone? While you can't access Tesla Maps on your phone, you can easily send directions from your favorite maps app directly to your Tesla. You can also sync your car with your calendar so that your car can navigate to your appointments automatically.
Jump To:
- How to Send a Destination to Tesla from iPhone
- How to Sync Tesla with iPhone Calendar for Automatic Navigation
- How to Use Tesla Waze Navigation Instead of Tesla Maps
How to Send a Destination to Tesla from iPhone
While Tesla has its own infotainment system and there are third-party Tesla road trip planner apps such as A Better Route Planner (free), my favorite way to navigate on a Tesla is to send a destination directly from my iPhone. I love this option because I can use my favorite maps app, even if it doesn't have EV trip planning features, such as built-in Supercharger stops. Once the destination has been sent, I can pick the best Tesla map route (including nearby Superchargers) on my Tesla's display. Here's how to send a location to your Tesla from your iPhone:
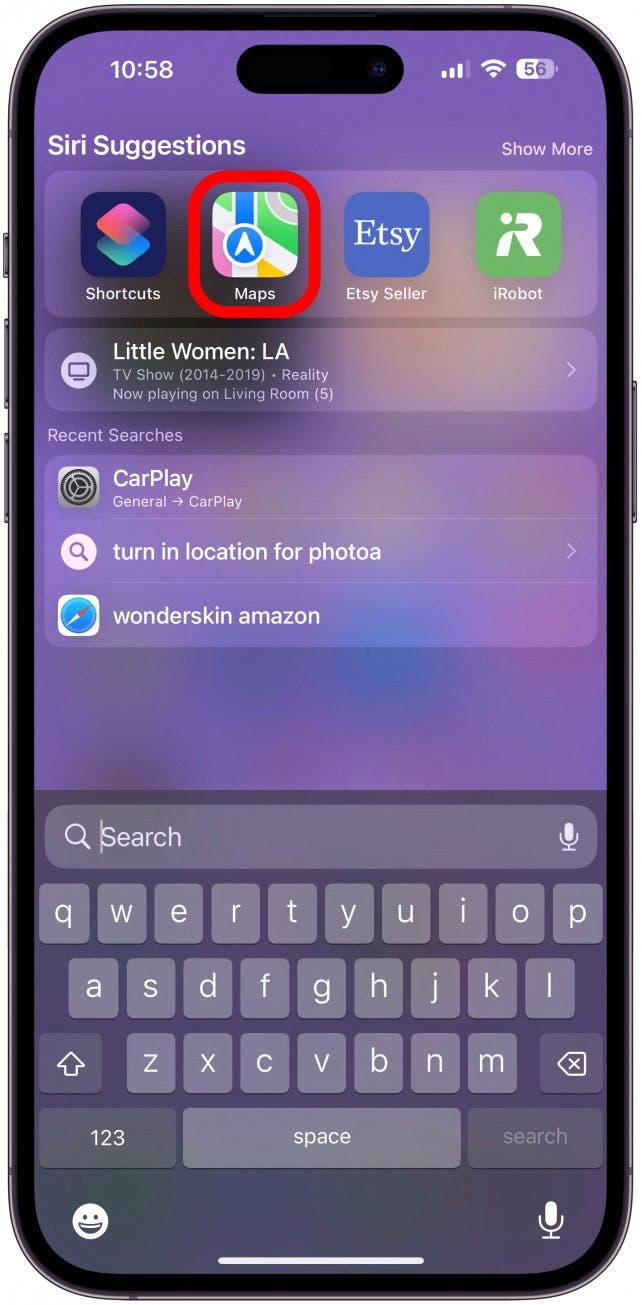
- To send a destination to Tesla from your iPhone, you must first open the app of your choice; for this example, I will go with Apple's Maps app.
![Open the Maps app.]()
- Tap a location directly on the map or type it in the search bar and select it, then tap the share icon.
![tap the share icon.]()
- Swipe left over the apps until you see Tesla. Tap it.
![Swipe left over the apps until you see Tesla. Tap it.]()
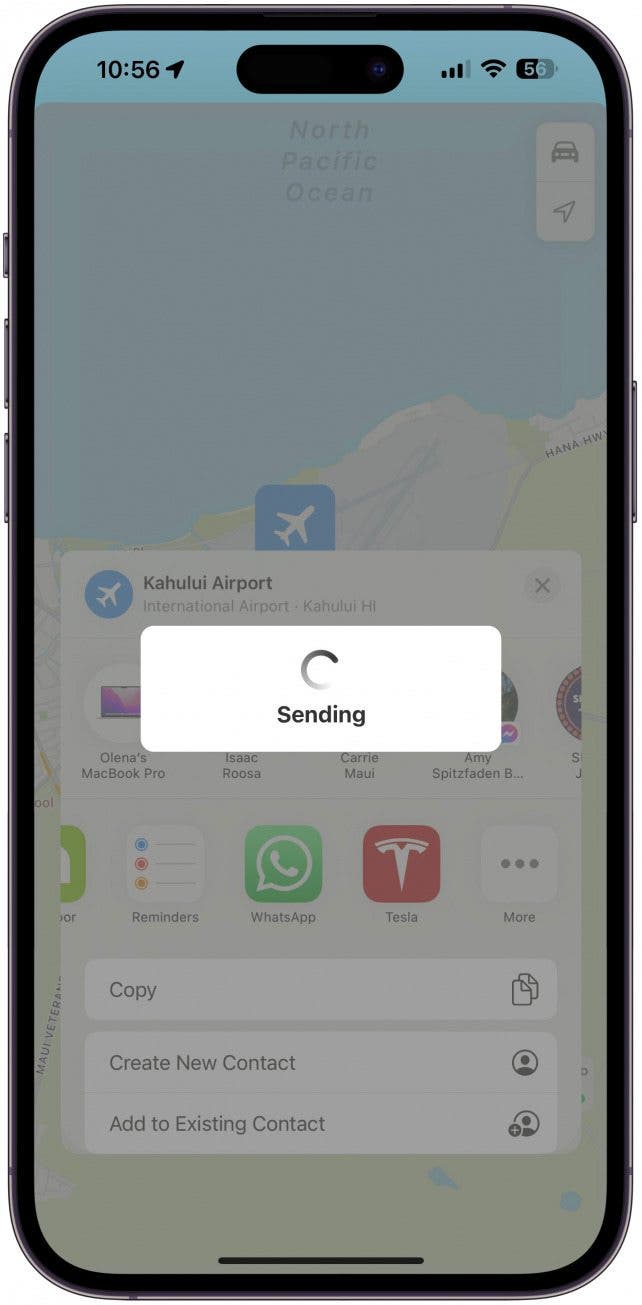
- It will say sending.
![It will say sending.]()
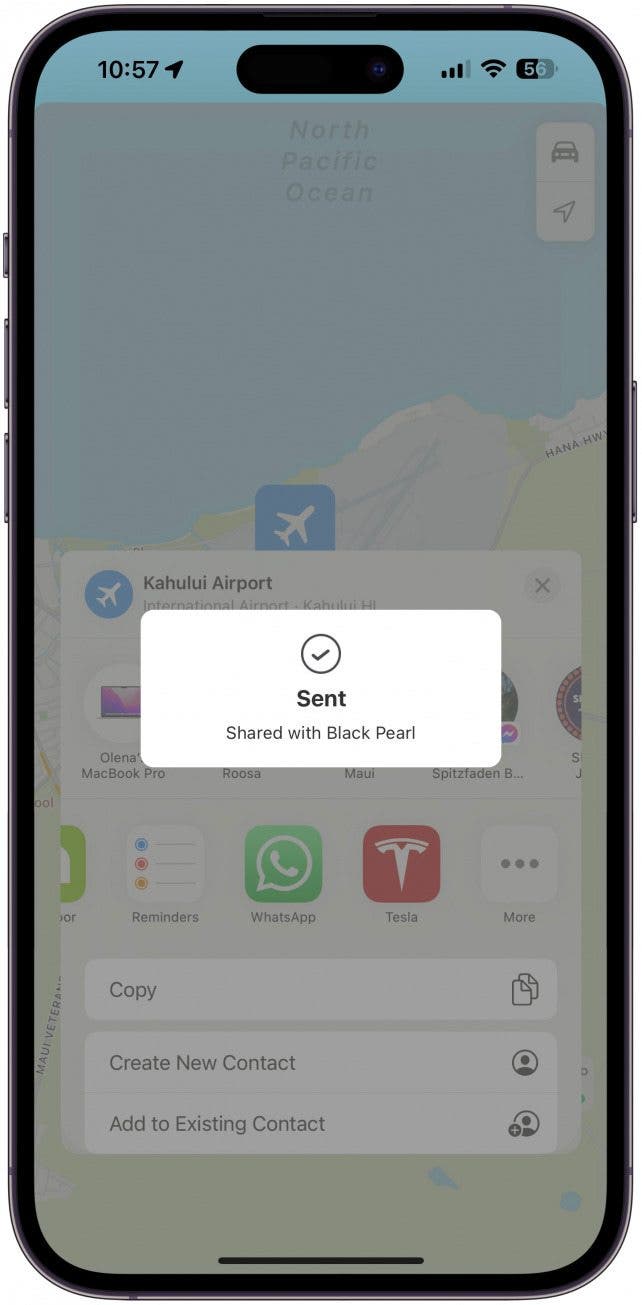
- Then, it will confirm that the location was sent. You should now see it on your Tesla display!
![Then, it will confirm that the location was sent.]()


Pro Tip:
If you share a Tesla with someone and you are all signed into the same Tesla account, you can send a destination to the car even if you are miles away. When my husband is driving and wants to pick me up while I'm out, I can open Maps, tap on the blue dot that shows my location, and share it with him. That way, he can easily navigate to me without calling me to find out where I am, pulling over, and typing in the address himself.
How to Sync Tesla with iPhone Calendar for Automatic Navigation
If you've scheduled an appointment on your iPhone and synced your calendar to your Tesla, you won't have to enter your destination twice! Your Tesla will know where you're going next, and it will automatically navigate there. To enable this:

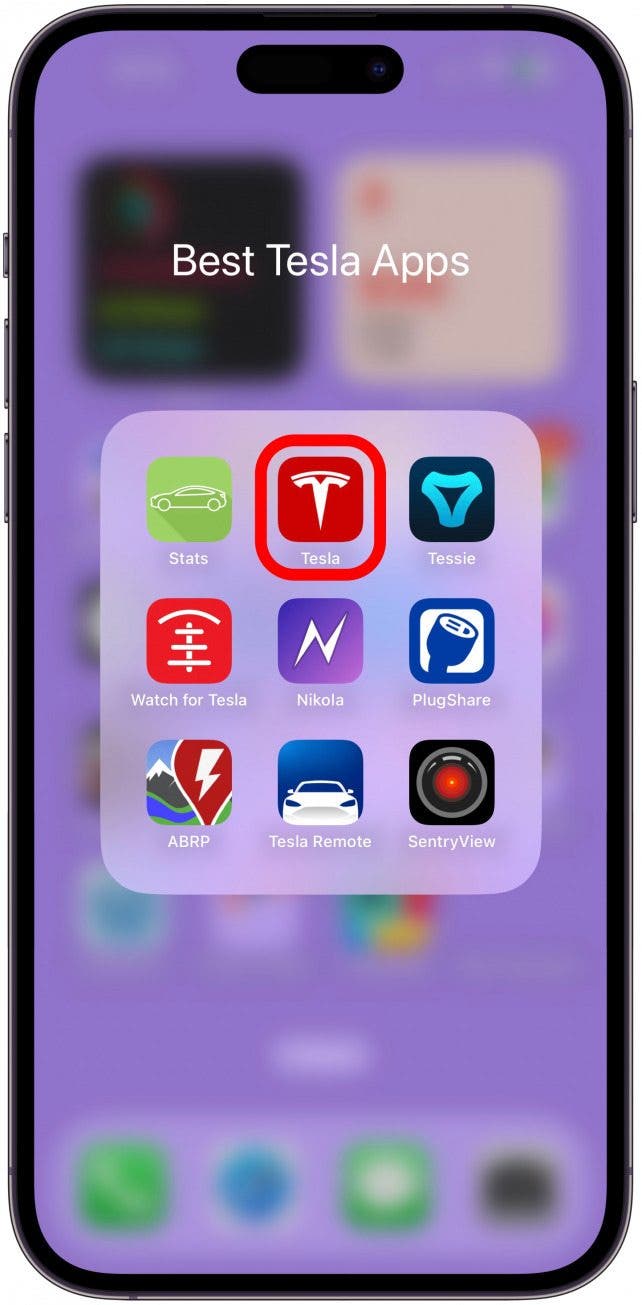
- To sync your Tesla with your iPhone calendar for automatic navigation, open the Tesla app on your iPhone.
![open the Tesla app on your iPhone.]()
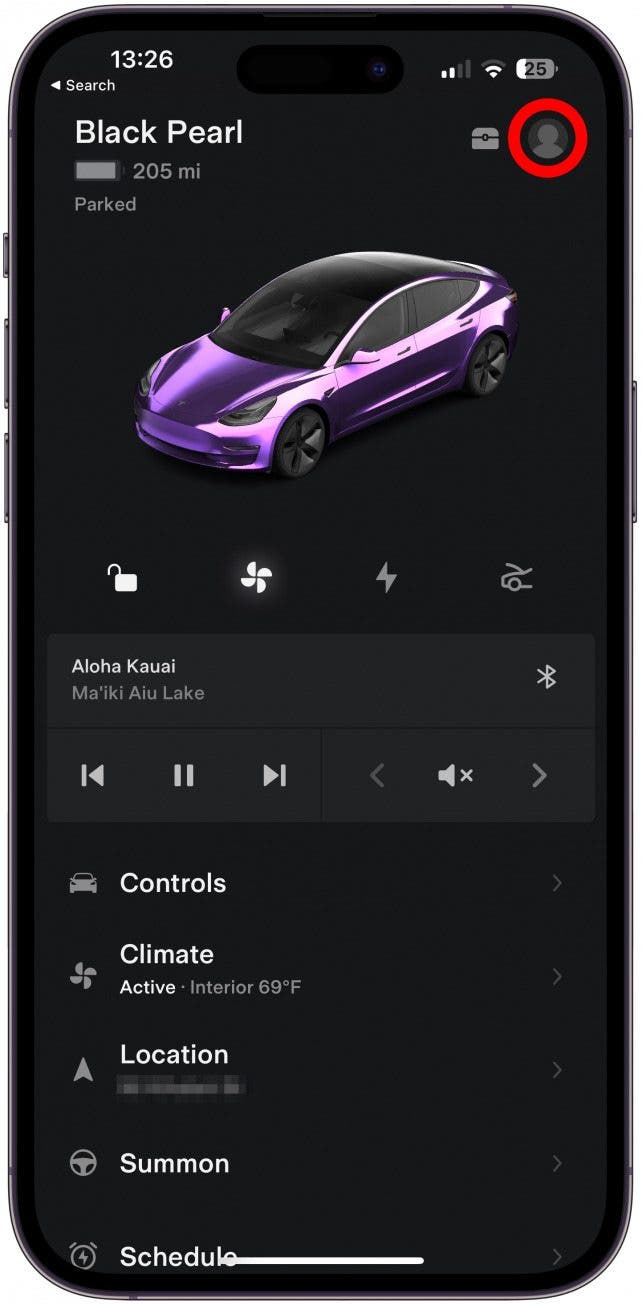
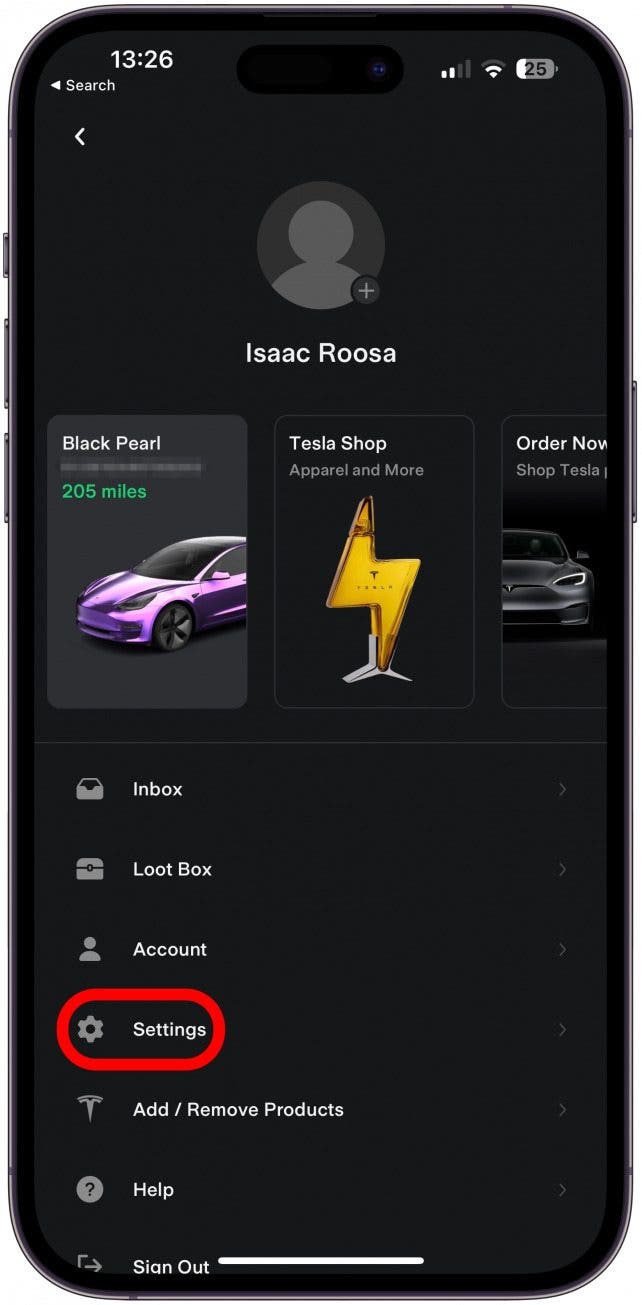
- Tap the profile icon in the top right icon.
![Tap the profile icon in the top right icon.]()
- Tap Settings.
![Tap Settings.]()
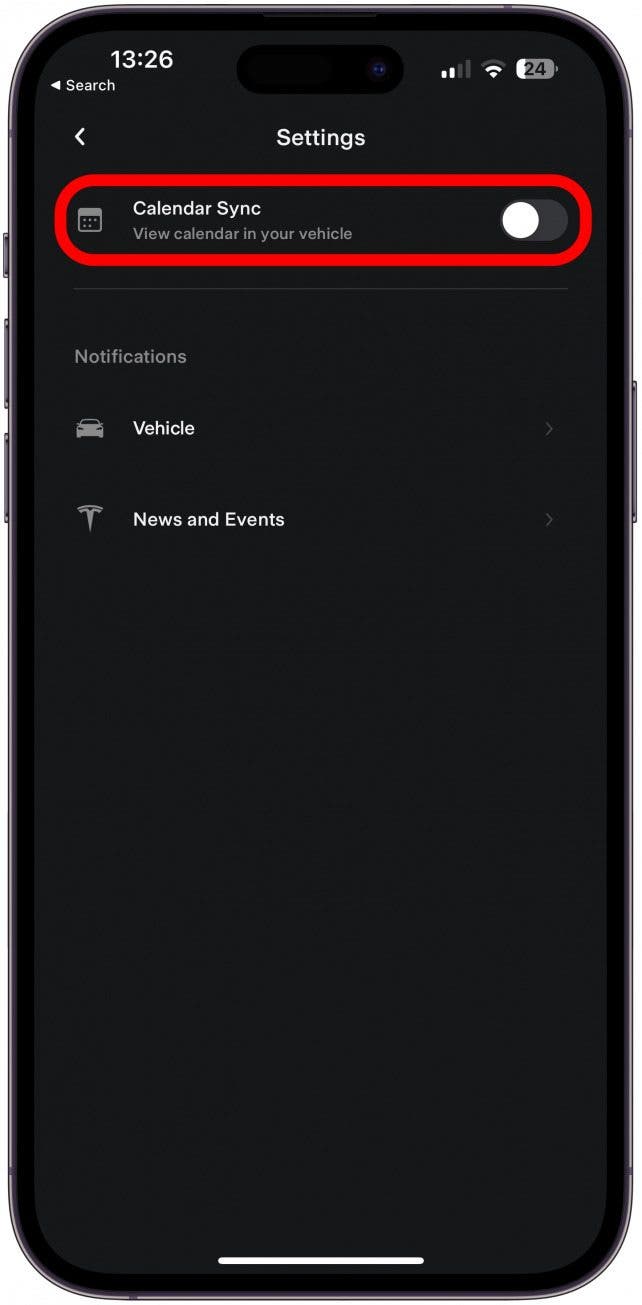
- Toggle Calendar Sync on.
![Toggle Calendar Sync on.]()
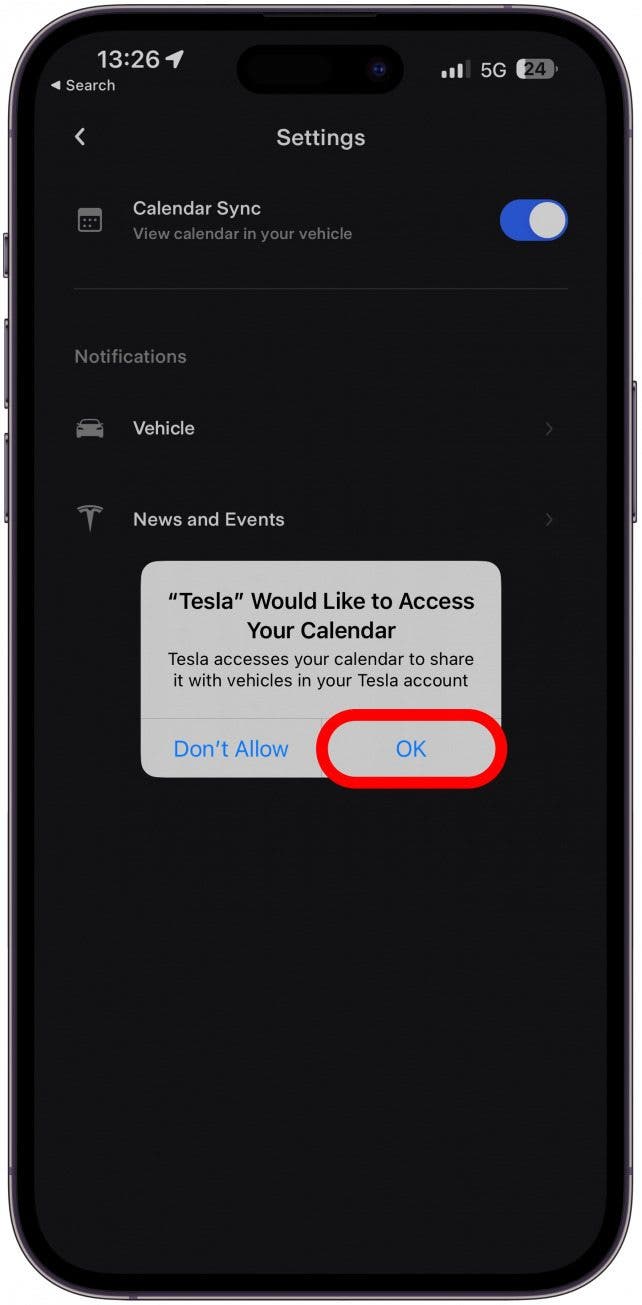
- Tap OK to allow access.
![Tap OK to allow access.]()
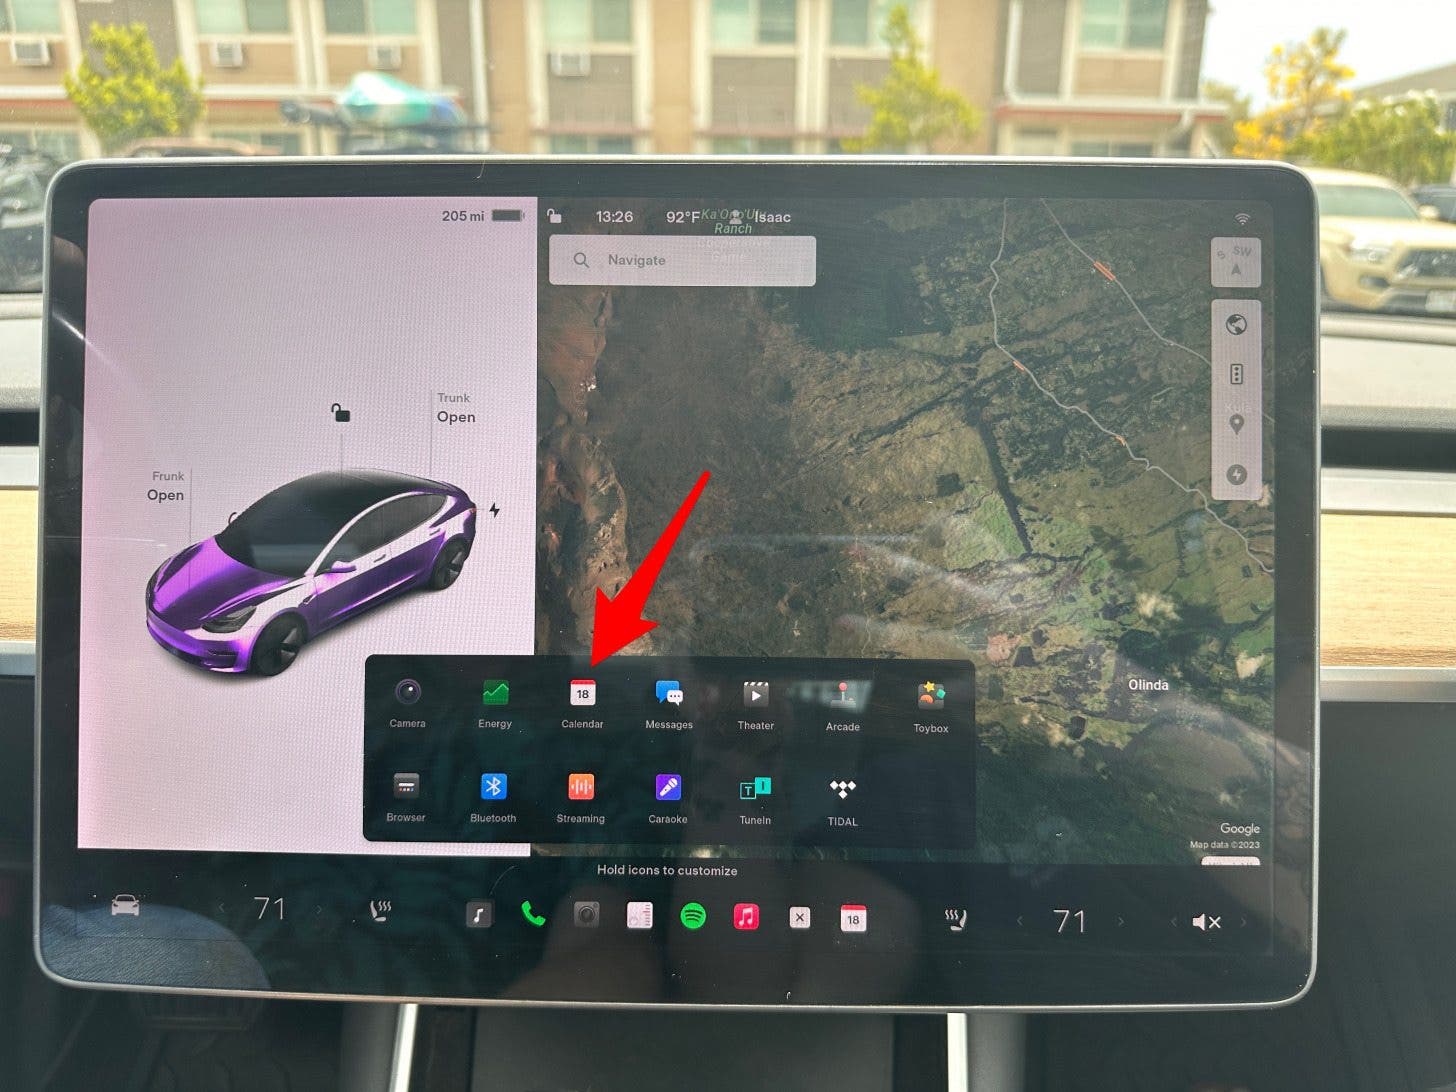
- Now, on your Tesla screen, tap All Apps (the icon with three dots) in the Launcher.
![on your Tesla screen, tap All Apps]()
- Tap Calendar.
![Tap Calendar.]()
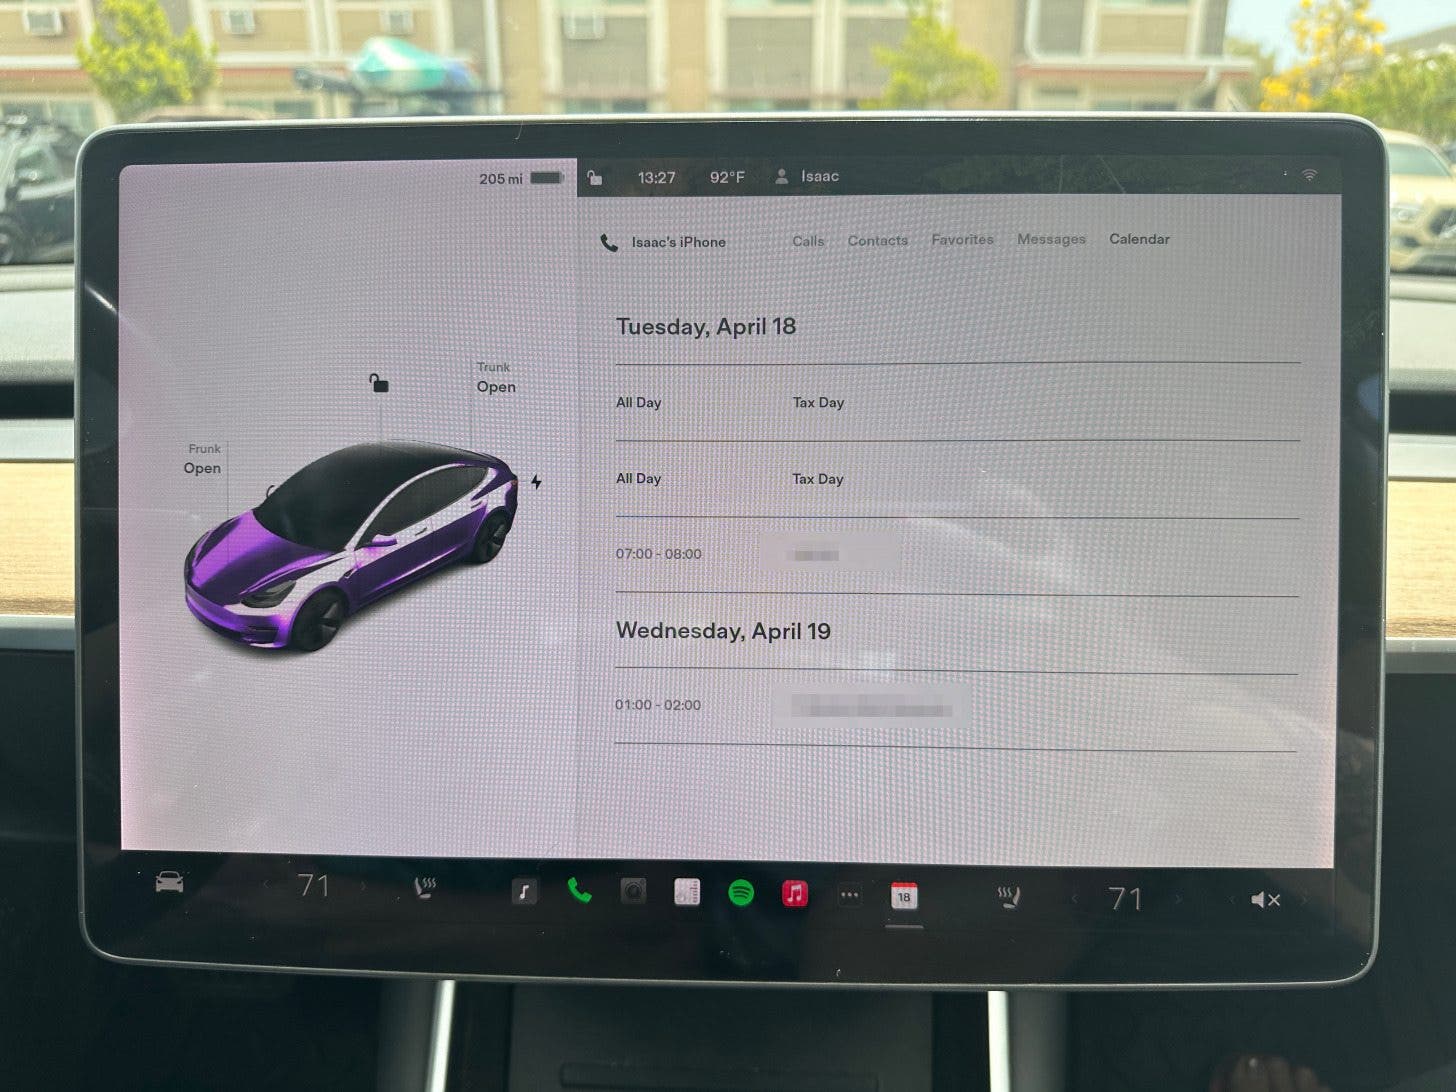
- You will see your calendar and upcoming events.
![You will see your calendar and upcoming events!]()

You can test it out by scheduling an upcoming event on your phone and inputting the address. If you do this while you are sitting in your Tesla, it may take a moment to sync and begin navigating there automatically. If it doesn't, just get out of the car, close the door, open it again, and the directions will show up without you having to enter them. Any event you create or accept that includes a location will now show up in your Tesla calendar, and your car will suggest navigating to it automatically. For more tips like this, sign up for our free Tip of the Day newsletter.
How to Use Tesla Waze Navigation Instead of Tesla Maps
Tesla Maps uses the Google Maps interface but takes traffic and route data from MapBox, but you can also use Tesla Waze. Waze is a popular navigation app that uses information from users to get accurate information on traffic, road closures, and more. Using Tesla Waze on your Tesla may be difficult because you have to use your Tesla browser, which is prone to crashing. Many users report Tesla Waze not working at the time of writing, but we're all hoping Tesla improves their browser soon to make this smoother.
- To use Tesla Waze, tap All Apps in the Launcher.
![To use Tesla Waze, tap All Apps in the Launcher.]()
- Tap Browser.
![Tap Browser.]()
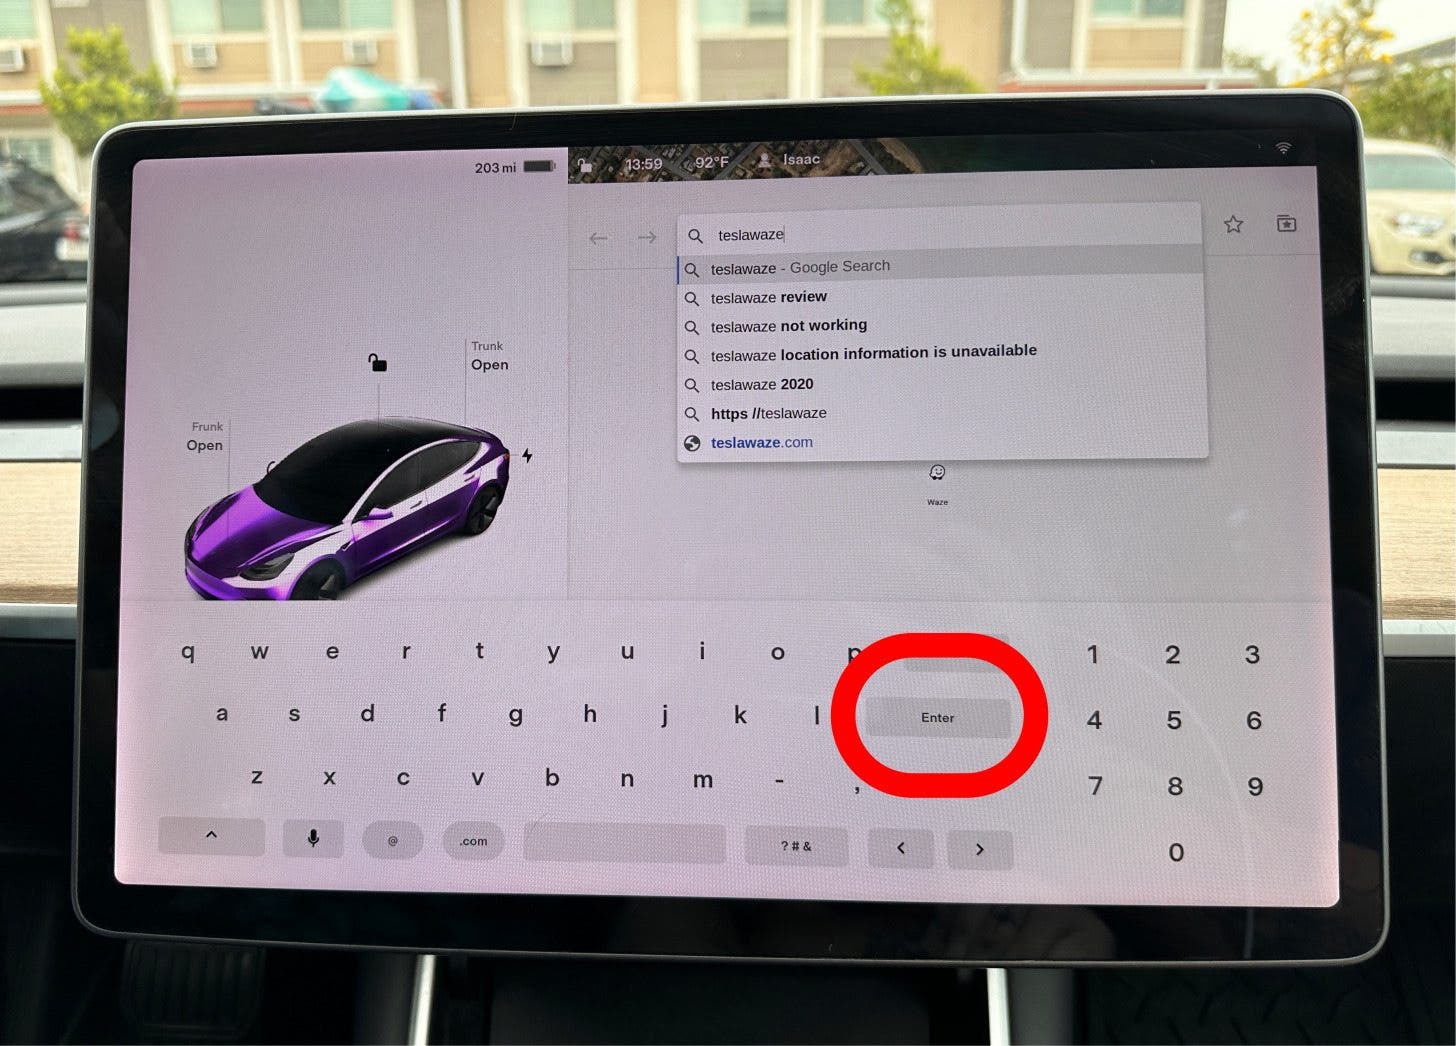
- Type Tesla Waze in the search bar, then tap Enter.
![Type Tesla Waze in the search bar, then tap Enter.]()
- Tap the teslawaze.azurewebsites.net link.
![Tap the teslawaze.azurewebsites.net link.]()
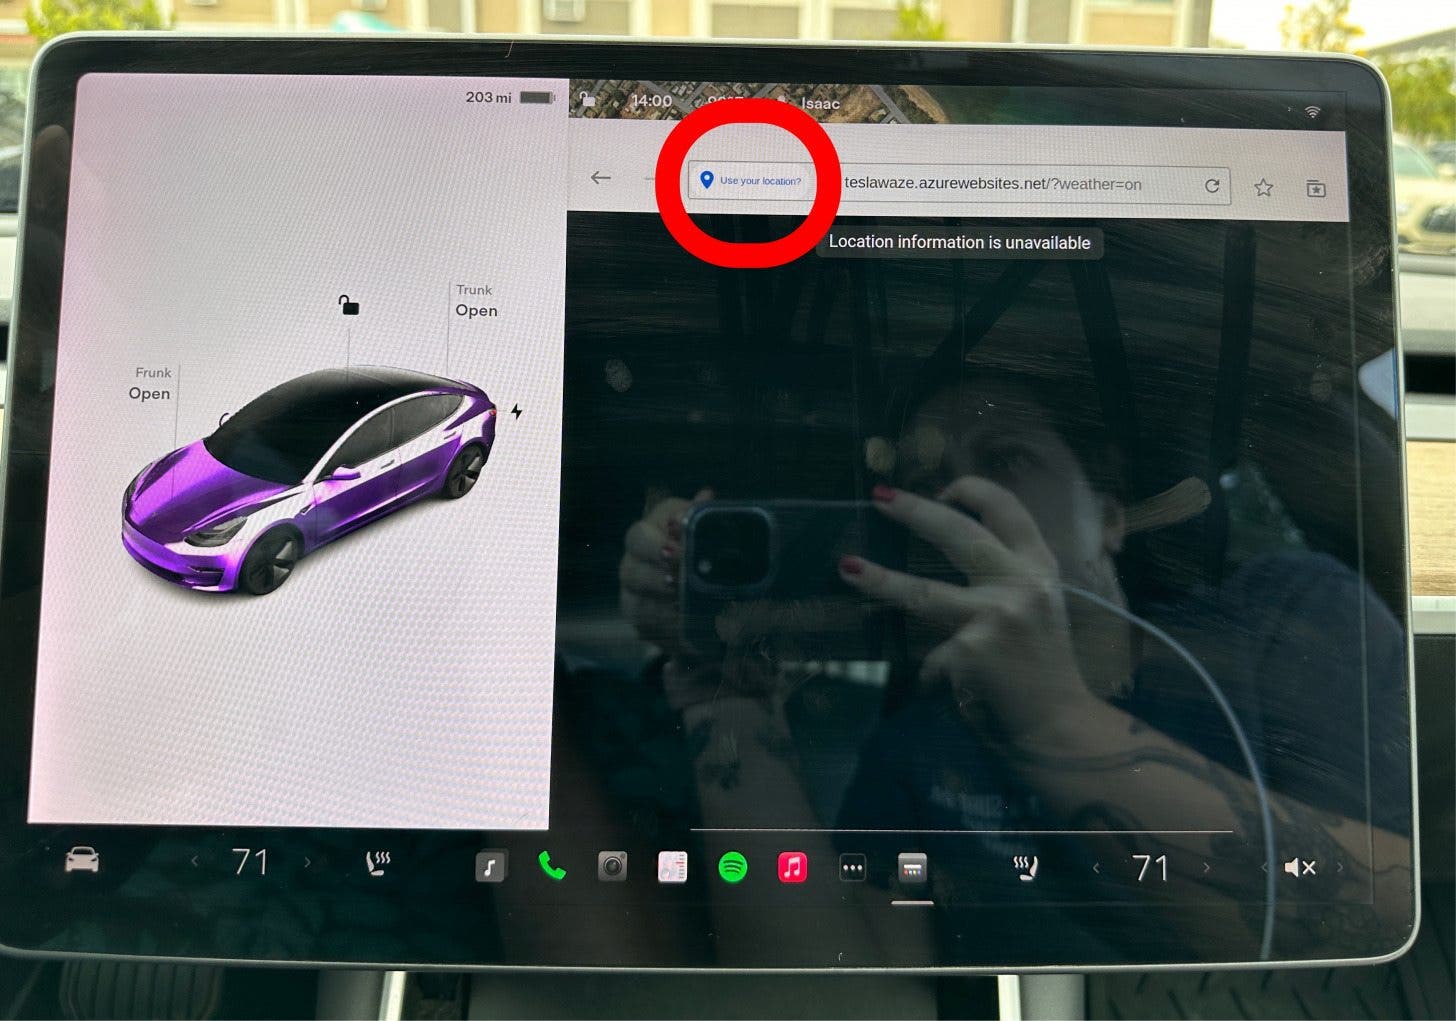
- In the search bar, tap Use your location? on the left.
![In the search bar, tap Use your location? on the left.]()
- Select either On every visit or Only this time. If you select Only this time, you will have to do this every time you use Tesla Waze.
![Select either On every visit or Only this time.]()
- At this point, my Tesla Browser crashes, which is unfortunately common. But if it loads, you'll be able to use Tesla Waze! Because it works on any browser, you can test it out on your Mac or iPad, it also works on a phone, but the display is easier to navigate on a larger screen.
![At this point, my Tesla Browser crashes, which is unfortunately common.]()


Warning:
Even though Tesla Waze has many benefits, I would recommend sticking to using the standard Tesla Maps for navigating because it is reliable and less distracting.