How to Use Maps on Apple Watch
Easily navigate with the Maps app on your Apple Watch.


Using the Maps app on your Apple Watch is surprisingly simple and not that different from navigating on your iPhone. The app interfaces are almost exactly the same on both devices, other than the smaller interface on the watch, which makes getting directions on your Apple Watch incredibly easy.
Why You’ll Love This Tip
- Use Apple Maps directly from your Apple Watch.
- Get directions to a specific location even if your phone isn’t nearby.
How to Use Navigation on Apple Watch
For more tips on your Apple Watch features, sign up for our free Tip of the Day newsletter. Here, here's how to get directions from your Apple Watch:
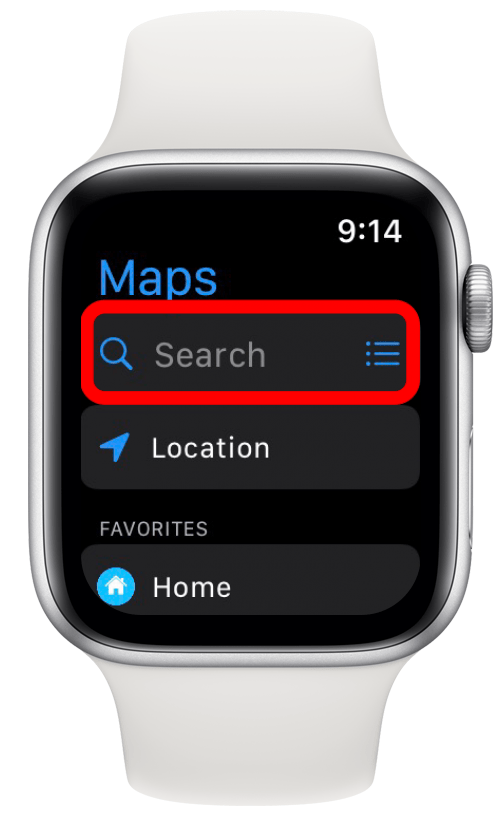
- Open the Maps app.

- Tap the Search field to search for a location, or turn the Digital Crown to scroll down and see your favorite locations and recent searches.
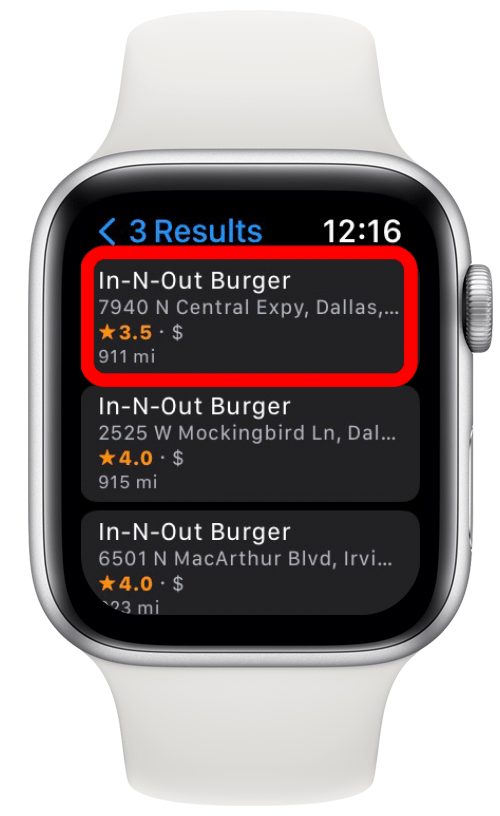
- Tap to select the location you want to navigate to.
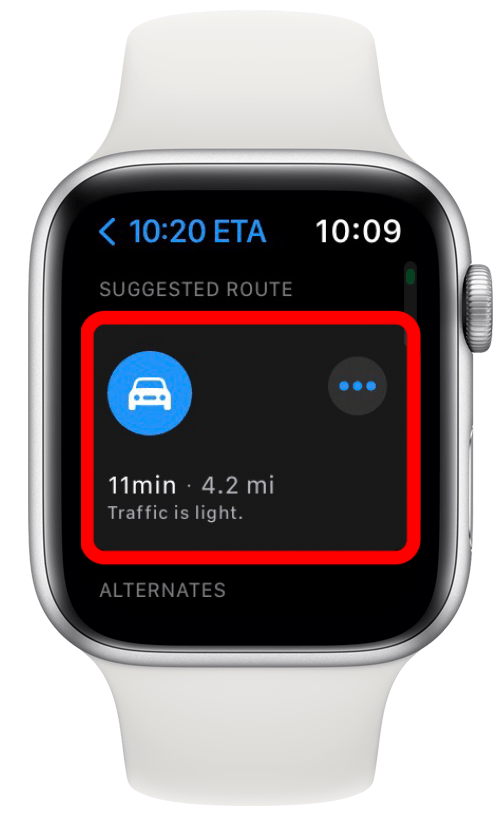
- Scroll down and select your preferred method of transportation.

- Confirm the route you want to take by either tapping the suggested route or scrolling down and selecting one of the alternate options. (If you want to see the turn-by-turn instructions before choosing a route, just tap the three dots in the right corner of that route.)
- Navigation will start. If you want to pause navigation, tap the three dots icon.
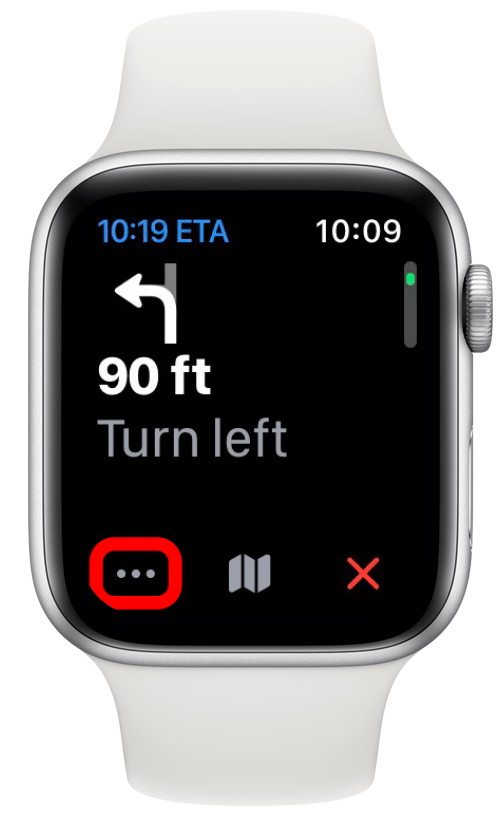
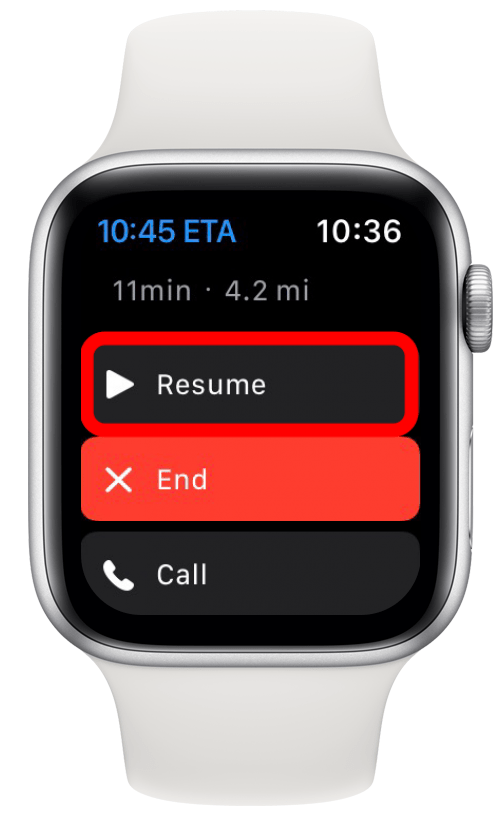
- Scroll down with the Digital Crown to either resume or end navigation or call the business you are navigating to.
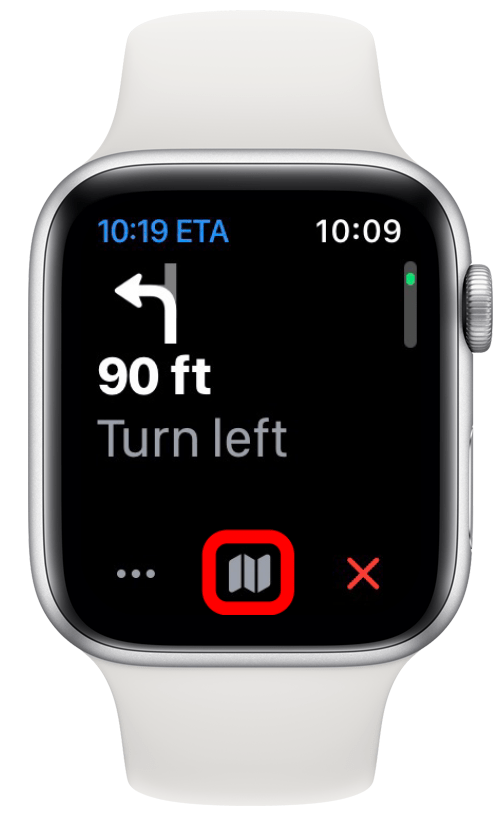
- To see an overview of your route, tap the map icon.
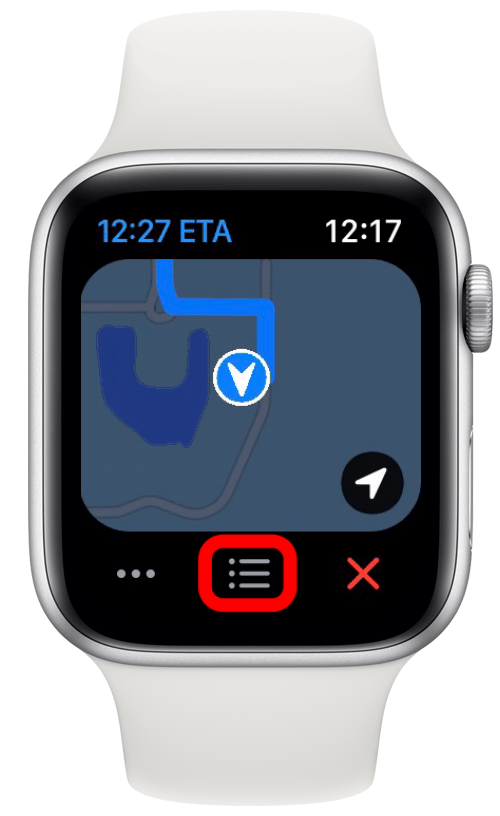
- Tap the three lines icon to return to turn-by-turn navigation.
- You can also scroll with the Digital Crown to see each step on its own. Your watch will automatically advance to the next step time when it is time, as well as notify you at each turn with a sound and vibration.

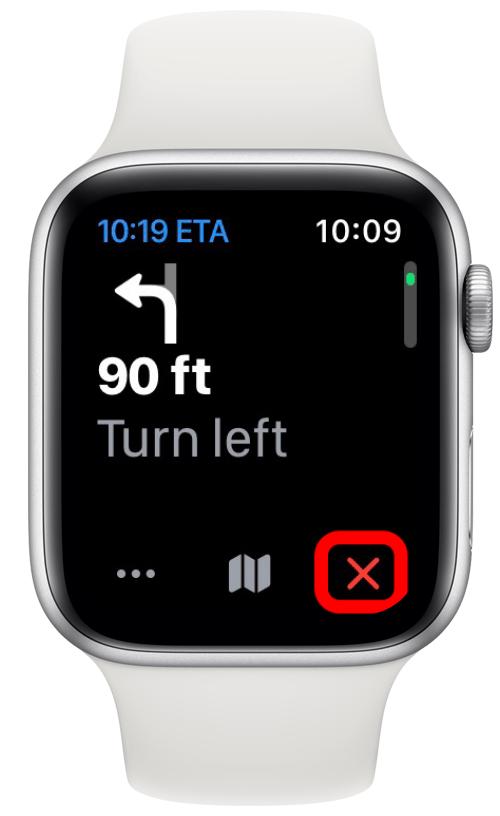
- You can tap the red X icon to end navigation at any time.
Now that you know how to use Apple Watch Maps, you can quickly navigate to any location from your wrist!

Every day, we send useful tips with screenshots and step-by-step instructions to over 600,000 subscribers for free. You'll be surprised what your Apple devices can really do.

Rhett Intriago
Rhett Intriago is a Feature Writer at iPhone Life, offering his expertise in all things iPhone, Apple Watch, and AirPods. He enjoys writing on topics related to maintaining privacy in a digital world, as well as iPhone security. He’s been a tech enthusiast all his life, with experiences ranging from jailbreaking his iPhone to building his own gaming PC.
Despite his disdain for the beach, Rhett is based in Florida. In his free time, he enjoys playing the latest games, spoiling his cats, or discovering new places with his wife, Kyla.

 Nicholas Naioti
 Olena Kagui
 Rhett Intriago
 Rachel Needell

 Amy Spitzfaden Both
 Leanne Hays